Removing the established flooring can be time consuming and exhausting. What if you could just tile over linoleum flooring? Do-It-Yourselfers are always looking for time saving methods. This could help save valuable time and effort.
Additionally, many homeowners know upgrading your flooring can improve the value of your home and improve the feel of the space.
So the question stands – Can you instal tile over linoleum flooring? While the answer isn’t always yes, it is possible to install ceramic, porcelain and natural stone tile over linoleum and vinyl flooring.
Let’s talk about the do’s and don’ts when it comes to laying tile over existing flooring.
What is the condition of your old flooring? If there are any tears, rips, or damage to the current flooring it may be best to remove it before tiling. Check to make sure your vinyl or linoleum flooring is glued down and is not peeling up or damaged. Loose-lay flooring (permitered glued) cannot be tiled over because in the long run it will eventually fail.
The best flooring to consider is a full sheet that is adhered well to the subfloor. However, you can tile over vinyl tiling (individual tiles) if they are sufficiently adhered. Subsequently, if your flooring meets this criteria, then yes – you can lay tile over linoleum or vinyl flooring.
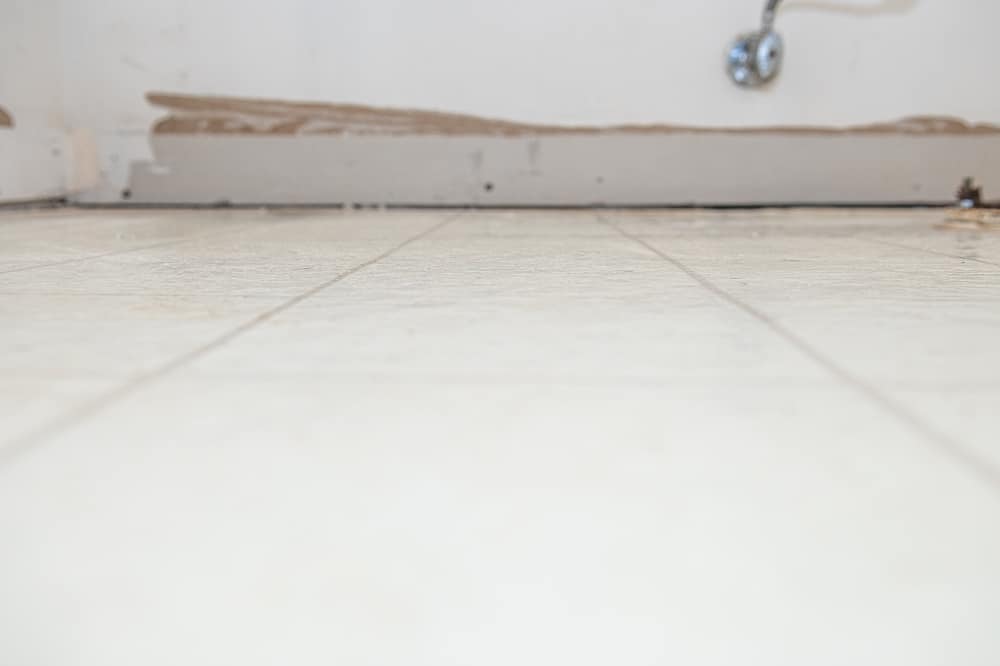
Make sure the height of the flooring will not cause a problem. Vinyl flooring is usually 12 mm or thinner so this usually is not an issue.
It’s always best to check to make sure the height of your flooring/sub-layer will not cause a height problem around doors, flanges, and baseboards.
Is the subflooring level? Even if the linoleum or vinyl flooring is adhered well, the flooring underneath needs to be sufficient. Soft, thin or damaged subflooring can flex or shift too much causing tile and/or grout to crack over time.
Remove old vinyl or linoleum flooring if it was made before 1990, it may contain asbestos. In fact, asbestos is a cancer-causing chemical and should not be handled. If you’re not sure, please have it tested.
Preparing Flooring for Installation:
If you choose to lay tile over linoleum flooring , there are a few preparations to make before starting.
You need to clean the old flooring to make sure it’s free of waxes, sealers, and debris.
You also need to consider that some vinyl flooring is very smooth. This makes it a poor surface for adherence. You’ll need to rough up the surface layer to improve the mortars ability to chemically bond to the old flooring.
To do this, sand the surface with rough (80-100 grit) sandpaper using an orbital sander.
Tile over flooring that has cushioning or a foam back. This will not provide a stable subfloor. Only tile over vinyl or linoleum that is a single application.
If there’s any question of the integrity of the flooring to be tiled, adding a sub-layer is always a safe option. While this isn’t directly adding tile over linoleum flooring, it does eliminate the need to remove the old flooring.
Adding a sub-layer will create a more balanced surface and improve adhesion of the mortar to the tile. However, if there’s any possibility of the old flooring being incompatible, it’s best to add a more suitable sub-layer.
Lay tile over old linoleum flooring as long as the floor is stable and level. Save yourself time and energy!
{Note: this post contains affiliate links. This means that I will make a small commission – at no additional cost to you – if you make a purchase using my links.}
Thanks you for supporting my blog!
PREPARING THE FLOOR:
To begin, you’ll need to remove all dust, dirt or residue before applying the thin set mortar. Ultimately, You want to optimize bonding ability of the mortar to the old flooring. In short, this means cleaning the floor thoroughly.
If your laminate or vinyl flooring was made after 1990, you might want to sand it to help roughen the surface. The rougher the surface the more likely it will create a good bond. Once sanded, make sure you clean up all the residual dust with plain water. Then you will need to let dry before moving on.
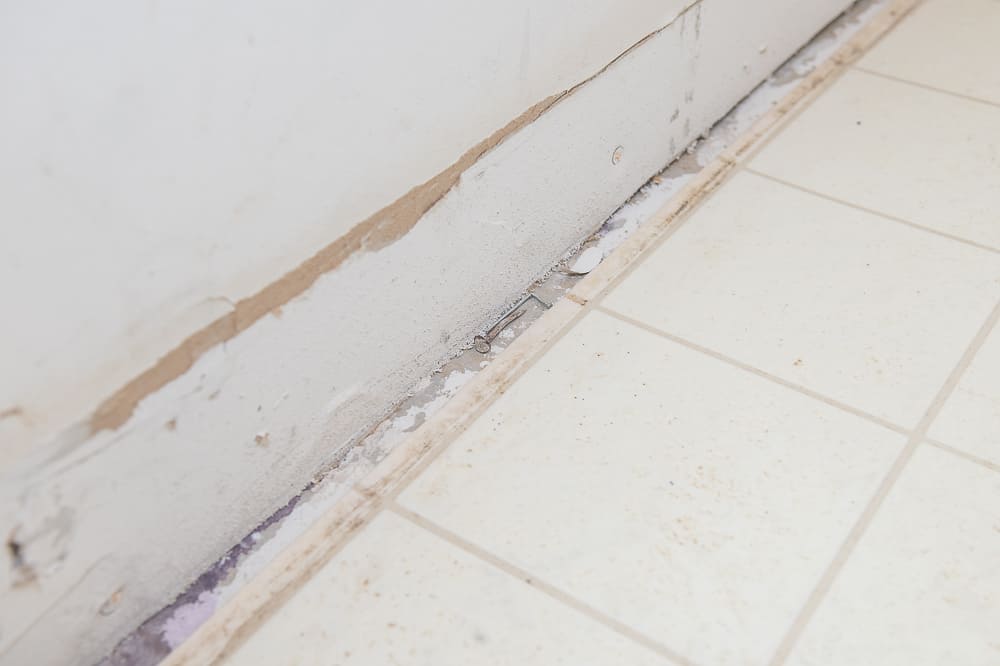
Before tiling, make sure to remove your baseboards. Take precaution to remove all nails and caulk residue from the walls and floor before continuing.
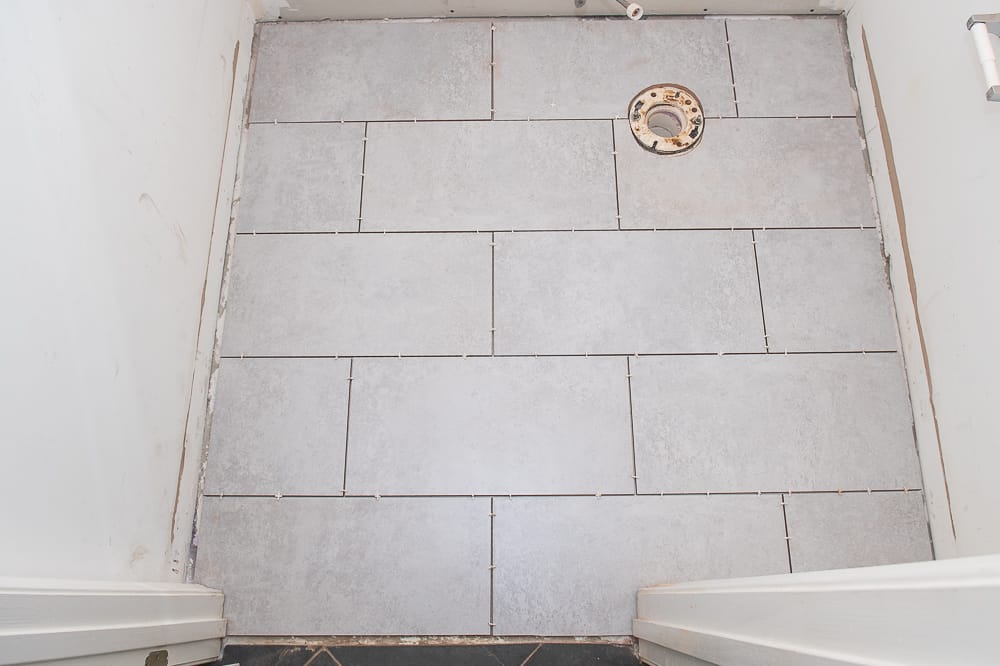
DRY LAY YOUR TILE:
Laying out your tile before starting your installation will help your troubleshoot any difficult cuts. The goal is to avoid small tile cuts and an unbalanced floor plan.
To do this, measure the room and find the center point. Next, place your key stone tile in the center then start laying down your tile pattern. If you need to make adjustments, this is the time to do so. Dry laying your tile also gives you tile to cut your tiles without the pressure of your mortar drying out.
Start tiling without dry laying the tile first. You run the risk of having an unbalanced tiling pattern. Also, you won’t be able to work fast enough and your mortar will dry out.
TROWEL ON THIN SET MORTAR:
Mix your mortar, using a large bucket and a mixer. I recommend putting your water in the bottom before you add your powder.
You will want to make sure it’s thoroughly mixed through. The consistency should be that of peanut butter.
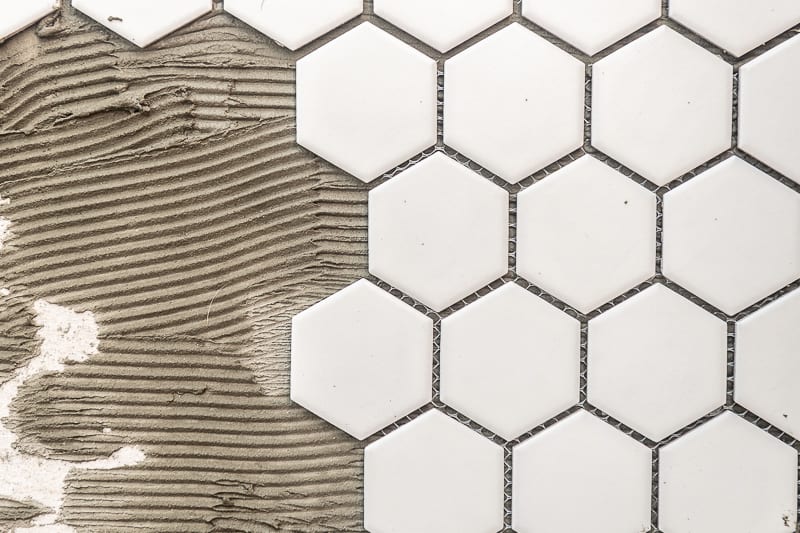
Apply a thin layer of thin set mortar adhesive using a notched trowel. To do this, first key in some mortar into the flooring using the flat end of the trowel. Next, using the notched side of the trowel at a 45 degree angle, comb the mortar in straight lines – always in a single direction. Eventually, these grooves will collapse and create a strong adhesion to the tile once applied.
Occasionally, you should lift a tile to make sure you have adequate coverage during you tiling process. Also, remember to work quickly because the mortar will dry quickly.
This YouTube video really helped me understand how to trowel mortar correctly to insure the best installation.
Add water to your drying thin set mortar. Adding water to drying mortar will affect the strength of the mixture and eventually cause it to fail.
Consequently, only mix as much mortar as you can use in a short amount of time.
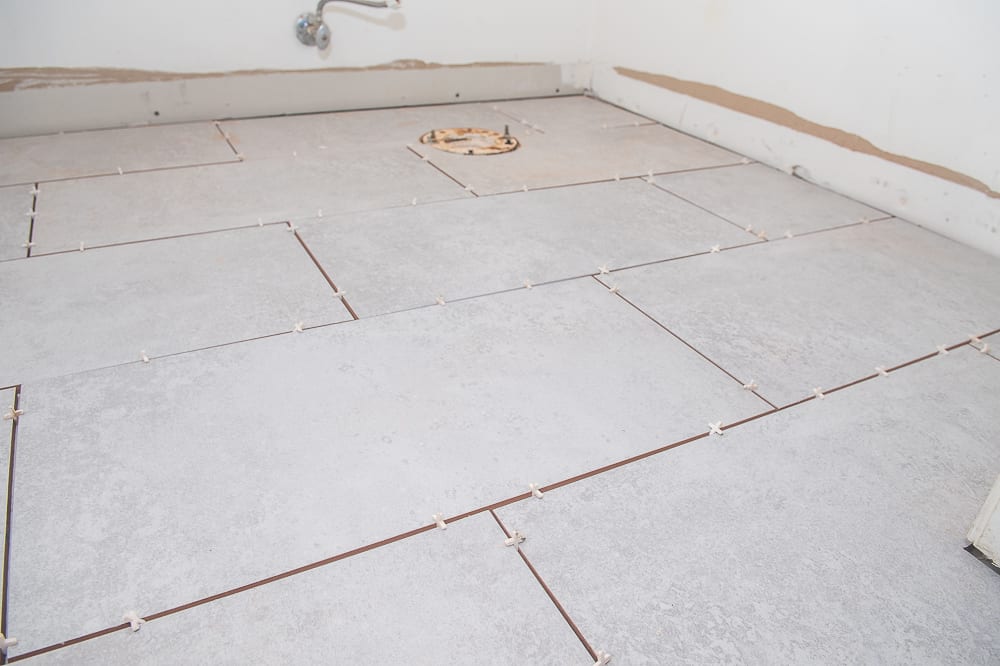
LAY THE TILE:
Gently press the tile into the mortar, making sure to rock it side to side, across the trowel ridges, at least a 1/4″ to either side. This encourages the best coverage and minimizes air pockets under the tile, which can cause the tile to crack in the future.
Using a large bubble level, check to make sure the tiles are level as you go. If needed, adjust unlevel tiles by gentle tapping the tile using a rubber malletand recheck.
To ensure even grout lines, use tile spacers between each tile. Tiles can shift as you work so using spacers minimizes the risk of them being irregular.
If you are new to tiling, I recommend using tile leveling spacers that not only provide even spacing between tile but also help with correct leveling or each tile. If you are nervous about having even grout lines or level flooring, I would consider using these.
Check what size trowel notch to use for your size tile. This will affect the coverage and thus your adhesion of the thin set mortar.
General rule – mosaic tile requires “v” 1/4″ notches, 16 inch tile needs 1/2″ “u” notches, anything larger needs 3/4″ “u” notches. Use this chart for reference.
GROUT THE TILE:
After letting the mortar dry for at least 24 hours, it’s time to grout.
Mix your grout as recommended on the package. Make sure you let your grout rest or “slake” before using, approximatly 10 minutes.
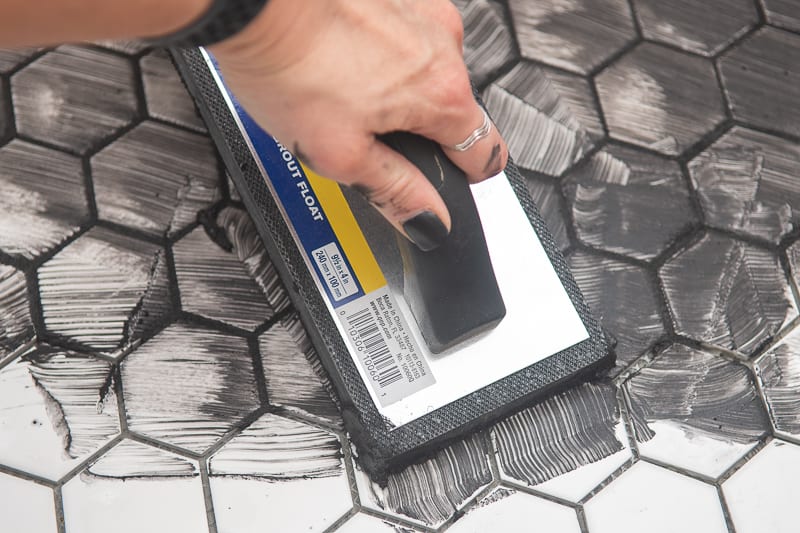
Using a rubber float, push the grout into the seams. Work in small sections, pushing the grout into the seams at a 45 degree angle. Using the long edge of thee float, remove any excess grout before moving to the next section.
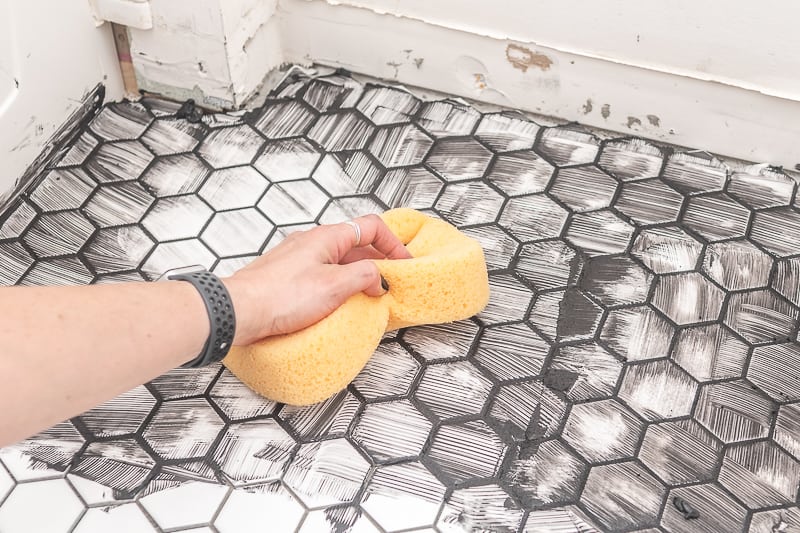
After 30-45 minutes of curing, use a slightly damp sponge to wipe the excess grout off the tile. In doing so, make sure to not add any extra moisture into the grout. Therefore, sure you’re rinsing your sponge often and really wring out.
Let your grout “slake” for 10 minutes before using.
This allows the chemical bonding to begin. If you skip this step, your grout will most likely chip and crack.
WIPE UP THE GROUT HAZE:
Grout haze is a bi-product of grouting. Typically, you should wait 24 hours before attempting to remove any grout haze off the tile. By the same token, I recommend referring to your grout packaging for specific time tables.
Finally, to remove the haze, use a microfiber or cheese cloth and some water – in circular motions, scrub the surface of the tile. This reactivates the grout and helps remove it from the surface of the tile. To help remove stubborn grout haze, you can also use distilled vinegar or a commercial product.
SEAL THE GROUT:
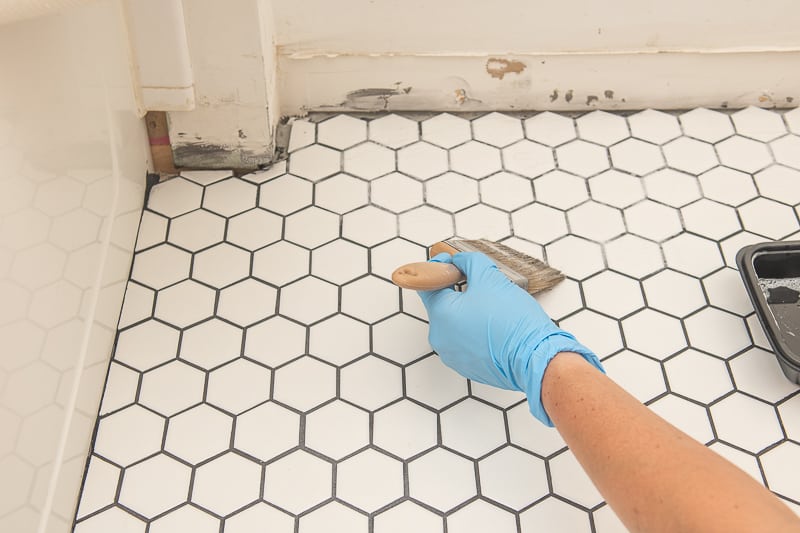
Once the grout has fully cured, usually for 2-3 days, I highly recommend sealing it before use. If grout is not sealed it will absorb water and dirt causing it to weaken over time. At this point, I highly recommend taking the time to seal it.
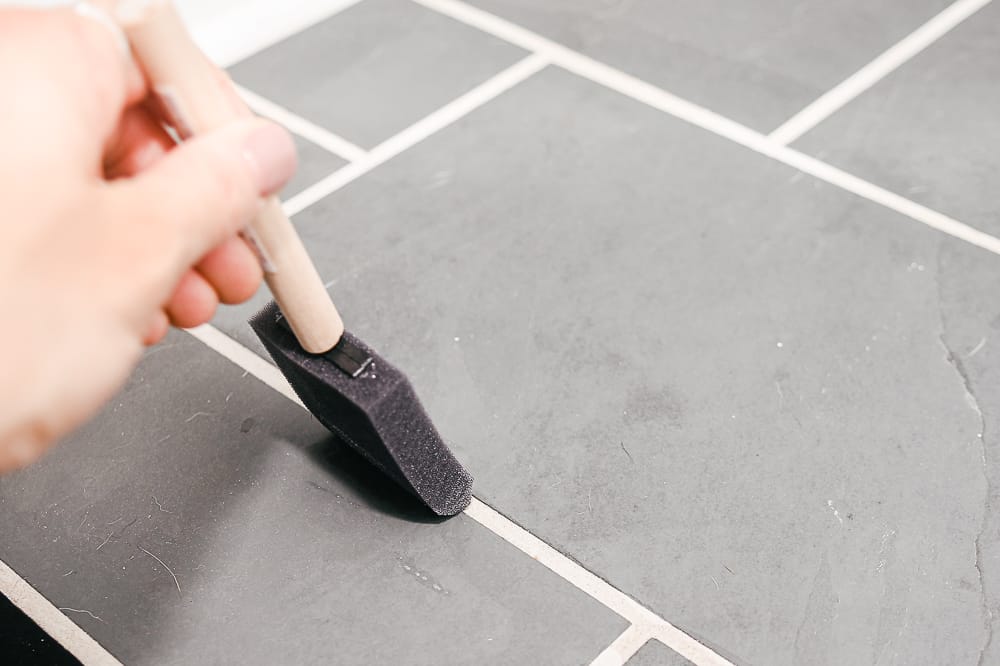
Using a foam brush, old brush or bottle applicator – apply your grout sealer to your grout lines. Let rest for 3-5 minutes and then wipe up with a towel. That’s it!
Well, there you have it.
The answer is YES! You can install tile over linoleum or vinyl flooring.
This can save you time and effort when upgrading your floors in your home, and who doesn’t want more time or energy?
Thanks for visiting my little piece of the internet!
I’m Maria, a lover of furry things, coffee and anything creative. This blog is where I love to share affordable home decor ideas, great DIYs, yummy recipes, unique crafts and so much more.