Did you know it’s important to seal your grout? If you’re anything like me you’re thinking “whoa, wait… what? Let’s rewind.” Maybe I should start with asking, did you know you had to seal you grout? YES! It’s a thing… who knew?
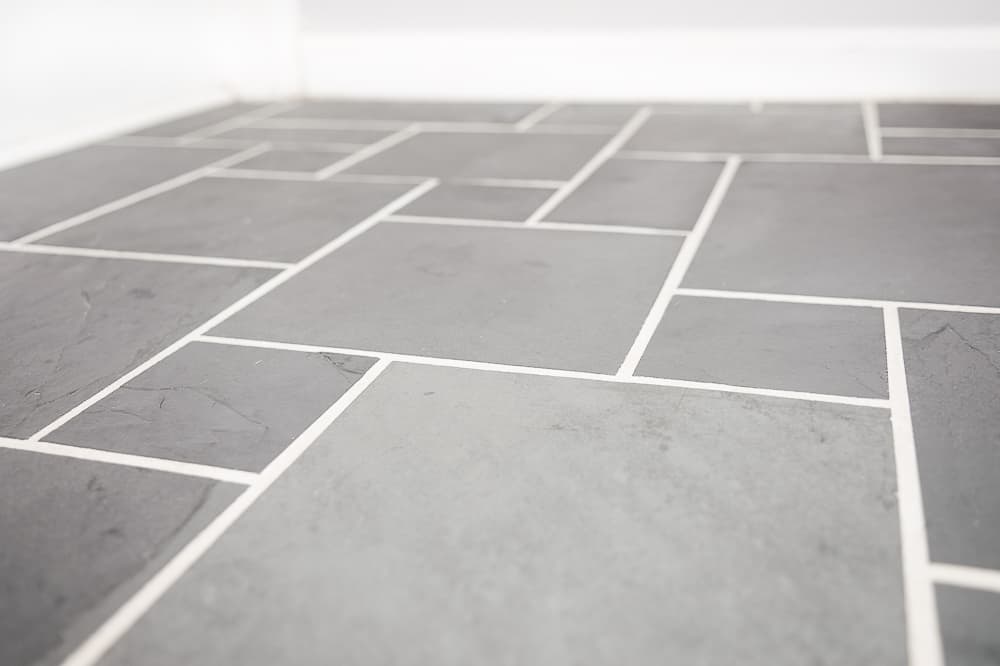
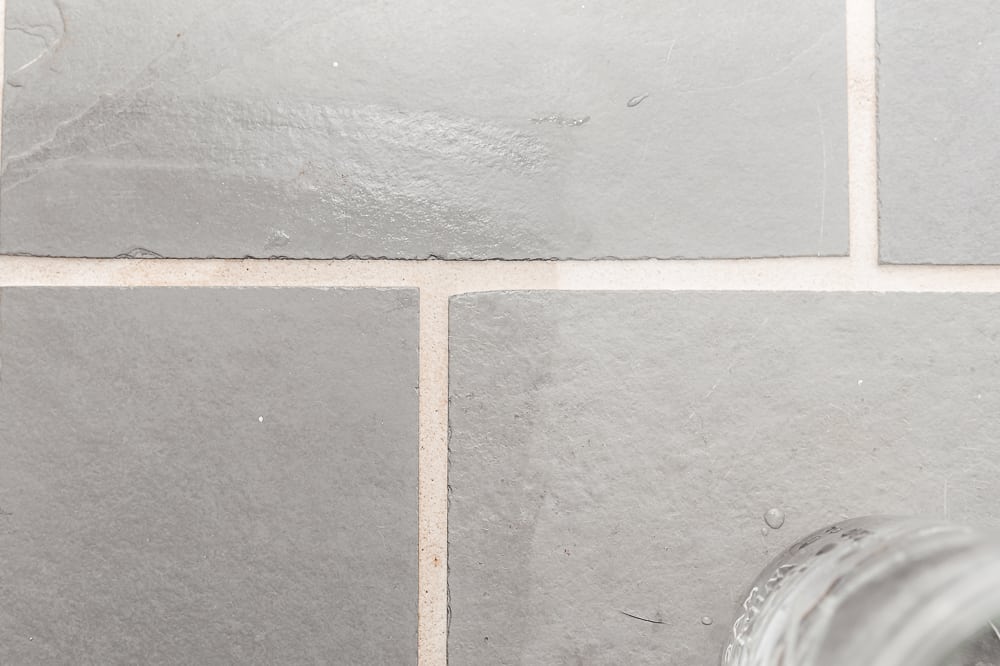
Grout is a very porous material that can absorb water, dirt and debris. If not properly sealed, grout can harbor mold and bacteria that can be harmful to you and your home.
Not only do you need to seal your grout, you need to re-apply sealer (sometimes even yearly) to preserve the grout lines in your home.
Why You Should Seal Your Grout
Most grout is cement based, which makes it very porous. Grout sealer helps make the grout more water resistant, aiding in it’s longevity and minimizing its ability to become stained and dirty. Since grout is a cement based compound, the more water that interacts with it, the weaker it will become. This leads to cracking and crumbling over time.
... One Exception
There is only one exception to this rule: You do not need to seal epoxy grout. Epoxy grout is often used with less porous tile, such as glass, and is more water resistant that cement based grout. The means it’s less likely to crack and decay and is also less likely to stain. This is why it is often used in bathrooms and on backsplashes, when appropriate.
This also goes for grout that has been re-colored with an epoxy based colorant. Grout colorants in themselves are water resistance and help preserve the established grout. Adding grout sealer to this type of colorant application will only do more harm.
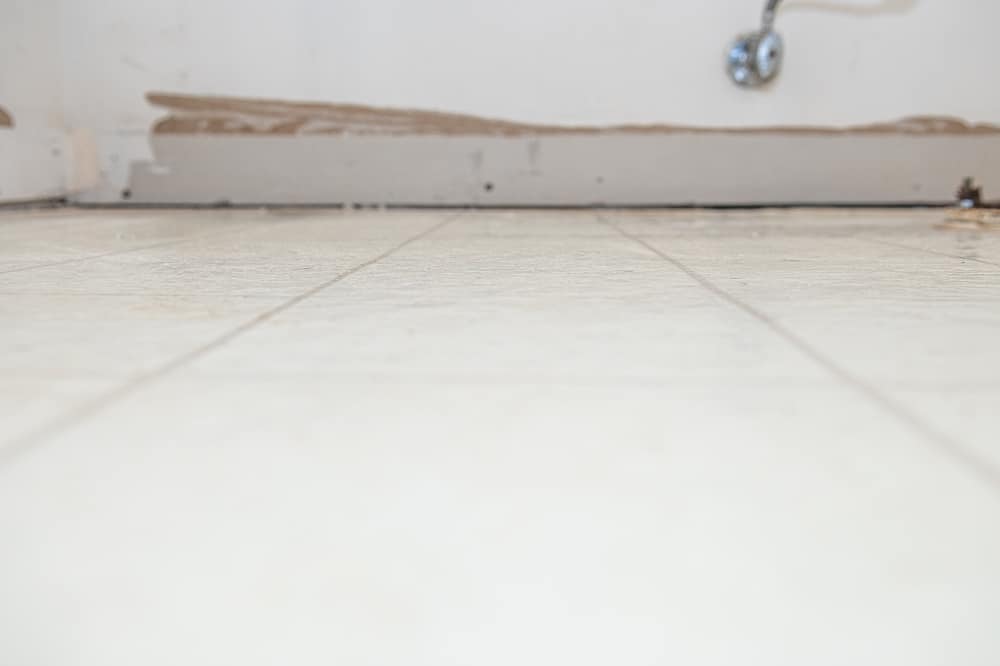
When to Seal Your Grout
Since gourt is so porous, it is important to seal it immediately after it’s cured. Grout sealer should be applied approximately 48-72 hours after installation. This will ensure it is safely protected before being used.
With that said, you also need to re-apply your grout sealer yearly, especially in high traffic areas. However, never apply grout sealer to unclean surfaces. You do not want to seal in contaminants and dirt. In gently used areas, it is reasonable to reseal the grout every 3-5 years.
Which Grout Sealer to Choose
There are two types of grout sealer – penetrating and non-penetrating. There are two things that determine which grout sealer you should use, the type of grout you have and the location of the tile.
Penetrating Grout Sealers
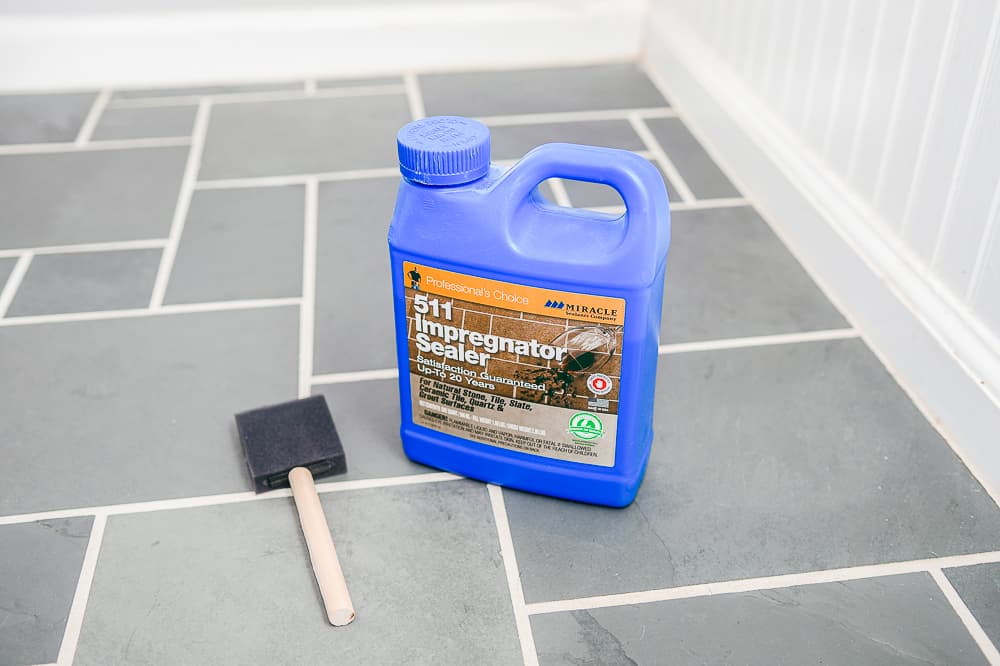
Penetrating grout sealers are water based and can be quickly absorbed into the porous grout easily, making it water resistant. Penetrating Grout Sealers are great to use in bathrooms and showers because of the constant interaction with water. One of the best penetrating grout sealers on the market is StoneTech Bulletproof Sealantavailable on Amazon.com. One of the best grout sealers found at your local big box store is 511 Impregnator Tile Sealer by Miracle Sealants.
Membrane Forming Grout Sealers
Membrane forming grout sealers create a coating on the surface of the grout, acting as a water resistant barrier. This type of grout sealer is perfect for backsplashes. Keep in mind, membrane forming grout sealers do not allow moisture from underneath to evaporate causing mildew to build up. Additionally, beware this type of sealer should only be applied to natural stones that allow adherence. Glass, poreciline, and most glazed tiles will simply slide off the tile over time.
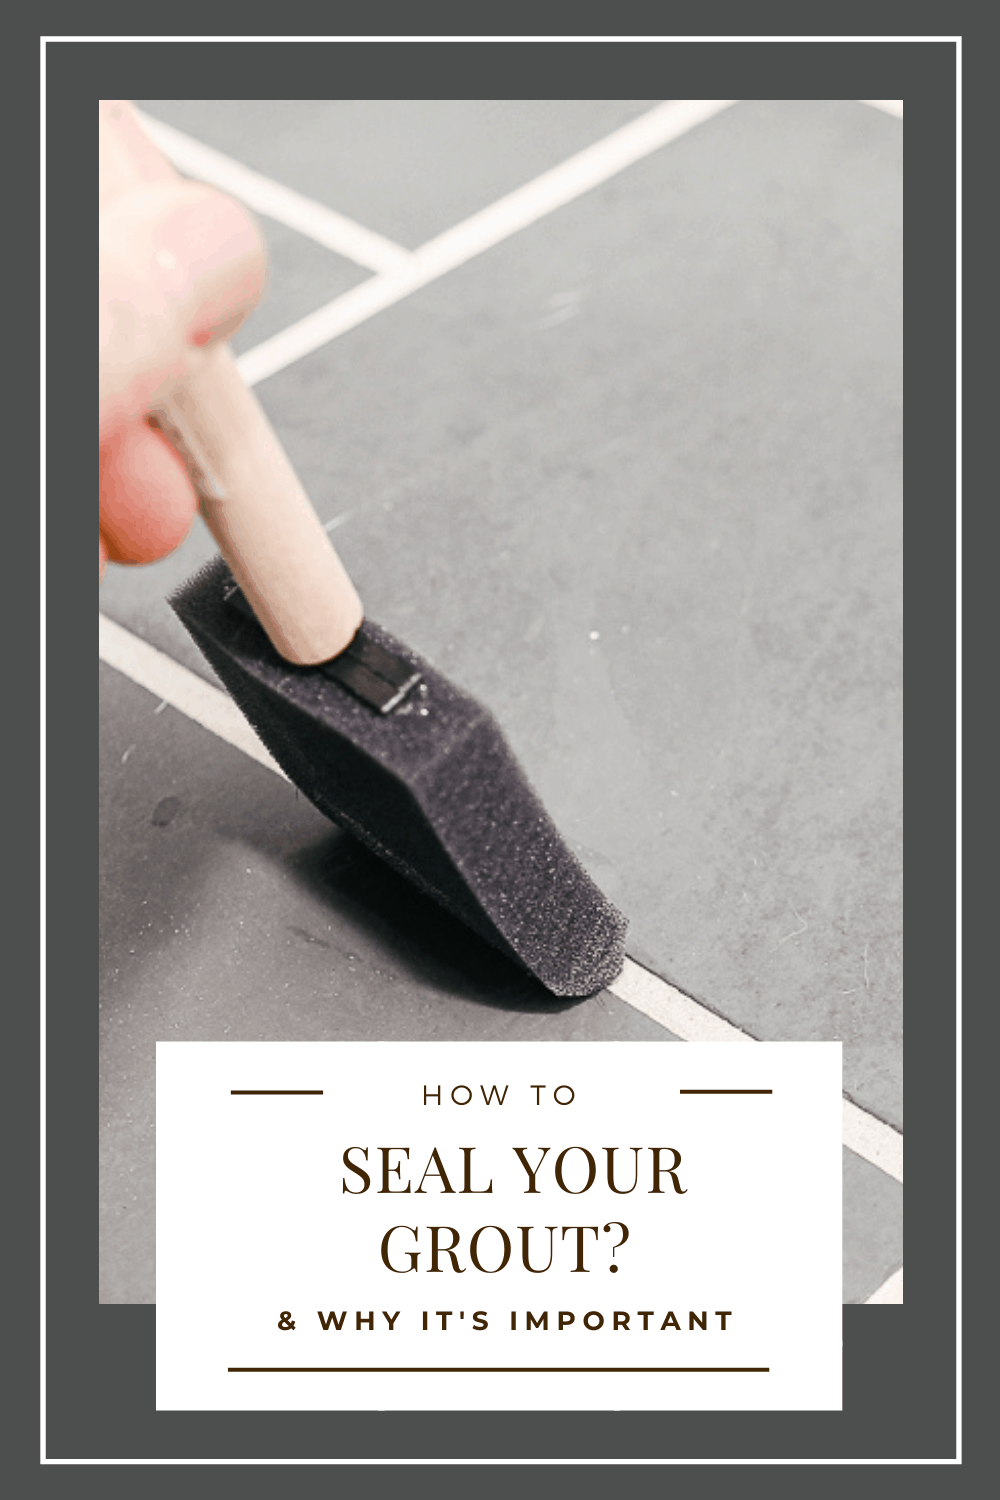
The Best Way To Apply Grout Sealer
There are a few different ways people recommend applying grout sealer. The three most common types of applications are – roll, spray, or paint.
Rolling is exactly as it sounds. Using rollers to apply the sealant to the grout while not overlapping onto the tile. This will help you save tile cleaning up your tile and residue. While not the perfect application, many professionals choose this method to the others due to more even application. A roller bottlemake the application process a breeze. Using asmall foam roller you can save time when sealing grout as well as natural stone.
Spraying tends to waste a lot of product and doesn’t ensure a good application. You will spend a lot of time cleaning the tile and it is also more likely to leave residue. It’s simply more work than you need to do to fully seal your tile.
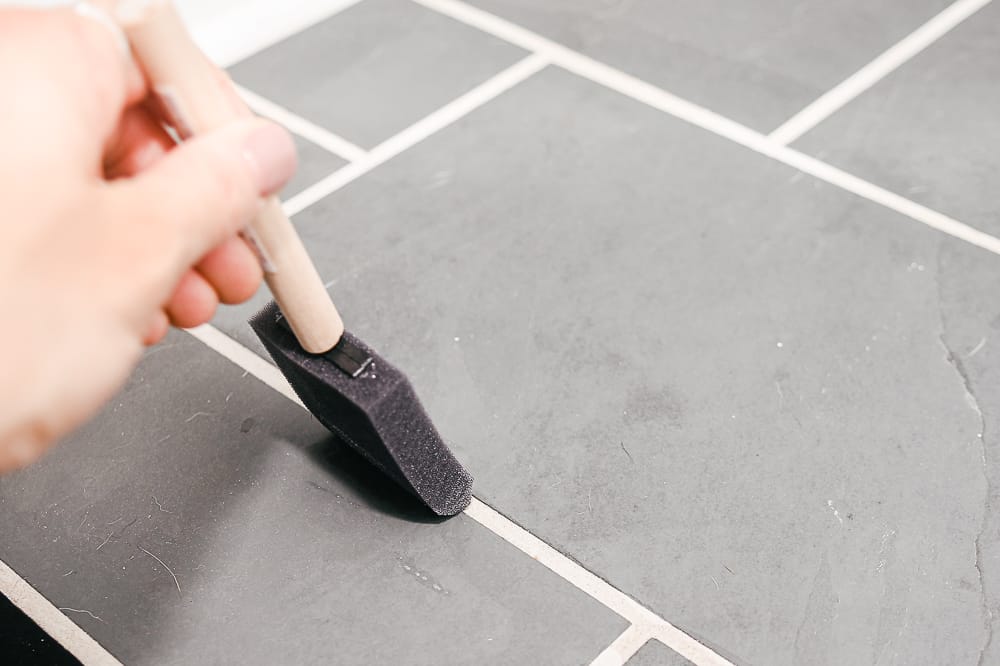
Painting using a paint brush or bottle brush can be time consuming and depending on your grout lines, will cause you to have uneven application. However, I personally prefer to apply grout sealer using a foam brush. It’s a combination between foam rolling and brushing using a paint brush. Use my trial and error knowledge to your advantage!
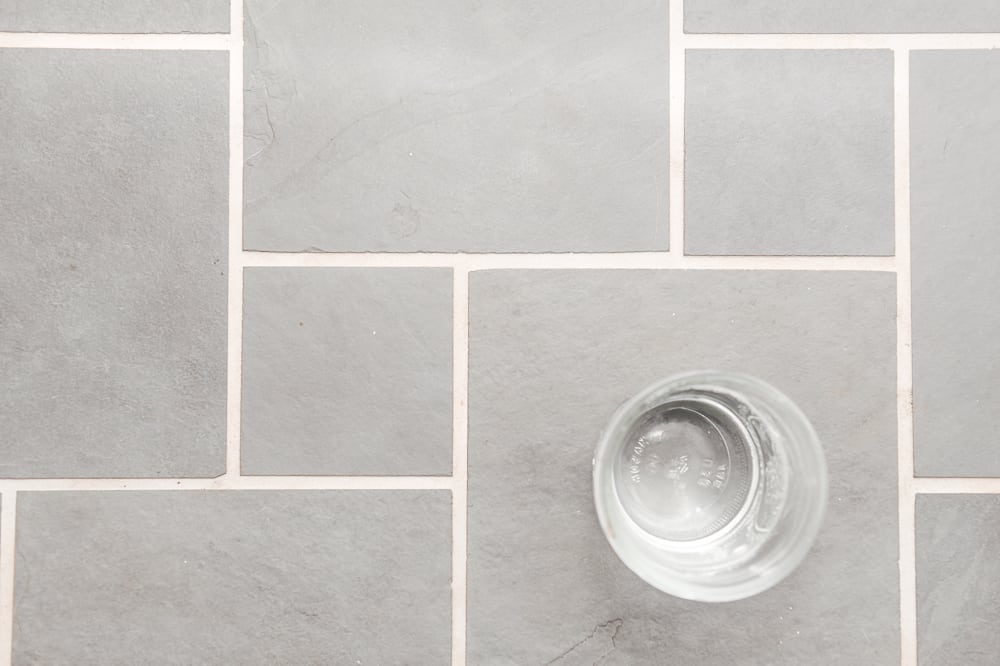
Take the time now to repair any loose grout and fill in any chips or cracks. Once you’ve done this, give your grout a good scrub. You want your grout as clean as you can get, otherwise you seal in the dirt and mold. Gross. Using a toothbrush and a (50:50 vinegar water solution) cleaner, scrub each grout line clean!
When you’re finished cleaning, let fully dry before moving on, usually an hour in a well ventilated room.
As I’ve said before, new grout needs to rest 48-72 hours before applying grout sealer.
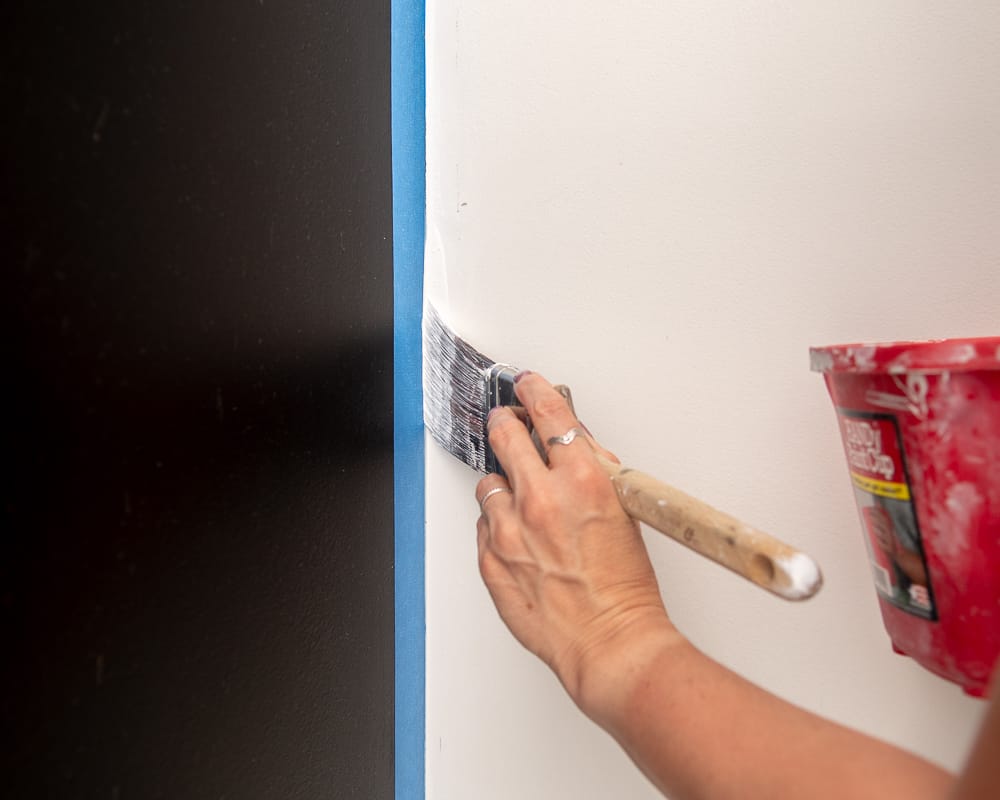
Step 2: Apply to Vertical Surfaces First, Then Flooring
You should consider sealing backsplashes and walls first. Once grout sealer is applied, you cannot walk on the surface for a minimum if 3 hours. This just helps workflow.
Using a foam brush, roller or applicator tool, apply a generous amount of sealer to your grout lines. You want to make sure your application is even an penetrating the grout. Also, during application make sure to avoid getting sealer on the tile – unless you have natural stone and want to seal the stone as well.
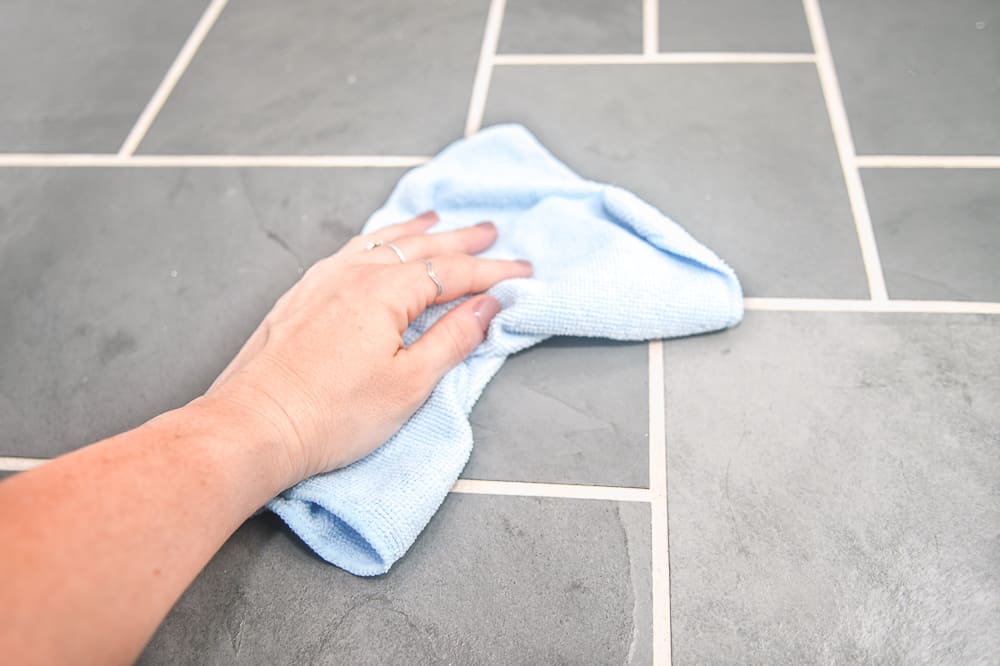
Once applied, let the sealer rest for 5-10 minutes then wipe off any excess using a microfiber towel. Also, make sure you work systematically, I recommend working left to right, to make sure nothing gets overlooked.
Step 3: Apply A Second Coat
It’s typical to need 2-3 applications to have adequate coverage. With that said, after letting the first coat dry for approximately an hour, repeat the application process.
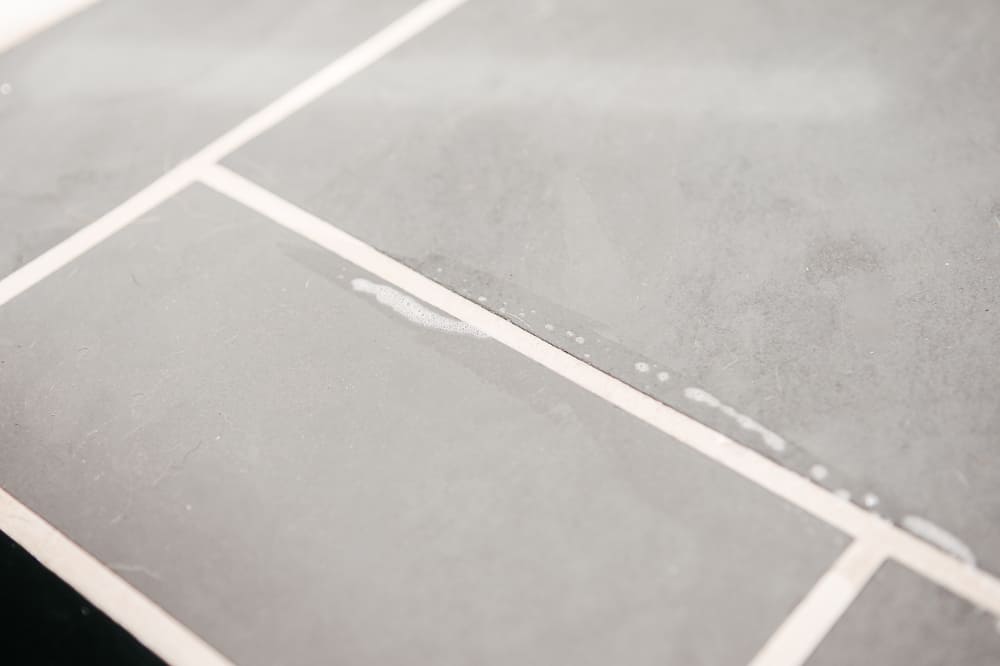
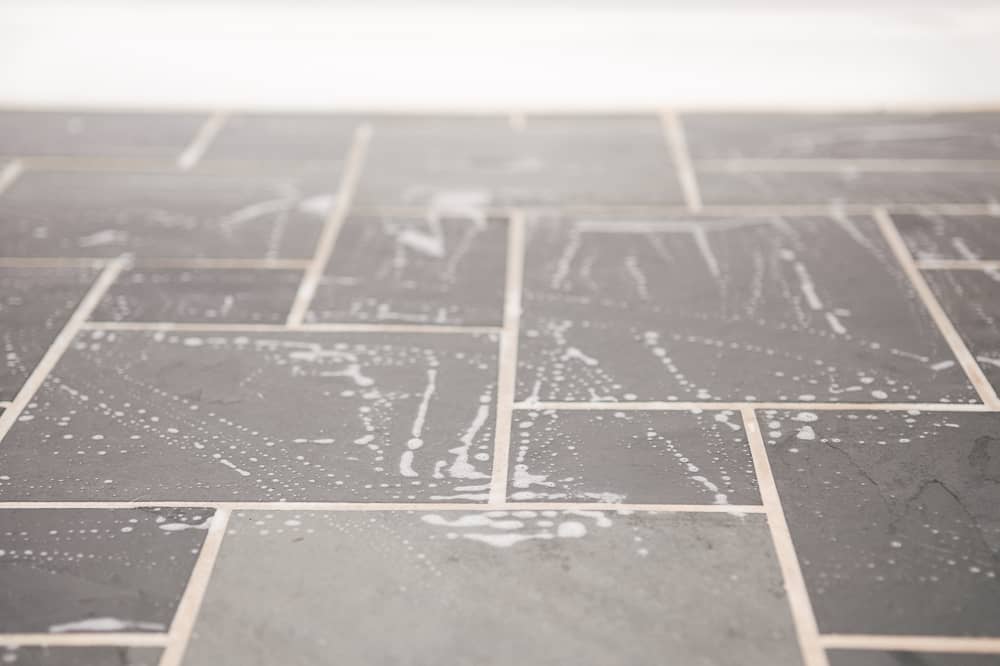
Once you feel you have full coverage, test it with a few drops of water. They should immediately beed up and remain on the surface of the tile. I recommend doing this in a few different areas.
If the water does not bead up, apply another coat.
Step 3: Wipe off Any Haze
Once you’re done your application process, make sure to go back and wipe down any residue left on the tile. If there’s any residue, you should be able to see a light haze. Using a cheesecloth or a microfiber cloth in a circular motion, remove any haze that may be left over.
Step 4: Let Your Grout Sealer Fully Cure
This window of time is determined by the manufacturer of the sealer you choose. Some sealers may take 24 hours to fully dry, some 48 or more.
While your sealer is drying make sure to keep it off limits. While this is a hassle, just remember this till help make cleaning a breeze in the future so it is worth it.
How Do You Know When It's Time To Reseal Your Grout?
This is an easy question, when water no longer beads on the surface of your grout, it’s time to reseal it. You may also notice you grout is getting dirty much quicker or becoming moldy quickly. In addition, if when you wet the grout, there is a noticeable absorption of moisture into the grout, this is also a strong indicator that it is time to reseal your grout lines.
High traffic areas like bathroom floors and showers need to be reapplied yearly. Less used or trafficked areas may need it every 3-5 years.
Well, there you have it. All you ever needed to know about grout sealer and why it’s important to seal your grout.
7 thoughts on “How to Seal Grout: Why It’s Important”
Kelley
Is there any type of grout that should NOT be sealed in a shower? We have been told not to do it, and that doesn’t seem right to me. We used Mapei Flexcolor CQ.
I’m not certain I’m aware of a grout that is not to be sealed! If you’re unsure of the brand of grout you have, I would say seal it! It cannot hurt. It’s just a waterproof barrier.
I have a job consisting of the exact same gray stone tile in the pics along with the exact same size spaces in between so this is helpful to me. I would like to seal the tile since it is very porous. Which sealer and how do I apply to the tile itself?
I’ve used a dry microfiber cloth, but if you’re having a little difficulty a slightly damp cloth can help remove any partially dry grout. Don’t get it too damp because you don’t want to introduce too much water to the grout, it’ll cause it to be crumbly and not cure correctly!
Thanks for visiting my little piece of the internet!
I’m Maria, a lover of furry things, coffee and anything creative. This blog is where I love to share affordable home decor ideas, great DIYs, yummy recipes, unique crafts and so much more.


7 thoughts on “How to Seal Grout: Why It’s Important”
Is there any type of grout that should NOT be sealed in a shower? We have been told not to do it, and that doesn’t seem right to me. We used Mapei Flexcolor CQ.
Kelley,
I’m not certain I’m aware of a grout that is not to be sealed! If you’re unsure of the brand of grout you have, I would say seal it! It cannot hurt. It’s just a waterproof barrier.
Thanks for reading!
Cheers,
Maria
I have a job consisting of the exact same gray stone tile in the pics along with the exact same size spaces in between so this is helpful to me. I would like to seal the tile since it is very porous. Which sealer and how do I apply to the tile itself?
This sealant is the “best on the market.” I’ve also used this sealant from the local big box stores.
I apply with a sponge applicator. See the article for exact details!
Hope you love this time as much as I do.
Cheers,
Maria
Is step 3 a damp or a dry cloth?
Thanks!
RK,
I’ve used a dry microfiber cloth, but if you’re having a little difficulty a slightly damp cloth can help remove any partially dry grout. Don’t get it too damp because you don’t want to introduce too much water to the grout, it’ll cause it to be crumbly and not cure correctly!
Happy DIYing!
Cheers,
Maria
Pingback: How to Choose The Best Pet Friendly Flooring • Maria Louise Design