Simple DIY Pon Recipe That Willl Keep Your Houseplants Happy

Pon is a high-quality, mineral-based soil substrate that provides excellent drainage, ensuring optimal root aeration. Using pon helps plant roots stay healthy and strong. The best part is, you can make your own pon at home. This saves money and allows you to adjust the mix to your plants’ needs. Follow this step-by-step guide to create your own DIY Pon Recipe, helping you save money while ensuring your plants thrive!
a beautiful alocasia planted in pon growing medium

WHY HEALTHY ROOTS MATTER

We all know healthy roots are key to a thriving plant, but I found myself struggling to keep my fickle plants happy. This is the main reason I started using pon with many of my plants.
 
Pon helps by giving roots good airflow, drainage, and a steady environment, which lowers the risk of root rot and overwatering. When you make your own mix, you give your plants the best start and choose every ingredient yourself.

DIY PON RECIPE: WHAT YOU NEED

To make your own DIY Pon, gather these ingredients:
  1. Zeolite: Helps with airflow and holds nutrients. Shop for Zeolite
  2. Pumice or Perlite: Improves drainage and keeps the mix loose. Get Pumice Here | Try Perlite Instead
  3. Lava Rock (Volcanic Rock Grit, 2–4mm): Adds weight and extra drainage. Buy Lava Rock
  4. Stratum: beneficial to nitrifying bacteria, optimizing pH. Shop for Stratum
Tip: Rinse your minerals before using them to wash away dust and residue.

{Note: this post contains affiliate links. This means that I will make a small commission – at no additional cost to you – if you make a purchase using my links.}

Thanks you for supporting my blog!

MIXING INSTRUCTIONS

  1. In a Large Container Add the Ingredients:
    • 1 part Zeolite
    • 2 part Pumice or Perlite
    • 1 part Lava Rock
    • 1 part Stratum
  2. Mix all Ingredients well.
  3. Before Use, rinse the mix to make sure it’s clean and free of dust.
a hand holding a cup of DIY Pon containing white, green and black substrate
When you’re ready to use the pon, make sure to pot your plants in a semi-hydroponic or self-watering pot. These pots are designed specifically for mineral substrates like pon and help maintain the perfect balance of moisture and air for your plant roots.

HOW TO USE YOUR DIY PON

When moving your plant from soil to your new DIY pon, start by carefully removing as much old soil as possible from the roots. Rinse the roots with lukewarm water to get rid of any stubborn dirt—this is important to prevent any root rot from occurring as it adjusts to the new medium.

Next, grab a clean semi-hydroponic or self-watering pot with a water reservoir. Add a layer of your DIY Pon to the bottom, then set your plant on top, spreading out the roots as much as you can. Gently fill in around the roots with more pon, making sure the mix settles between the roots with no big air gaps.

a green and white plant being held up to the camera in a black pot

Once your plant is secure in the pot, fill the water reservoir and water the Pon thoroughly. If you’re using a self-watering pot, check the water level indicator and keep it within the recommended range. Pon holds moisture really well, so wait to refill until the reservoir is low. This way, your plant’s roots will always have the right balance of air and water.

HOW TO STORE YOUR DIY PON

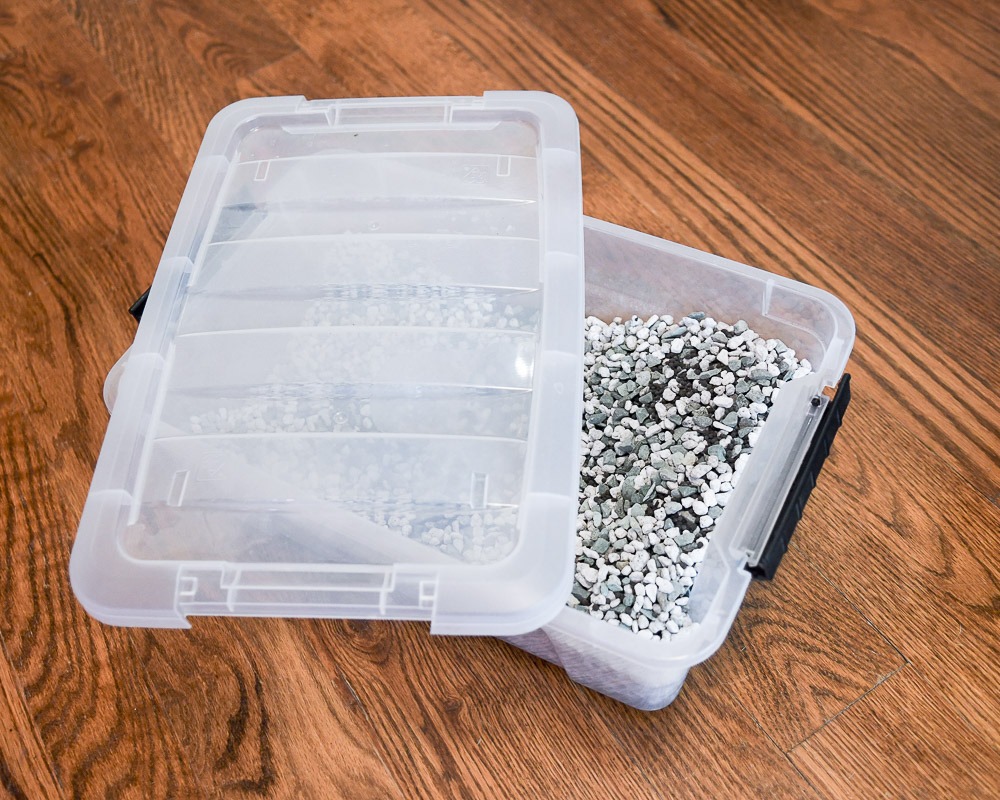
After mixing your DIY Lechuza Pon, store it in an airtight container or heavy-duty storage container to keep out moisture, pests, and dust. Label the container and keep it in a cool and dry place—such as a closet or cupboard. 
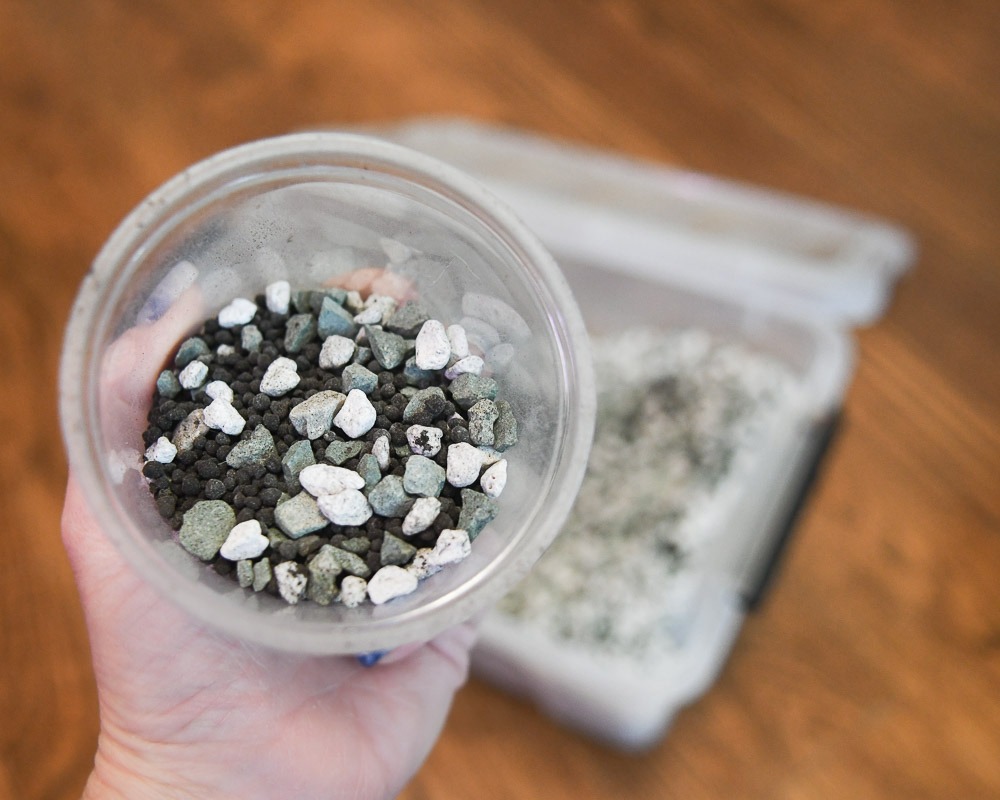
Always scoop out what you need with something clean to avoid introducing moisture and or other contaminants.
a transparent container on hardwood floor containing plant substrate called pon

Making your own pon mix saves money and lets you know your plants are getting the best care. Healthy roots mean lush, vibrant houseplants. 

Give this DIY pon recipe a try and see the results for yourself!


Cheers,

RELATED POSTS:

Leave a Comment

Your email address will not be published. Required fields are marked *

DON'T MISS
ANOTHER POST

Be the first to know about new projects & updates with monthly recaps delivered straight to your inbox.