
How to Paint Wood Floors: Everything You Need to Know
Have you ever to learn how to paint wood floors? The first time I saw beautifully painted floors, was when the veteran blogger Liz Marie Galvan painted hers. I admire her bight spaces and I figure if her floors have survived the farm life… why not give it a try!
Recently my mother and I moved to a 14 acer farm (I share all the details here.) Before moving my furniture in I wanted to tackle the little flooring situation in the master bedroom.
The situation was the floors were the worst color finished in high gloss polyurethane. GROSS! Not really the “farmhouse decor” look I had envisioned.
With that said, brand new flooring wasn’t really in the budget at the moment. I needed a quick solution. I knew this would be my opportunity try out painting the existing wood floors.
To replace the flooring would be a major expense and to refinish would be time consuming or costly as well. For this reason, painting the existing hardwood floors seemed to be a quick, inexpensive solution.
Let me walk you through my process of how I painted my wood floors. Keep in mind, I’m not an expert, but I’ll share what I’ve learned along the way!
PRICE
$75+
TIME
1 Day
DIFFICULTY
Easy
WHAT YOU'LL NEED
SUPPLIES:
- Primer – recommended to use this
- Porch & Patio Paint
- Tape
- Sandpaper – 100 grit
TOOLS:
- Palm Sander
- Roller
- Extender Poll
- Paint Brush
How to Prepare Your Floors
Sanding
First off, how you prep your floors really depends on their condition. Take this time to really thoroughly clean and degrease your floors. Also, now is the time to make any repairs if needed.
Previously finished floors, polyurethane, stain or paint, may need to be sanded to help adhesion.
The floors were previously finished with a high gloss polyurethane, so I used my palm sander to rough them up. Generally speaking, the goal wasn’t to remove all the finish, but to improve adhesion of the paint to the surface of the wood. I used this sander and 100 grit sandpaper. Just a few passes did the job.
After sanding, you’ll need to thoroughly clean up the dust and debris. I vacuumed and used a damp rag to collect all the fine dust. You won’t want that gunking up your paint job!
Primer
If you decided to skip sanding, you better not skip priming. Priming wood before applying paint is really important for a few reasons. Let me explain.
For starters, primer helps fill in any imperfections giving wood a smoother finish. Additionally, it acts as a glue-like base to help the top coat of paint adhere properly. This will also minimize chipping and uneven wear and tear over time. Lastly, primer seals unfinished wood to help minimize patchiness of the top coat.
Personally, I recommend looking up what type of primer is recommended with the paint you decided to use. I used this primer, which was recommended to me by the paint experts. Honestly, I really think this is the reason these floors turned out so well.
I did two coats of primer, giving 30 minutes between coats (as the product recommends.) It was quick to go on and quick to dry. Definitely do not skip this step in painting your wood floors.
Finally, it was time to get painting. Yay!
How to Paint Your Wood Floors
Now, I had intended to use Benjamin Moore Porch Paint however, I could not find a store that sold it within 100 miles of me. Bummer. At the time, shipping was crazy expensive, so I needed another option.
With that said, I decided to give Behr Porch & Patio Low Luster Enamel Paint a chance. It’s a 100% Acrylic latex paint that was designed for indoor or outdoor high traffic flooring. Thankfully, Home Depot offers color matching technology, so I was able purchase paint in my chosen color, Benjamin Moore’s “Dove Wing.”
After letting the primer dry completely for an hour, I started painting. Not only is this paint thick, it covers really well. The application was easy, and if I’m being honest, I was really impressed!
In no time I managed to roll the entire 200 square foot room (just in under 30 minutes.) After the first coat, I waited 1 hour and then did another coat. Overall this paint covered well and dried just as fast.
On the positive side there’s little to no odor from this water-based paint. Additionally, clean up was a breeze.
I want to highlight that Behr recommends 4-6 hours in between coats. I knew I wanted more than one coat so once the first coat was dry, I started my second coat. I have no patience! In hindsight, I don’t think it affected the outcome at all.
In the end, you decide what is best for your project.
Keep in mind, Behr recommends 30 days before the paint is fully cured. However, Behr does indicate you can introduce light traffic as sooner. With that said, I waited one week before introducing furniture, but started walking on the floors within 12 hours without any issues. Dogs included, which was impressive.
PRO TIP: Before you start to paint your wood floors, plan your "escape route." Make sure you are painting your way OUT of the room. This is often overlooked and will cause problems with your application once you start.
To Seal or Not to Seal
This was certainly not as easy decision and I really debated on whether to seal the floors or not.
With that said, if you are considering sealing your floors, I highly recommend you use this polyurethane floor top coat to help with longevity. The professionals I spoke with highly recommended it because of the consistency in application, it’s low odor and easy cleanup. By all means, do what is best for your living space and situation.
After much consideration, I decided to not seal my newly painted floors.
I told myself wanted to see the performance of the porch and patio paint but also it’s because I’m lazy. I needed to attend to many other areas of the home and the movers were already scheduled!
In all seriousness, I decided that I might need to touch up the floors at some point. As a result, I believe it will be easier without having to sand off the top coat and reapply everything.
Besides, I can always decide to apply a top coat later if I feel the floors need the extra protection. Time will tell.
Part of DIYing is trial and error. Eventually, I plan on doing a wear and tear review of these beauties. Hopefully, this will help you decide if painting your wood floors is something you’d tackle in your own home.
Frequently Asked Questions
The answer… it depends. Some bloggers say no. Some say yes. I believe it depends on the types of flooring you’re starting with.
Personally, If I had to do it all over again I would have skipped sanding the floors. It was overkill honestly. The Behr Porch & Patio Paint is some serious stuff. Primer would have been enough.
Behr Porch & Patio Low Luster Enamel Paint is pretty thick and covers very well. Keeping that in mind, I would recommend at least two coats for bedrooms and spaces that get medium foot traffic. Now if you were painting a space that gets high foot traffic such as a living room or kitchen, I’d recommend at least three coats.
Just remember you’re looking for good coverage and even color.
No, I choose not to do a top coat. Mostly, I wanted to see how the paint performed without it. Also, I wanted the ability to touch up the floors without having to sand off coats of polyurethane and repainting.
Ok, maybe I’m just lazy! However, I will say the floors are very durable. So far so good!
I vacuum them or sweep them to clean up larger debris and dust. When I vacuum, I do make sure the rug beater isn’t on, it causes unnecessary wear on your floors.
For a more thorough clean, I use this wet-dry vacuum. This combines vacuuming up the debris with mopping all in one. This thing is a game changer!
Additionally, use this cleaner too because it’s safe to use around the dogs, and it smells great! Just spray and go.
It’s important to note you should never wet mop your floors. Hardwood floors don’t need the extra moisture, therefore I never wet mop my painted wood floors.
To be honest, yes. Take into consideration I painted my floors white!
Now, I knew this would be an issue. The darker the floor the easier you hid dirt and debris – therefore white floors will show EVERYTHING.
I will say, they are super easy to clean so there is a tradeoff. I use my wet-dry vacuum every other day in the highest foot traffic areas, saves me time because it vacuums and mops at the same time!
Also, I do live on a farm. Mud happens.
In any event, you have ever wanted to paint your old, tired, and dingy wood floors – I say DO IT! Hopefully, this little “how to” will empower you paint your own wood floors!
In hindsight. I have not once regretted my decision… not one bit! These floors really do add that farmhouse feel I was looking for, while additionally bringing a great light reflective quality to the room that was needed.
Now to pull the rest the space together… all in due time.
Cheers,
SHOP THIS POST

RELATED POSTS:


2 thoughts on “How to Paint Wood Floors: Everything You Need to Know”
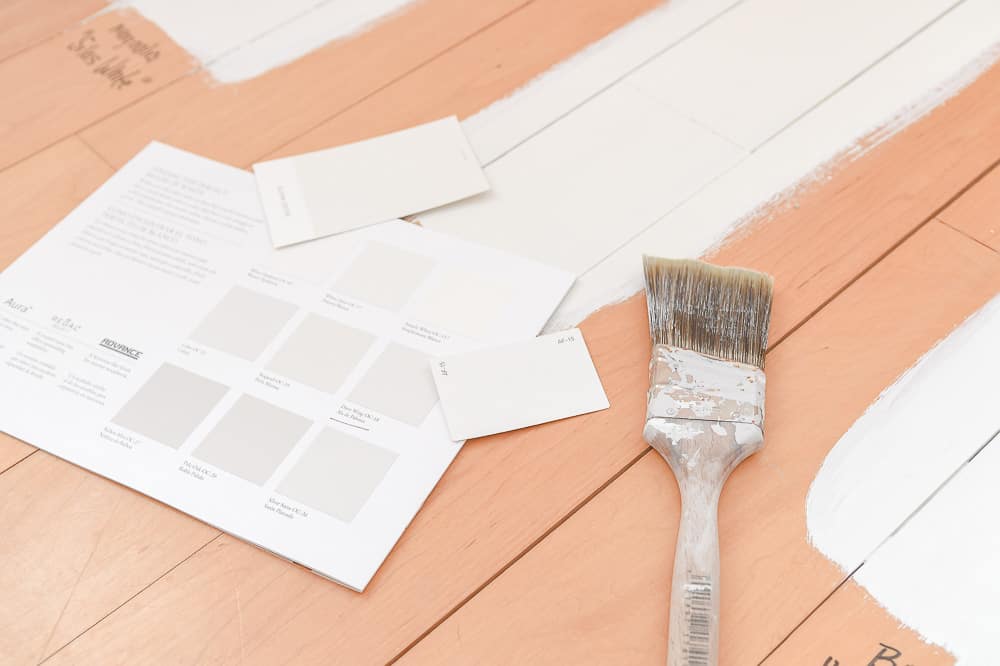
How is your painted floor holding up? I have glossy dark stained hardwood floor that I want to paint. Concerned about paint adhering because of the gloss. I plan to sand, prime with Stix and then paint with floor specific paint. Also have two very busy dogs. Are you still happy with the outcome? Any other words of wisdom? Thanks!
Hey Wren!
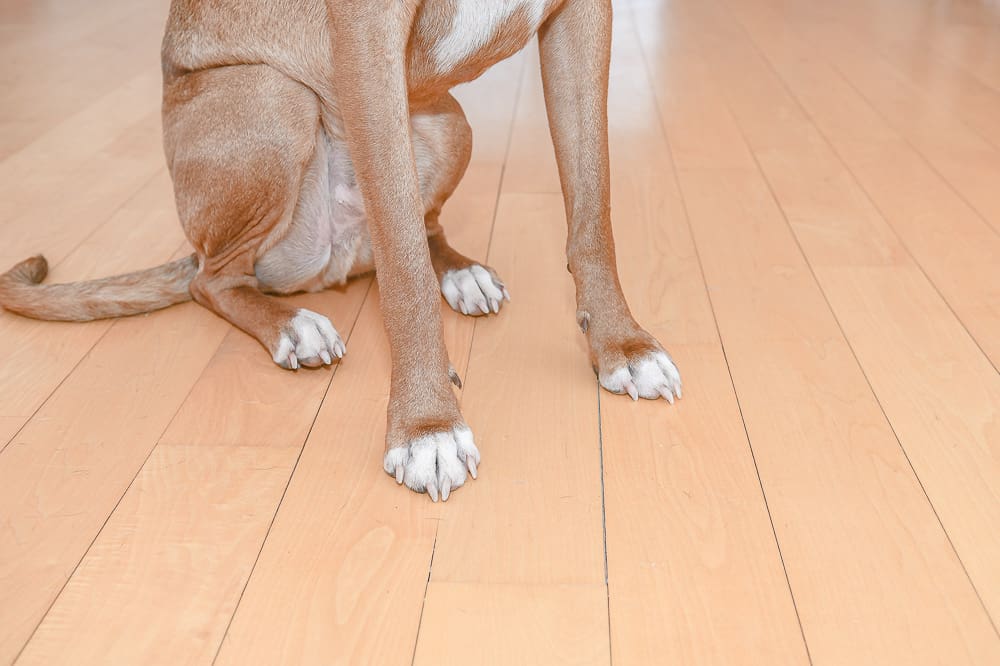
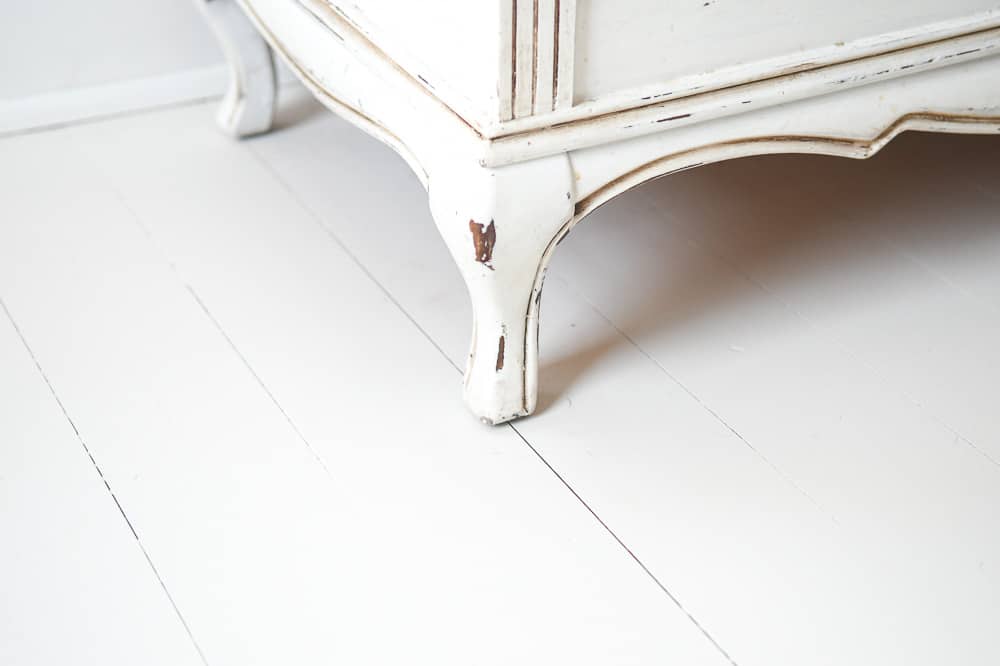
Great questions. I’m 4ish years into these floors and I have some spots that definitely have some wear and tear! I had a gloss on my bamboo floors too and sanding helped the adherence. I have had zero peeling or adhering problems. If I would have done anything differently, it would have been letting it cure a little longer before moving heavy furniture onto it. My only spots that are obvious are were my heavy bed and dresser were slid back and forth a few times. They’re minor and I could easily touch them up. I have three ACTIVE dogs running on them constantly and have really no defects from nails to obvious wearing patterns from traffic.
I’m actually really impressed at the coverage and lifetime I’m getting out of these floors, all things considered. I picked WHITE and they’re really holding up well. I’d totally do it again! I’m using the same product on my porch and deck because it performed so well. Easy on and long lasting!
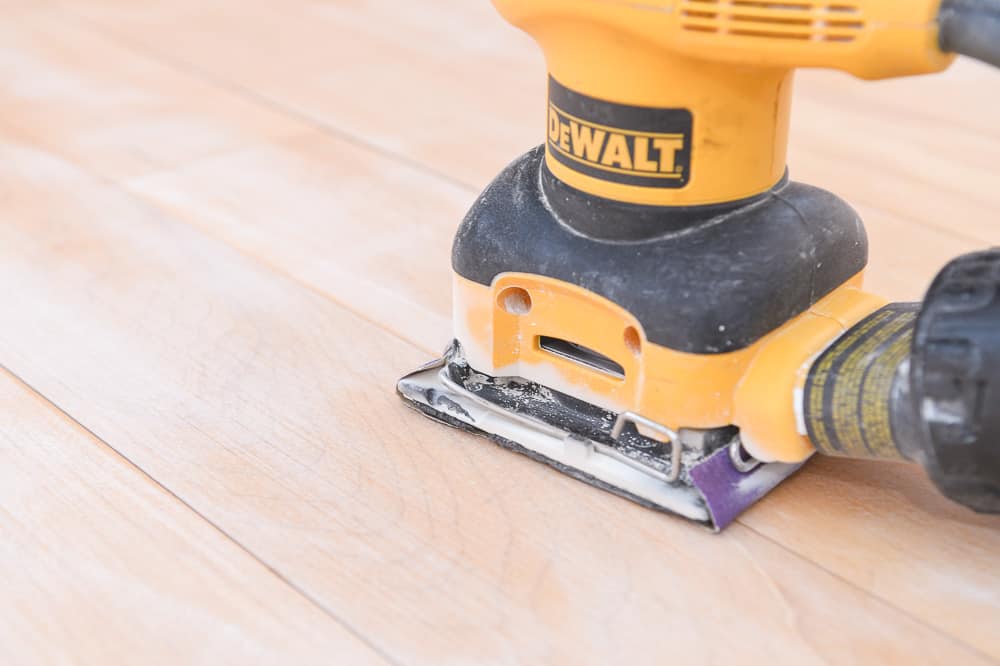
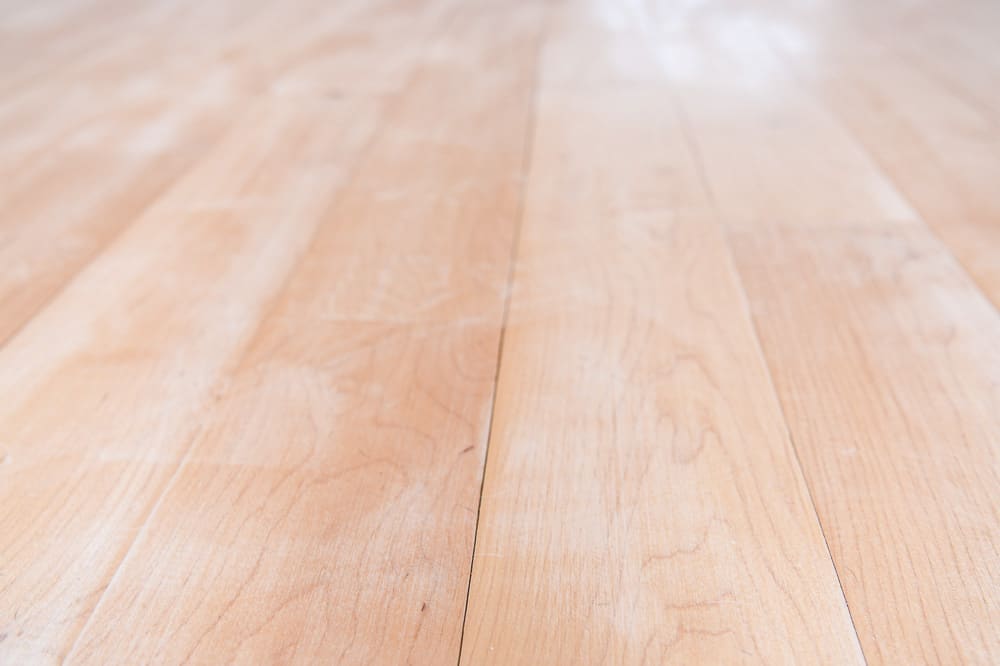
Words of wisdom, I wish I would have filled in some of the areas where the wood floors were scratched BEFORE painting. I would have probably sanded with a really heavy grit and then over with a very find grit a few times. But honestly, that’s only if you were choosing a darker color that might show imperfections more (similar to walls).
I hope you do paint your floors, and love them as much as I love mine! <3 Good luck!
Cheers,
Maria