I almost exclusively purchase scents from Nature’s Garden. The main reason is they provide the best information on how the oils will react when cold and/or hot processing soap. Some oils, like essential oils, will cause the saponification process to accelerate and seize your soap quickly. Also, some oils will discolor your soap.
Nature’s Garden is really good about researching and providing you with all the necessary information. This keeps you from finding out the hard way!


32 thoughts on “How to Make Soap with Goats Milk”
I tried another recipe without success so I’m back to this simple and now my “go to” recipe.
I made lemon poppyseed variety and bought a stick blender, yay! It cut the time down dramatically.
Hello! Can we use lard in place of the oils? Or if we wanted to use lard, how would we arrange those ingredients?
This was my first time making soap. It went well, despite not having a stick blender….took me quite the while to stir off/on by hand but patience paid off. I added a bergamont essential oil to mine and used small round soap molds. Was able to unmold just shy of 12 hours in the fridge and they are simply beautiful and smell amazing. I will let them cure 4-6 weeks and these will become gifts for teachers and friends. Thanks for the recipe!
After you put it in mold, do you have to stick it in the fridge. Can’t it cure outside – though I understand it could take longer
Also if you add scented oil, and cure it for so long, will the fragrance disappear by the time you use the soap?
Priya,
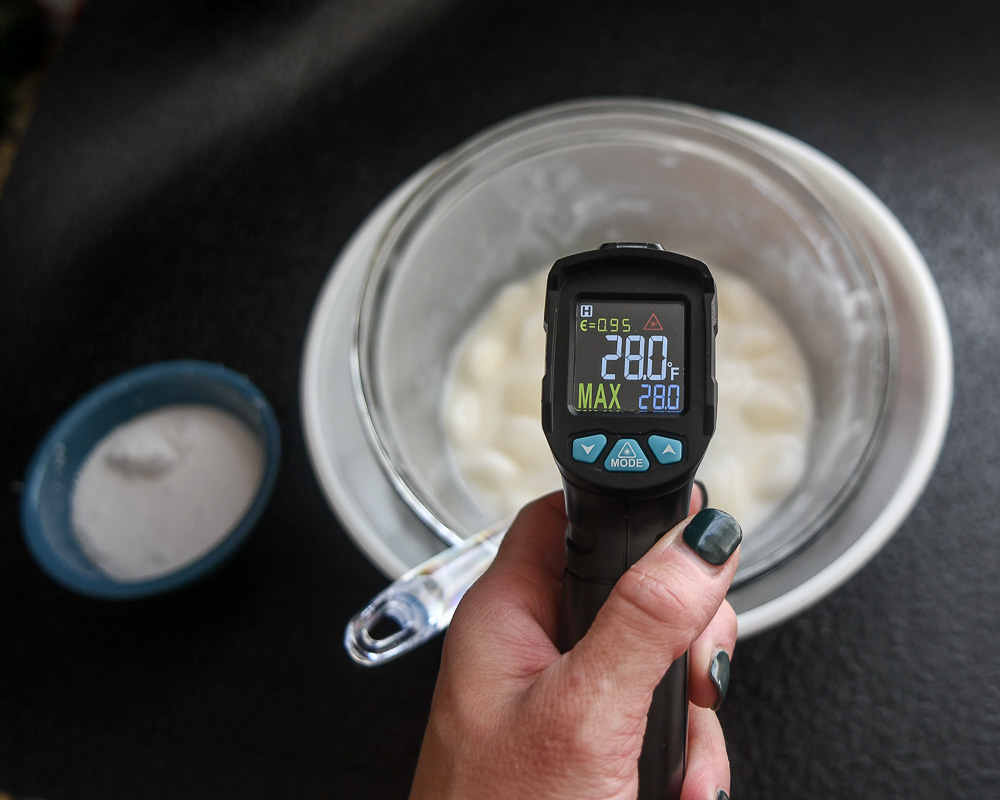
So I choose to stick it in the fridge to help control the temperature. The saponification reaction process can cause increased heat and warp, crack and increase soda ash formation on the surface of your soap. If you choose to keep it out of the refrigerator, place it in a dark, cold place in your house and cover it with a tea towel. This hopefully will allow it to regulate without disruption to your soap.
I use fragrance oil for my soaps and lotions as well as essential oils. If you use high quality oils they will last a long time. You can also add kaolin clay (just a little) to your oil that will help oil adhere in the soap and increase the shelf life of your soap.
OXOX,
Maria
Are the measurements in weight or volume for the milk and oils?
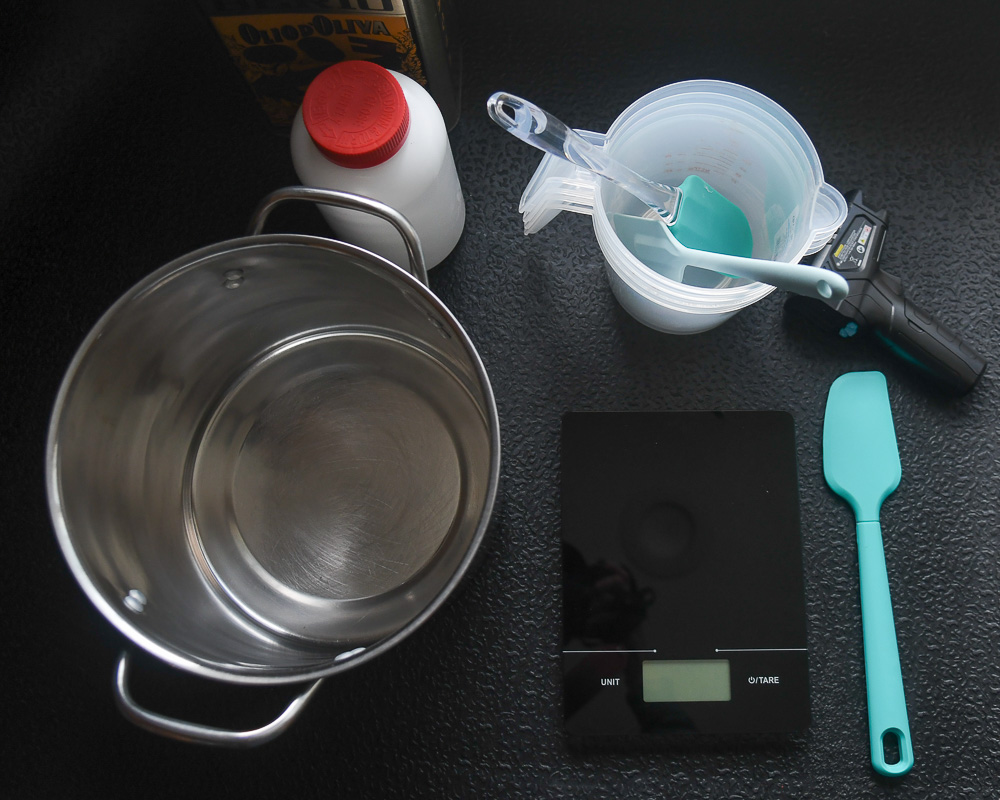
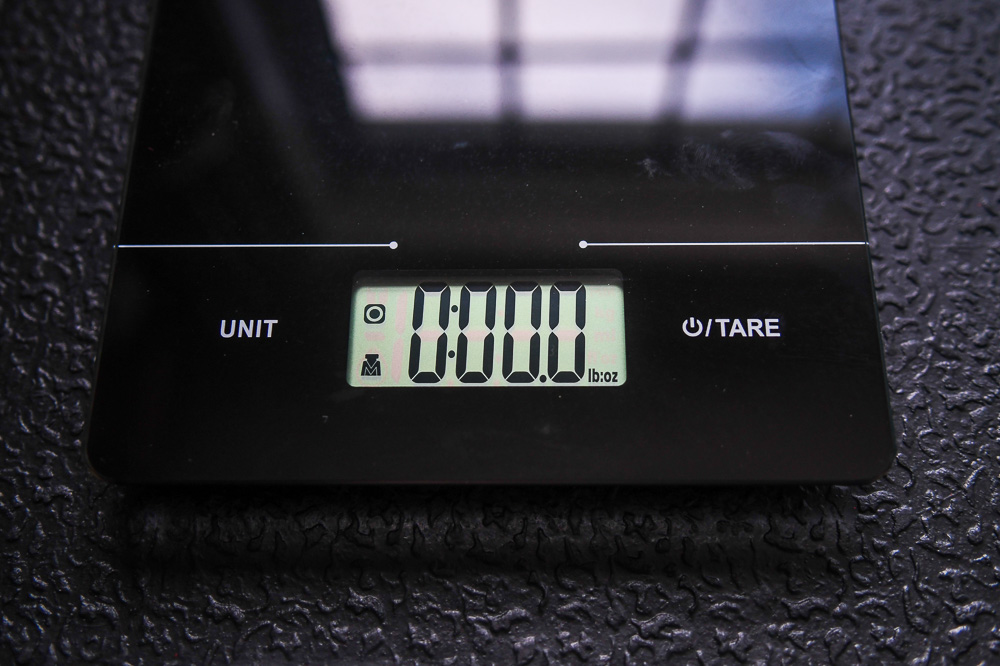
Fluid ounces for the measurement. Also use a scale and remember to zero out!
Thanks for following!
Cheers,
Maria
Just made my first goat’s milk CP soap – thank you so much for the recipe! Does it matter if I cut the loaf prior to curing or after curing?
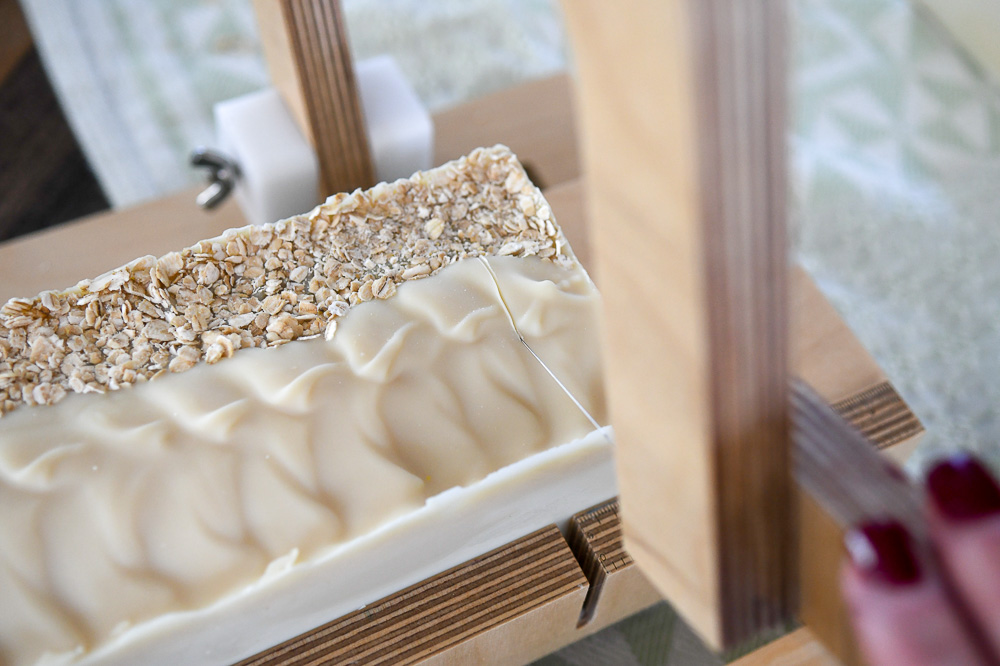
Oh yay!! So exciting. I usually cut mine within the first 24/48 hours to keep from popping my strings on my cutter. Cutting them also helps cure them faster since the inside is exposed to air. I would recommend cutting shortly after unmolding your loafs!
Happy soapiing!!
Cheers,
Maria
Hi I made this recipe and chilled it overnight. The next day I set them out on my counter prior to cutting until it was room temp and the whole loaf split and crumbled. I have little pieces all over the place. What did I do wrong? I used a straight edge pastry cutter to cut and it was still very hard and like I said everything started to crumble.
Interesting! Oh gosh, I’m so sorry. I think I would review your recipe. Is your scale on fluid oz? I had one loaf change mid weighting and it messed me up completely. If it’s crumbly that means your fats didn’t combine. What temperature did you combine the milk/water and fats?
Let’s see if we can problem solve this. That certainly shouldn’t happen.
Cheers,
Maria
Can you substitute the goat’s milk with raw cow milk?
Tracy,
I believe you can, however due to the fat content being different in goats milk compared to cows milk I would want to run it through a soap calculator. If the fat content is off you might have difficulty with texture and quality of your soap. Just check that the fats and oils are accurate in your recipe before spending the time making!
Hope that helps.
Cheers,
Maria
Hello,
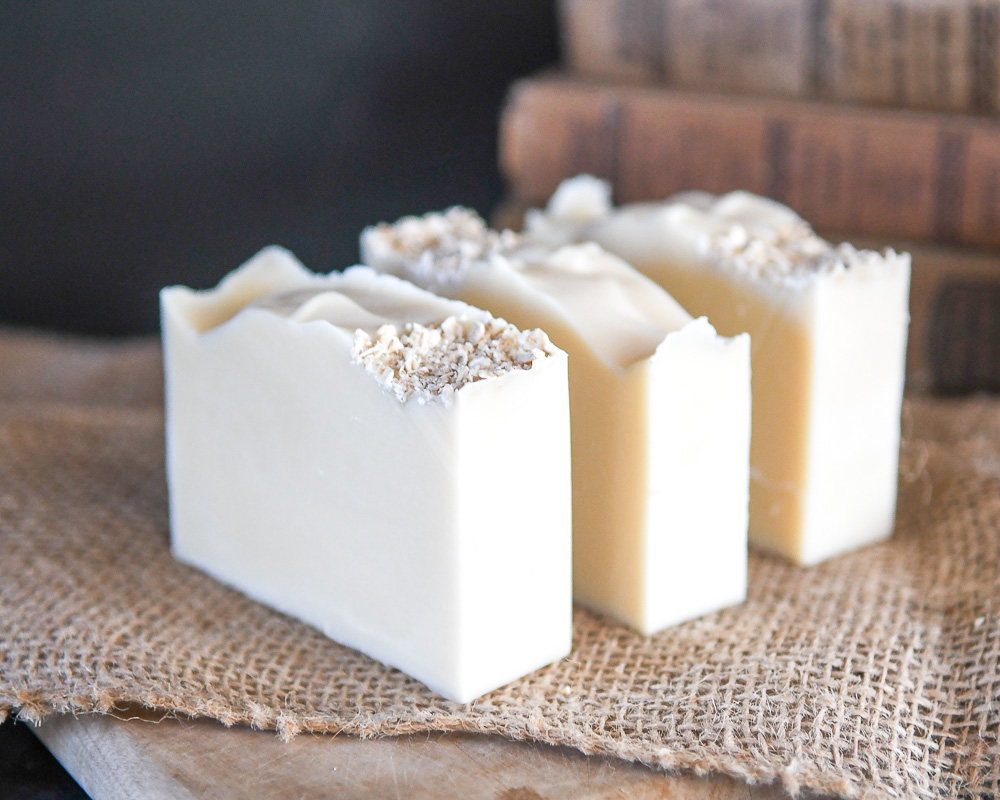
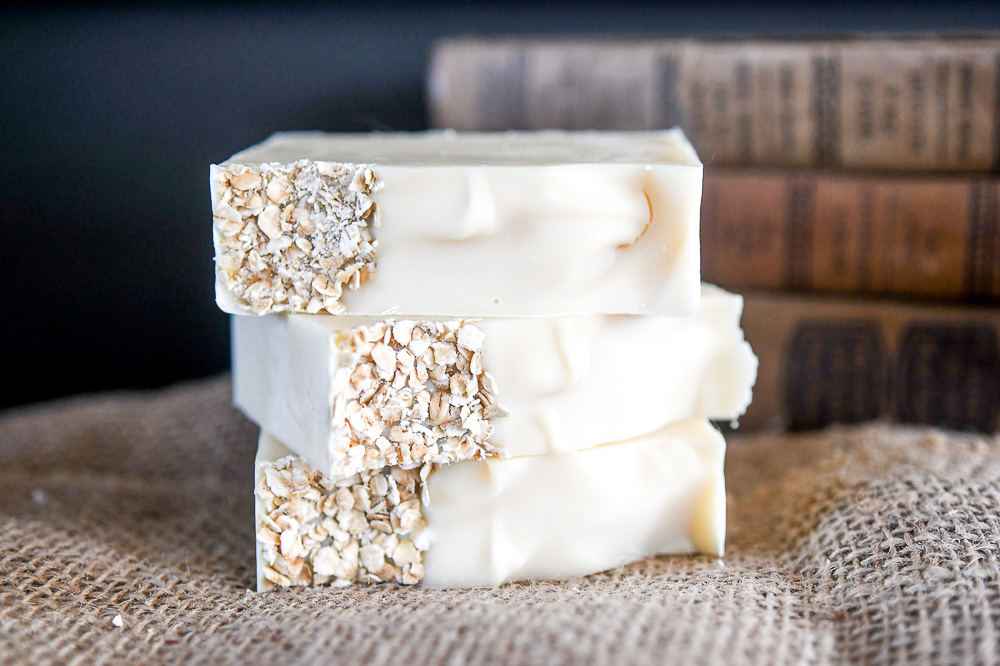
I made two batches of this soap today (my first time making a goats milk soap). One with patchouli and one with oats.
I’ve read elsewhere that soaps need to cure in order to be safe to used (for lye purposes), but in this reciepe you have alluded this is safe to use immediately. Can you confirm which this is?
Thanks!
Erin,
So with CP soaping you are safe to use right away. The only downfall is you will use your soap very quickly. The longer it cures the harder the soap. This helps it last longer.
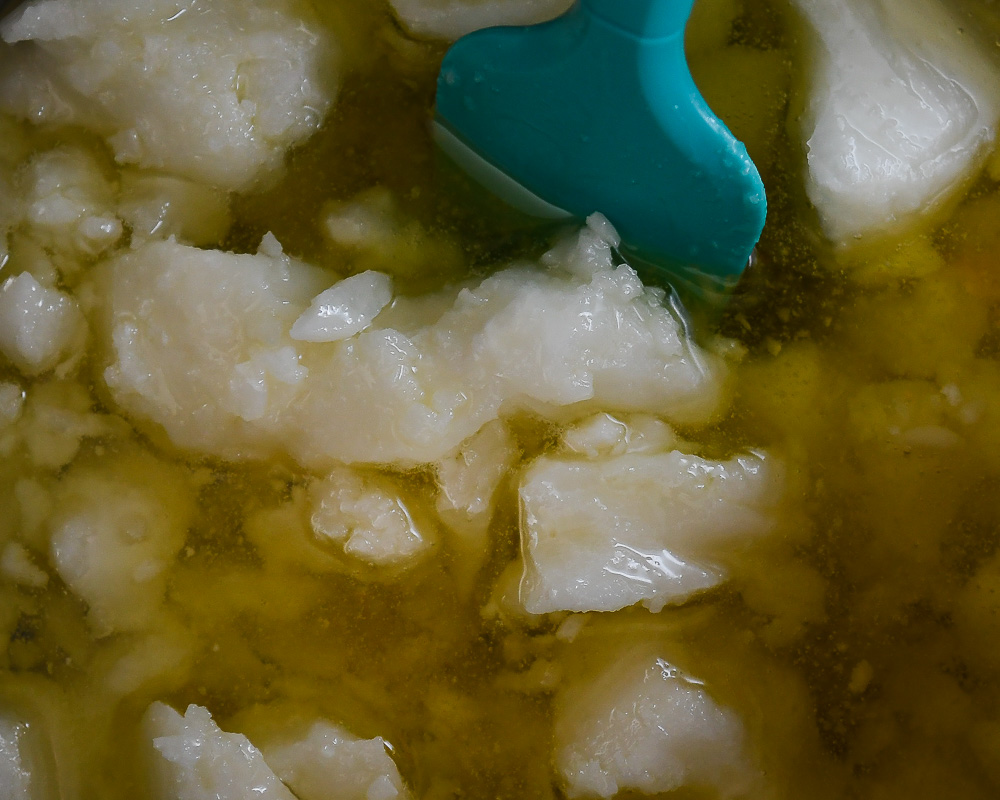
Once your lye mixes with your goats milk, it has processed. Through saponification, the lye breaks down the fats and oils and creates glycerol or what we consider soap.
Hope that answers your question! I’m so glad you’re venturing into soap making. Hope your loafs turn out smashingly!
Cheers,
Maria
Approximately how many 5 oz bars would you get from this recipe?
Christie,
Well that depends on the size of your mold you use!
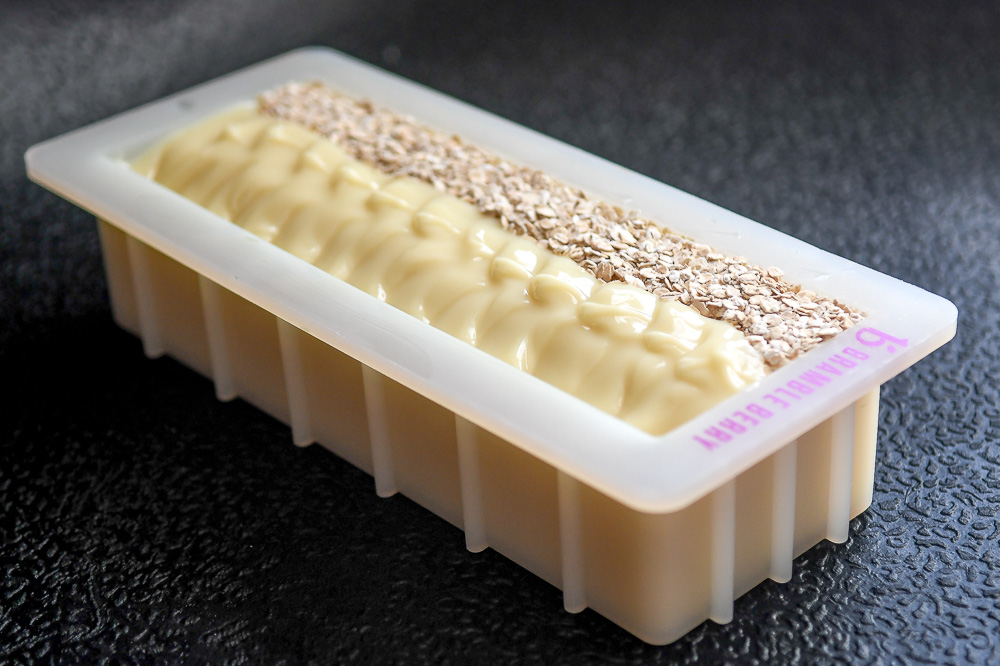
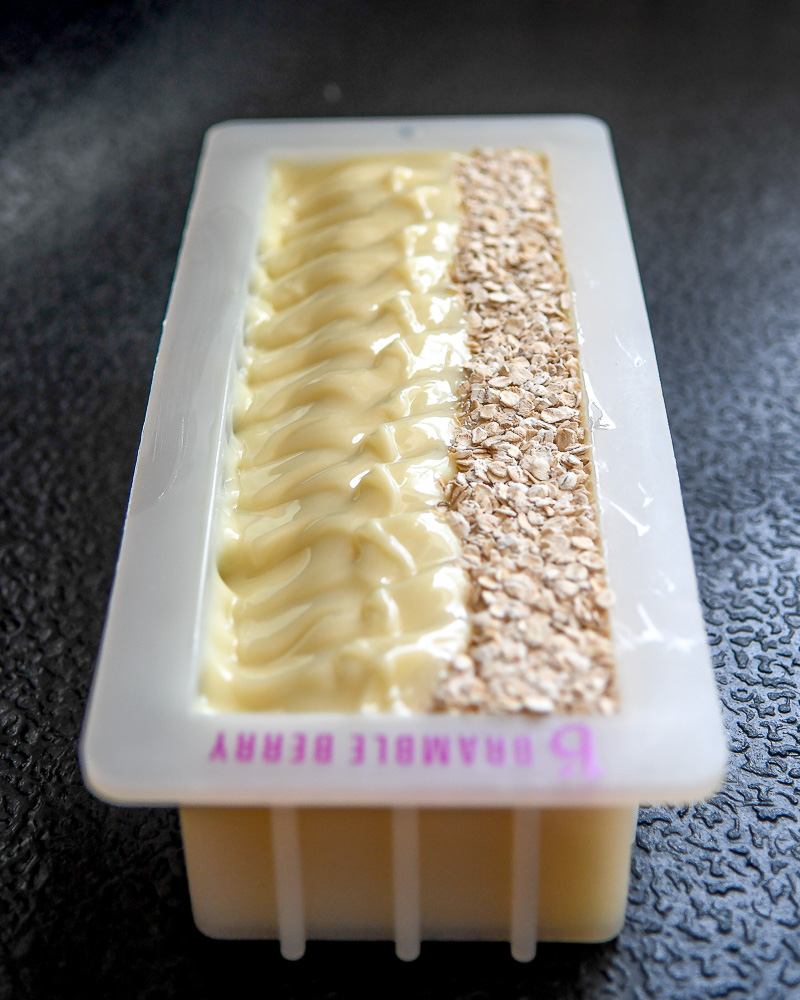
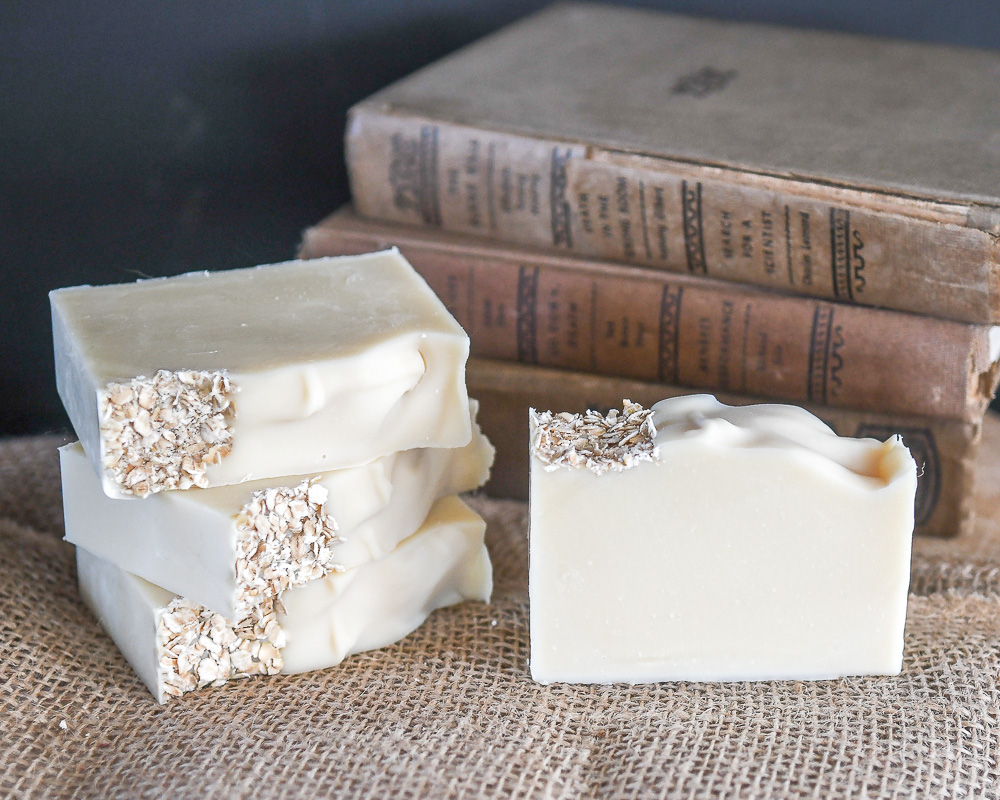
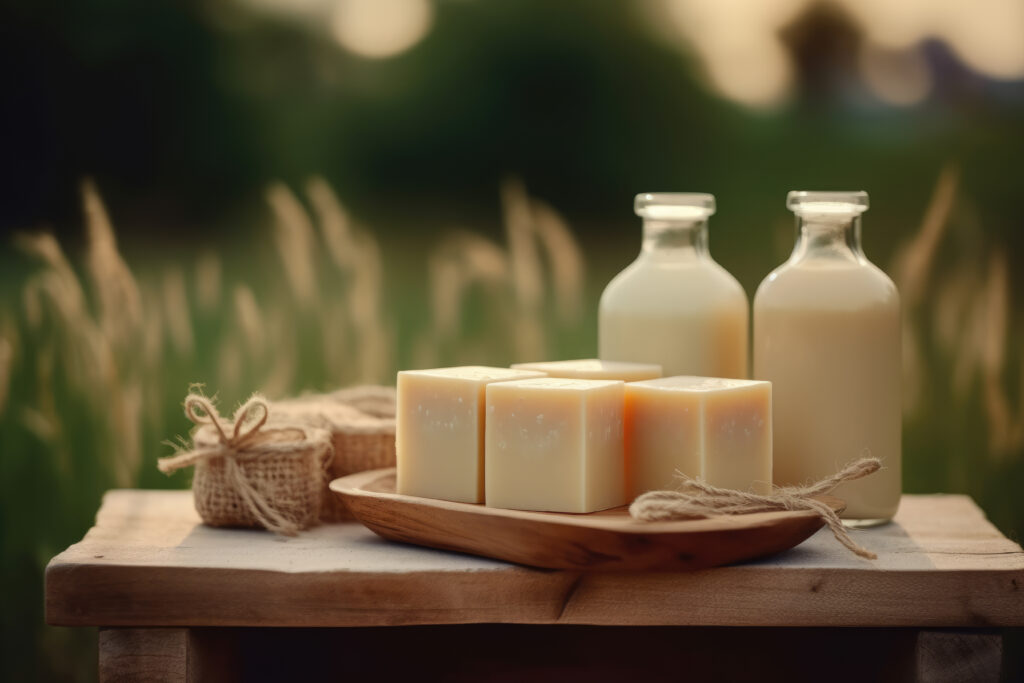
I use this Bramble Berry mold and get 10 1′ bars out of my batch. It’s a hand size bar (see in the photos) that last 1-2 months in the shower!
Hope that helps.
Cheers,
Maria
Christie,
I get 10 1″ bars of soap from my loafs. However, it depends on the loaf mold you use. Some molds are individual. I clearly use a loaf mold, so if you use the same mold I recommend in my post you will get 10 1″ bars!
Hope that helps!
Maria
Could you substitute a small portion of the olive oil with castor oil? And if so do you have to change the amount of lye you use?
I would completely recommend using a soap calculator instead of guessing at any substitutions. Oils very in weight and can alter the need for “water” or goats milk in this case. It can also require different levels of lye.
This is a great YouTube Tutorial on how to use a soap calculator and I recommend using SoapCal!
Hope you find something that works for you!
Cheers,
Maria
Is there a good alternative to coconut oil? Due to allergy I can’t use it.
Stacy,
Yes! There are alternatives, however I would recommend using a soap calculator. Castor oil is often a good substitute. There are some greeeat facebook soap making groups I recommend joining. People have tried before you and it’ll save you some time to just enquire there.
Cheers and thanks for reading.
Maria
Hi I am new to soap making. The goats milk, is this like the goats milk soap base like I would get a hobby lobby and melt it down to freeze? Or am I to get real goats milk and freeze it. Thank you so much for the help.
Krystal,
Great question!
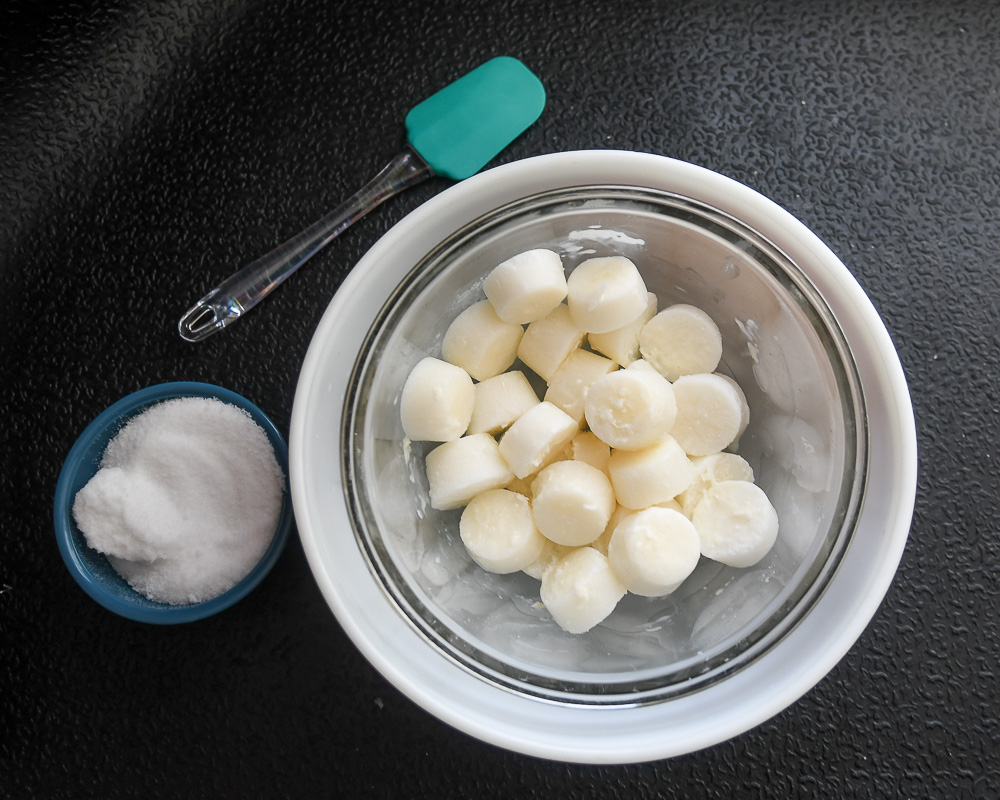
This recipe uses actual raw goats milk that has been frozen. Soap bases contain other butters and oils, so if you wanted to use those you’d need a soap calculator. I will say, most pre fabricated bases use powdered goats milk and they do come out a different consistency, plus you lose the added benifts of fresh and raw ingredients!
I hope that helps! Happy soap making. 🙂
Cheers,
Maria
Is the measurement for lye in fluid ounces as well?
Samantha,
Yes. I do keep all my measurements in the same set up on my scale, which is fluid oz.
Hope that helps!
Cheers,
Maria
I absolutely love this recipe! This was my first goats milk soap and my first CP soap. I know, it was risky! The only issue I had was that the loaf started to gel in the refrigerator so I moved it to the freezer. Soap came out great other than the darker gel ring. I had enough frozen goats milk for a second recipe so I tried again this time putting it right in the freezer. Came out beautiful! This HP girl will be experimenting more with CP soaps and definitely making a ton of goats milk soap!
Melissa,
Oh YAY! I love a good HP to CP conversion. 😀 Good trick! I’ve had to salvage one or two loaves by throwing it in the freezer. I’m so glad you enjoyed this recipe and it worked so well for you!
Thanks for reading.
XOXO,
Maria
Hi! I loved this recipe but when I cut the soap, it crumbled. Do you have any remedies for this?
Rachel,
Oh no! Could you tell me what oils did you use? How soon after you processed it did you cut your loaf? Let’s see if we can get down to the bottom of this.
Cheers,
Maria
Does this soap need to cure before being used?
Emily,
Yes, I recommend curing for 4-6 weeks before use. The benefit is that the bar will last longer. There’s no reason you can’t use it immediately, you’ll just find they won’t last as long.
Happy soaping!
Cheers,
Maria