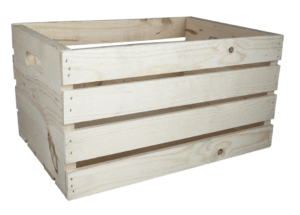
We all know how outstandingly popular wooden crates have been in the decor world in the last few years. Many craft supply and home improvement stores are carrying unfinished versions of these crates in multiple sizes. For a few years I’ve seen people create all sorts of home decor projects with them. Now, don’t get me wrong, I adore the look really… however, I dislike the generic feel of the unfinished verity.
With that said, Amazon.com has some lovely finished options that are wonderful! I have linked a few options above, if you’re not in the mood for creating your own.
Now, if you’re like me, you live on a little bit of a budget. I can’t justify $10+ a crate, especially when I’m in need of approximatly 4-5 of them for my up and coming “The Organized Life” series. However, these crates seem simple enough to make, so I decided to make my own. Today, I’m going to share with you how I managed to make these inexpensive wooden crates.
{Note: this post contains affiliate links. This means that I will make a small commission – at no additional cost to you – if you make a purchase using my links.}
Thanks you for supporting my blog!
Assembling The Crate
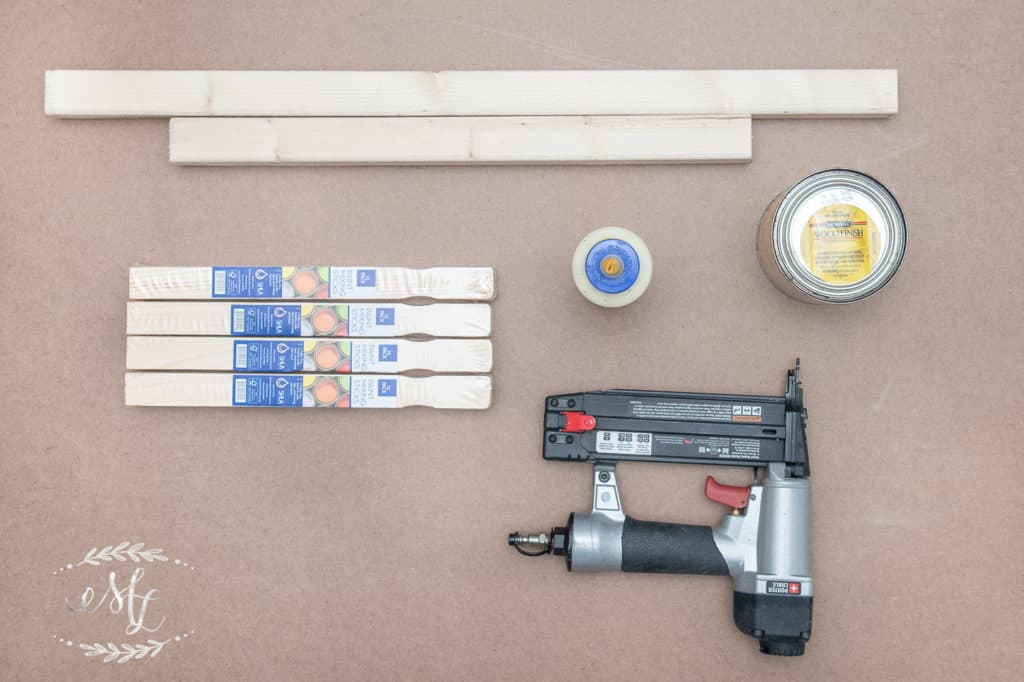
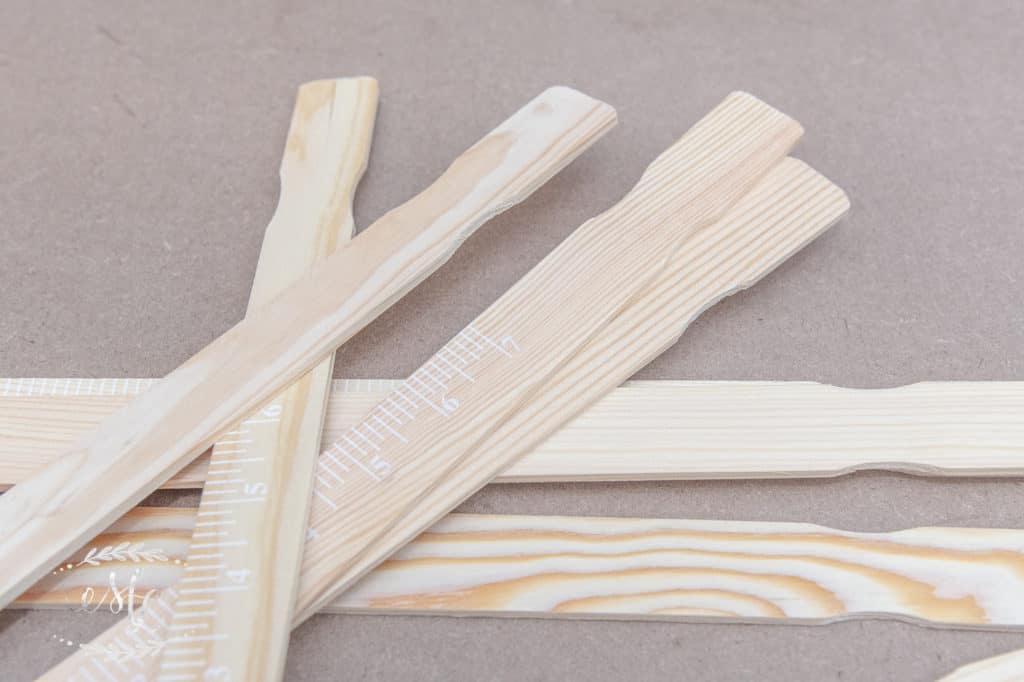
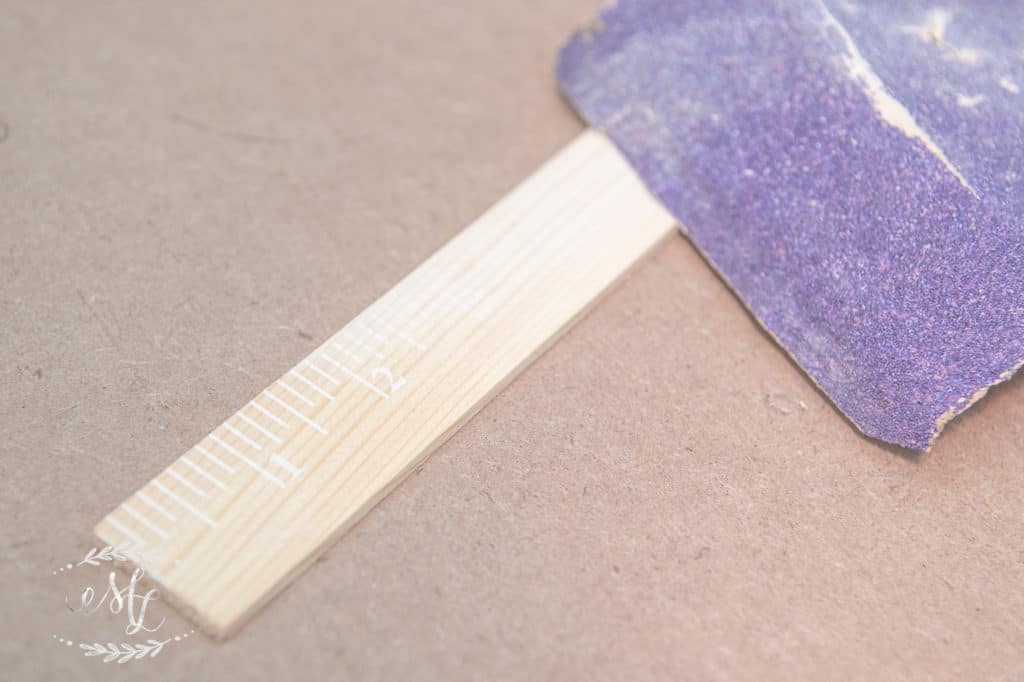
These packaged paint sticks come in sets of 10, with printed rulers on one side of them. I easily removed the rulers simply with some sandpaper and muscle.
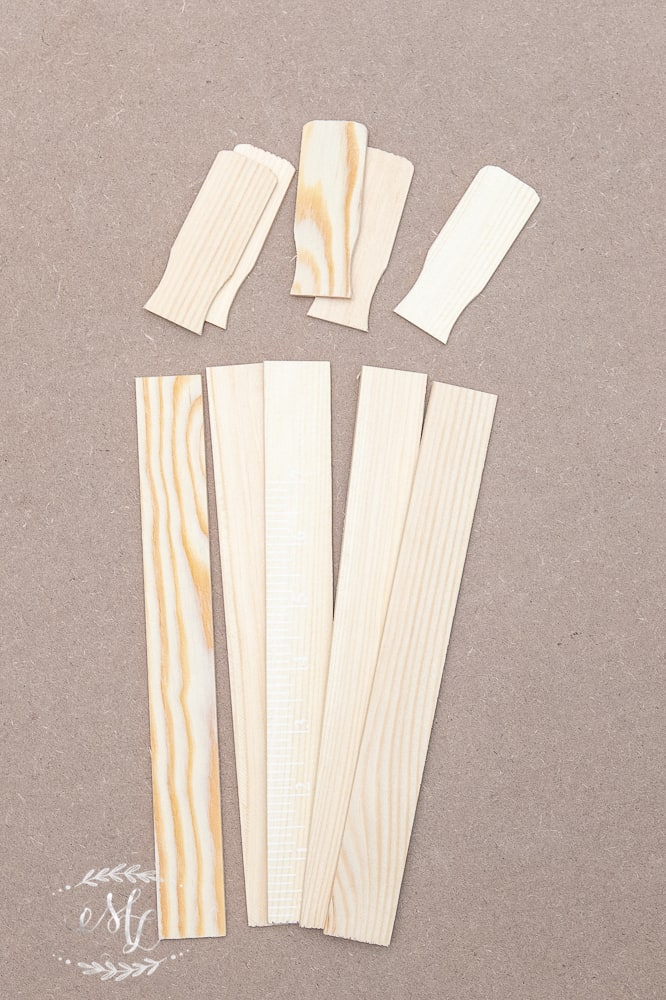
Once sanded down, I went to my miter saw and cut the irregular shaped handles off. It takes about two packs of sticks per crate, so get to cutting!
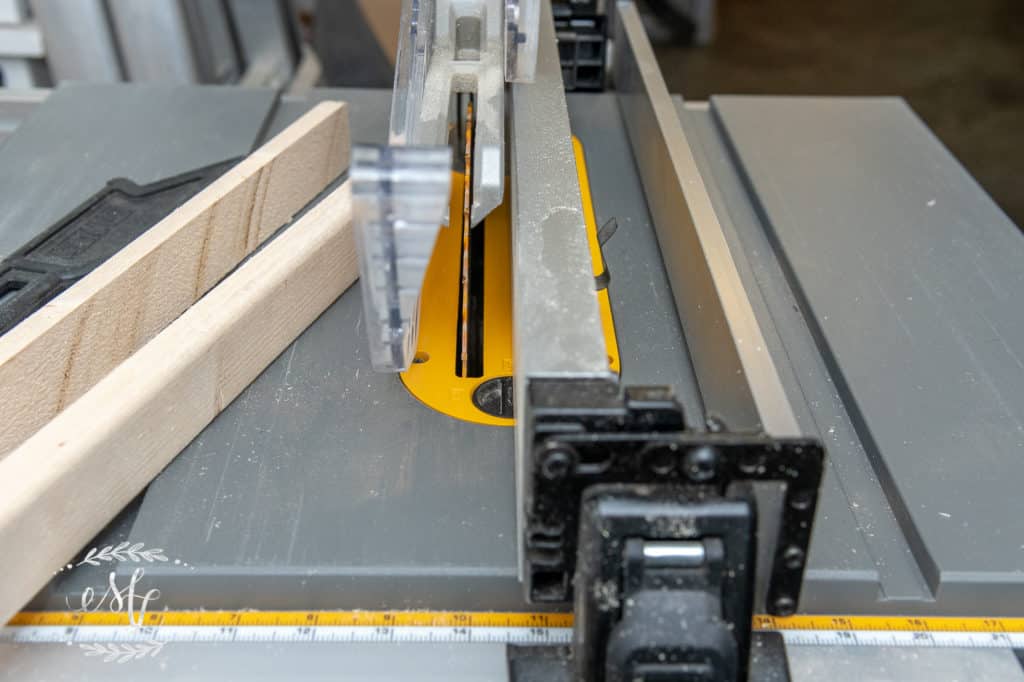
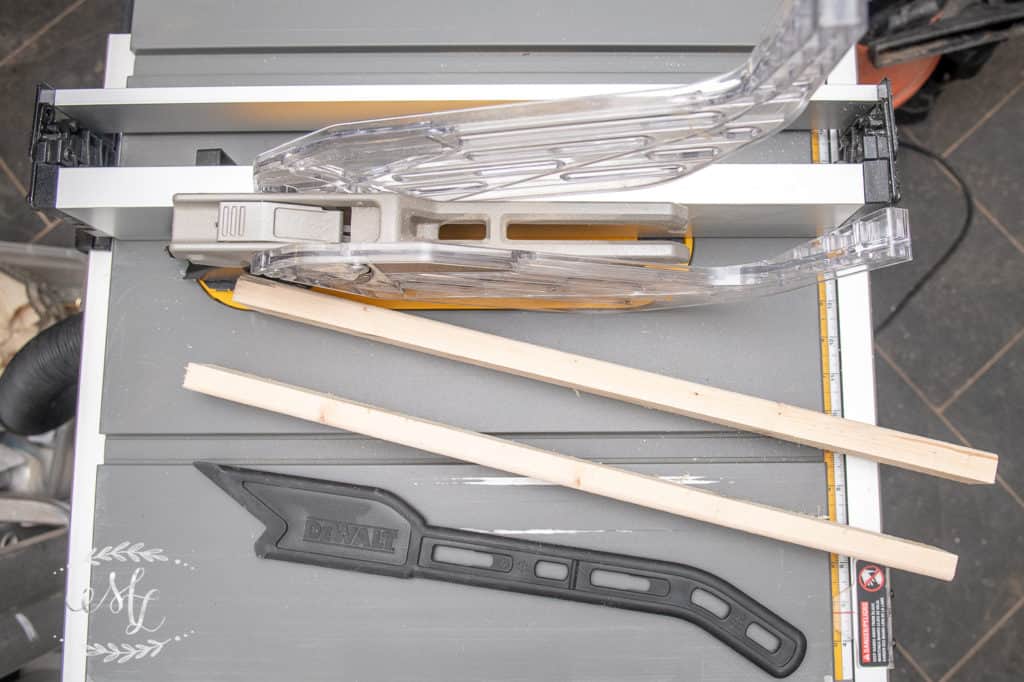
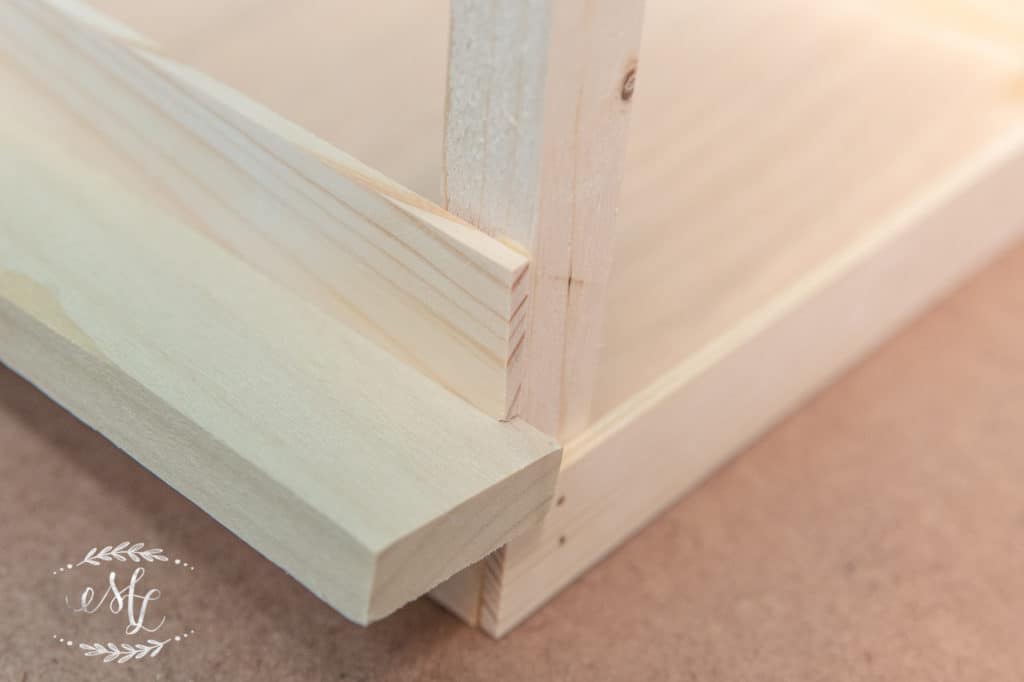
Now, you can certainly purchase some square trim to use as the corner pieces of the box. However, I had some left over furring strips laying around that worked perfectly. Running them through my table saw, I was extra careful to use the pusher stick to avoid losing any digits!
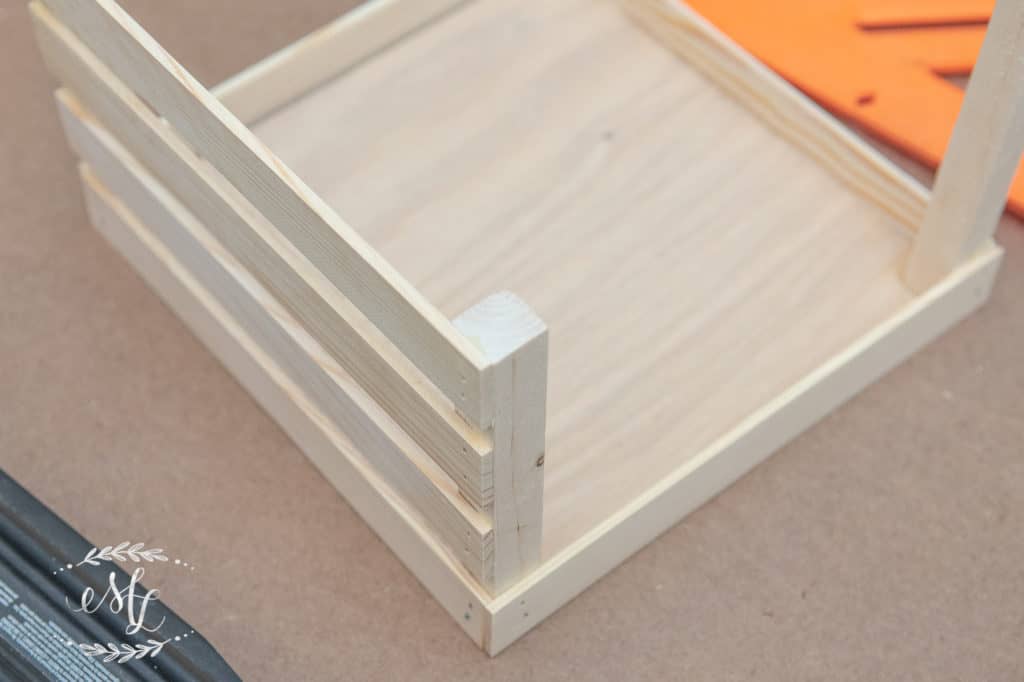
**Side Note: Half way through this project I changed my mind and decided I wanted the box to be solid instead of slatted. Therefore, I used some left over 1/2″ plywood I had. I simply measured and cut it using a table saw. Sorry, during this, I completely managed to forget to take photos!**
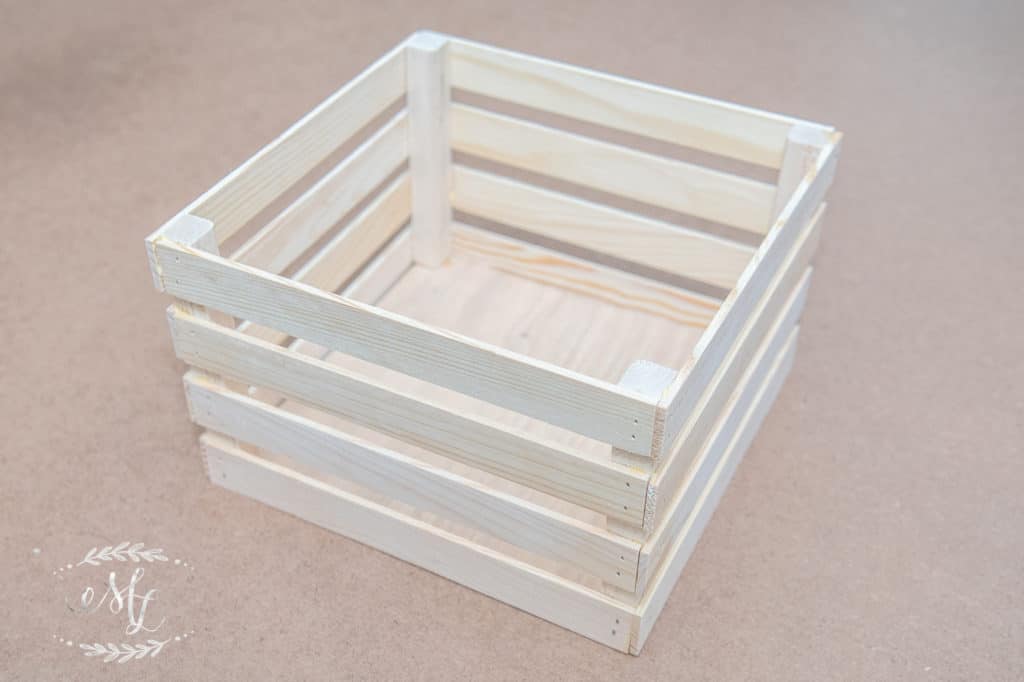
To assemble, I carefully glued and nailed the paint sticks to the square corner posts. As you can see below, I used another piece of wood to make sure each board was equally spaced as I fixed them to their respective posts.
Finally, I glued and nailed the plywood bottom into the 4 corner posts for reinforcement.
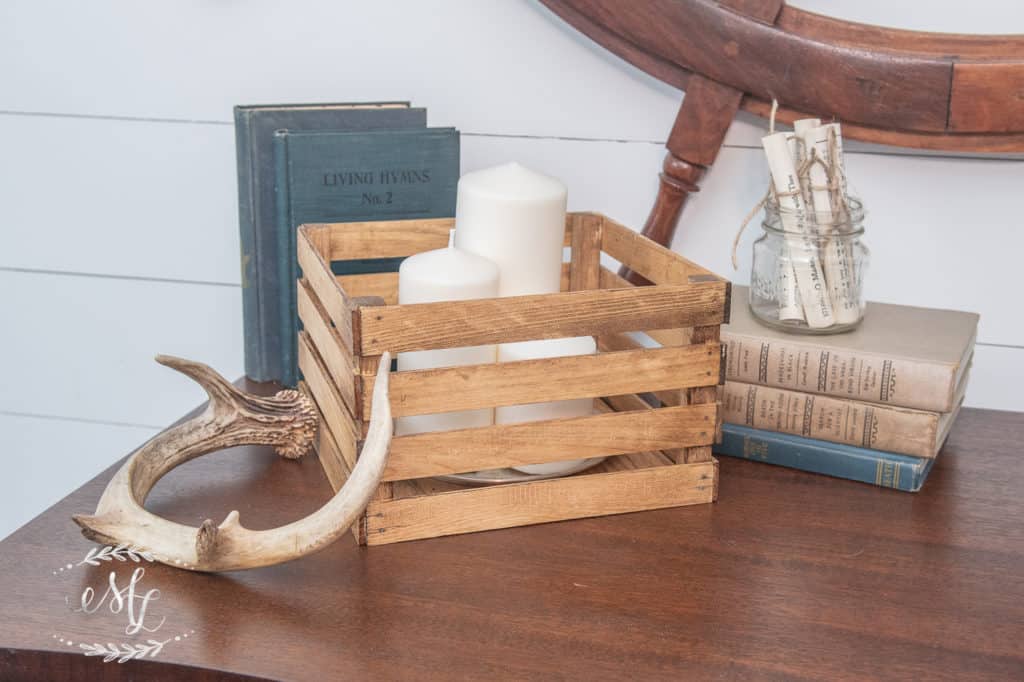
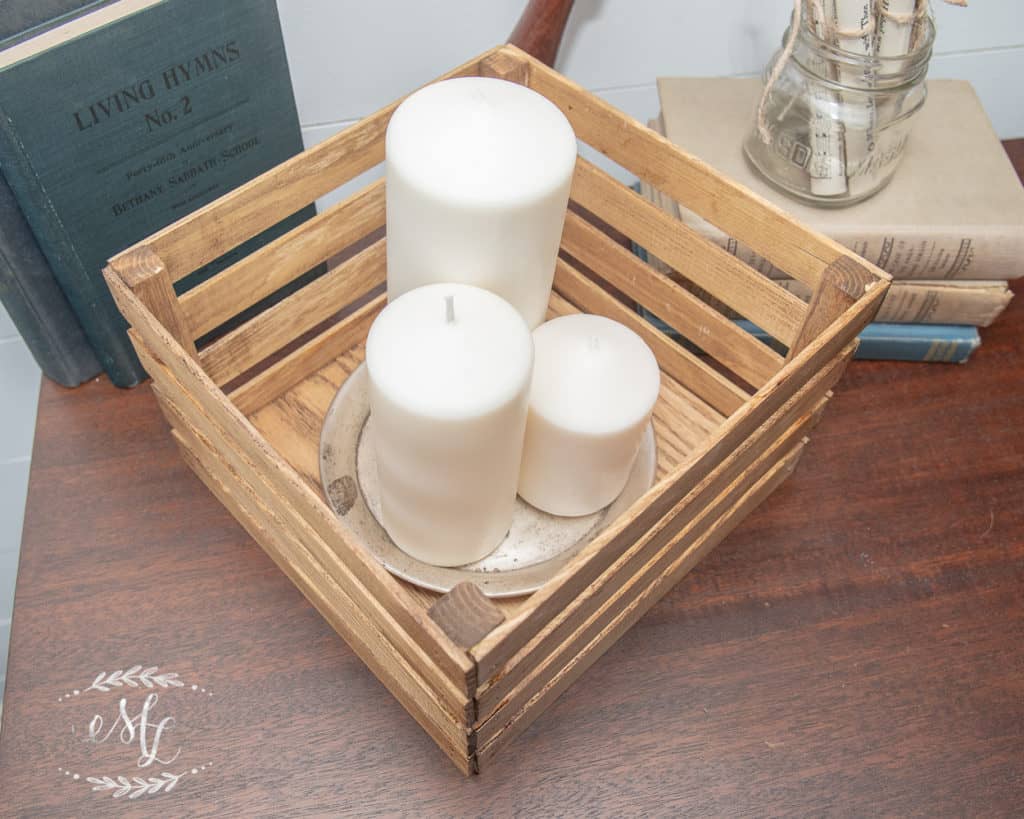
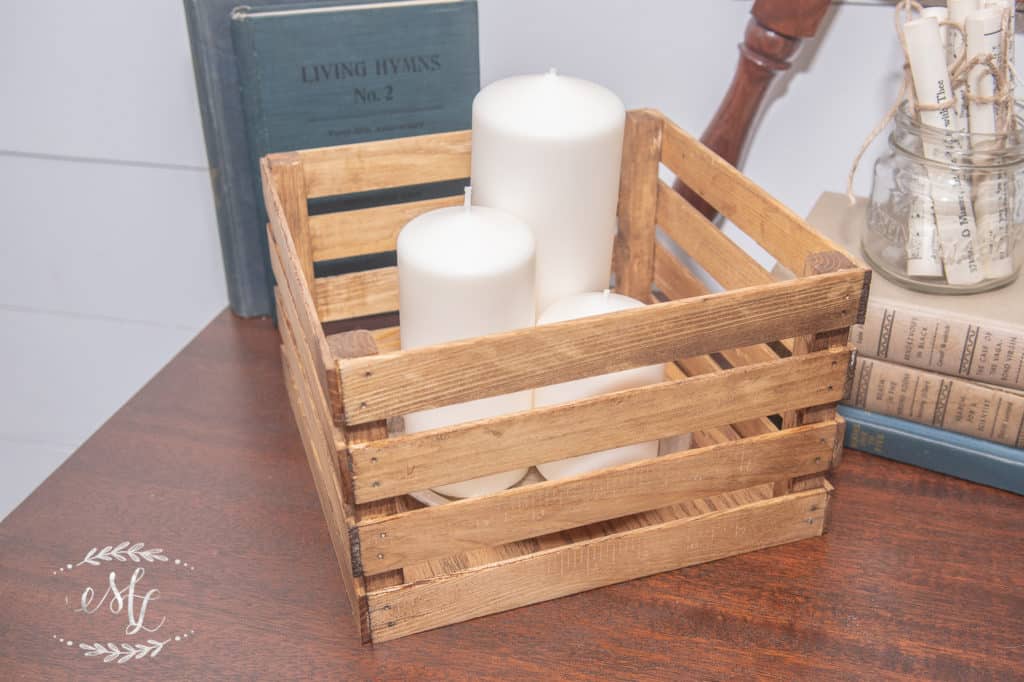
Alright folks, there you have it! A handmade, inexpensive unfinished wooden crate! The cool thing is you can make these just about any size you want. My home improvement store carries yardstick length paint sticks as well as the little bitties. Perfect for any size you have in mind!
The Finished Product
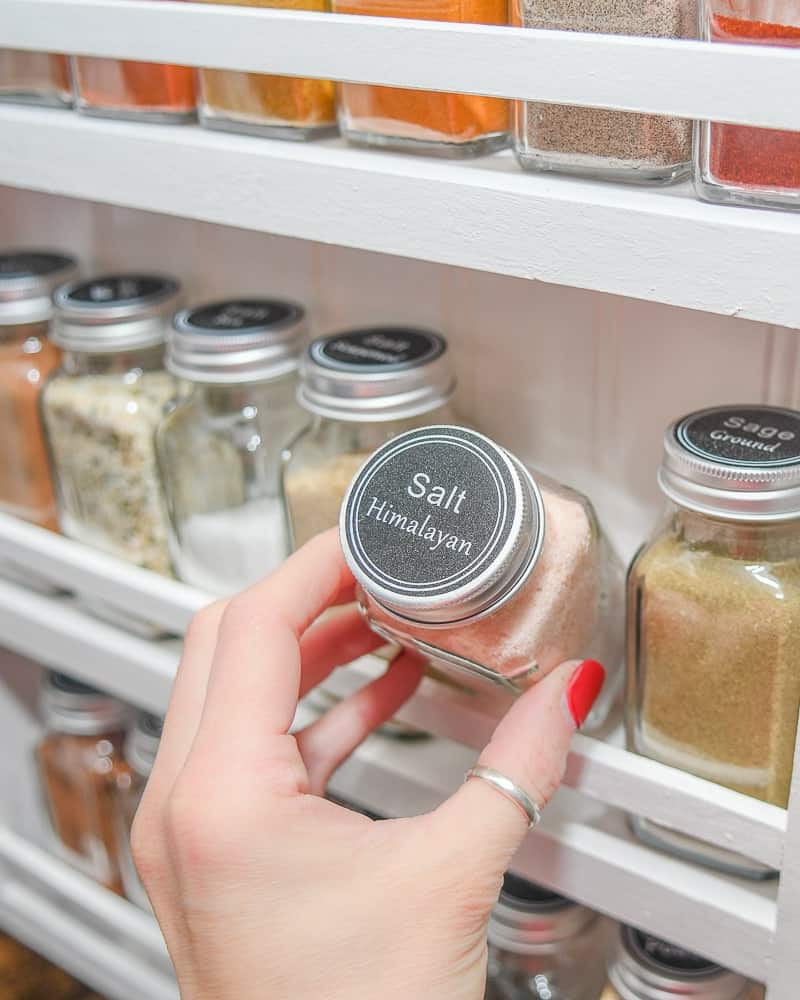
All together this project cost me $2 a crate to make, given that I already had the stain, glue, and furring strips. These will work perfectly as a viable storage solution for next months The Organized Life installment I’ve been diligently working on! I can’t wait to share it with you all! It is the biggest flip I’ve done yet…
Thanks for visiting my little piece of the internet!
I’m Maria, a lover of furry things, coffee and anything creative. This blog is where I love to share affordable home decor ideas, great DIYs, yummy recipes, unique crafts and so much more.
10 thoughts on “How to Make Inexpensive Wooden Crates”
Annette
This is a very cute idea. I love the fact it is inexpensive to make. I’m doing the organizing thing and just happened to stumble upon your post. Thank you for sharing
Wonderful! Making one of these (or more than one, ha) has been on my “want to create” list for a while. Thank you for sharing how you made yours, I’m inspired! Once I try one like this (with paint sticks, which I think is perfect and super creative!) I’m going to apply the steps to larger pieces 🙂
Me too! It’s great to use what you have and create a new look and feel in your space. I wish you the best of luck. Thanks for reading along and your sweet message.
Thank you for your feedback. I’m sorry you didn’t find this project more informative. My intention was more to inspire the creative person than to dictate measurements with this post. If you’re looking for supplies count, the paint strips come in a pack of 10. I used a single pack for my crate I made for this project.
Thank you for reading, and I will make sure to be more instructive in the future.


10 thoughts on “How to Make Inexpensive Wooden Crates”
This is a very cute idea. I love the fact it is inexpensive to make. I’m doing the organizing thing and just happened to stumble upon your post. Thank you for sharing
Anette,
It’s my pleasure. Thank you for your sweet words.
XOXO,
Maria
Wonderful! Making one of these (or more than one, ha) has been on my “want to create” list for a while. Thank you for sharing how you made yours, I’m inspired! Once I try one like this (with paint sticks, which I think is perfect and super creative!) I’m going to apply the steps to larger pieces 🙂
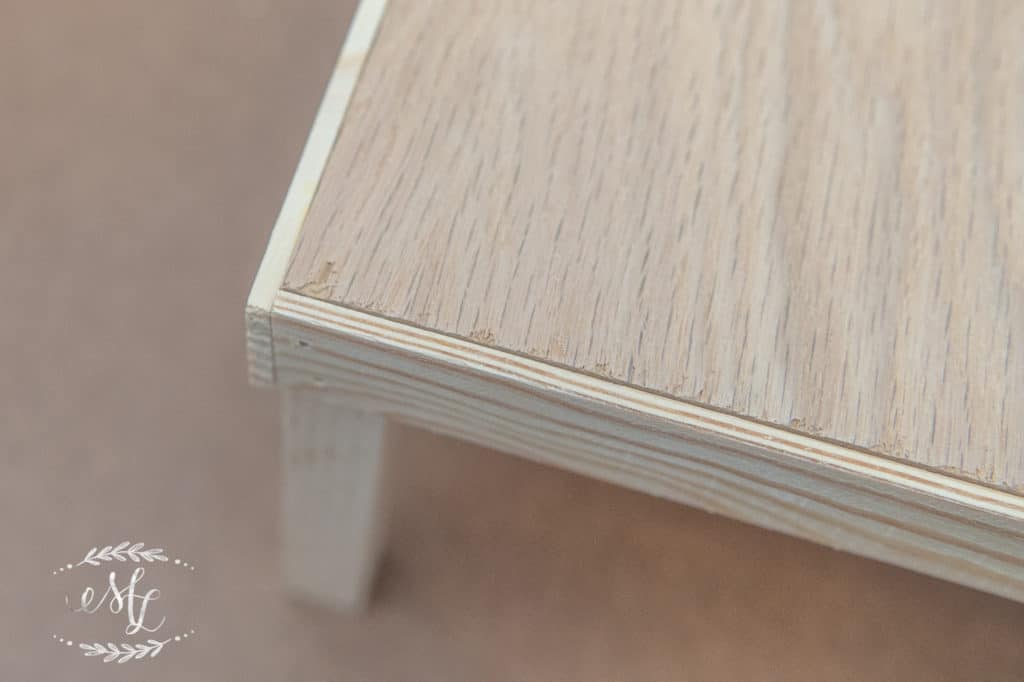
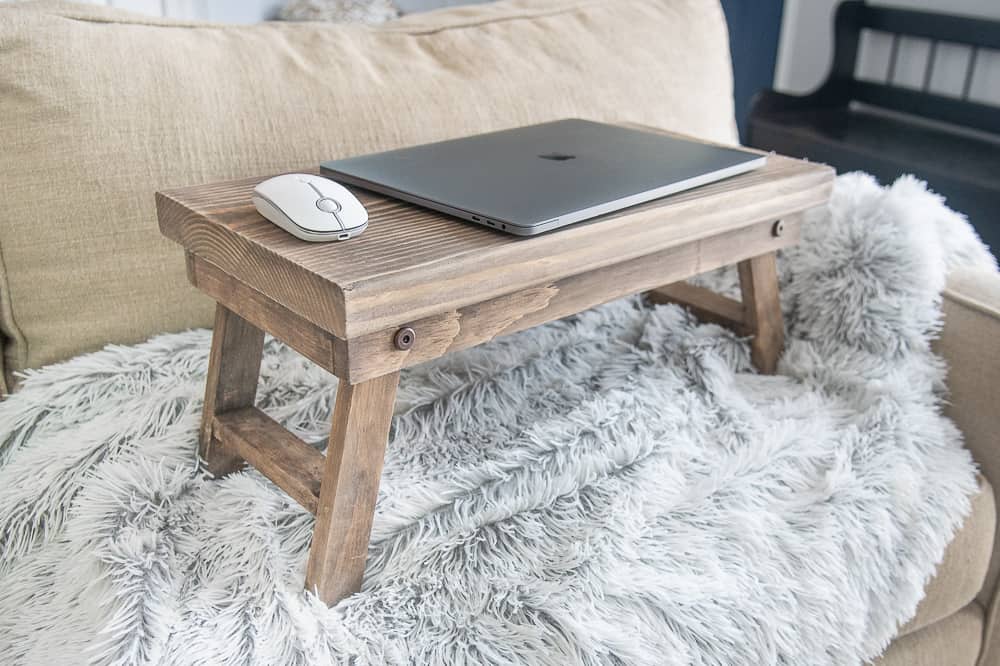
Pingback: DIY Footstool You Can Make from a Crate - The Country Chic Cottage
Thanks so much for the inspiration! I’m so excited to give this a try! I love projects that I already have the supplies for! ☺️
God Bless,
Kim
Kim,
Me too! It’s great to use what you have and create a new look and feel in your space. I wish you the best of luck. Thanks for reading along and your sweet message.
XOXO,
Maria
I bought one of theses at General dollar. I need one to go between my double sinks in my bathroom. Thanks for sharing, now I can make one. Paula
That’s GREAT Paula! Thank you for reading. It means so much.
XOXO,
Maria
Where are the quantities and lengths of each paint stick or furring strip? Not very informative.
Delia,
Thank you for your feedback. I’m sorry you didn’t find this project more informative. My intention was more to inspire the creative person than to dictate measurements with this post. If you’re looking for supplies count, the paint strips come in a pack of 10. I used a single pack for my crate I made for this project.
Thank you for reading, and I will make sure to be more instructive in the future.
Cheers,
Maria