How to Build a Pantry Door Organizer and Maximize Your Space
Hey there! I’ve been feeling a bit overwhelmed with the organization (or lack thereof) in my kitchen lately. You know that feeling when you open a drawer or cabinet and you’re met with chaos? Yeah, that’s been my reality. I needed to find a way to save space and get everything in order. I need a pantry door organizer… that’s what I needed!
To make this pantry door organizer, you only need basic carpentry skills and a free weekend. (Well, the free weekend is the hardest part.)
To begin the pantry door organizer project, I measured the inside of the pantry door, taking into consideration the door frame. It was important to ensure that the organizer would not prevent the door from closing once mounted.
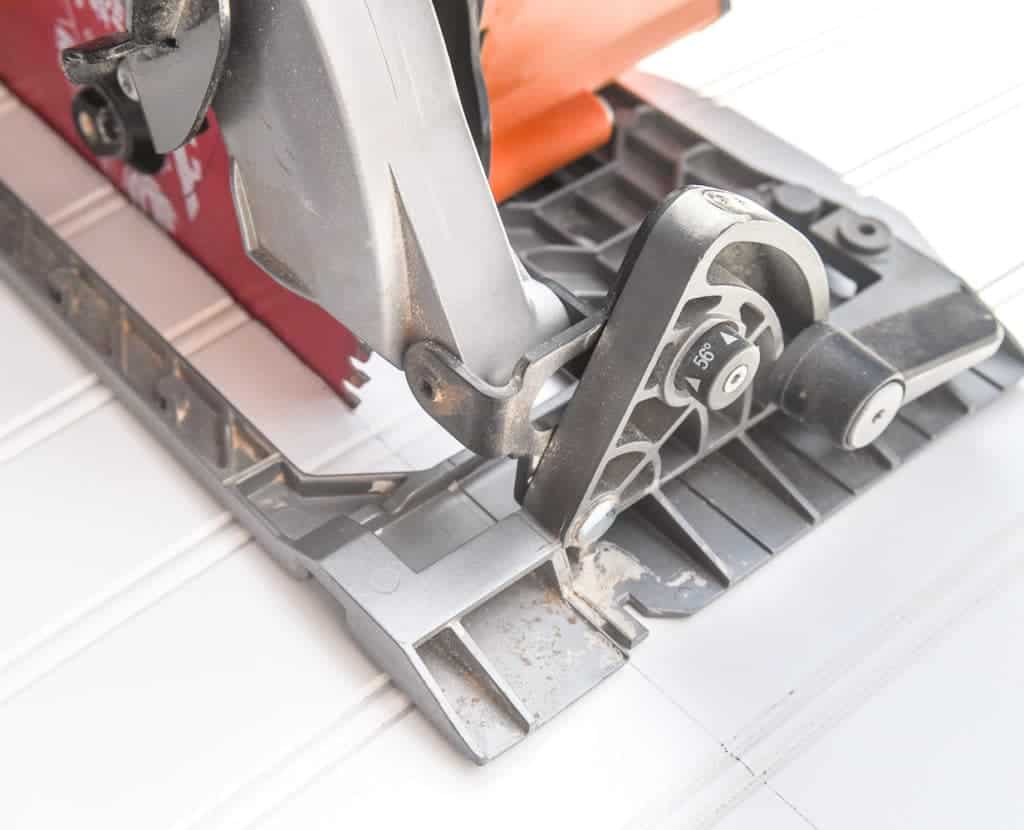
Once I had all the measurements, I use some leftover beadboard from my Modern Farmhouse Pantry Renovation to use as the backing of each of the organizers.
Then, using a circular saw to make the rough cuts, I trimmed everything down to size.
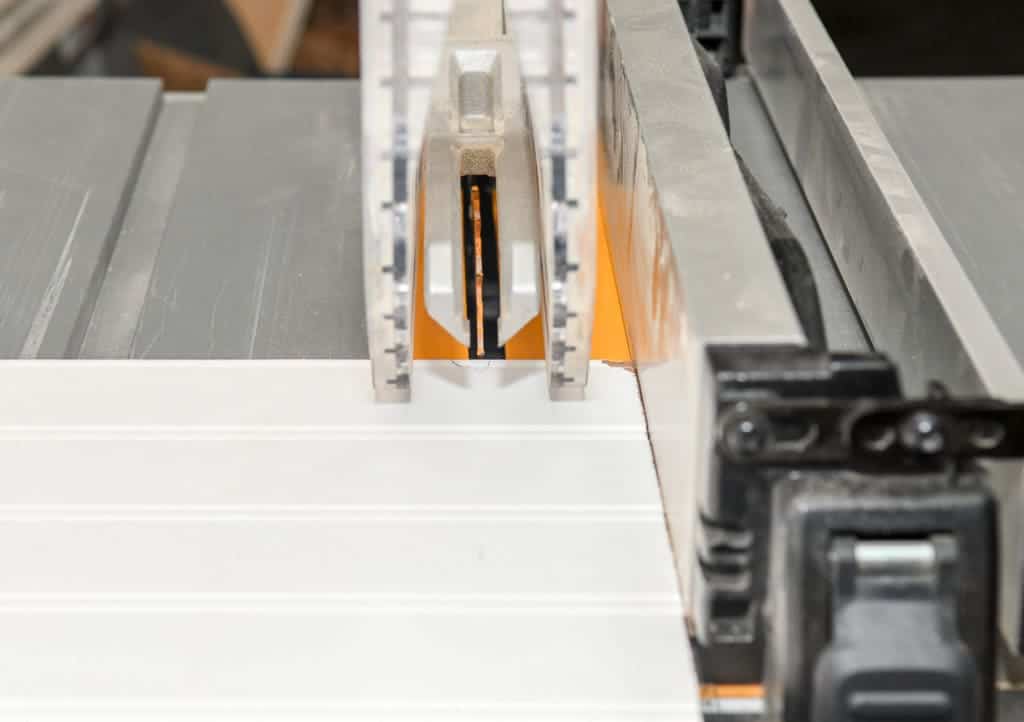
After cutting the original piece to a smaller size, I used the table saw to clean up the edges to ensure that they were perfectly square.
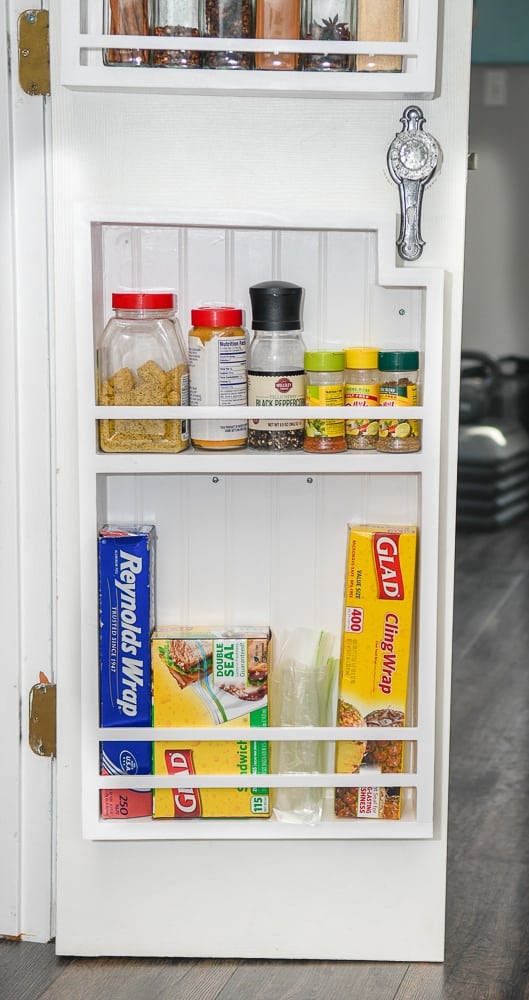
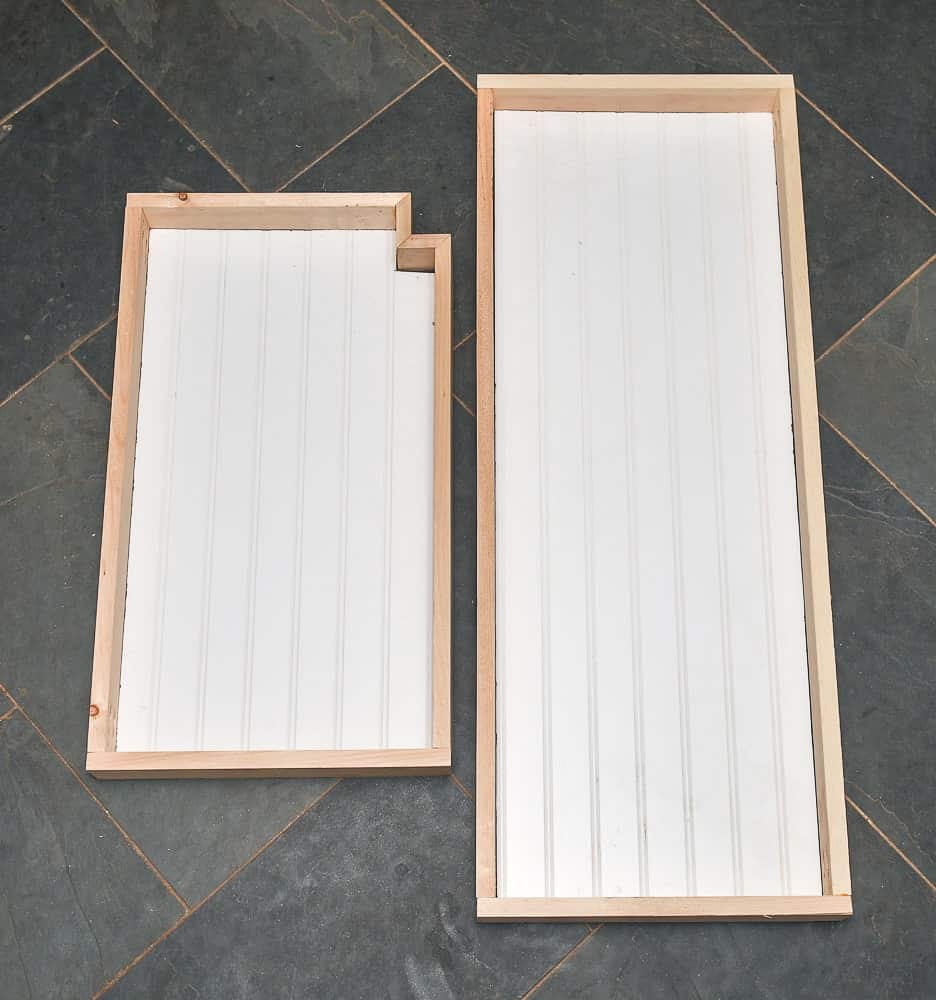
When designing the pantry door organizer, I knew I needed to take in consideration the decorative door knob plate I have on the inside of the pantry door.
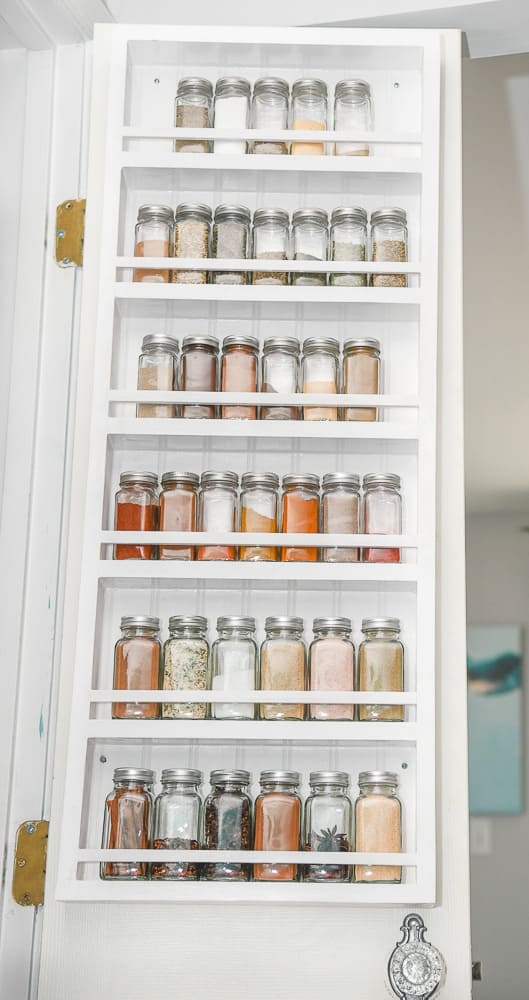
I used 1x3s to frame the top organizer and 1x4s for the lower organizer.
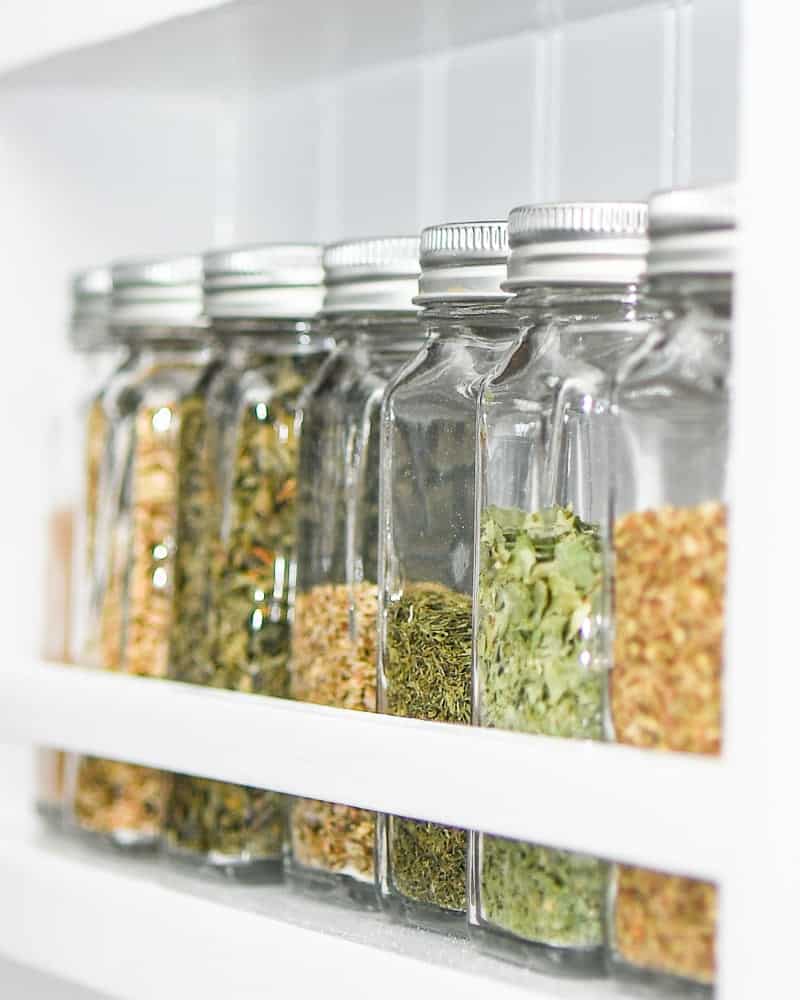
The 1x3s were of the perfect depth to allow for the new spice jars I had ordered. However, I decided to use 1x4s to provide more space for larger items in the lower organizer.
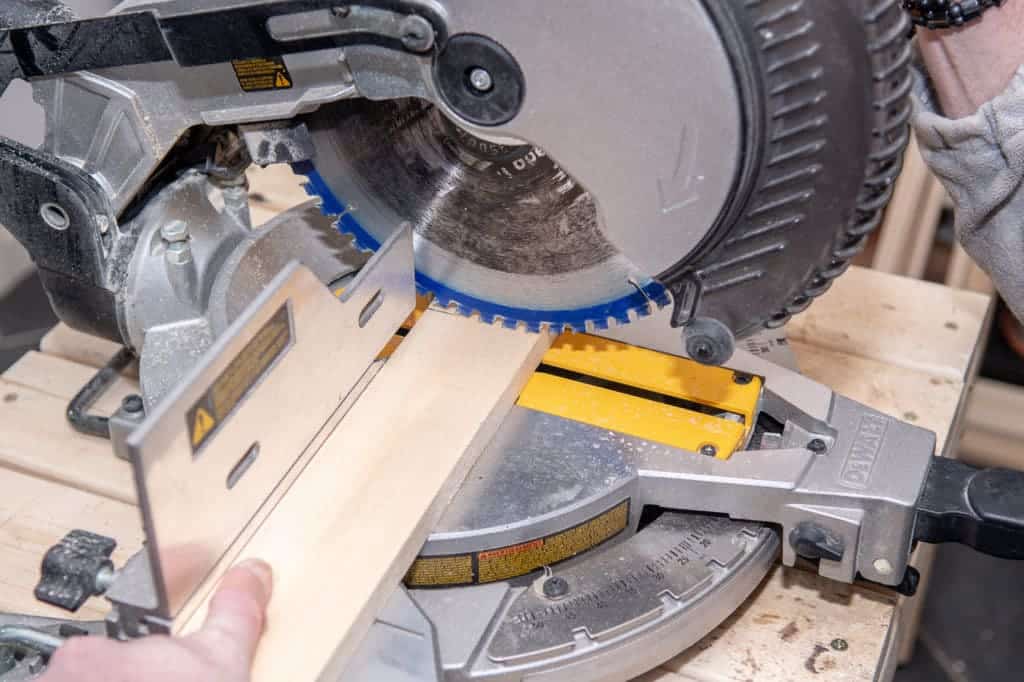
With the help of a miter saw, I made all the necessary cuts to frame the beadboard backing.
Assembling the Frame Using Pocket Holes:
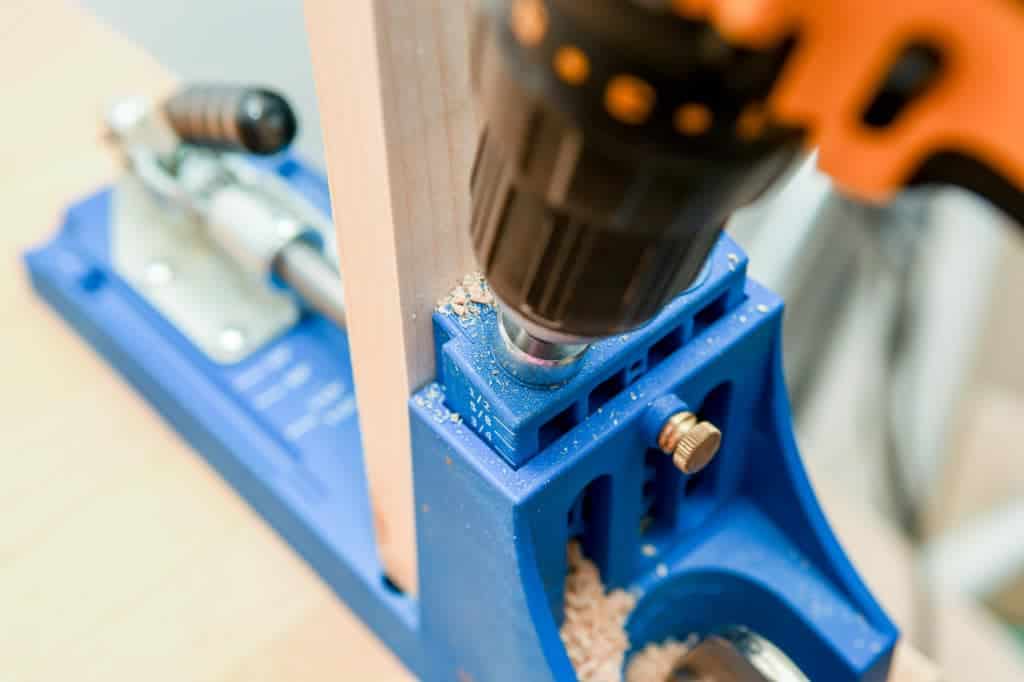
Once out frame was cut, we drilled pocket holes to assemble the frame.
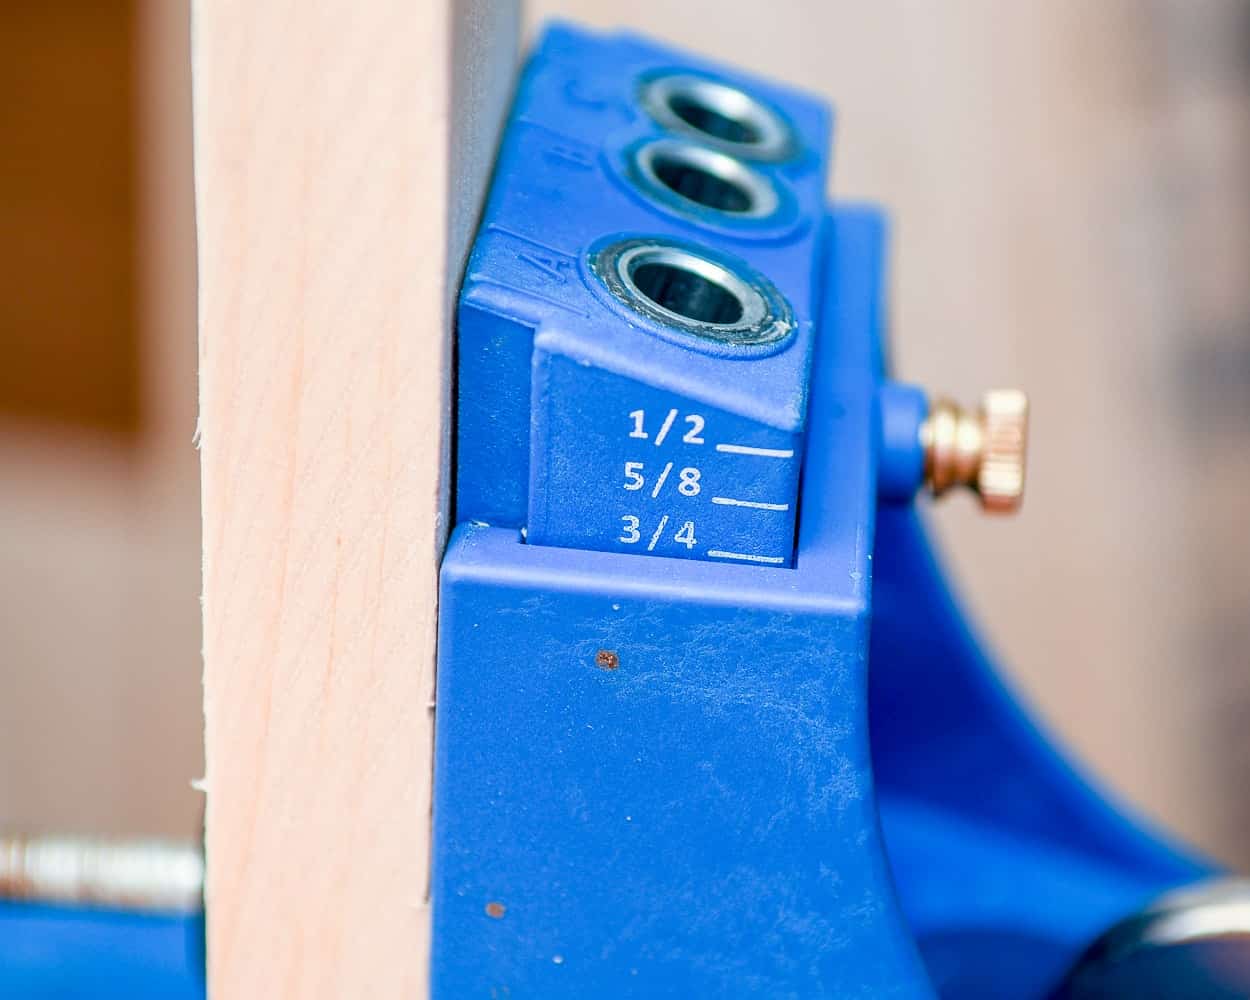
If you’ve never used a Kreg Pocket Hole System, they’re super easy. The only thing you need to know is the thickness of the wood you’re working with and this chart.
The wood I used was 3/4″ thick, therefore I needed to set the jig and the drill bit both at 3/4″.
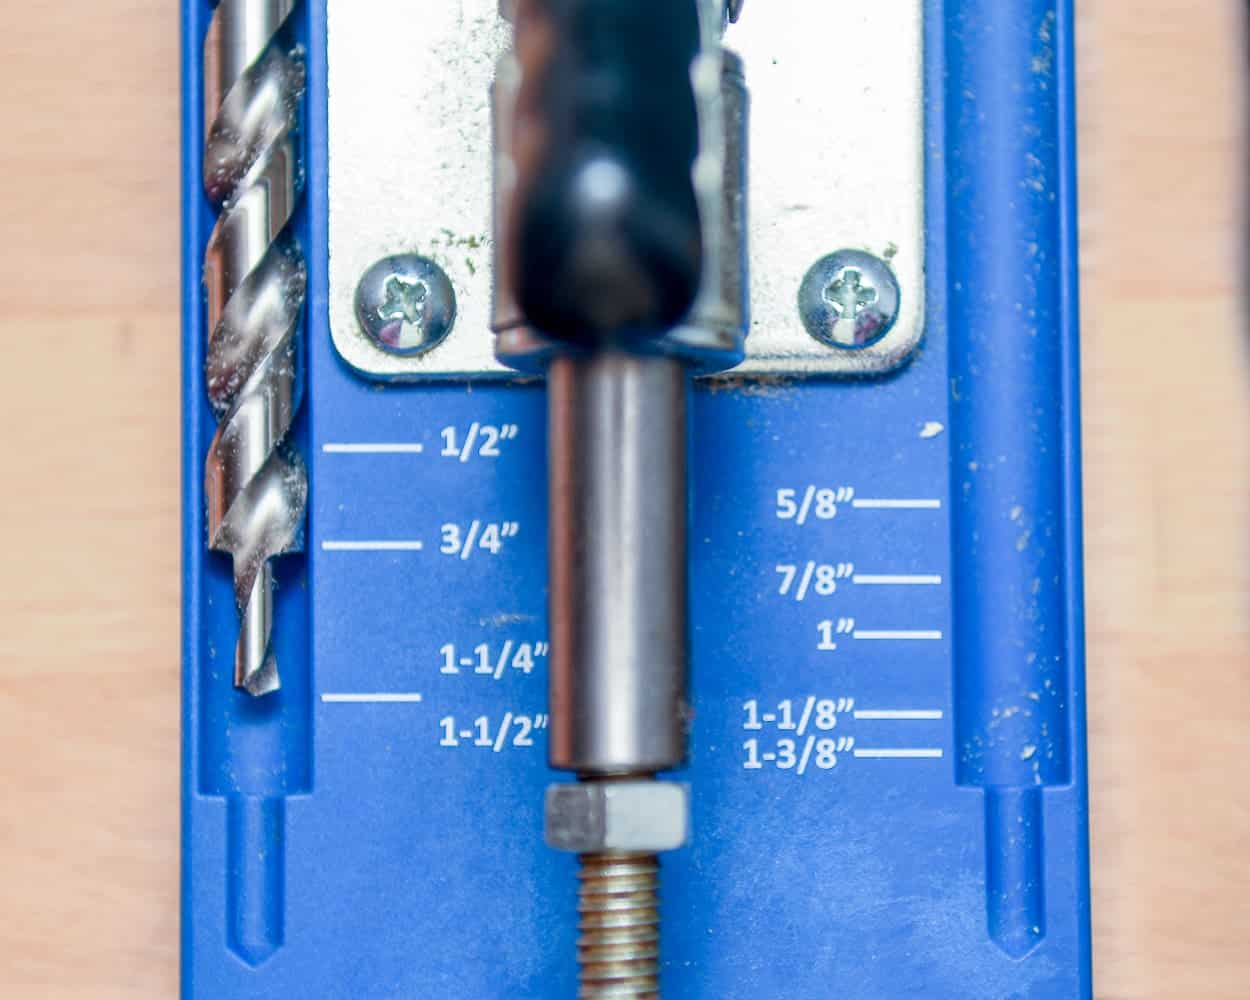
Now all I had to do is reference this chart to determine what size screws I needed. It’s that easy!
Pro Tip: When setting the size of your pocket hole, measure the drill bit to the end of the spiral. This ensures the pocket hole is 3/4″ deep with a small channel to guide the tip of the screw straight.
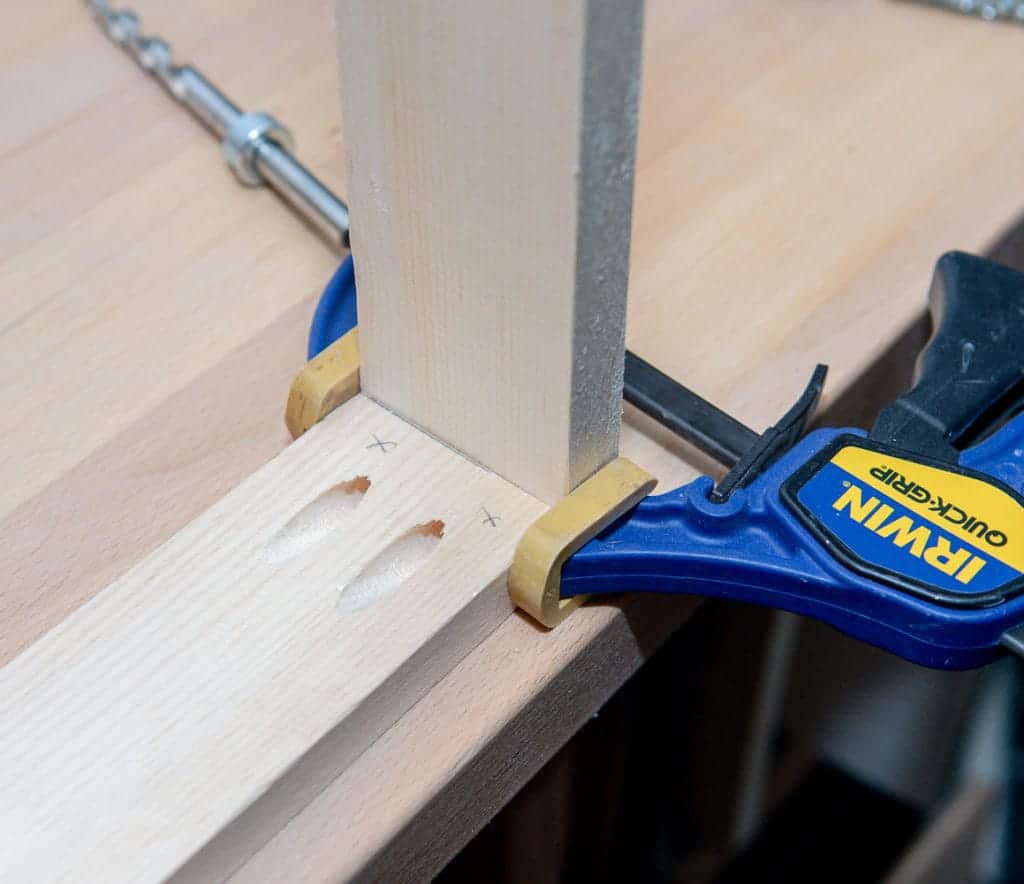
I made sure to pre-drill the holes at the ends of the boards, following the wood grain. To ensure a strong joint, I drilled the screws into the wood grain of the opposing board. This helped in making the joints nice and strong.
Additionally, I clamped the boards down while driving the screws to prevent any movement. This was a great tip that I learned after creating a few crooked joints!
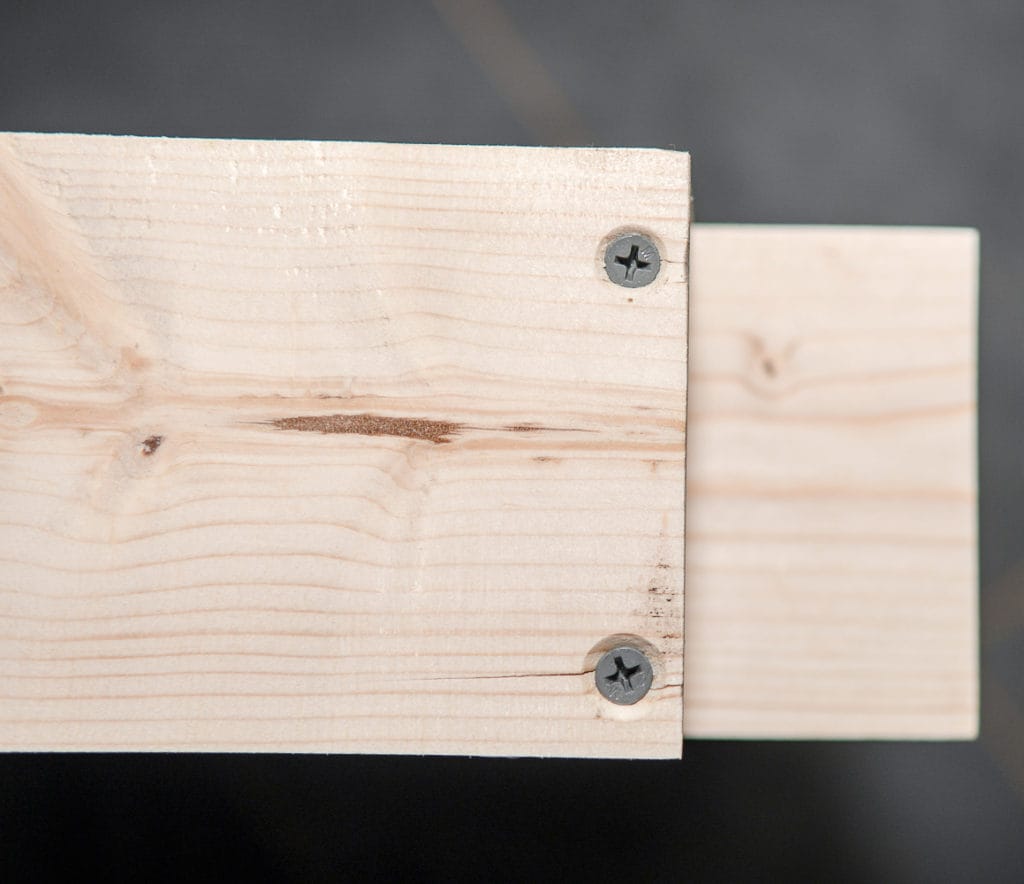
To accommodate the small cutout I made with the jigsaw, I came up with a simple solution.
I simply recessed wood screws into the wood and filled them with wood putty to hide them before the final paint job.
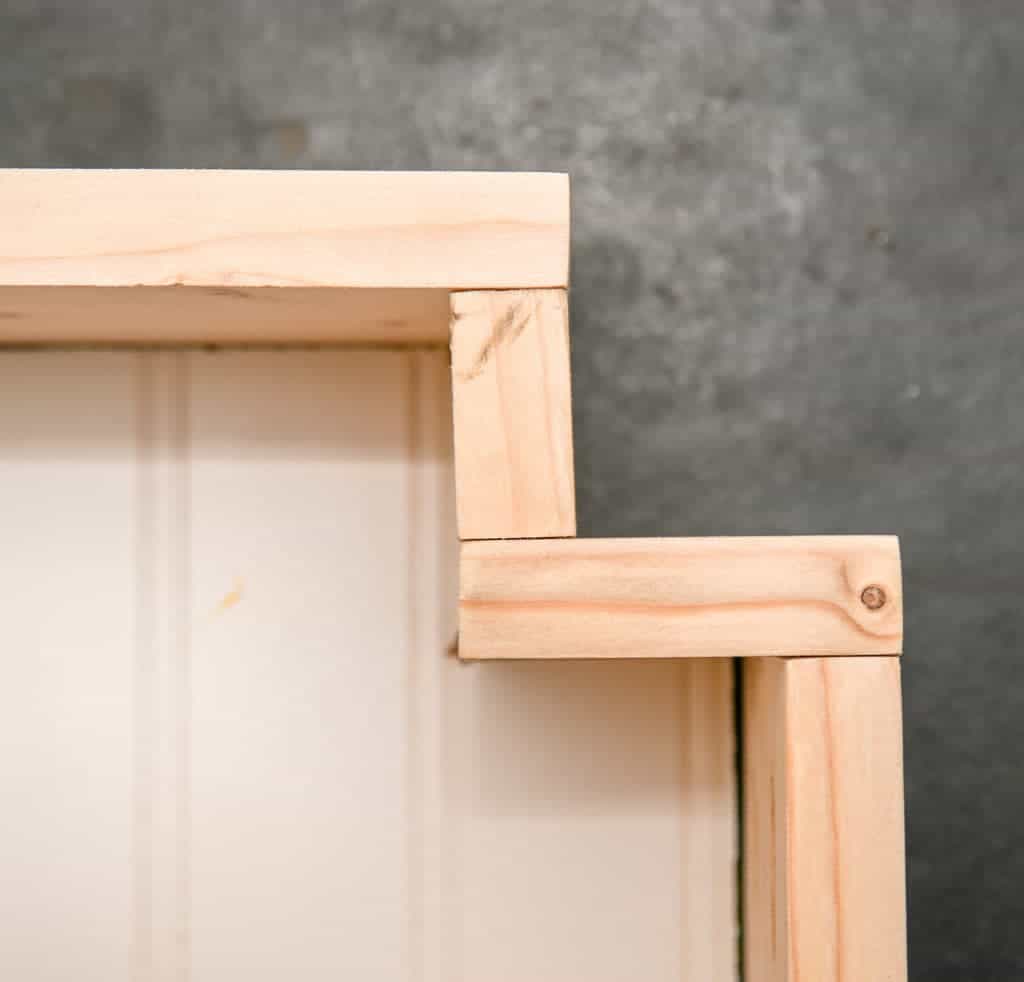
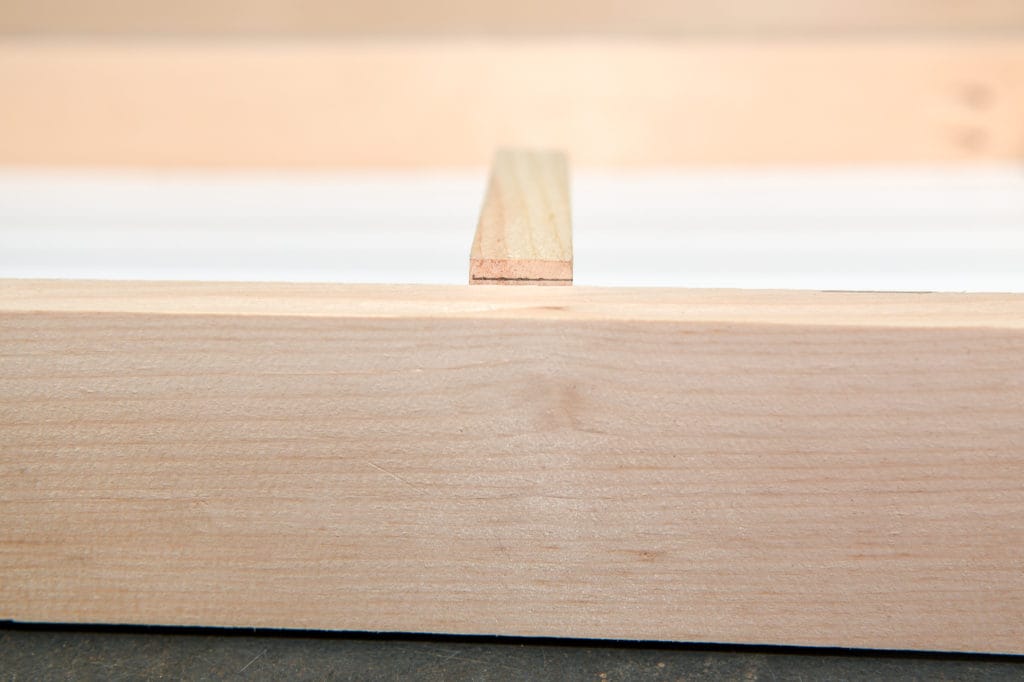
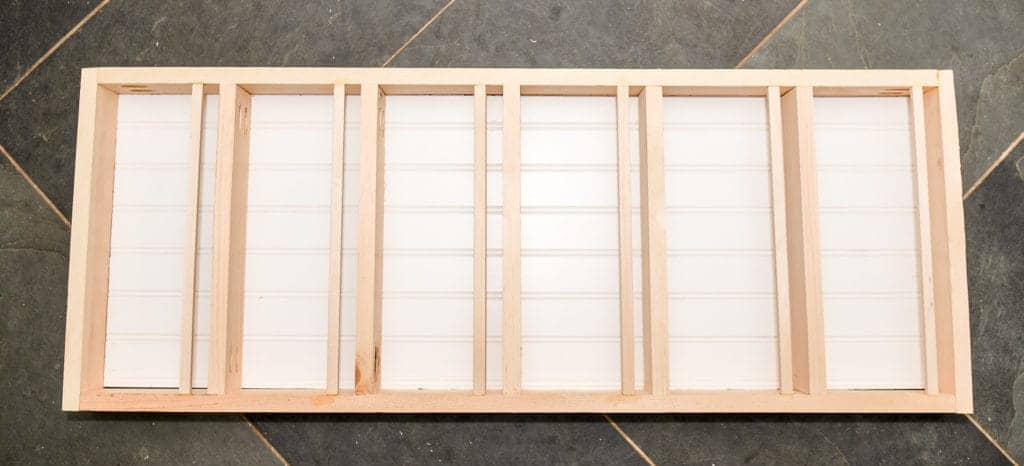
Once the frames were complete, it was time to add the shelves.
Keeing in mind, the boards and beadboard backing might not be perfectly aligned, I had to trim the shelves a bit before installing them.
To solve this problem, I measured the difference and set up the table saw accordingly. After being careful and watching out for my fingers, I ripped off the excess wood.
Now, the shelves are flush with the frame of the pantry door organizer.
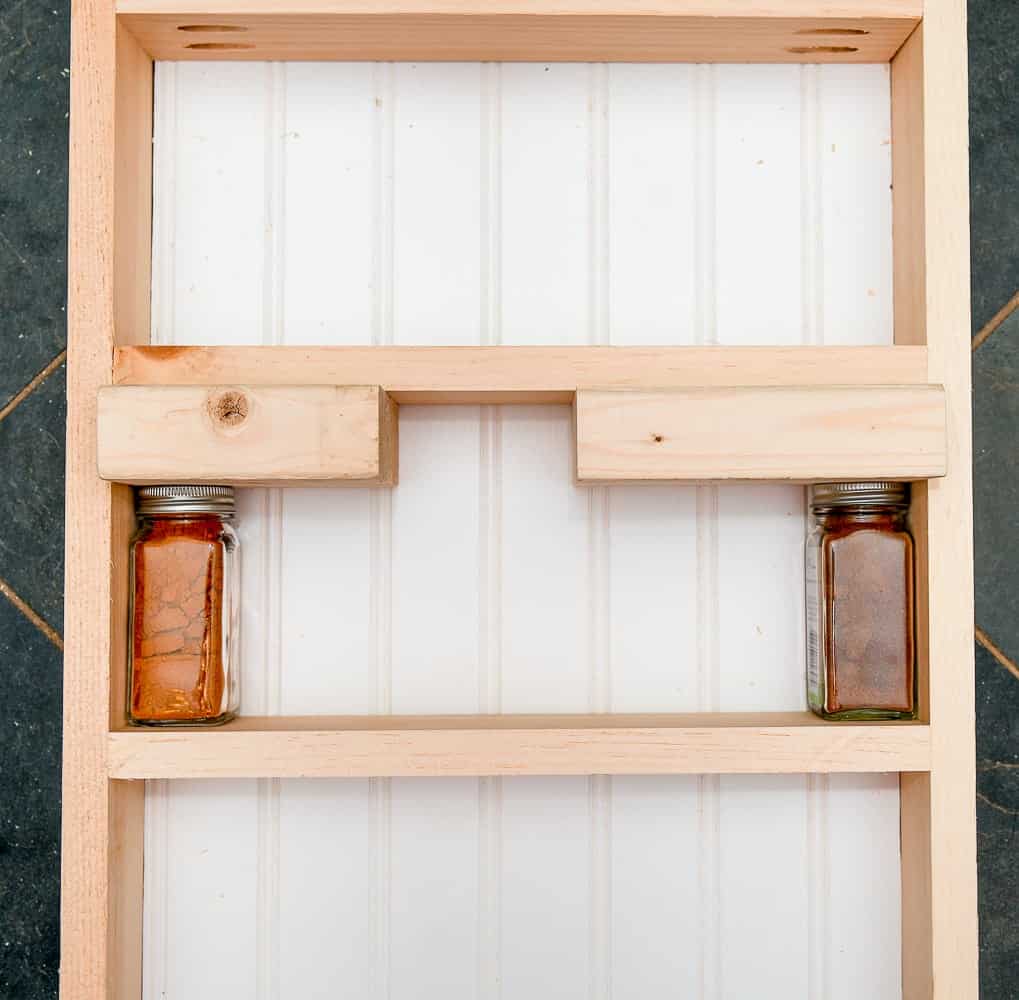
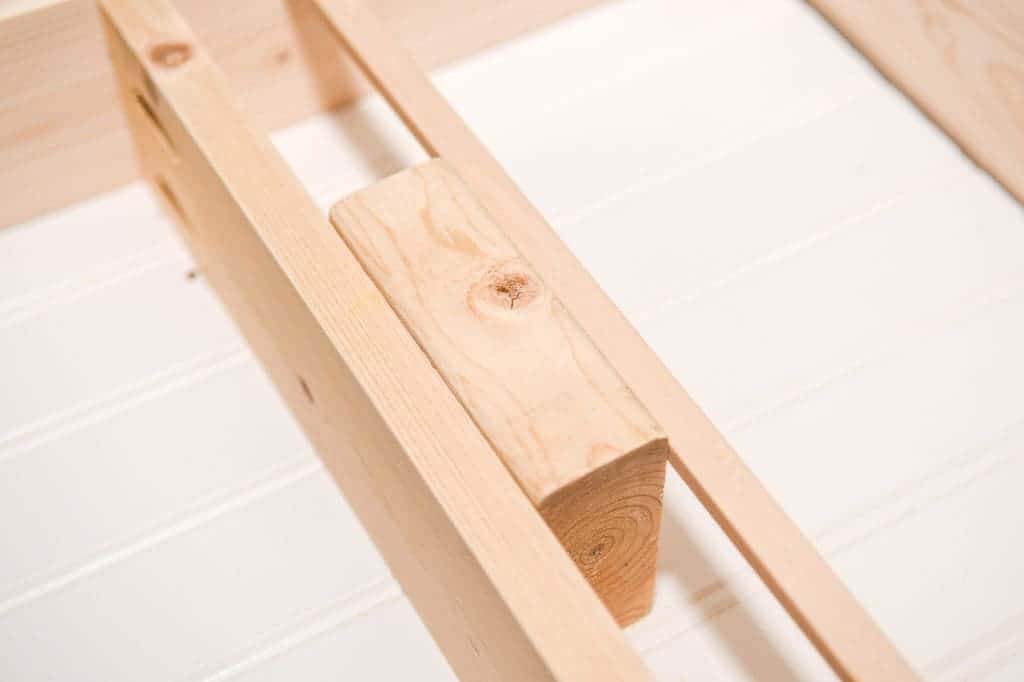
To install the shelves, we used scrap 2x4s as spacers. The spacers ensured that there was enough clearance to get items in and out of each shelf with ease. It also helped us avoid the need to measure, making the installation faster.
I’m all for efficiency, and not for anything math related!
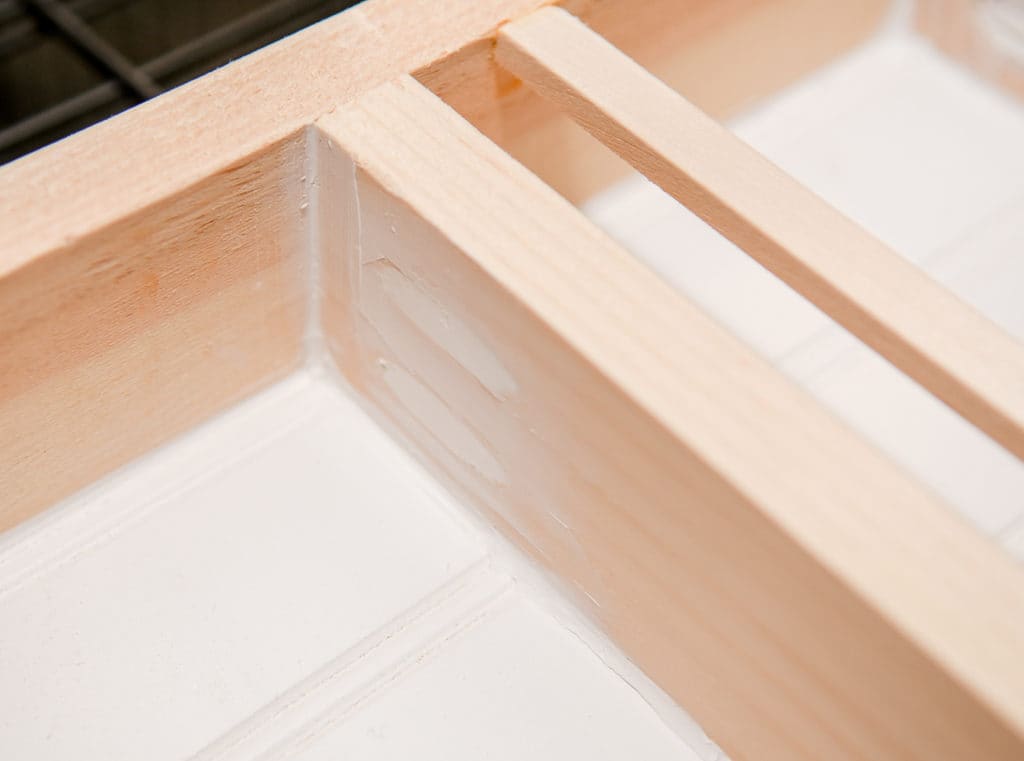
Lastly, I simply used the same 2×4 spacers to help install some small moulding to help hold the items on the shelf when opening and closing the pantry door (I feel like that was a duh statement!)
I anchored these little guys in place with some wood glue and a nail gun. I must say, this was a test of patience and accuracy!
After both organizers were assembled, I caulked and filled any gaps before painting.
Additionally, I filled all of the pocket holes with wood filler. Once completed, I waited 24 hours for everything to dry and cure.
The following day, I sanded off any residual wood filler and painted. Using Gliden Flat Pure White Paint, I painted both organizers.
And just like that… your weekends gone!
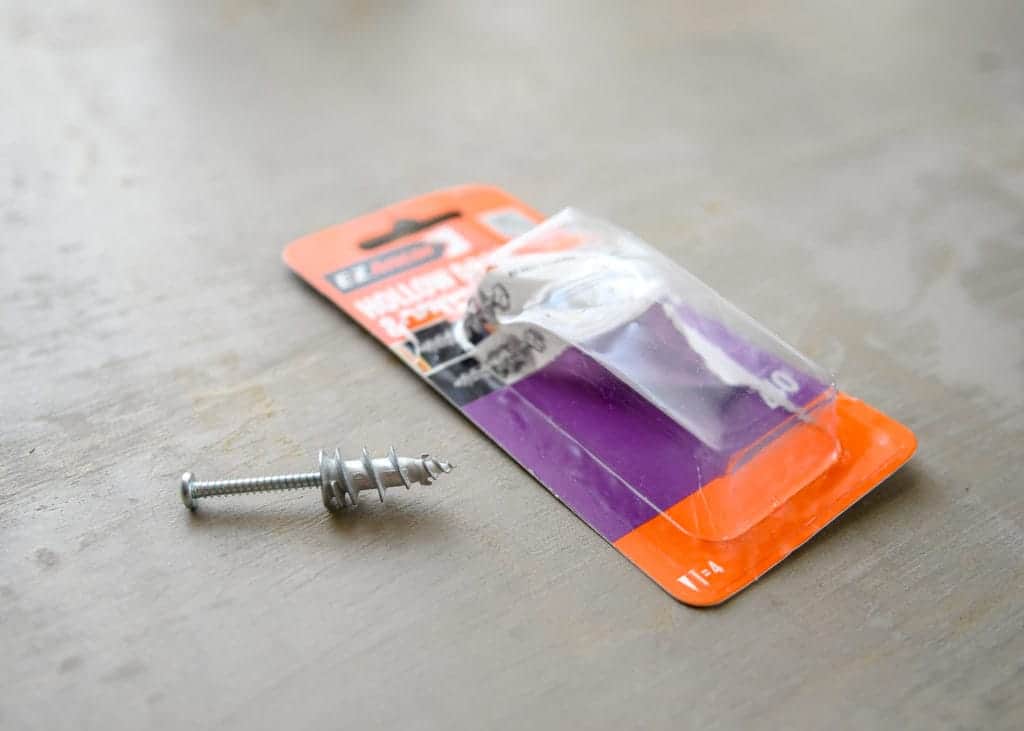
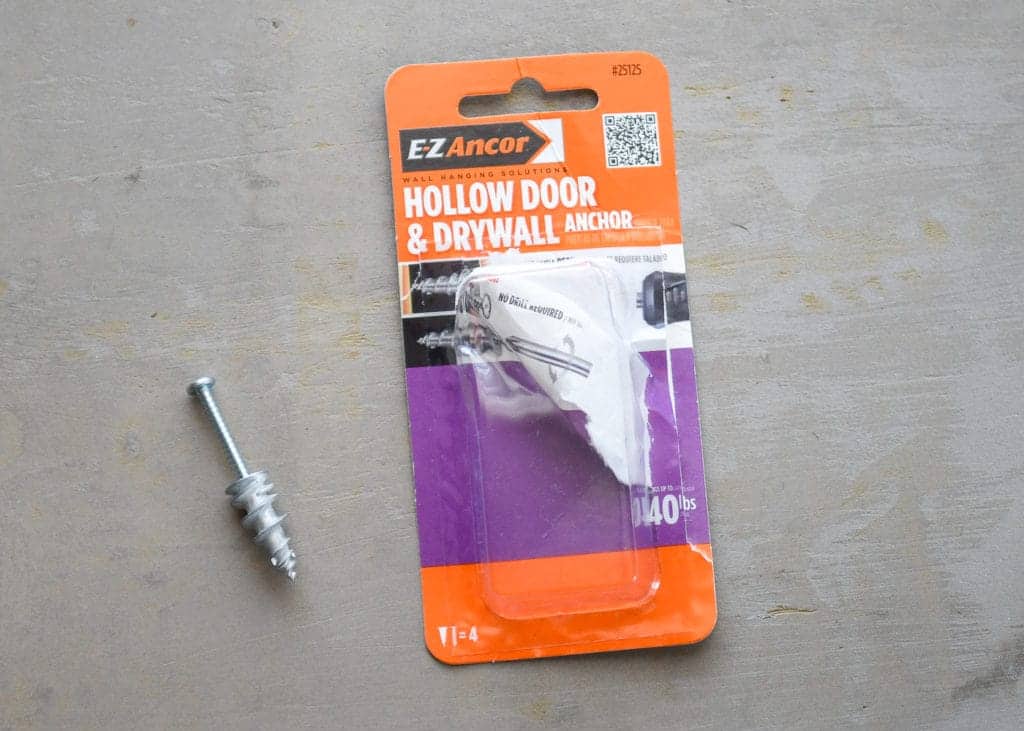
Mounting Your Pantry Door Organizer to a Hollow Door:
They are shorter in length than your standard drywall anchors, so they fit inside the interior of the door. They are 1/2″ long and hold approximately 40 pounds each.
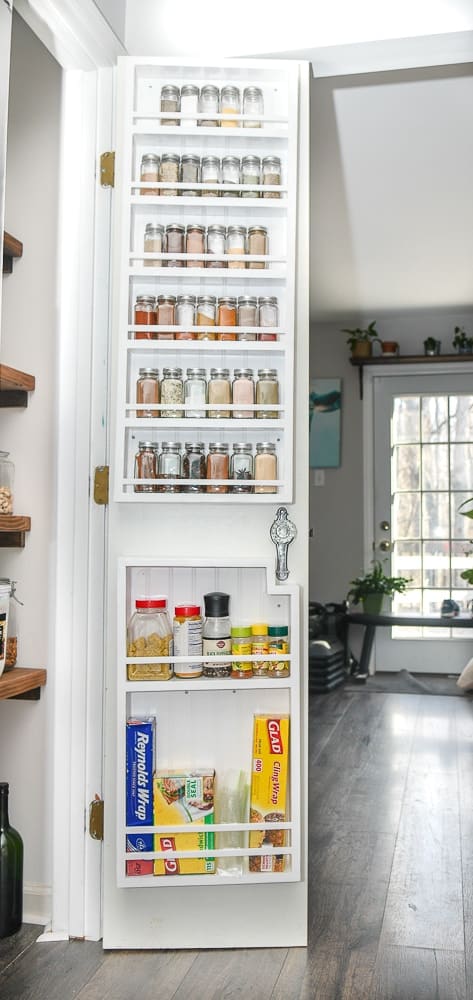
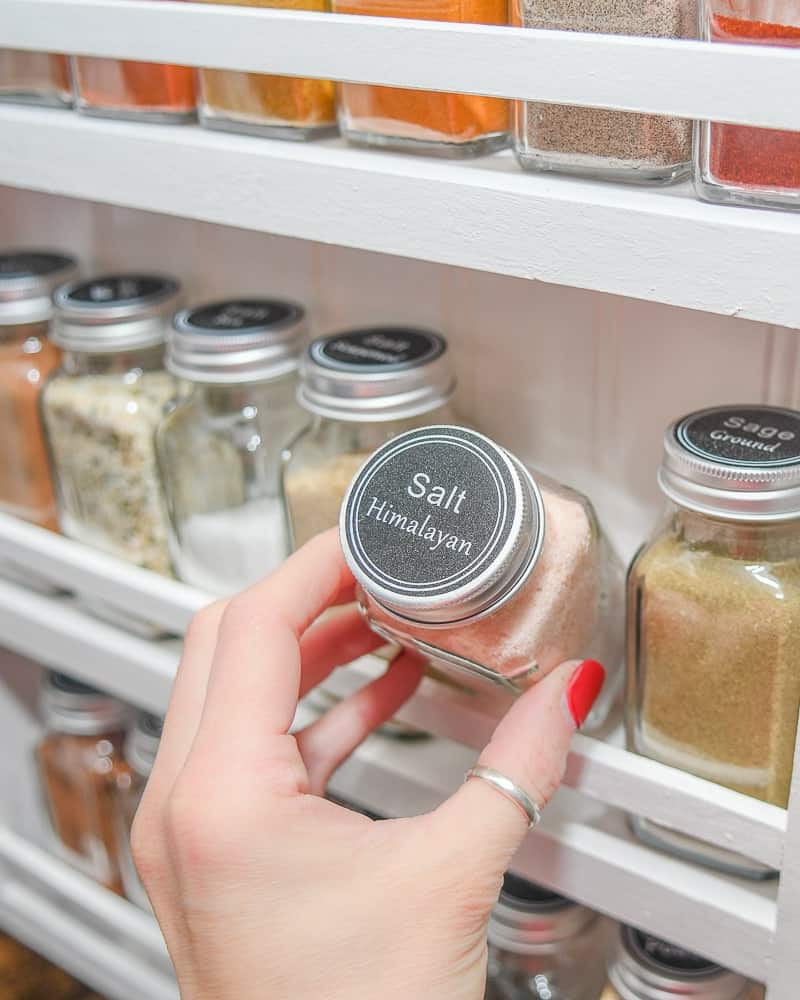
After the pantry door organizer was mounted, I transferred all my spices into these glass 6 oz spice jars I purchased from Amazon. They came with these adorable labels, 360 to be exact!
If you have a spice, they have a label for it!
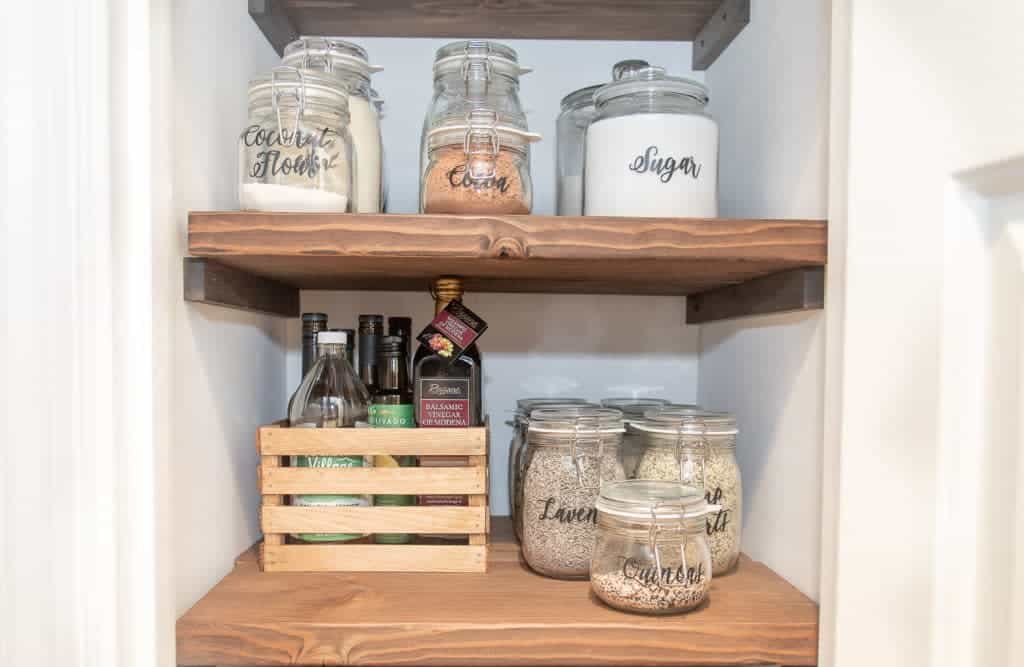
Now, I feel completely under control of our spice situation. And that wasted cabinet will now hold wine,tupperware,chocolate, whatever I need!
Thankfully, I can now move onto more pantry organization ideas since this project has been knocked out.
Well, there you have it folks!
This build really wasn’t complicated and I LOVE the results. If you’re looking for pantry organization ideas, I hope this build inspired you.
Thanks for visiting my little piece of the internet!
I’m Maria, a lover of furry things, coffee and anything creative. This blog is where I love to share affordable home decor ideas, great DIYs, yummy recipes, unique crafts and so much more.


1 thought on “How to Build a Pantry Door Organizer and Maximize Your Space”
Pingback: 35 Cheap DIY Spice Rack Ideas | Best Way to Organize Spices