I have fond memories of making salt dough ornaments with my mother this time of year. We would quickly whip up a batch using the best salt dough recipe and then let the creativity flow. My mothers ornaments would never crack or crumble. I don’t know how she did it.
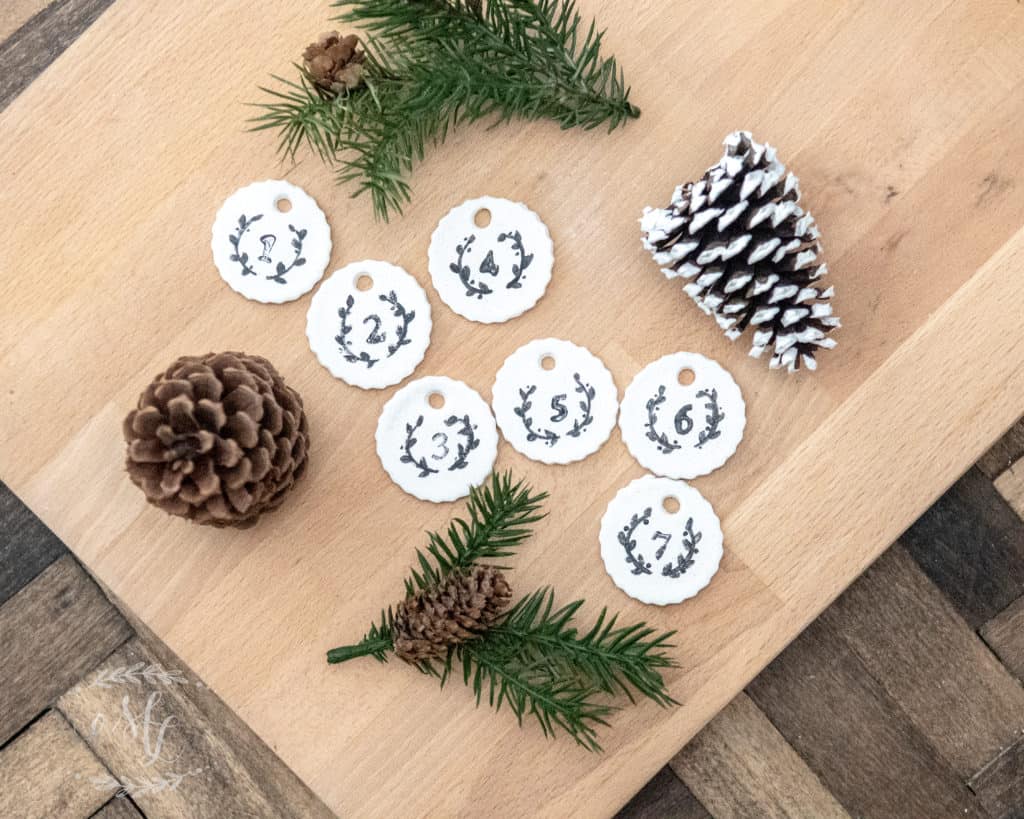
While decorating my holiday gifts the other day, I decided I wanted to add a little charm. I decided I wanted to try to make gift tags out of salt dough.
After experimenting with various salt dough recipes I found online, I made several adjustments to the ingredients and proportions.
After numerous attempts, I finally developed the perfect salt dough recipe that is easy to work with, holds its shape well, and dries beautifully.
The best part of this recipe is there is no cracking, and they come out beautifully bight white.
Now I won’t take all the credit for this recipe. I did come across a very talented blogger, Domestically Blissful,that gave me the idea toadd some white paint to make sure there was no discoloration.
If you’ve never worked with salt dough, you’re in for a treat.
Salt dough is a versatile and easy-to-work-with material that can be used to create a wide range of projects. While it’s commonly associated with Christmas ornaments, you can also use it to make decorative items, jewelry, and even small sculptures.
Whether you’re looking for a fun activity to do with kids or want to explore your own creativity, salt dough offers endless possibilities for artistic expression.
Make Your Salt Dough
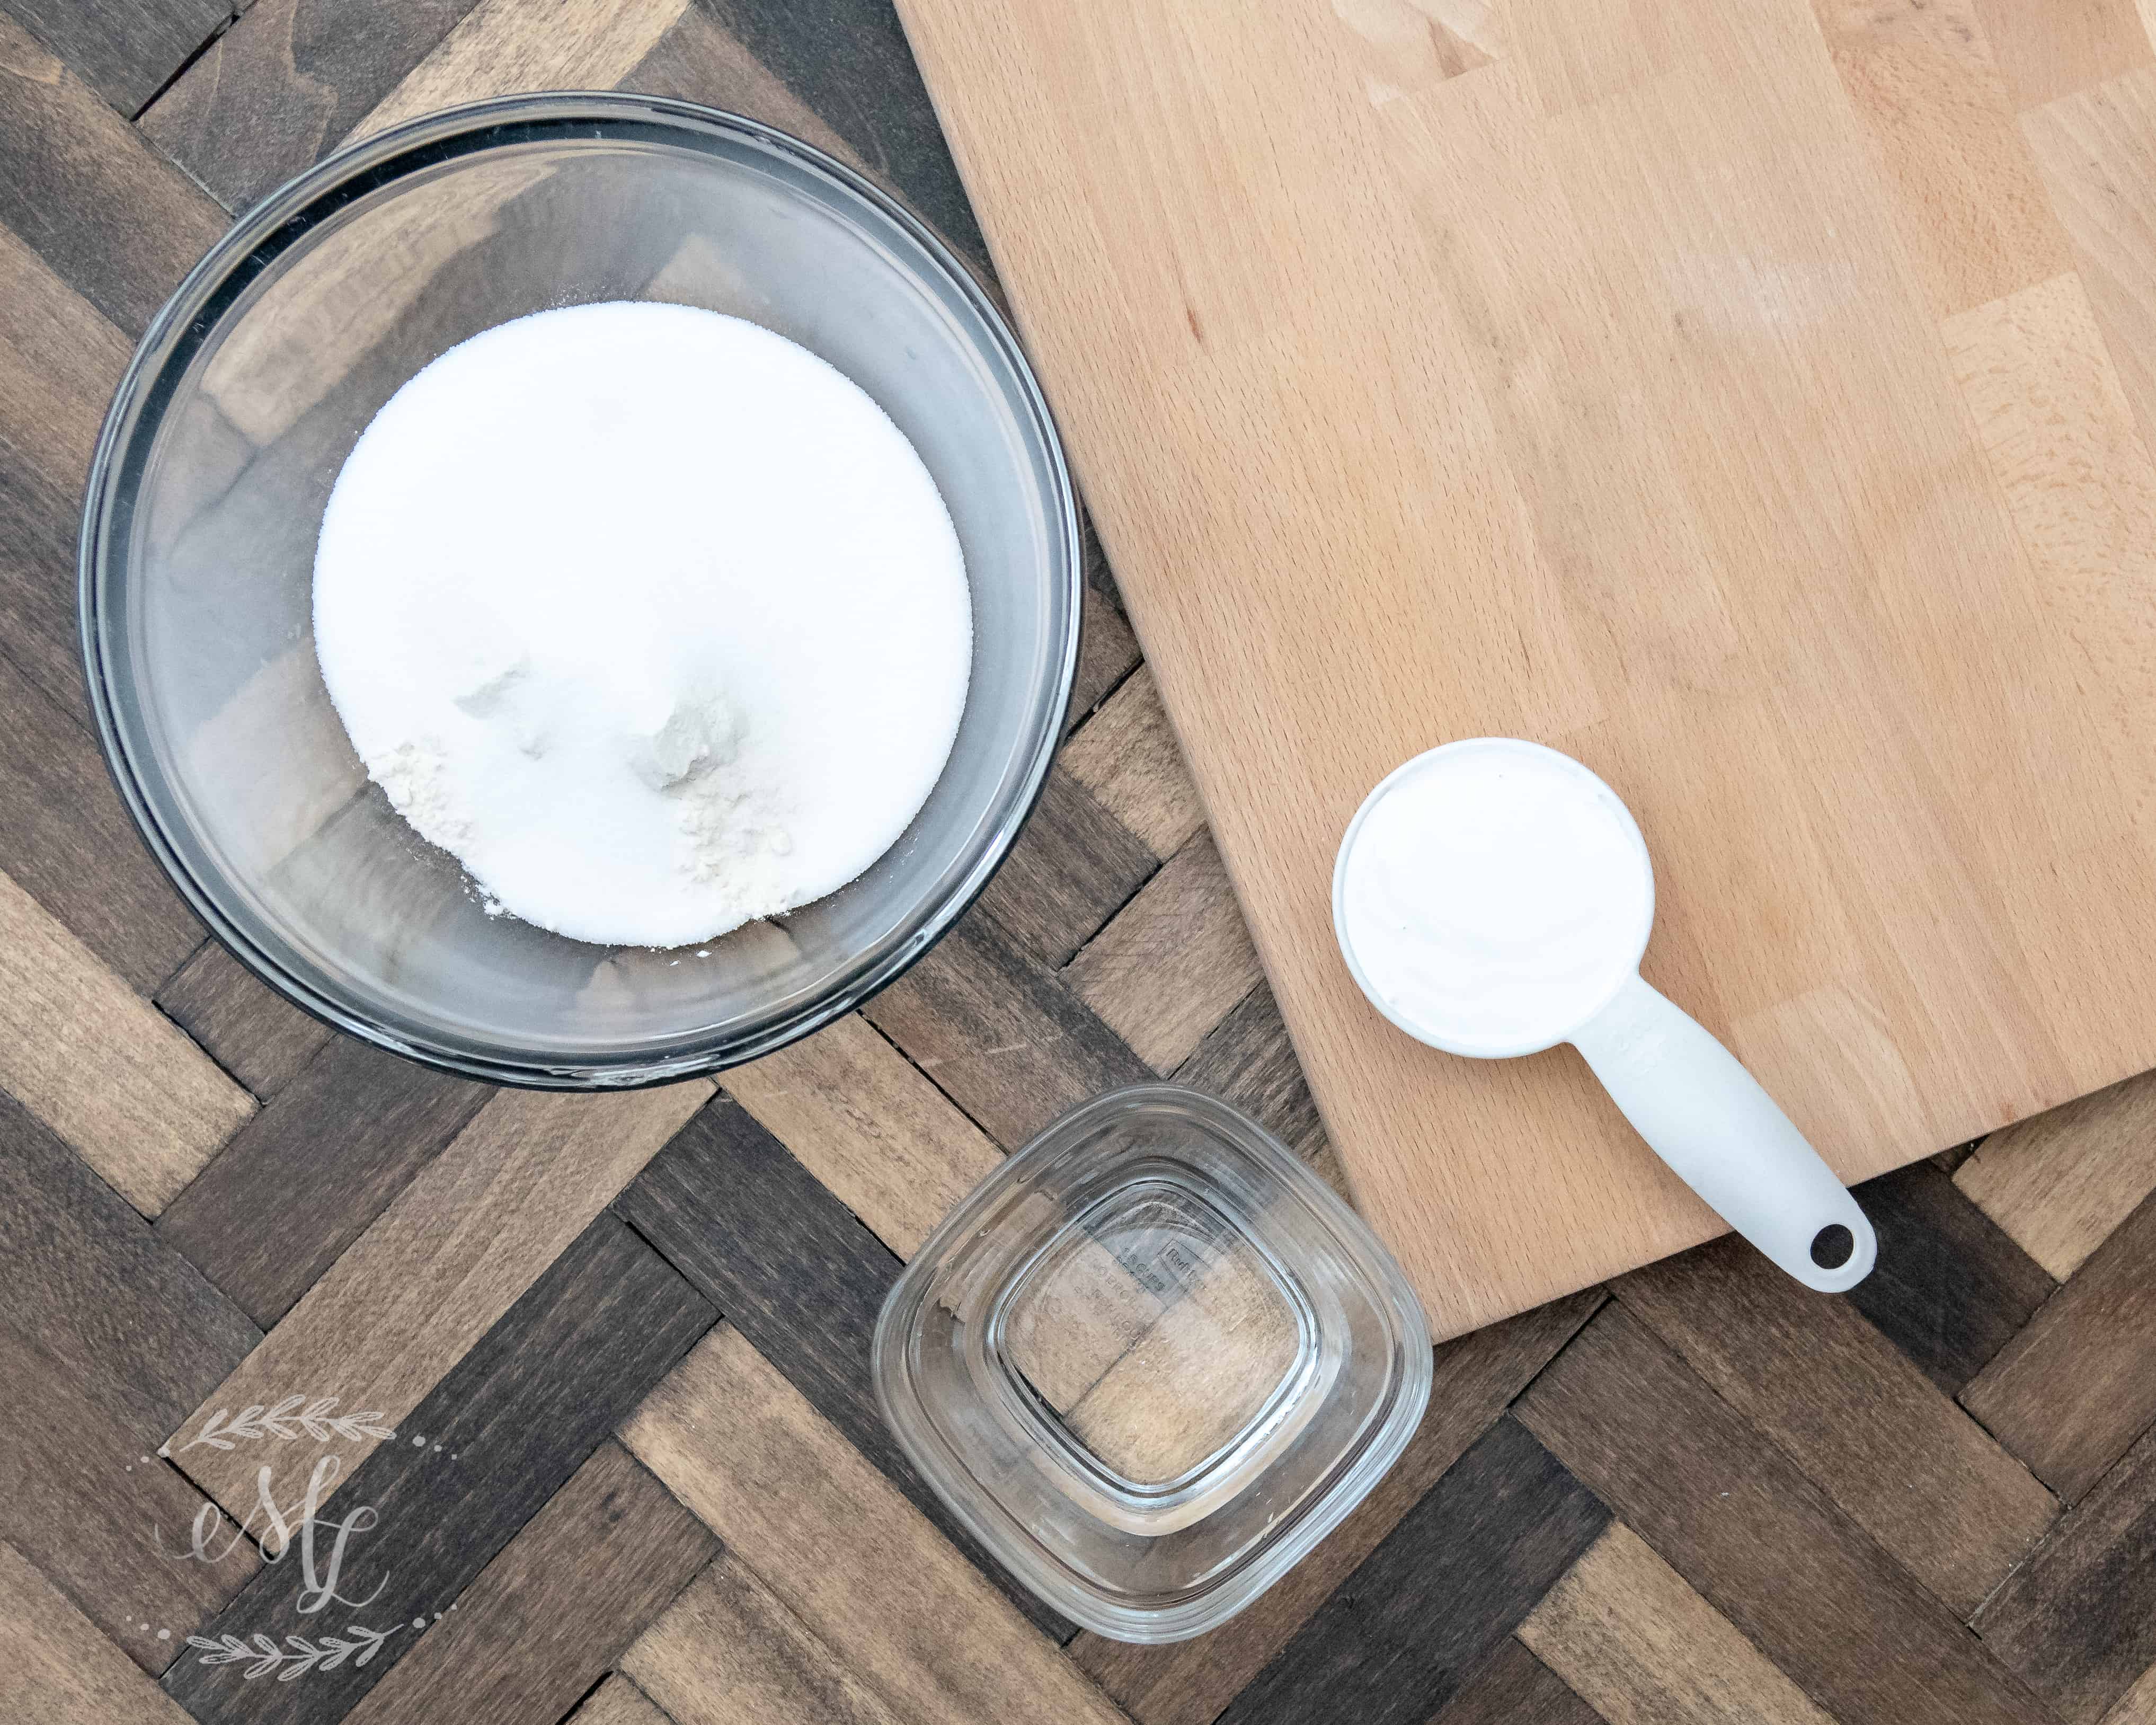
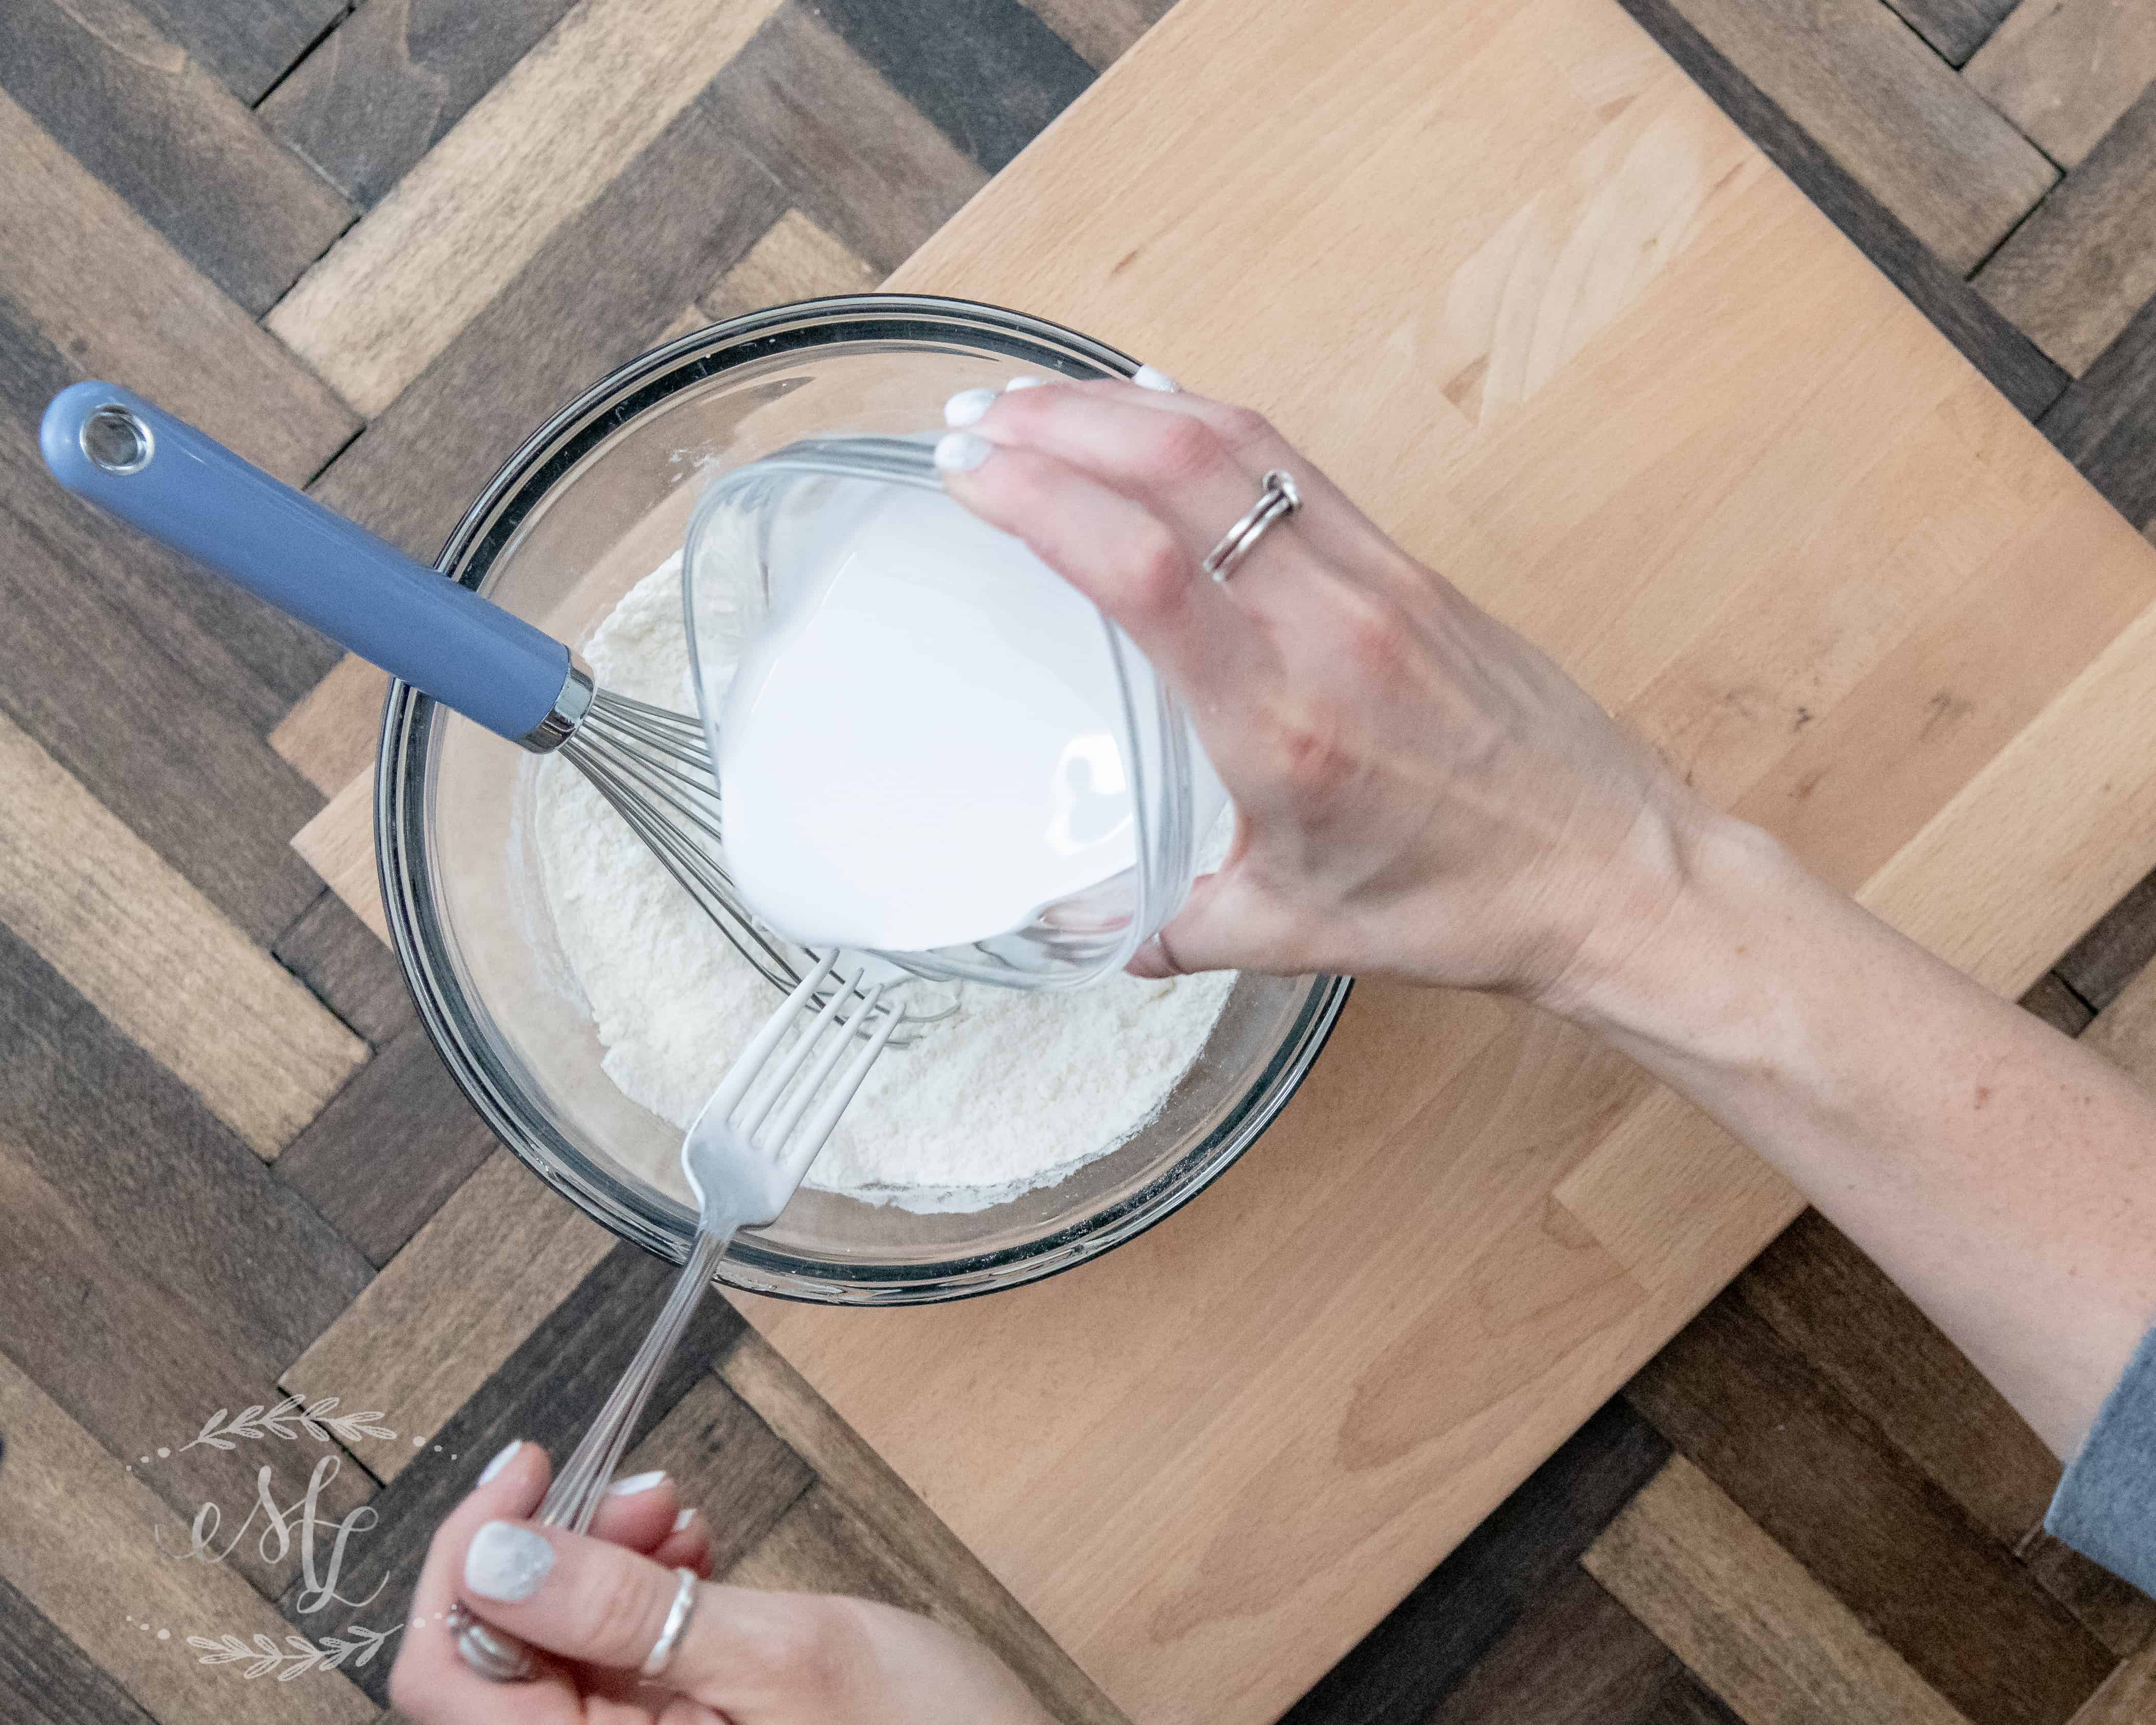
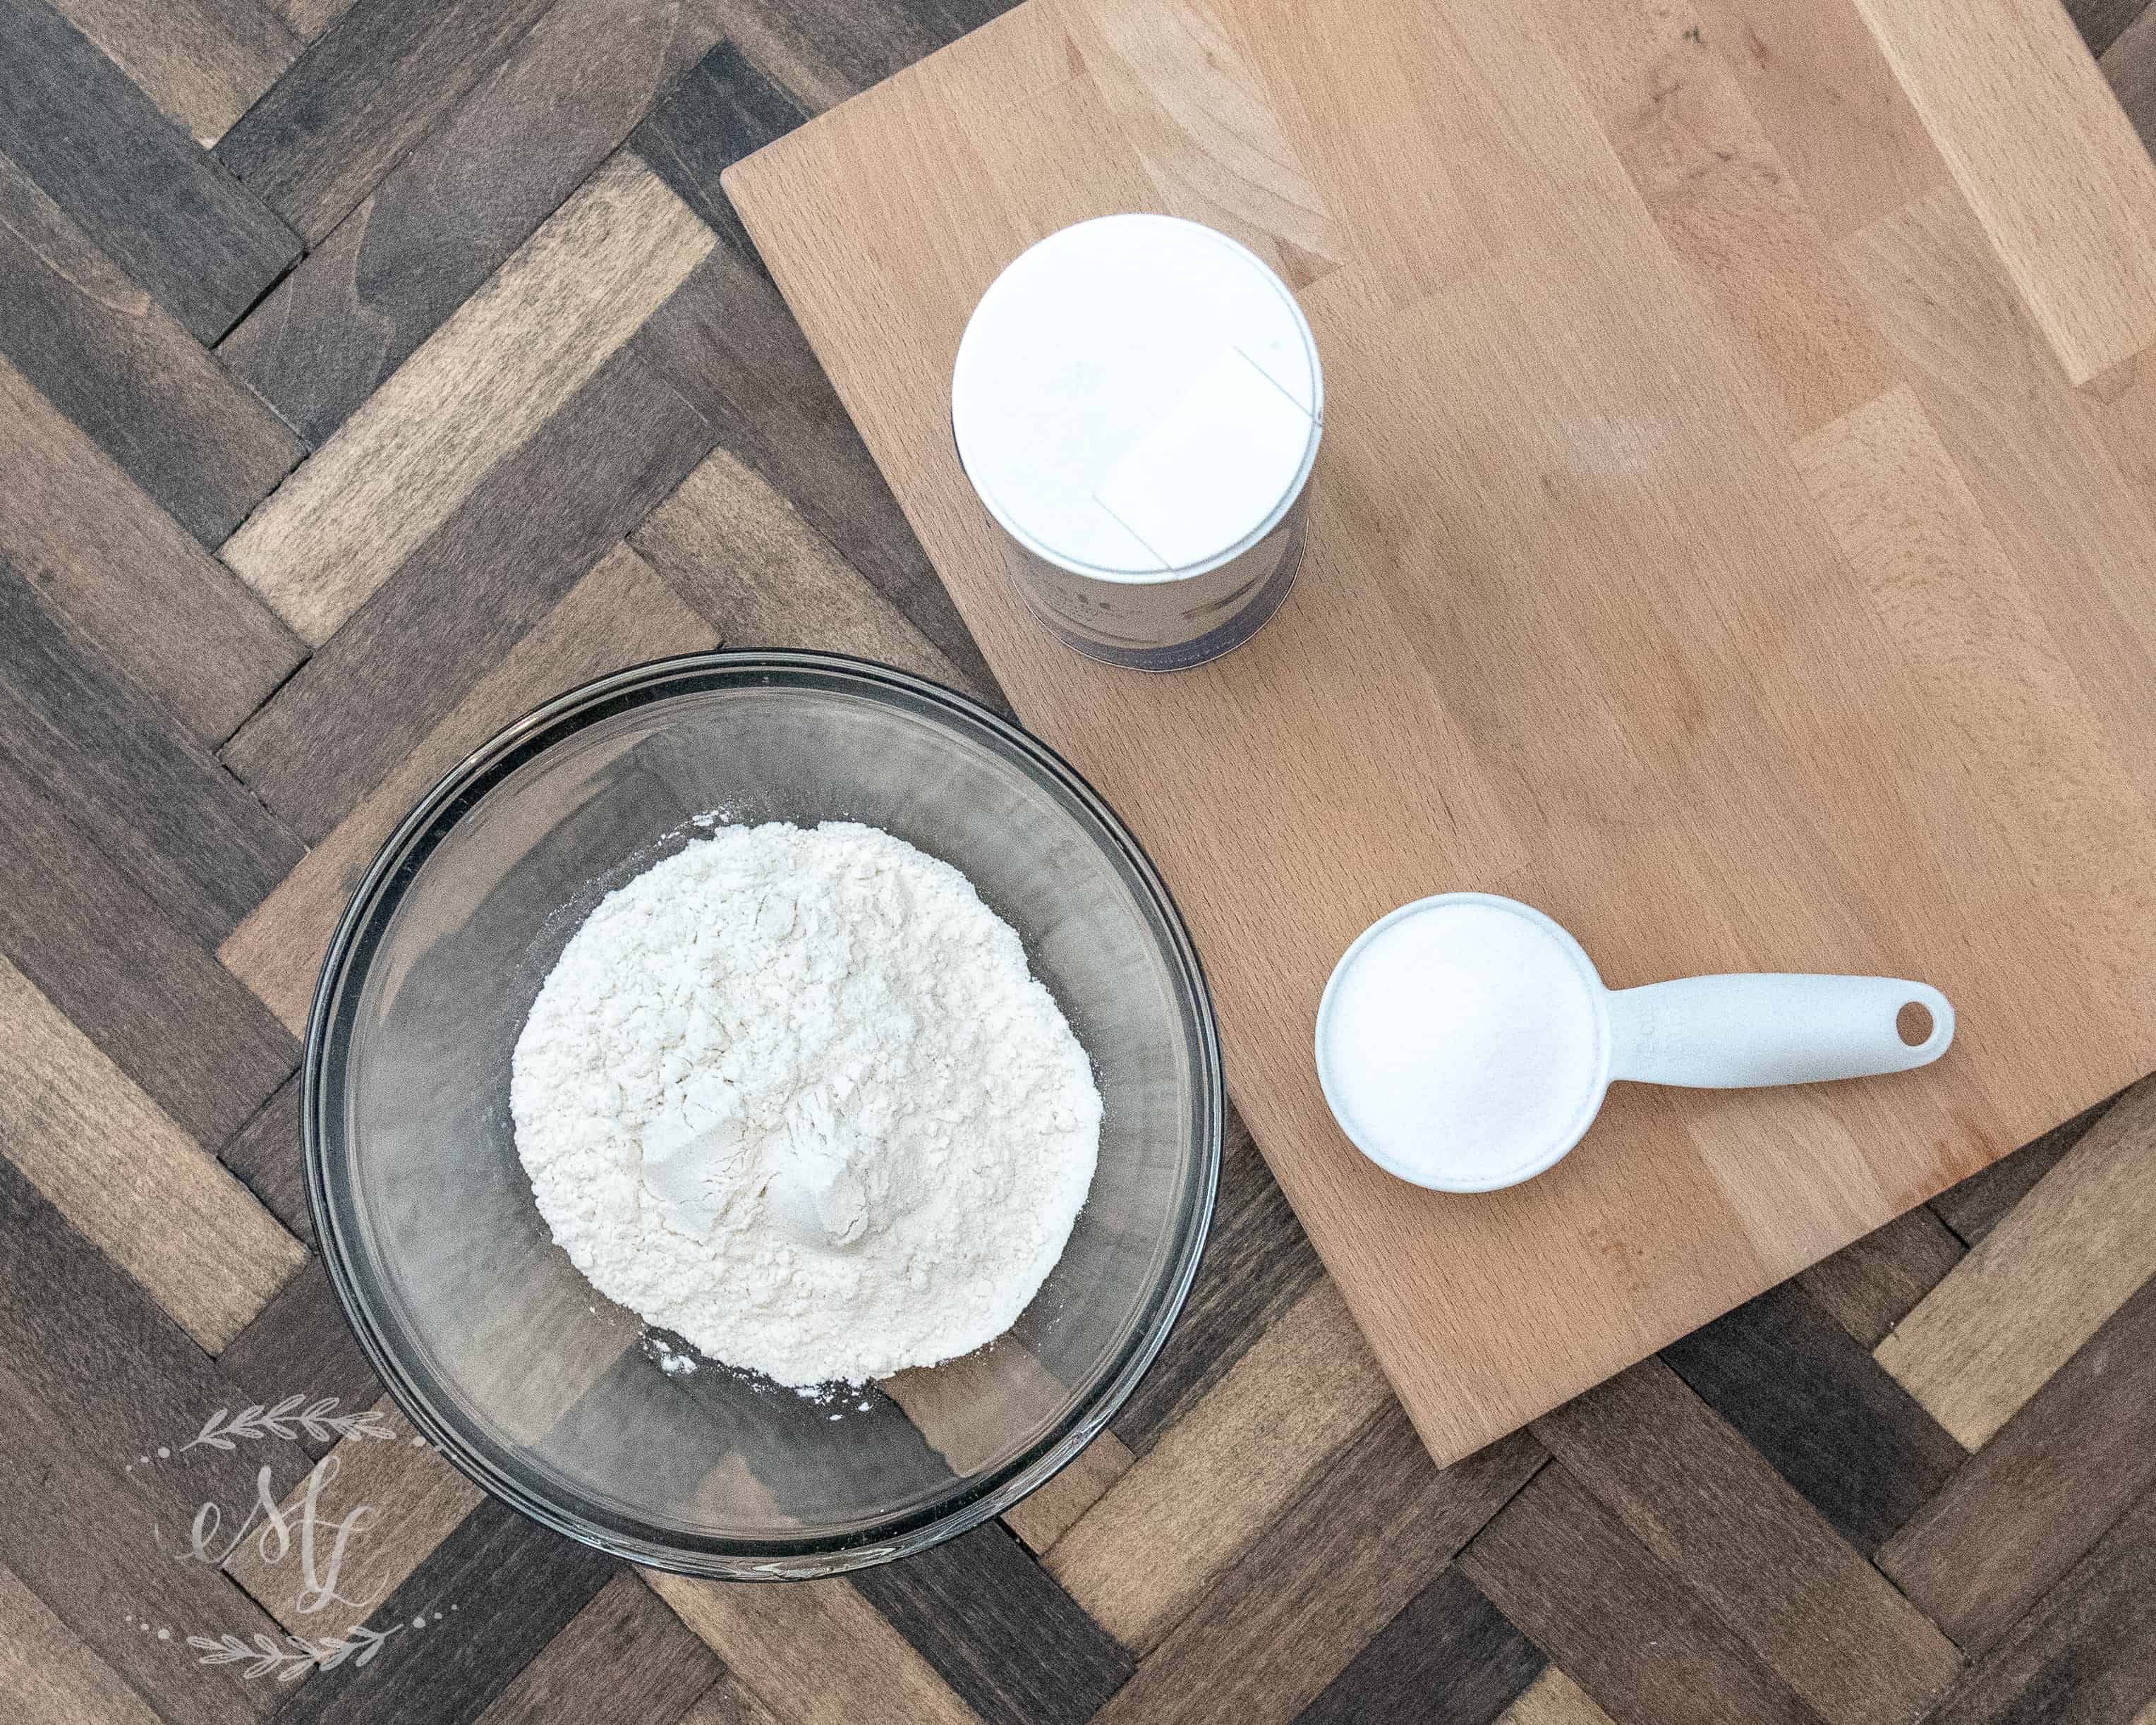
To begin making your salt dough, start by whisking 2 cups of all-purpose flour and 1 cup of salt together in a large mixing bowl until the mixture is thoroughly combined and free of any lumps.
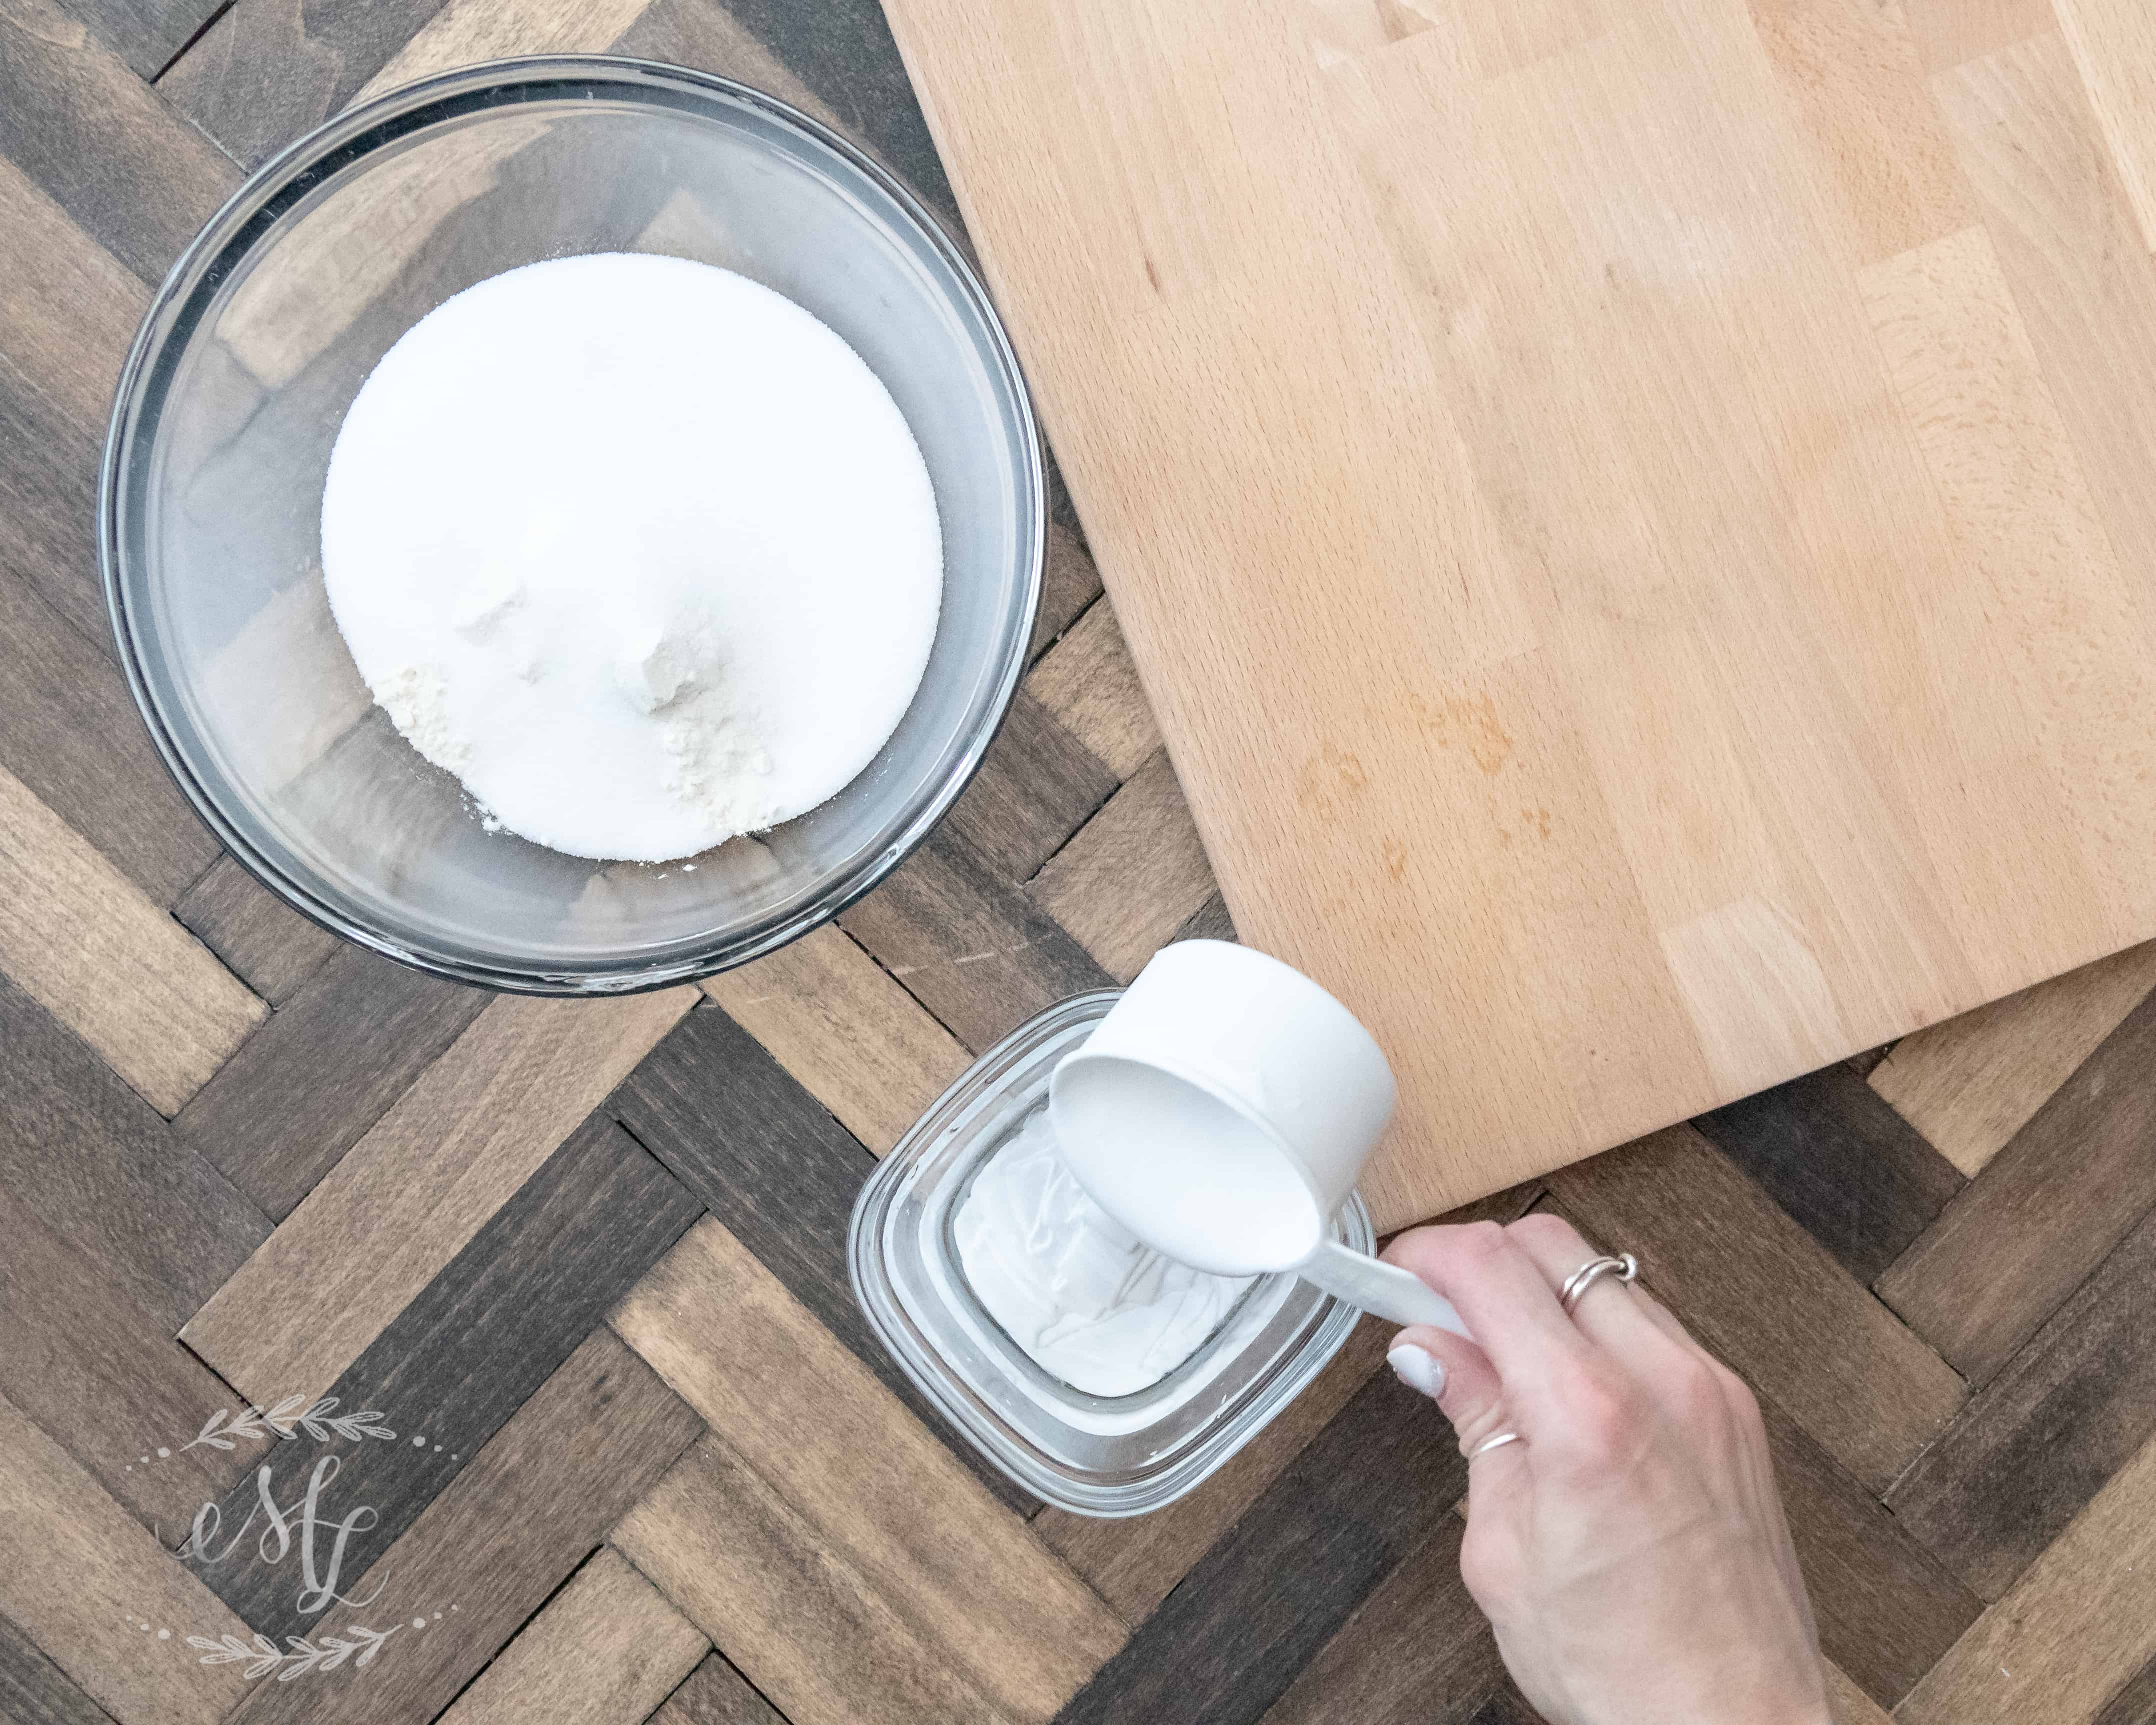
Next, thoroughly mix the water and the white paint together.
The ingredient that I believe makes this dough significantly different from others is the addition of white paint. I chose to use chalk paint because I wanted a matte finish, rather than acrylic paint.
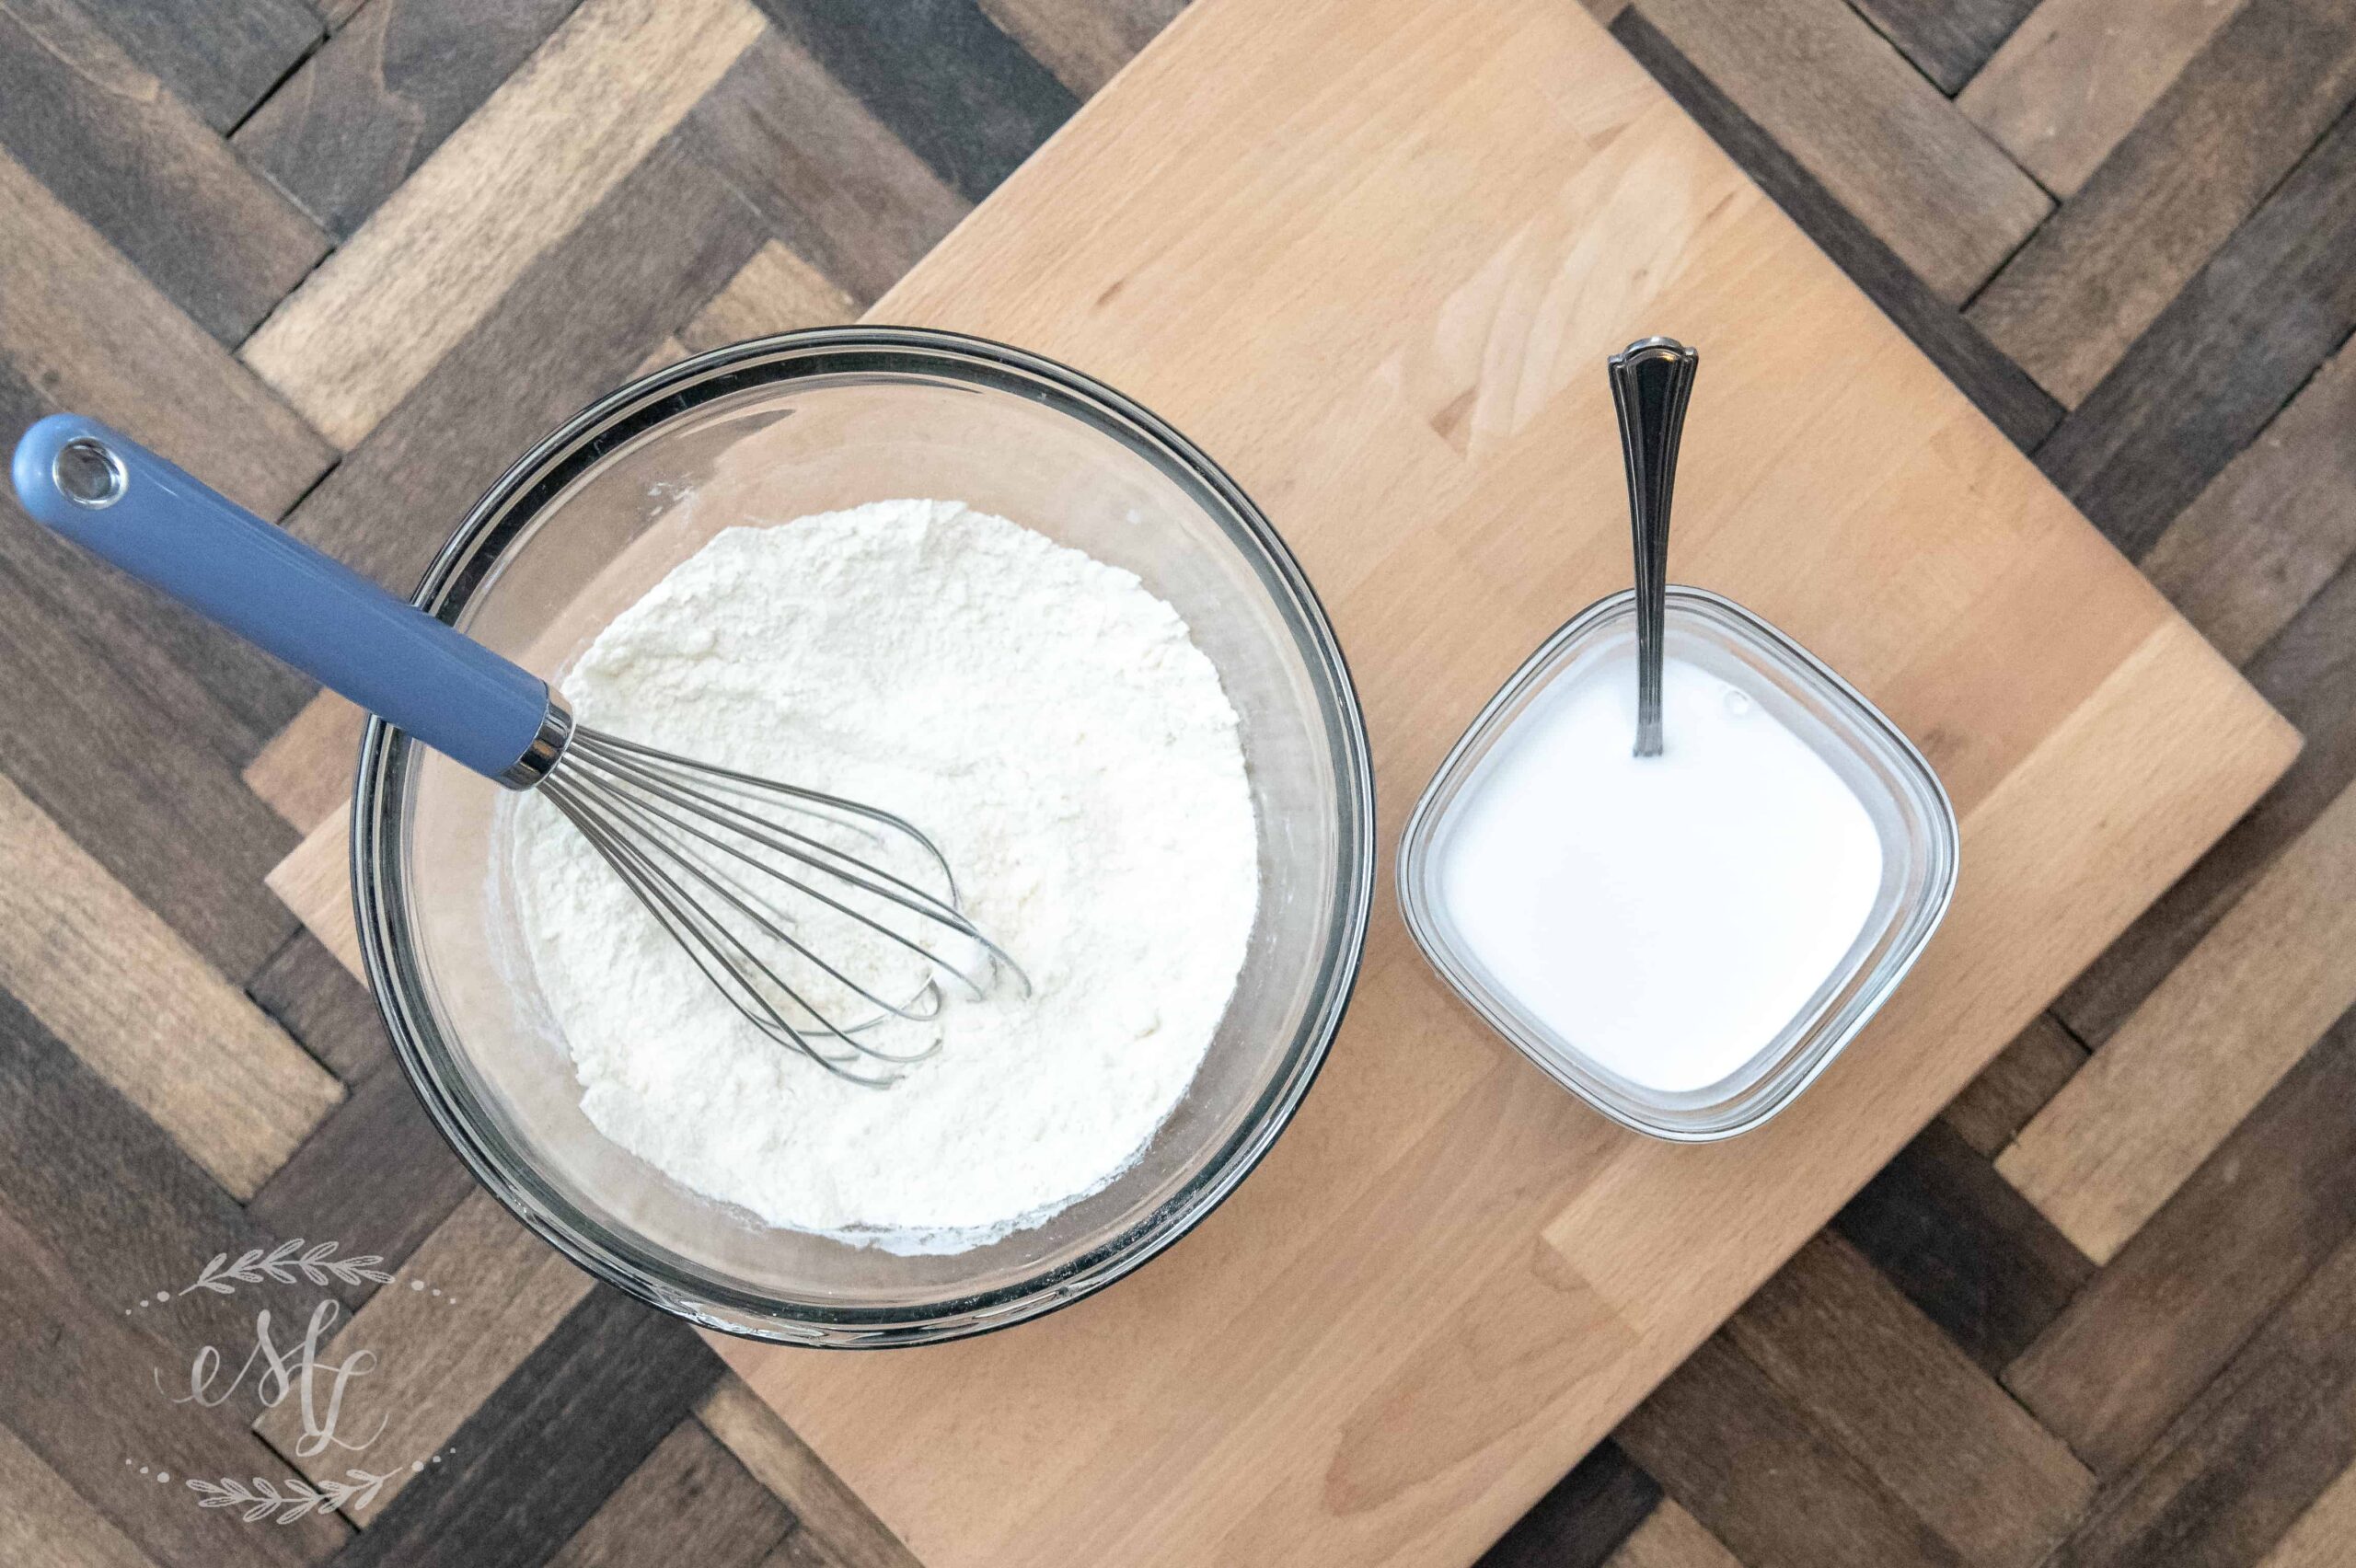
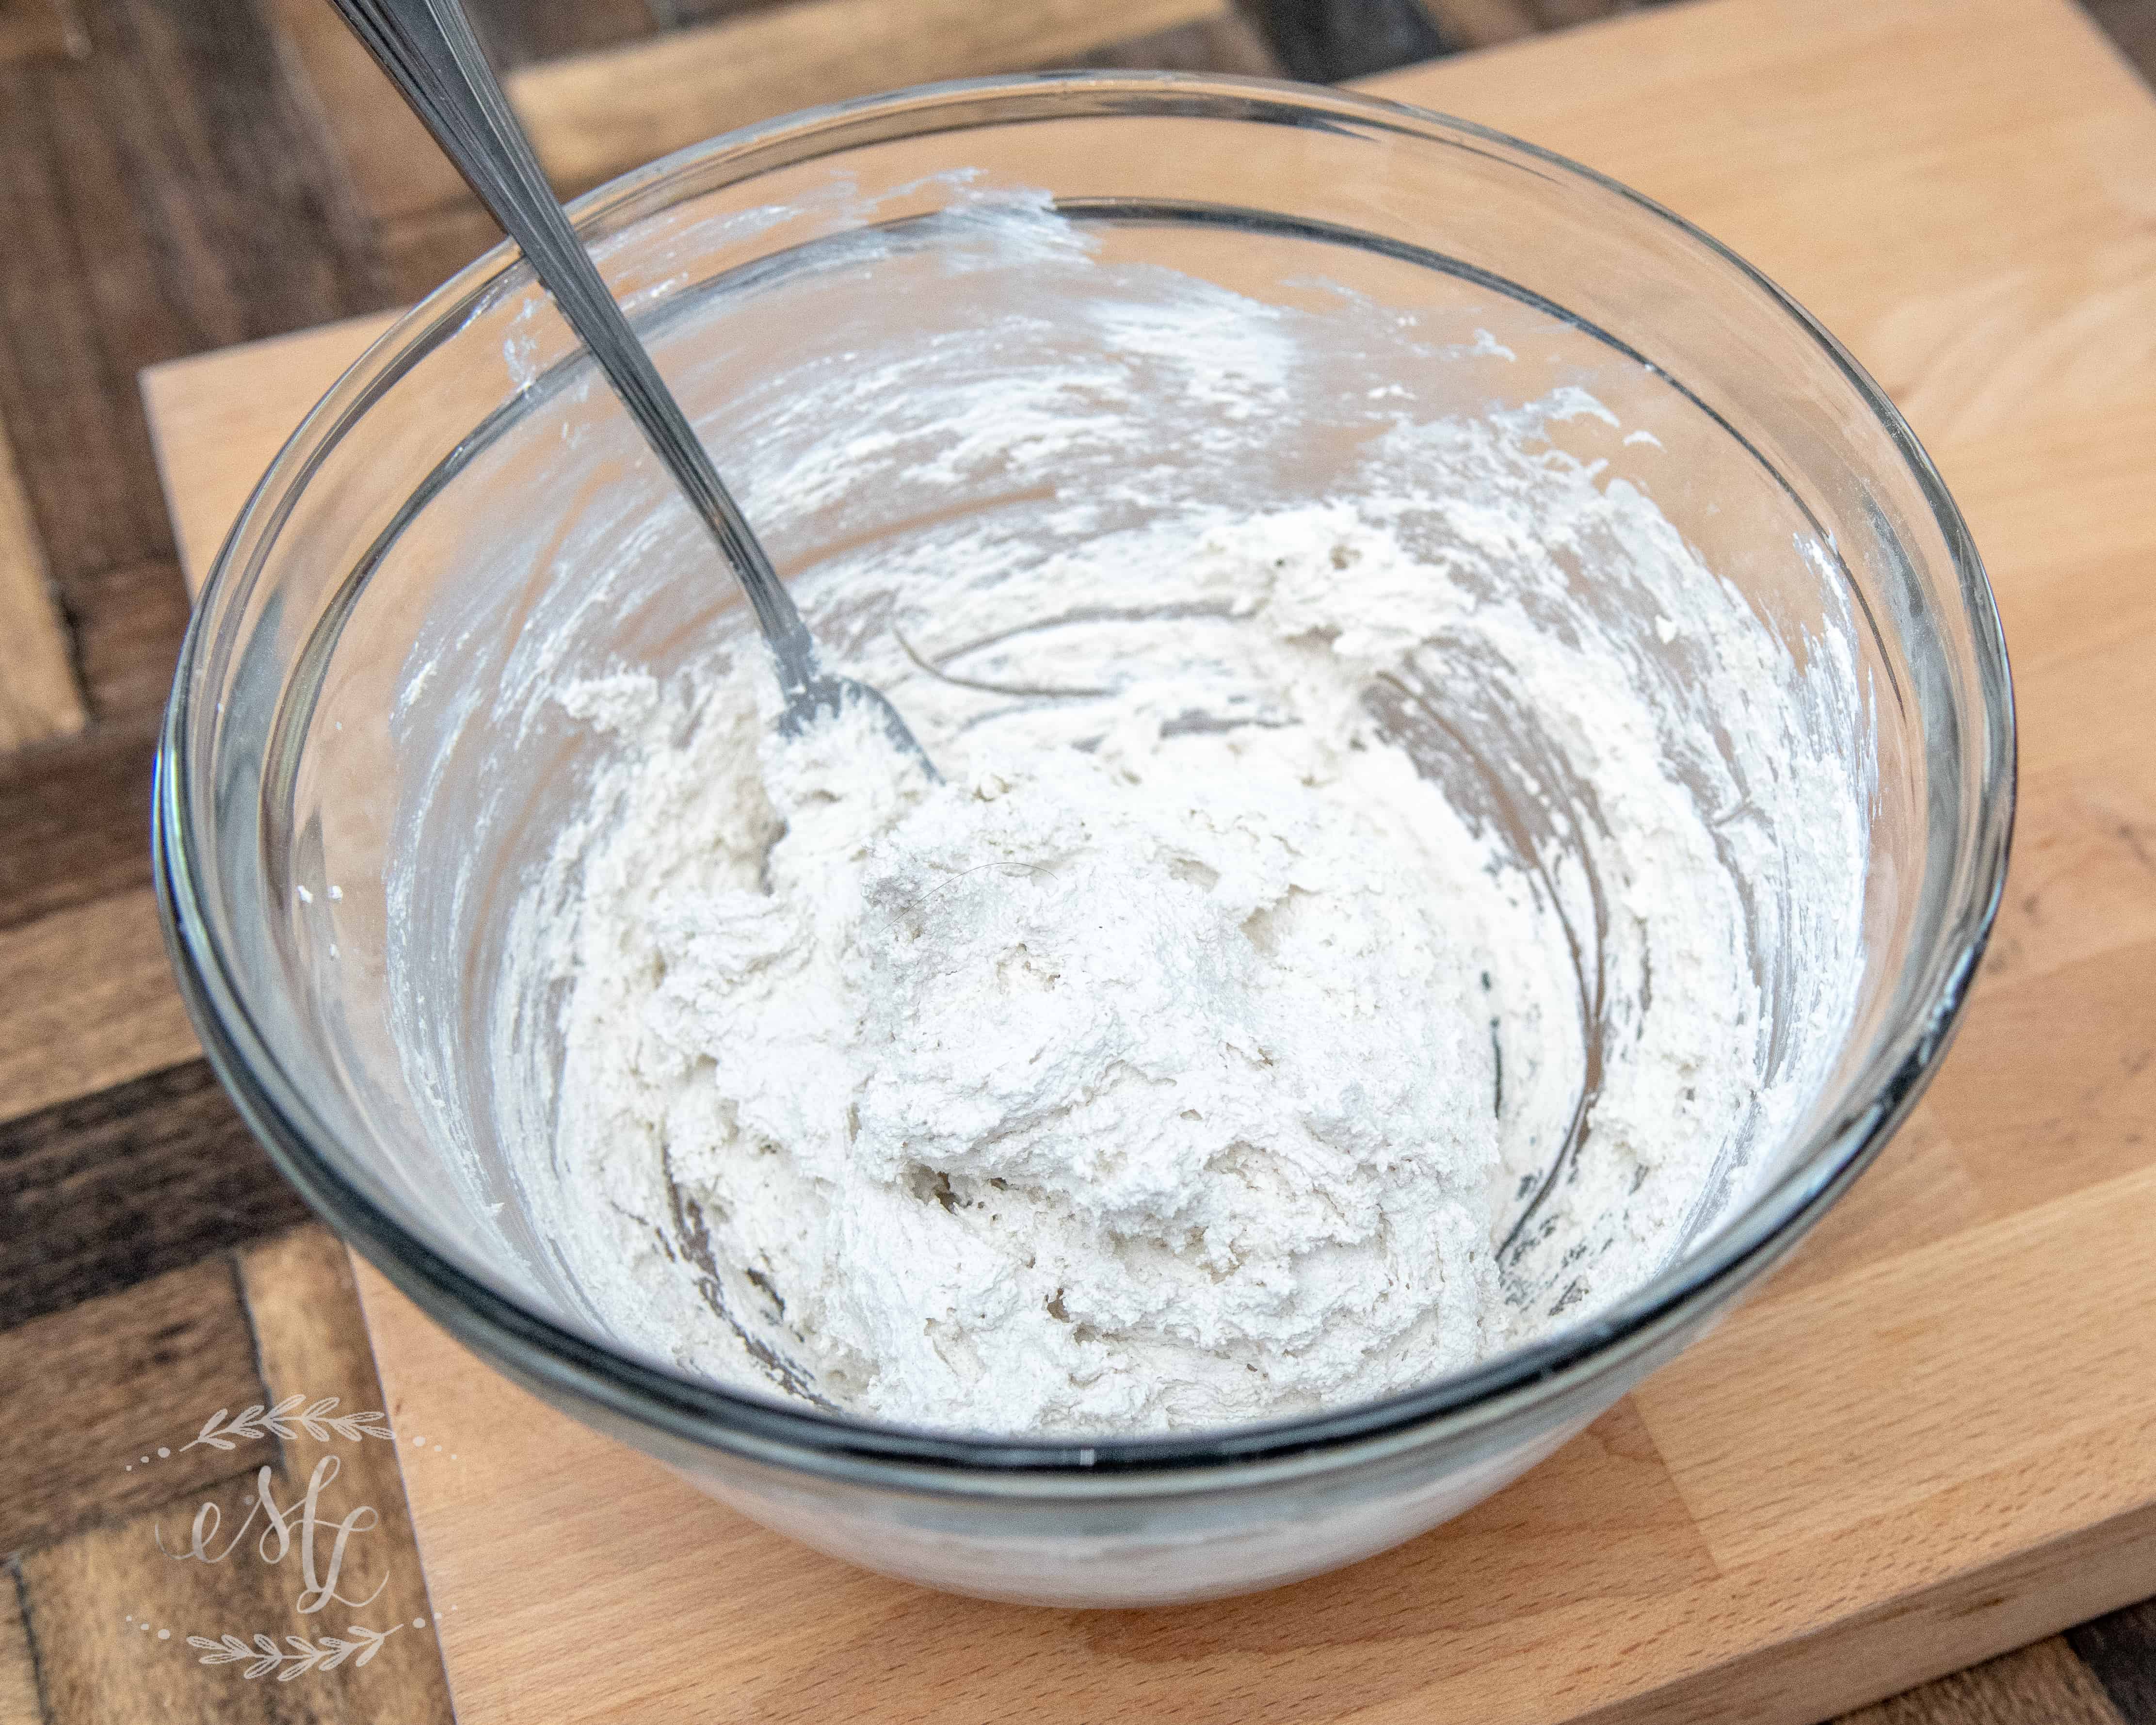
Gradually combine the wet ingredients with the dry ingredients and whisk them together until a ball of dough begins to form.
If the dough appears too sticky, add flour until it becomes firm. If the dough is crumbly or dry, add a small amount of water.
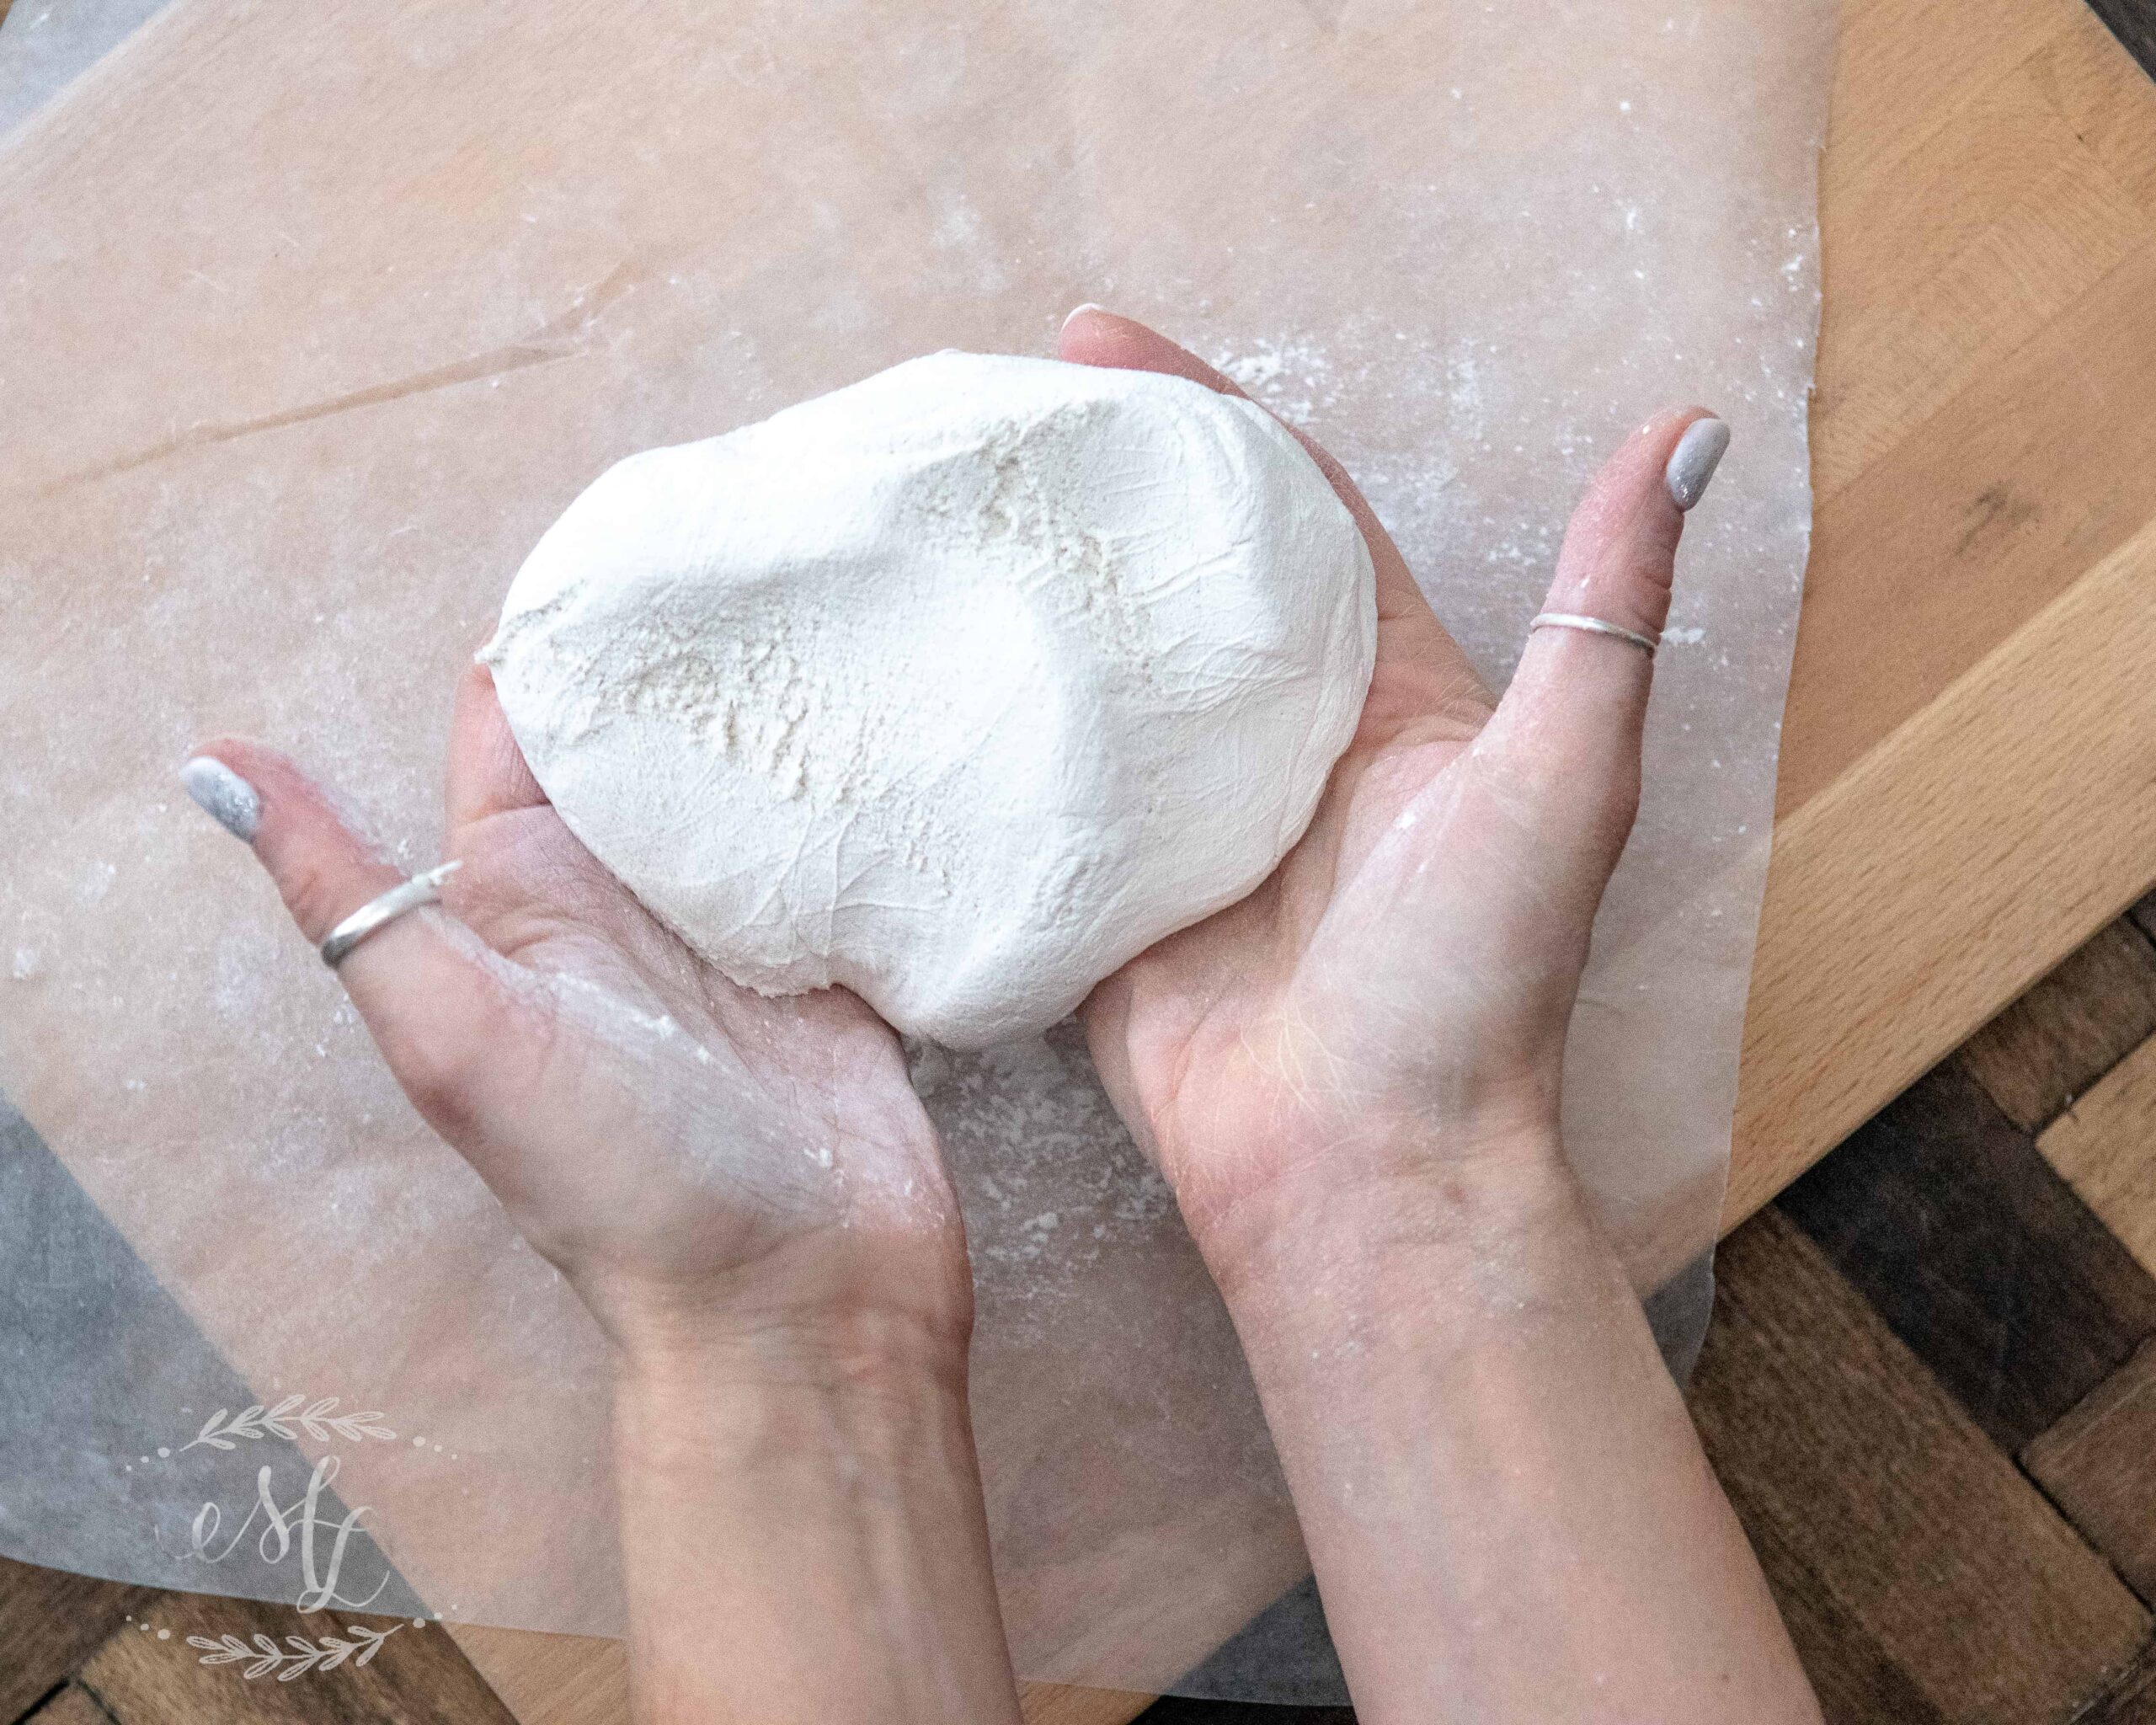
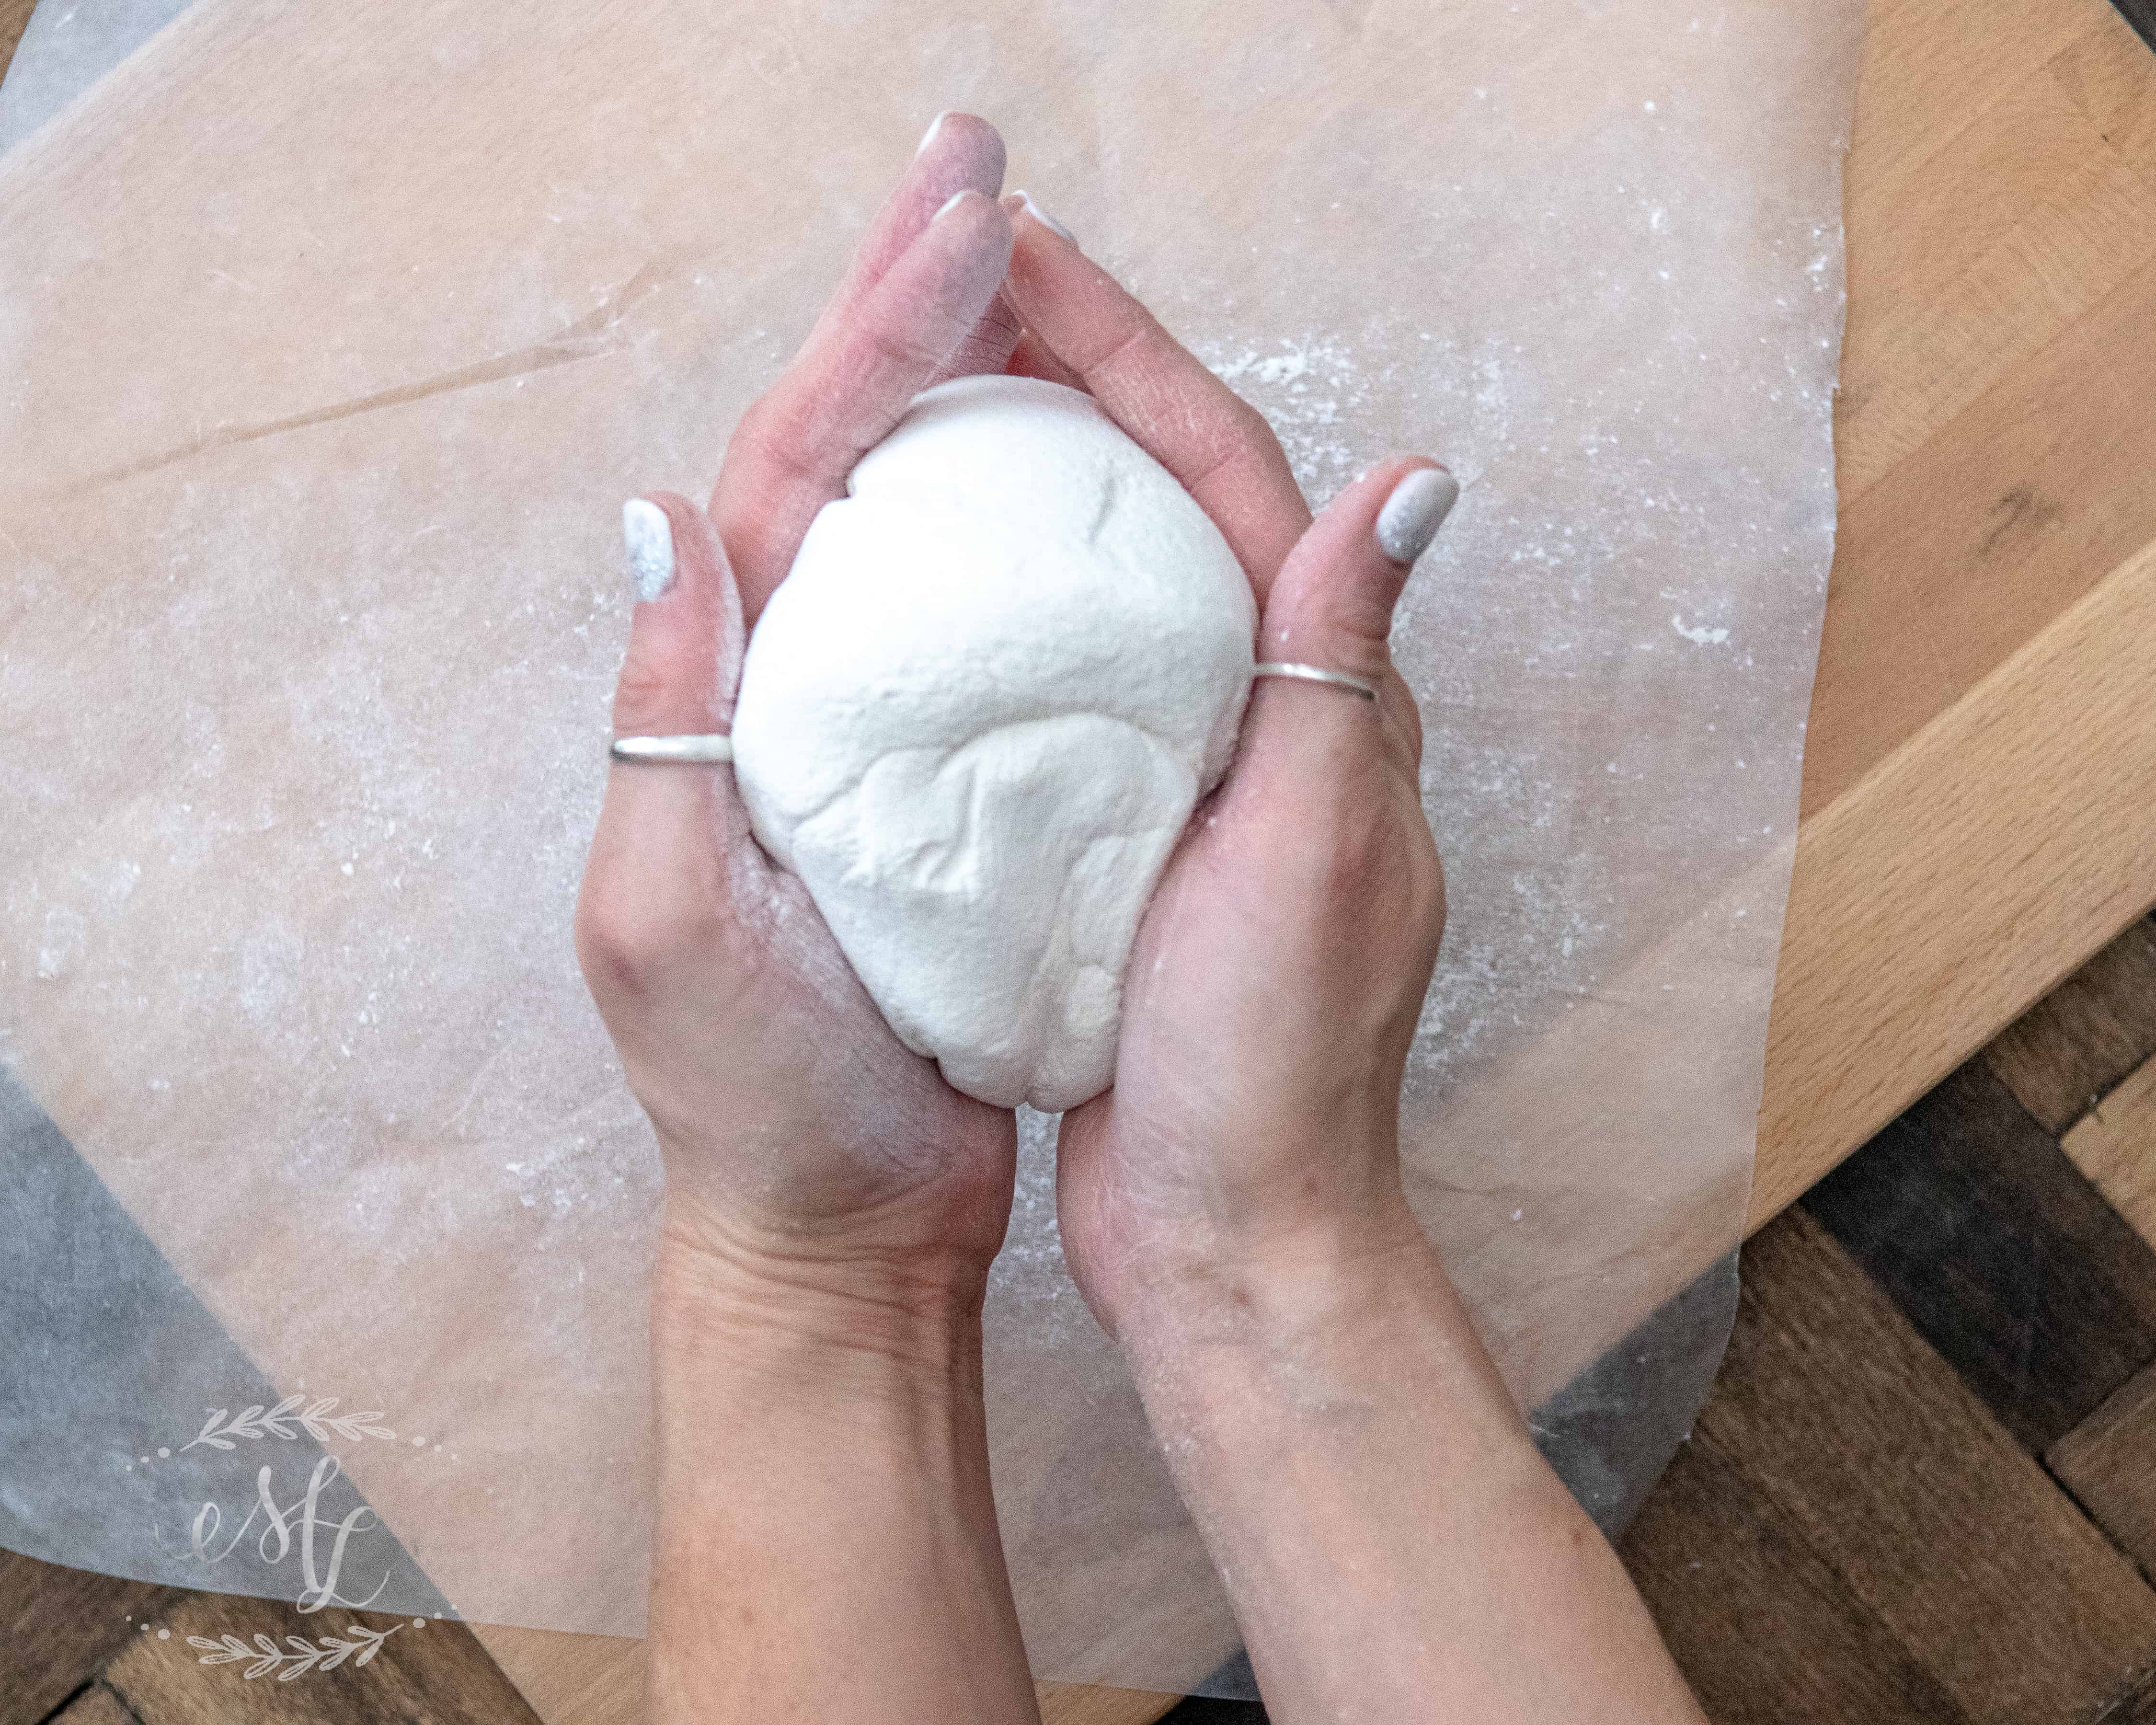
Next, be sure to knead the dough for a solid 5-7 minutes, ensuring that all the ingredients are thoroughly worked through.
This is crucial for achieving the perfect texture in your finished product.
Fun Fact: Once you’ve made your salt dough, you can refrigerate it for up to 5 days in an airtight container. This allowed me to make tags as I needed!
There you have it, the perfect salt dough recipe!
Making Gift Tags
Now you’ve learned to make the perfect salt dough, let’s talk about making these cute little gift tags.
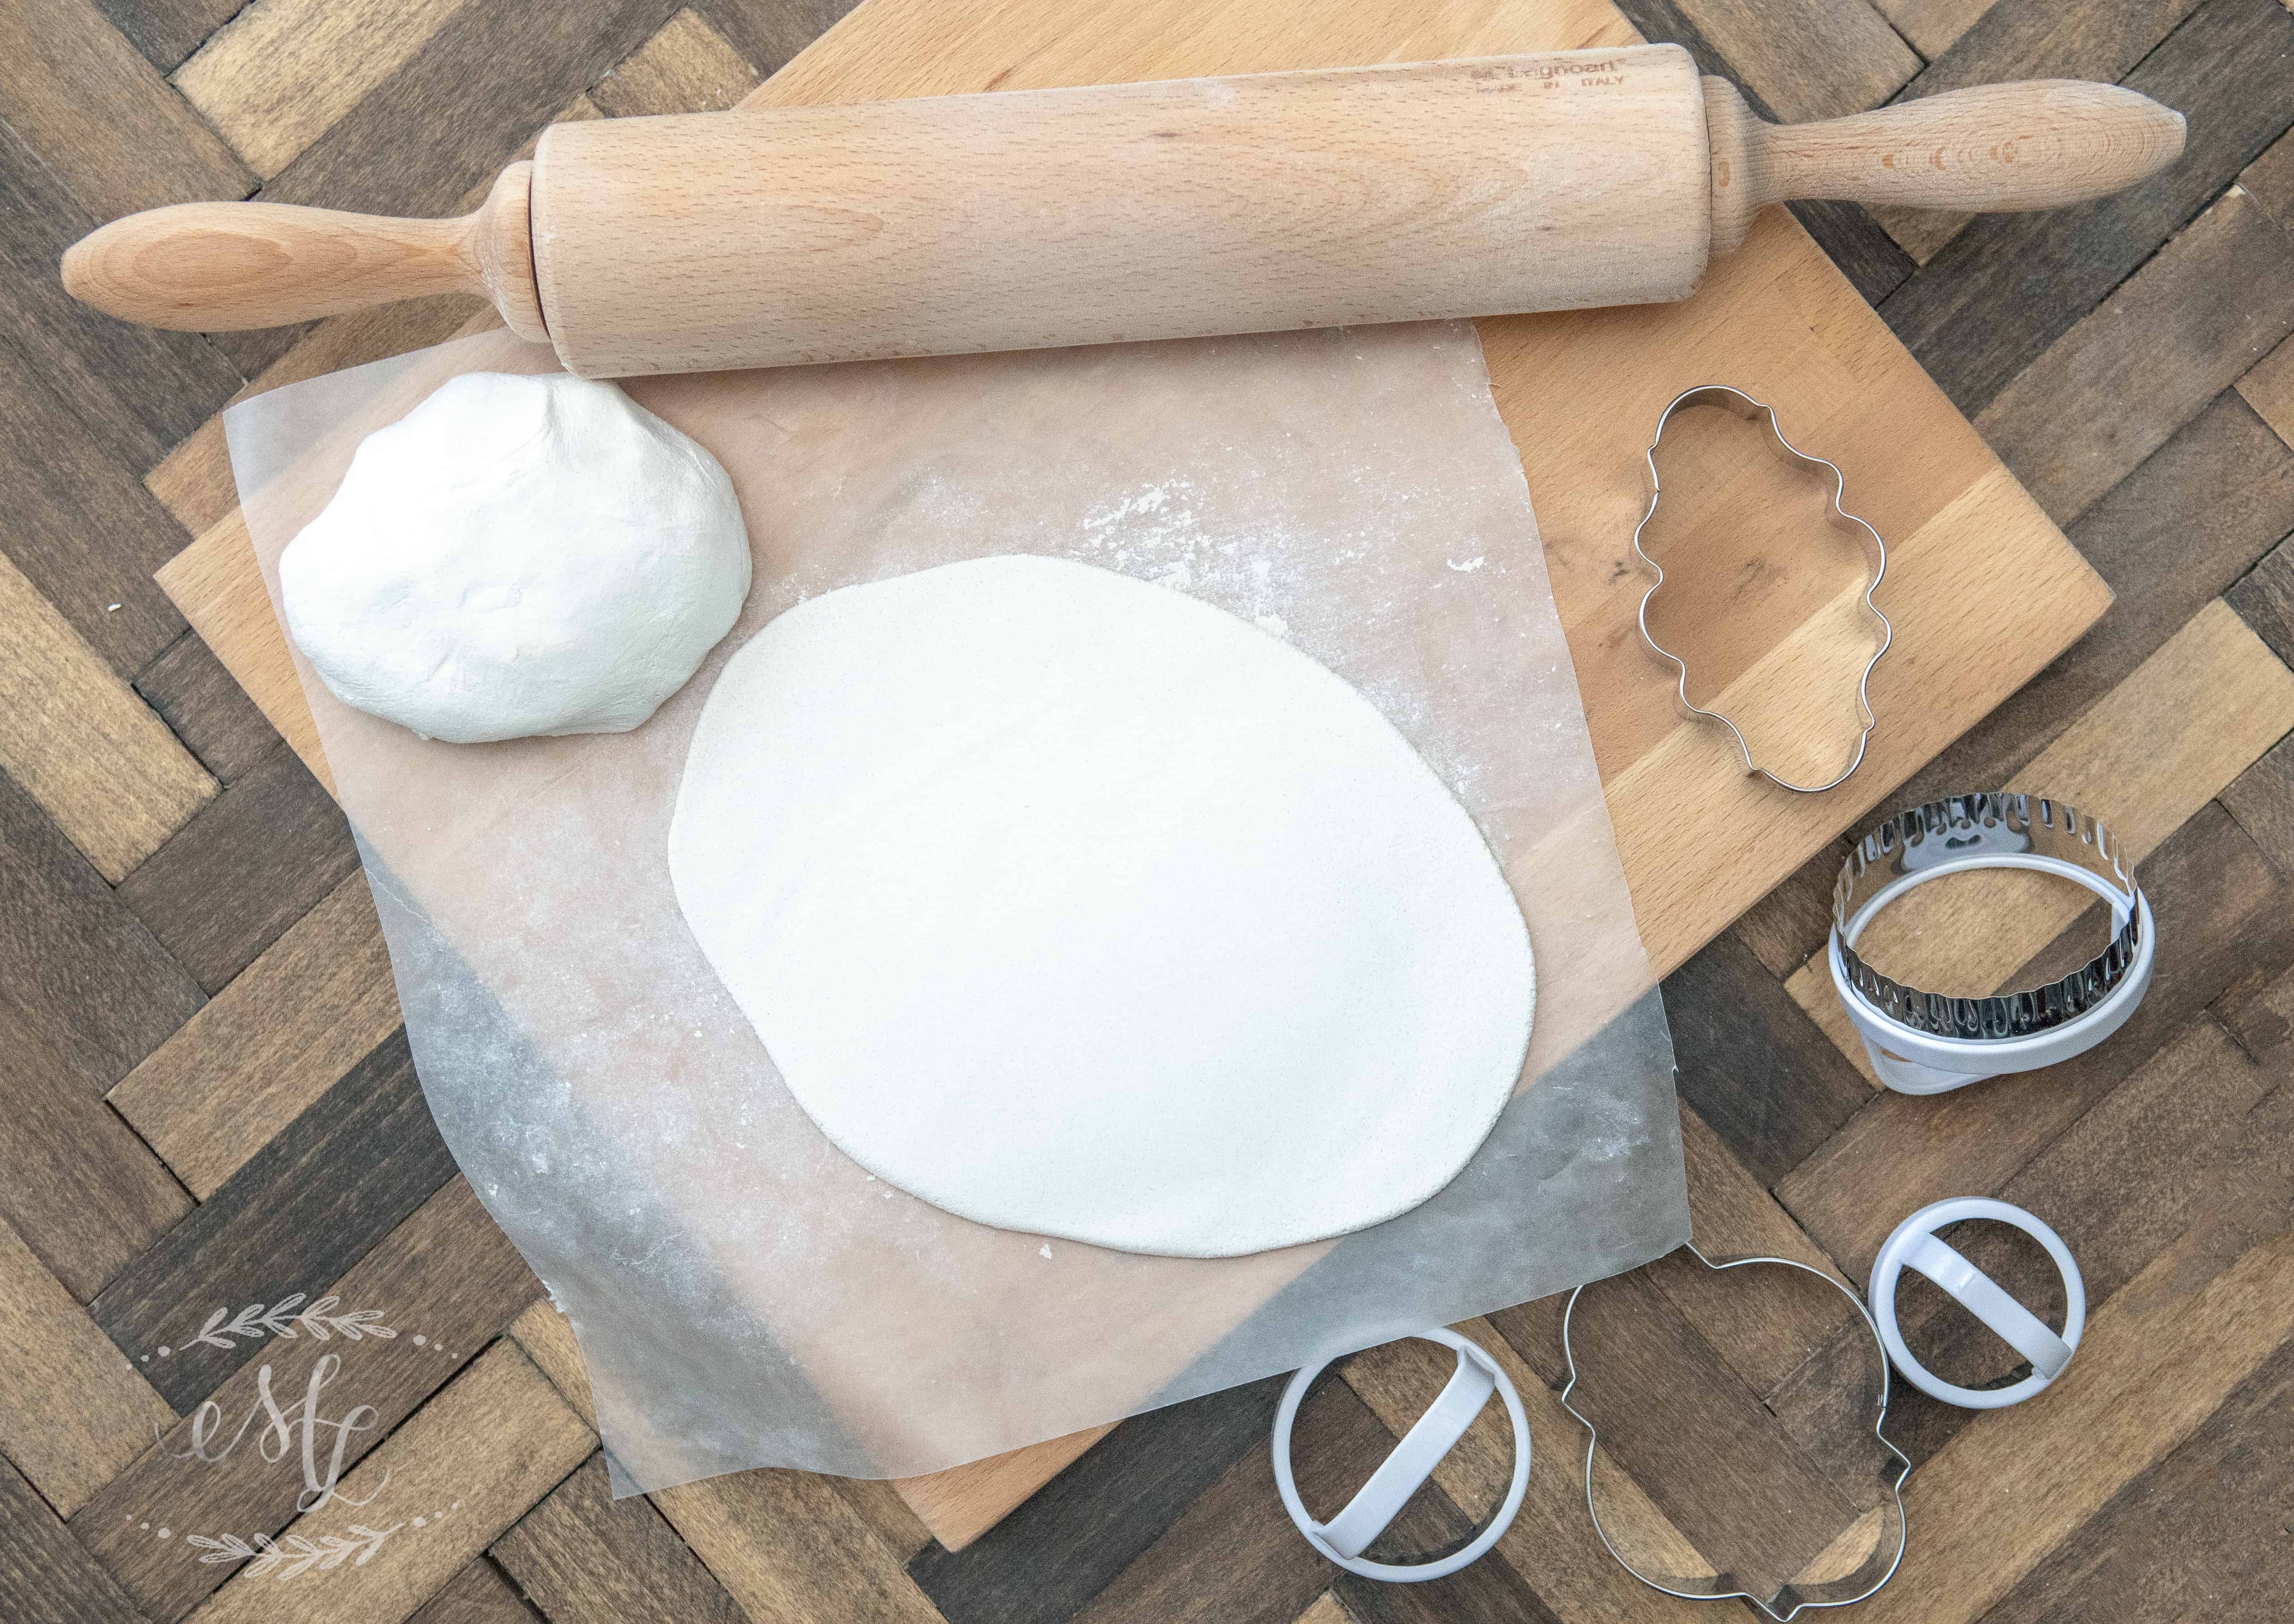
To roll out, using parchment paper with a little flour on it. This will prevent your dough from sticking and deforming when moving from surface to surface.
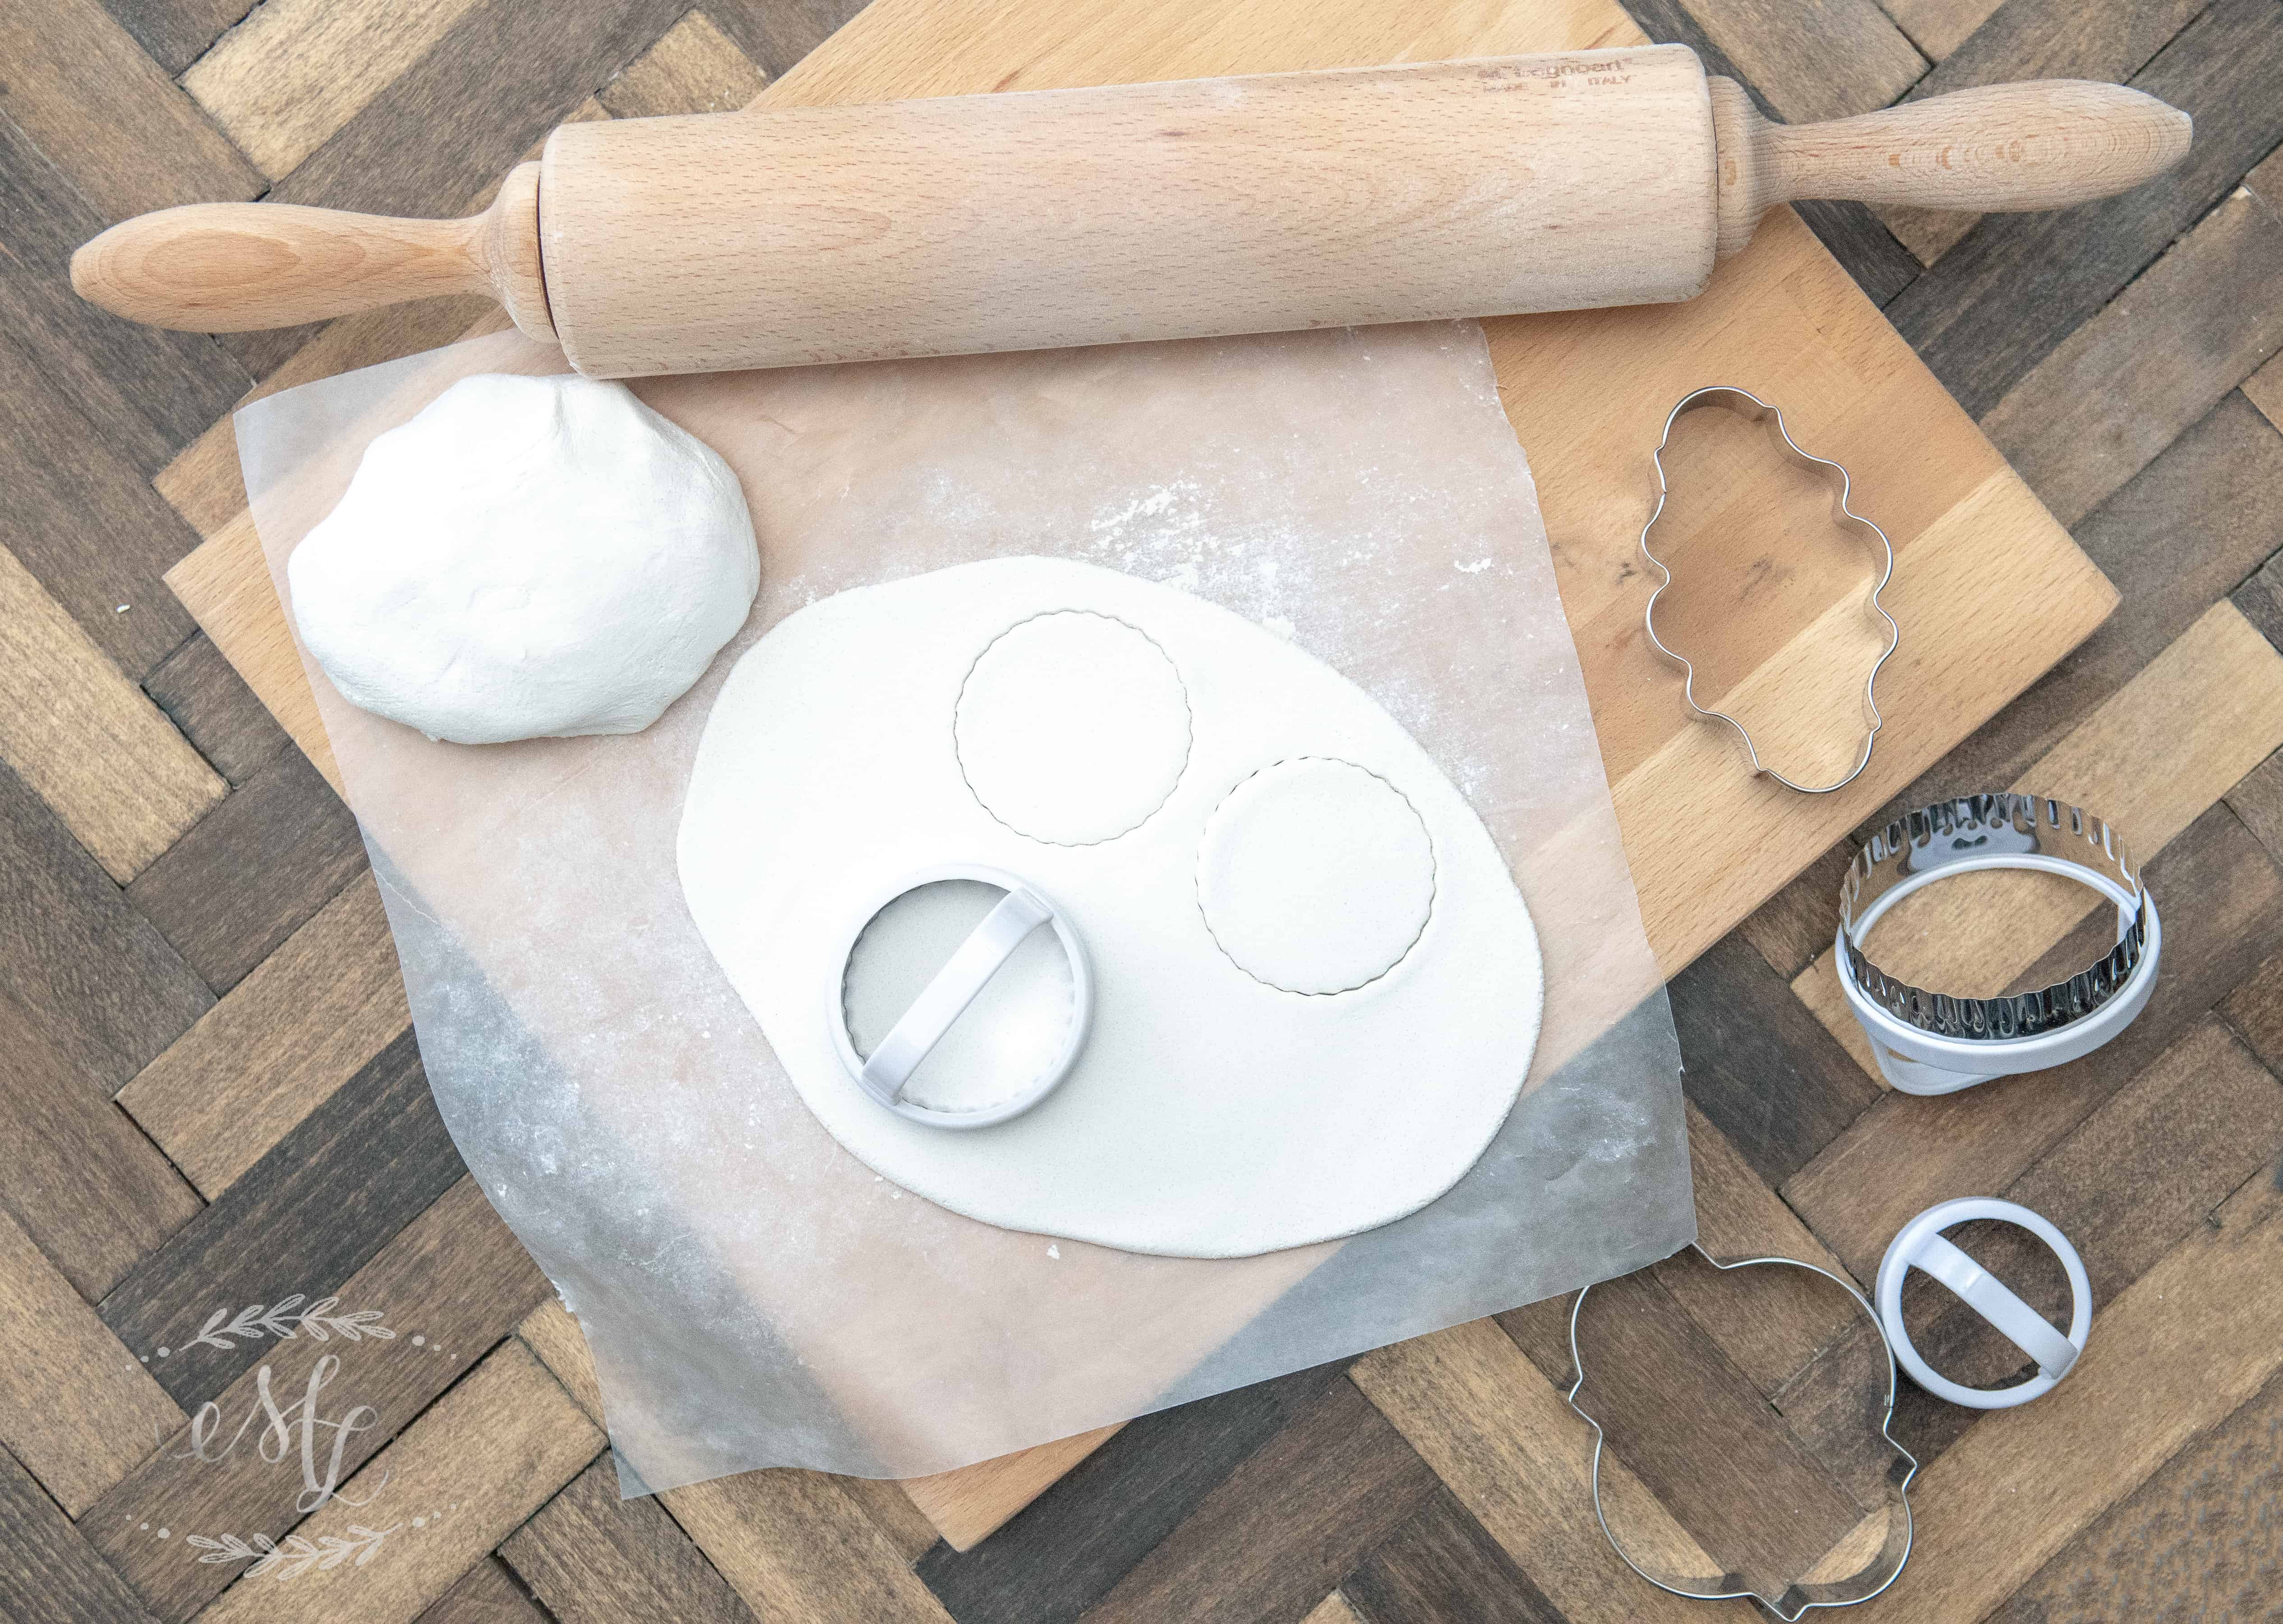
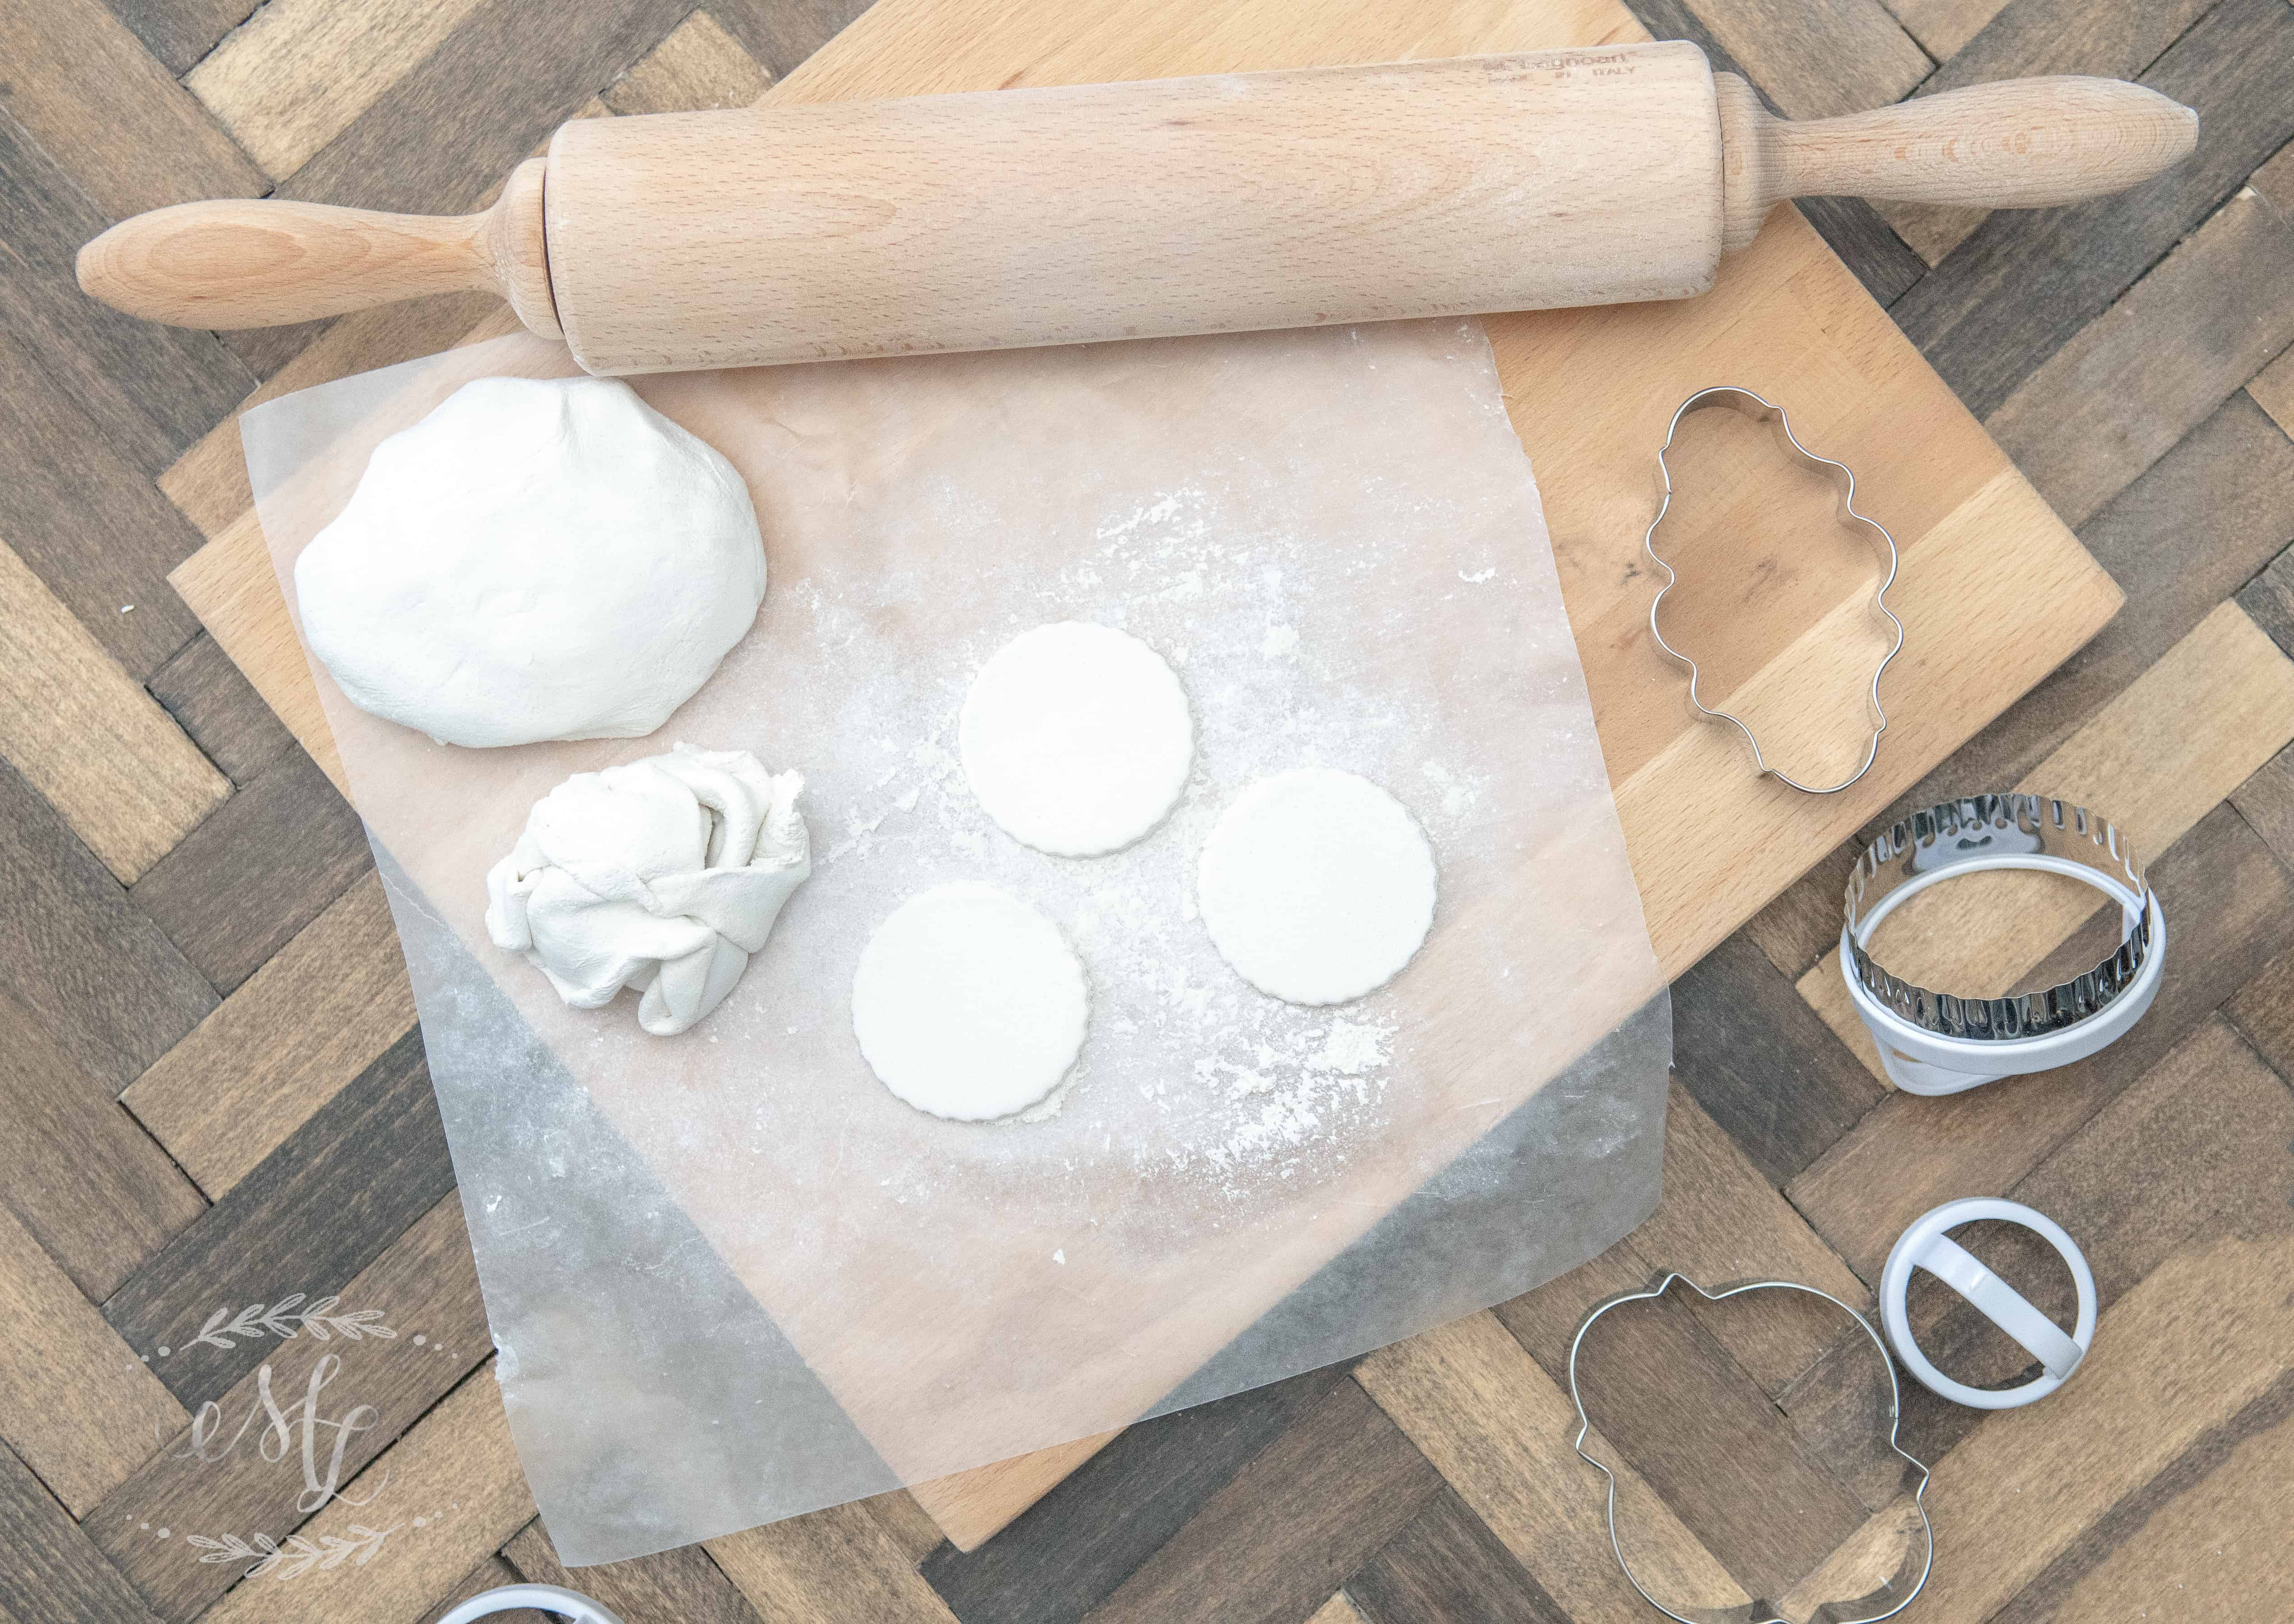
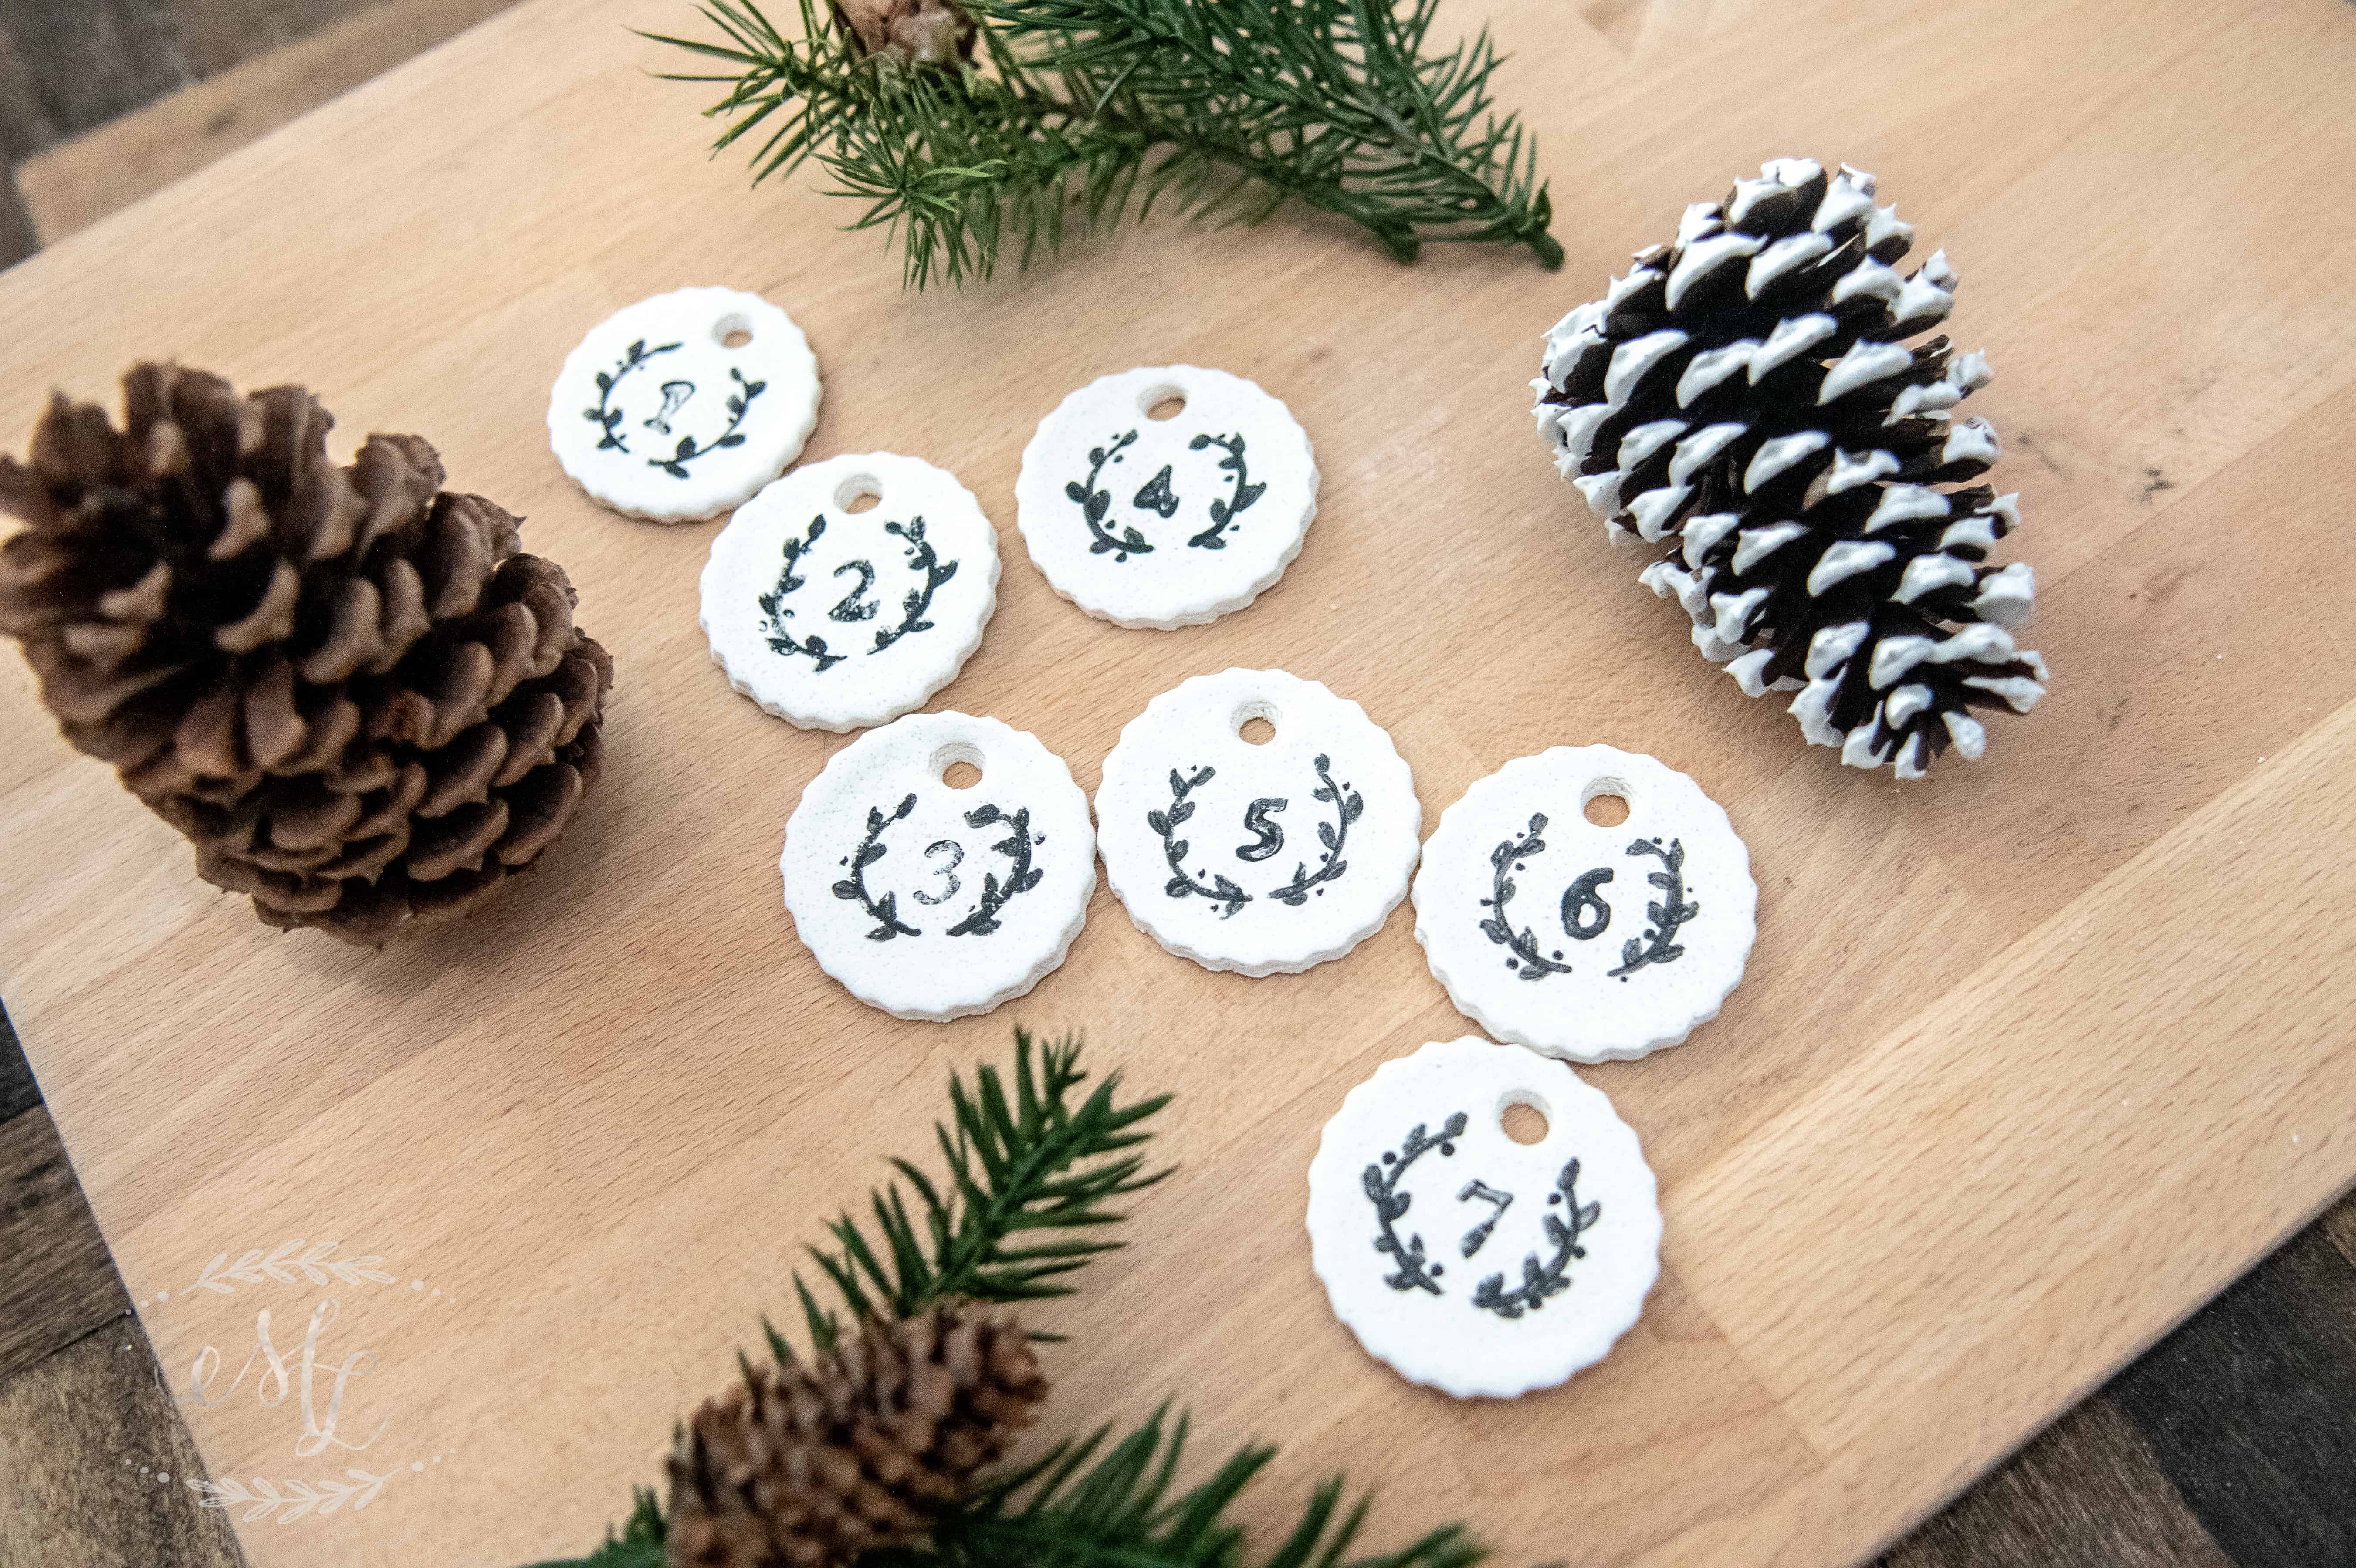
Roll out your dough evenly and relatively thin, just as if you were making sugar cookies! Using a scalloped edged cookie cutter, I made these cute circles in various sizes. Perfect for any size gift.
But me being me, I also bought the cutest tag cookie cutter off Amazon.com. I wanted something more unique for my gifts too!
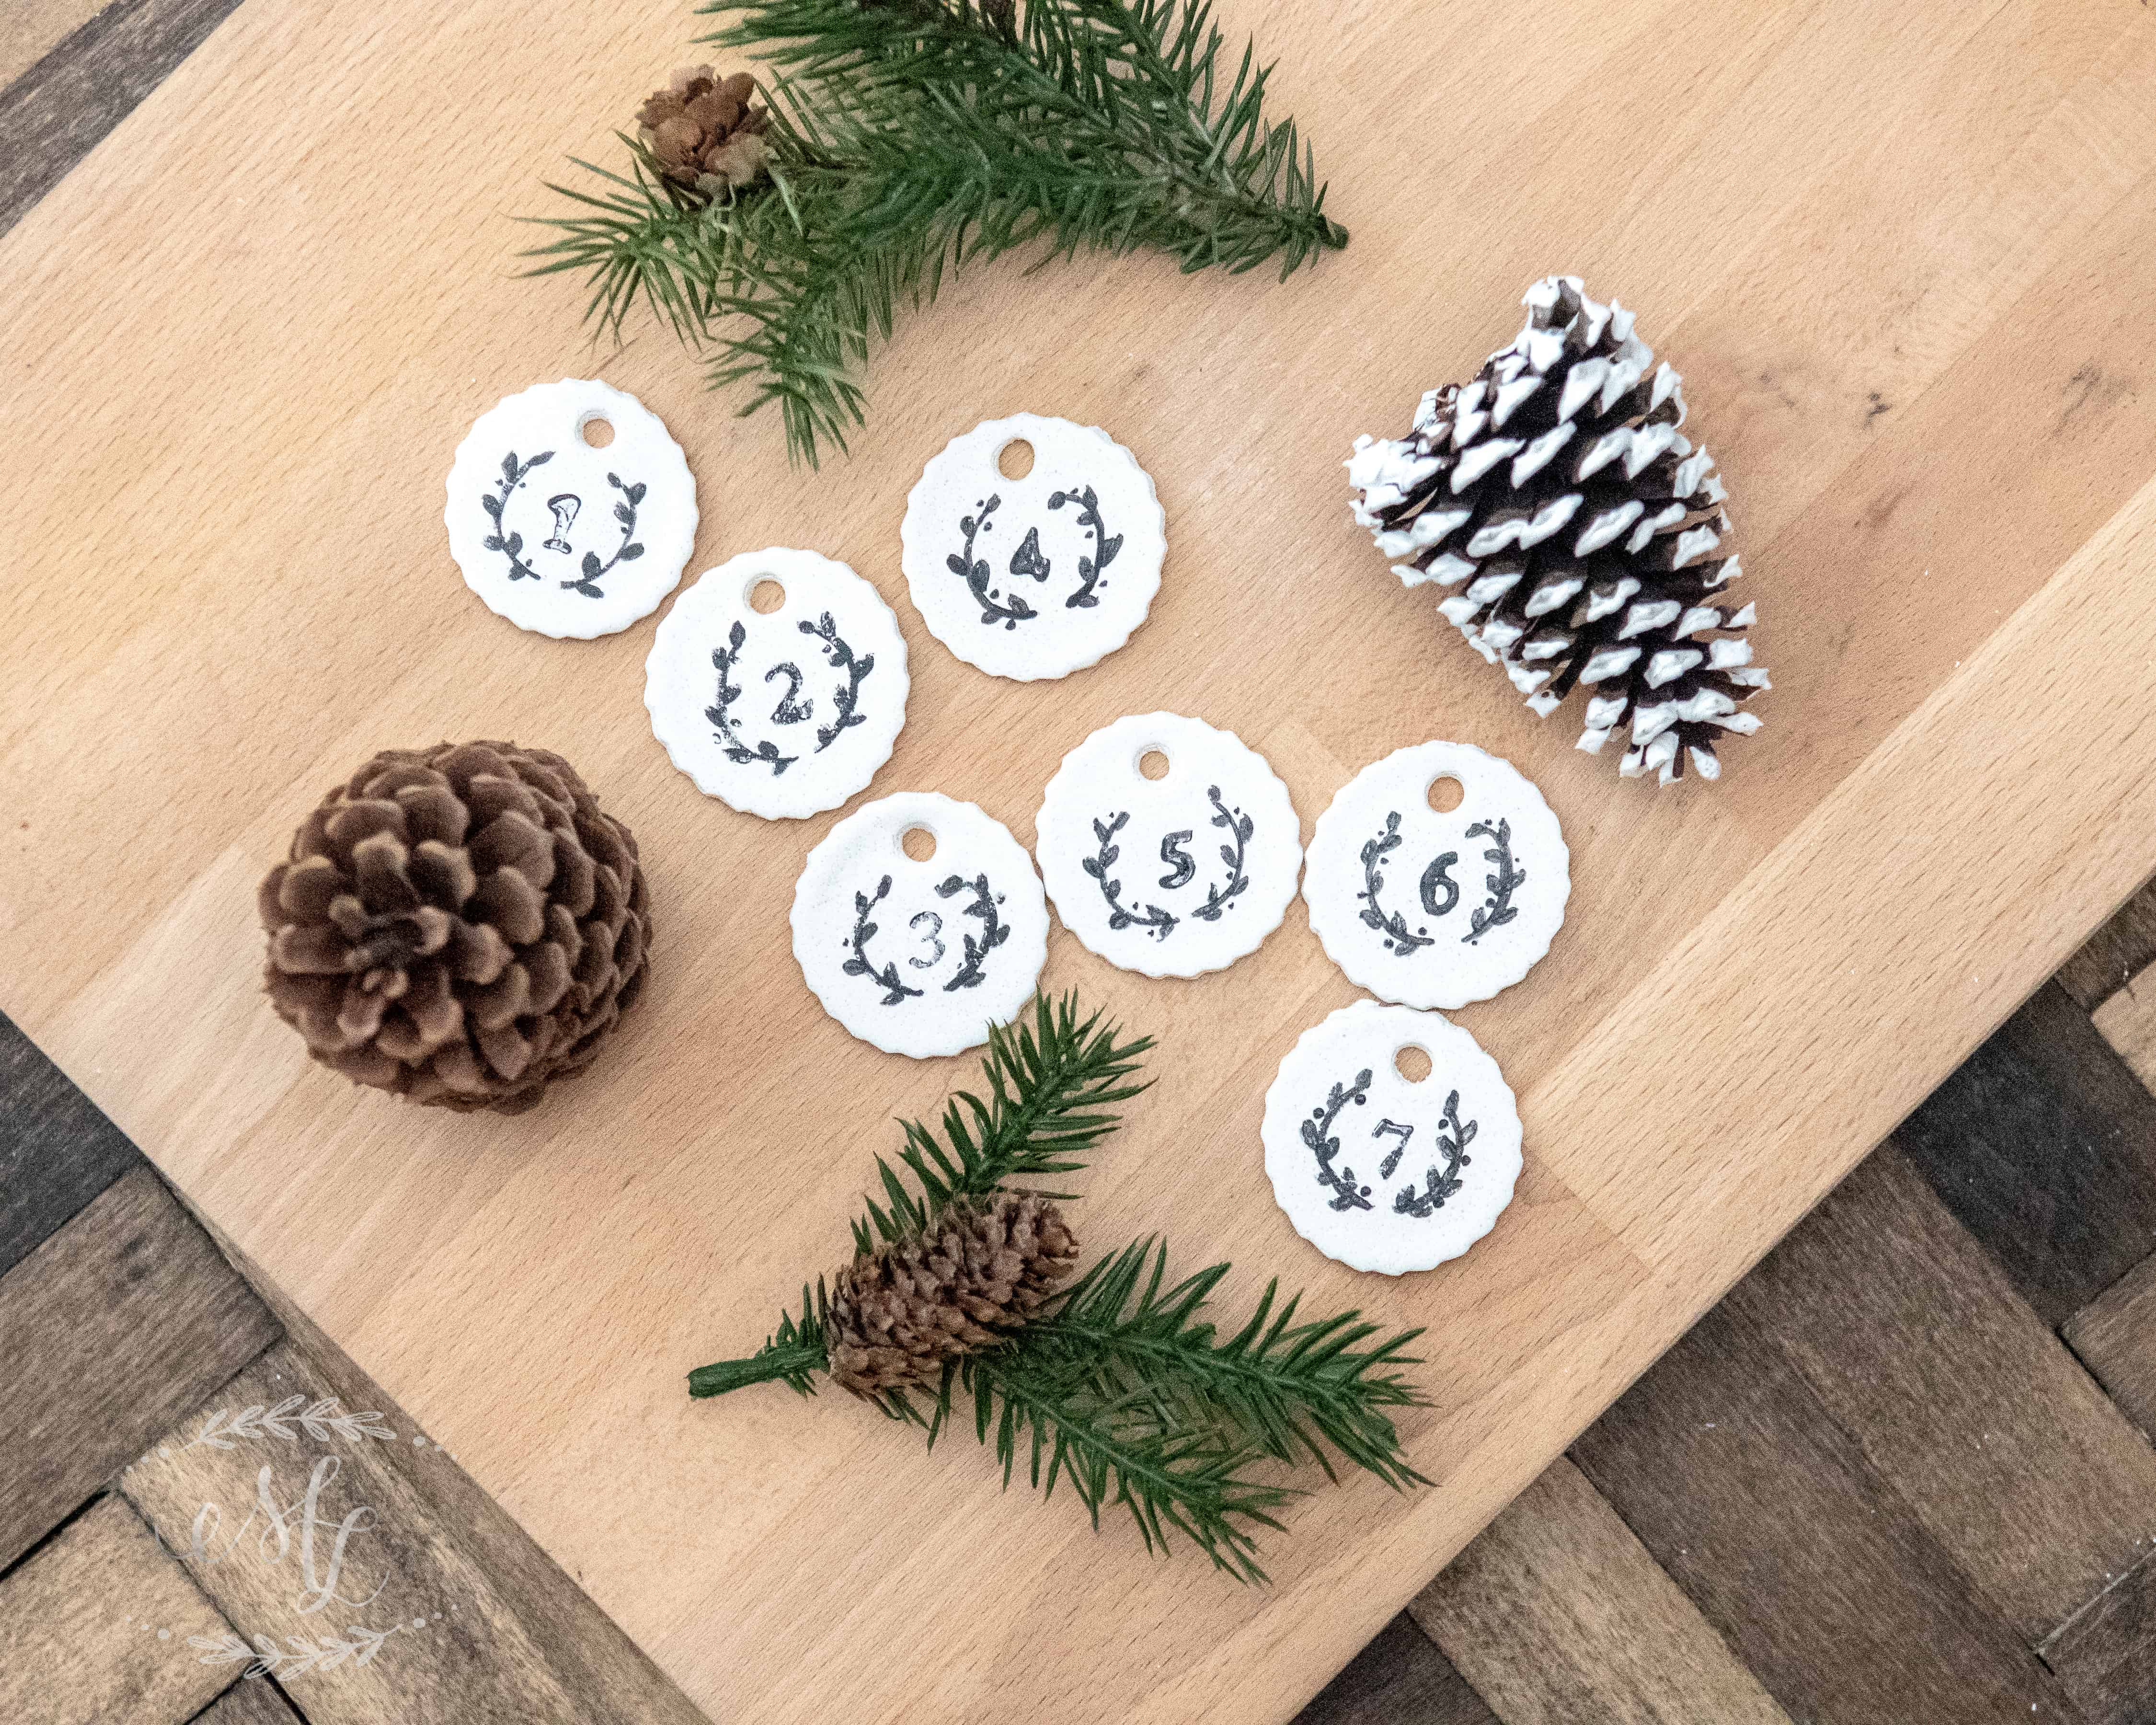
I decided to air dry these tags. They took about 24 hours to dry nice and hard. I did take them off the parchment paper and onto cookie racks so both sides could dry. Most stayed relatively flat. Only a few got a slight curve to them.
Now you can bake them for 2-3 hours at 200 degrees in the oven, but since these tags are so small and thin air drying them totally works.
The Perfect Salt Dough Recipe
Quick and easy recipe to make beautifully white salt dough for ornaments, gift tags, and other crafts.
Thanks for visiting my little piece of the internet!
I’m Maria, a lover of furry things, coffee and anything creative. This blog is where I love to share affordable home decor ideas, great DIYs, yummy recipes, unique crafts and so much more.
Hello Maria,
You seem like a wonderful, patient woman. Thank you for the great recipe, and for all of the answered questions.
Have a lovely holiday season.
Sincerely,
Emma
I just found your awesome post! After doing extensive research and feeling defeated price-wise, I’ve decided to hand make tile for a backsplash in my RV kitchen. If I seal them all and put them on my wall, do you think they would hold up well? My main concern is being wipe-able as it’s behind the stovetop, and Durability to resist cracking when driving. Would love to know your thoughts!
Oh, I LOVE that you’re willing to tackle this as a DIY. As far as I know, you could seal them, but they wouldn’t be as durable as a fired glaze on a porcelain tile. Now, that doesn’t mean you can’t do this! I would look into sealing them with something that wouldn’t yellow with time. Maybe a polyurethane? I think the likelihood they would crack during your travels may depend more on the way you adhere them to the wall. Some substrate that would absorb the shock of the road. However, that would be out of my knowledge range.
Thank you for reading and if you conquer this, you MUST share! I would love to see it come to life. Good luck lovely.
I have done both air dried and oven dried without any cracking. Make sure you mind your thickness, and make sure to rotate your project to allow even drying!
I would be worried the Salt Dough, if left unsealed, would disintegrate over time in the garden. You can seal it but I highly recommend checking out my post on Rustic Herb Plant Markers. I have had these out in my herb planter for years without any issues! It probable is the cheaper route. I ordered my Sculpey Clay off Amazon.com. They are SO easy to use and really hold up well. No cracking or distortion over 2+ years of being outside!
Hope I answered your question. Thank you so much for reading along dear!
Great question. I would measure out the paint and just subtract that from the amount of water required. Or as my grandmother would say…. guesstimate! If it’s too wet just add more dry ingredients.
Thank you for asking this! I was wondering the same thing. I’m using my kitchen aid stand mixer and I’m afraid to add paint because I’m afraid it’s going to mess up my mixer…
But I want the dough white!! I don’t want to paint later because I don’t want brush marks.. torn!!
I think if you use water based non-toxic paint (chalk paint or acrylic paint) you’ll be OK to use in mixer. But honestly, kneading it by hand was pretty easy too. Nothing like a little forearm workout in the mix! 😀
These came out pretty, but I sure wish I hadn’t had my 4 year old help. The paint in the dough got everywhere. 🙁 I now have a sweater and a rug that need scrubbing and I’m not sure if it will come out. Definitely will stick with regular salt dough for her and this one only for when I want to make things that she can paint or put glitter on later.
Thanks for the questions. That depends on the thickness of your dough. I would leave them for 24 hours just to be sure. The get pretty hard and lighter in feel.
Great question. I would most likely avoid using any electric mixer. However, I used my bowls and mixing spoons. Just make sure they go through a sanitize setting in your dishwasher.
My goodness! You have answered every question that I had. Thank you for responding and being thorough to all. I will make a batch this season. Blessings!
Thank you for such a positive comment! I’m so glad you found this post to be so useful. Enjoy your crafty project and I hope it exceeds your expectations. Have a fabulous holidays dear and thanks for visiting my little blog!
That’s a great question. It all depends on the size of ornament you are making I presume. I managed to get a few dozen out of my batch but mine were about palm size or smaller.
That’s a great question actually, one I do not know the answer to. I fear the oil would compromise the ability for the dough to dry and harden. I would recommend using them like my air fresheners and if you want them scented, apply the oil to the project once it’s dry. It’s porous and till absorb it. Otherwise, the only way to know truly is to try!
I just tried vanilla extract and they are quite a bit harder to cut out shapes but smell good.
I also used gingerbread man cookie cutter and before drying covered in cinnamon. In the oven using essential oils my guess if they might have even a but more sheen to them!
I think you could easily do a footprint or handprint. It can air dry and will maintain the details. Baking will only speed up the drying process if you needed it to.
After making my ornaments i paint them with acrylic paint then when dried I paint over with glittery nail polish. They are so shiny and beautiful. Just an idea.
You can absolutely use marker on these. I would just make sure you spray seal it rather than paint seal it (to prevent running of colors.) The clay is porous so it will absorb marker easily.
Will these last for years? How many ornaments do you think can be made with this recipe? Our church wants to do a family
Christmas tree with each child birth to 12th grade getting one and using it every year til they graduate. Will they last 18 years +?
This is a recipe I’ve used over the years and they are still holding up strong. Now, if you’re concerned about longevity I would spray a coat of Crystal Clear protection coat or paint on a layer of Clear Glaze. This will help protect them from any moisture they might encounter being stored. I can’t say I’ve have tested them for 18+ years… but as far as cheap and cheerful crafts… I would give it a go.
I’m confused. Did the full page not load? The recipe is in the post and also has a print button that leads you to a PDF so you can print it and safe it for your own.
I have tags from last year in a plastic bag waiting for this coming season. No storage problems here! I hope that helps. Thanks again for reading along. Happy crafting.


62 thoughts on “The Perfect Salt Dough Recipe”
I love adding the white paint for bright white dough! I am trying this tonight!!!
Michelle,
I’m so glad you loved this post. It makes for the best BRIGHT white dough. Hope you enjoyed your project and thanks for reading along!
XO,
Maria
Hello Maria,
You seem like a wonderful, patient woman. Thank you for the great recipe, and for all of the answered questions.
Have a lovely holiday season.
Sincerely,
Emma
Emma,
Thank you dear for such sweet words. I hope you had a lovely holidays as well. Sending lots of love.
Maria
Hey Maria!
I just found your awesome post! After doing extensive research and feeling defeated price-wise, I’ve decided to hand make tile for a backsplash in my RV kitchen. If I seal them all and put them on my wall, do you think they would hold up well? My main concern is being wipe-able as it’s behind the stovetop, and Durability to resist cracking when driving. Would love to know your thoughts!
Thanks!
Bailey
Bailey,
Oh, I LOVE that you’re willing to tackle this as a DIY. As far as I know, you could seal them, but they wouldn’t be as durable as a fired glaze on a porcelain tile. Now, that doesn’t mean you can’t do this! I would look into sealing them with something that wouldn’t yellow with time. Maybe a polyurethane? I think the likelihood they would crack during your travels may depend more on the way you adhere them to the wall. Some substrate that would absorb the shock of the road. However, that would be out of my knowledge range.
Thank you for reading and if you conquer this, you MUST share! I would love to see it come to life. Good luck lovely.
XOXO,
Maria
Hi, I’m wondering if this recipe is prone to cracking whether air dried or oven dried?
Thanks 🙂
Colleen,
I have done both air dried and oven dried without any cracking. Make sure you mind your thickness, and make sure to rotate your project to allow even drying!
Hope you enjoy and thank you so much for reading!
Cheers,
Maria
Hi, I want to use this to make garden tags. Can I use these outside after I bake and decorate?
Thanks, Lulu
Lulu,
I would be worried the Salt Dough, if left unsealed, would disintegrate over time in the garden. You can seal it but I highly recommend checking out my post on Rustic Herb Plant Markers. I have had these out in my herb planter for years without any issues! It probable is the cheaper route. I ordered my Sculpey Clay off Amazon.com. They are SO easy to use and really hold up well. No cracking or distortion over 2+ years of being outside!
Hope I answered your question. Thank you so much for reading along dear!
XOXO,
Maria
Just found your blog; so fun! For the sat, what kind do you use? Can I use course sea salt or does it have to be fine?
Angela,
Thank you so much for your kind word! I’m so glad you found me. 🙂
I would recommend using fine salt over course if you have it onhand. I would worry about it affecting the texture, but then again I haven’t tried it.
Happy crafting. XOXO,
Maria
I prefer coarse for ugly sweater cookie ornaments. Gives a textured look.
What a GREAT idea! I haven’t even thought of that. Thank you for sharing and reading along.
Cheers,
Maria
Hi! I was wondering how much water I would need if I chose not to add the paint?
Abby,
Great question. I would measure out the paint and just subtract that from the amount of water required. Or as my grandmother would say…. guesstimate! If it’s too wet just add more dry ingredients.
Hope that helps!
Cheers,
Maria
Thank you for asking this! I was wondering the same thing. I’m using my kitchen aid stand mixer and I’m afraid to add paint because I’m afraid it’s going to mess up my mixer…
But I want the dough white!! I don’t want to paint later because I don’t want brush marks.. torn!!
I caved and added paint. It did NOT mess up my mixer but I don’t think it made it white enough but it’s possible I didn’t use enough.
Oh no! Do over…. add more! 😀 If at first you don’t succeed… try, try again….
Emily,
I think if you use water based non-toxic paint (chalk paint or acrylic paint) you’ll be OK to use in mixer. But honestly, kneading it by hand was pretty easy too. Nothing like a little forearm workout in the mix! 😀
Thanks for reading and your kind words.
XOXO,
Maria
Where did you get the fancy shape cookie cutters?
Nicole,
AMAZON! These are the ones I used here.
XOXO,
Maria
These came out pretty, but I sure wish I hadn’t had my 4 year old help. The paint in the dough got everywhere. 🙁 I now have a sweater and a rug that need scrubbing and I’m not sure if it will come out. Definitely will stick with regular salt dough for her and this one only for when I want to make things that she can paint or put glitter on later.
Monica,
OH NO! Crafting casualty. I’m so sorry! Well, I’m so glad you shared your experience though. Enjoy your memories with the little one.
XOXO,
Maria
Hi Maria, I’m excited to try these! Just how long does it take for them to air dry? TIA (:
Kayla,
Thanks for the questions. That depends on the thickness of your dough. I would leave them for 24 hours just to be sure. The get pretty hard and lighter in feel.
Hope that helps!
Maria
By adding the acrylic paint to the mixture, is it still safe to use my kitchen utensils and bowls with it since paint is non edible? Thanks
Hannah,
Great question. I would most likely avoid using any electric mixer. However, I used my bowls and mixing spoons. Just make sure they go through a sanitize setting in your dishwasher.
Cheers,
Maria
My goodness! You have answered every question that I had. Thank you for responding and being thorough to all. I will make a batch this season. Blessings!
Gwen,
Thank you for such a positive comment! I’m so glad you found this post to be so useful. Enjoy your crafty project and I hope it exceeds your expectations. Have a fabulous holidays dear and thanks for visiting my little blog!
XOXO,
Maria
How many ornaments are made from the recipe?
Glena,
That’s a great question. It all depends on the size of ornament you are making I presume. I managed to get a few dozen out of my batch but mine were about palm size or smaller.
I hope that helps some.
Cheers,
Maria
Can you add essential oils to them by chance?
Sandi,
That’s a great question actually, one I do not know the answer to. I fear the oil would compromise the ability for the dough to dry and harden. I would recommend using them like my air fresheners and if you want them scented, apply the oil to the project once it’s dry. It’s porous and till absorb it. Otherwise, the only way to know truly is to try!
Thanks for the question!
XO,
Maria
I just tried vanilla extract and they are quite a bit harder to cut out shapes but smell good.
I also used gingerbread man cookie cutter and before drying covered in cinnamon. In the oven using essential oils my guess if they might have even a but more sheen to them!
Danika,
Thank you for sharing your experience. I love that you weren’t afraid to try new things. I bet they smell up the house something devine!
Cheers,
Maria
Hi Maria,
I really like your tags and the idea of using chalk paint. I will try it with my granddaughter. Thank you for sharing your experience.
Colette,
Thank you so much for your sweet words. I hope you and your granddaughter have so much fun with your crafting project, and make wonderful memories!
Hugs,
Maria
If I wanted to make a footprint or handprint, would I need to bake it? If so, for how long and at what temp?
I think you could easily do a footprint or handprint. It can air dry and will maintain the details. Baking will only speed up the drying process if you needed it to.
Hope that helps.
XO,
Maria
How would you dry these in the oven?
Rachel,
I’ve dried them in the oven at 250 for a few hours for really thick pieces.
Thanks for reading and I really hope that helps.
Cheers,
Maria
After making my ornaments i paint them with acrylic paint then when dried I paint over with glittery nail polish. They are so shiny and beautiful. Just an idea.
Marie,
Thank you so much for sharing your creativity! I bet they look beautiful.
Happy crafting!
XOXO,
Maria
Love this idea! My daughter will be an awesome helper in this simple, yet elegant, idea!
Monica,
Oh, I am so glad you love this recipe! I hope you and your daughter have so much fun being creative and making wonderful memories!
Cheers,
Maria
Could you color w a marker? Looking for a simple kid project for an open house?
Rodney,
You can absolutely use marker on these. I would just make sure you spray seal it rather than paint seal it (to prevent running of colors.) The clay is porous so it will absorb marker easily.
Great craft idea for an open house! Good luck!
Cheers,
Maria
Does this have to be baked? Or air dried?
You can do either truthfully. For thicker pieces I’ve used the oven. Most of my tags and ornaments I’ve simply just let air dry!
Hope that helps. Thanks for reading along!
Cheers,
Maria
Maybe a dumb question, but do you decorate these before or after they are dried?
Oh Robin, not a dumb question at all! I let mine dry first then used a little acrylic paint to hand paint them.
Thank you for reading along and commenting!
XOXO,
Maria
What kind of paint did you use?
Sandra,
You can use Acrylic or any water based paint. In the demo I used some Annie Sloan Chalk paint because that’s what I had on hand!
Hope that helps.
XOXO,
Maria
Will these last for years? How many ornaments do you think can be made with this recipe? Our church wants to do a family
Christmas tree with each child birth to 12th grade getting one and using it every year til they graduate. Will they last 18 years +?
Merri-Sue,
This is a recipe I’ve used over the years and they are still holding up strong. Now, if you’re concerned about longevity I would spray a coat of Crystal Clear protection coat or paint on a layer of Clear Glaze. This will help protect them from any moisture they might encounter being stored. I can’t say I’ve have tested them for 18+ years… but as far as cheap and cheerful crafts… I would give it a go.
Cheers,
Maria
How do i know how much of each ingredient?
Mariah,
I’m confused. Did the full page not load? The recipe is in the post and also has a print button that leads you to a PDF so you can print it and safe it for your own.
Cheers,
Maria
Hello Maria,
If I make the salt dough tags in in August will they still be ok for Christmas. If so how should I store the?
Thank you, Debra
Debra,
I have tags from last year in a plastic bag waiting for this coming season. No storage problems here! I hope that helps. Thanks again for reading along. Happy crafting.
Cheer,
Maria
Could I add a different color paint for a colored tag? Would that work okay do you think? Or is it better to paint them after they dry completely?
Michelle,
I haven’t tried another color, but I absolutely think it would work! It’s cheap and cheerful so give it a go! I’d love to hear how it turns out.
Thanks again for reading.
XOXO,
Maria