I recently ran across the term “eco-prints.” What is that you ask? Let me tell you!
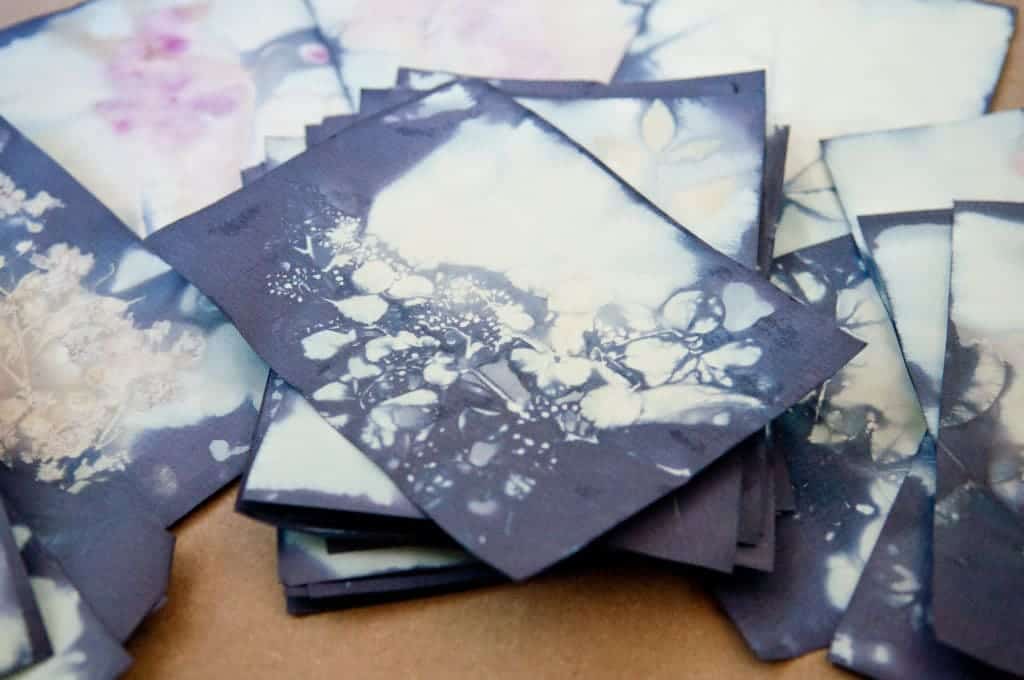
Eco-printing is a technique using plants, leaves, and flowers to make marks on fabrics or paper using the natural dyes in the plant material. The foliage is bundled or wrapped and then boiled or steamed to produce unique marks or patterns.
The prints that resulted from this simple technique were just amazing. I had to give it a try. After reviewing a few tutorials, there seemed to be a bunch of different methods to this type of artwork. There really was no way to screw this up.
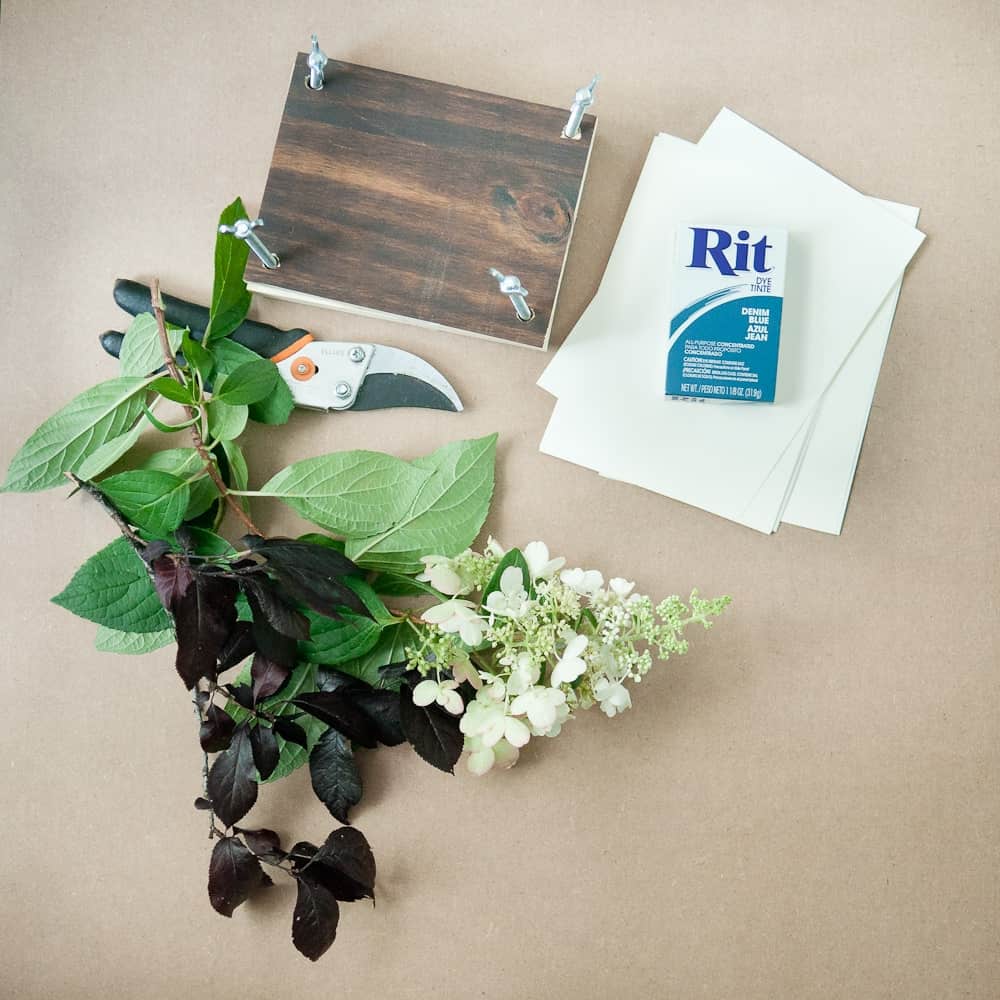
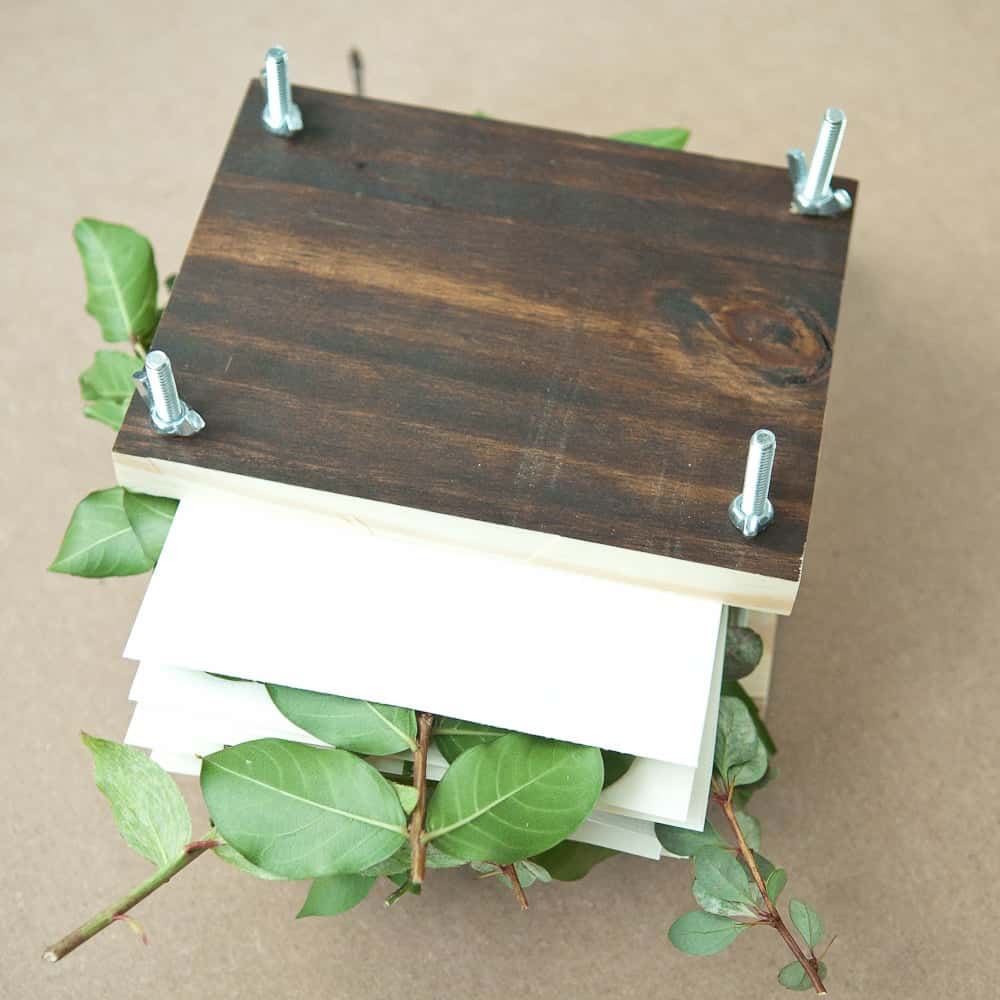
Before I started, I decided to make a simple press from 1×6” boards, long carriage screws and some wing nuts. Keeping in mind I needed the press to fit into my boiling pot, I measured and cut the 1x6s wood down to size. Finally, I drilled 4 holes in each corner and threaded the carriage bolts in place.
Ok here’s the next step, go take a hike! No literally, go for a walk and collect your foliage.
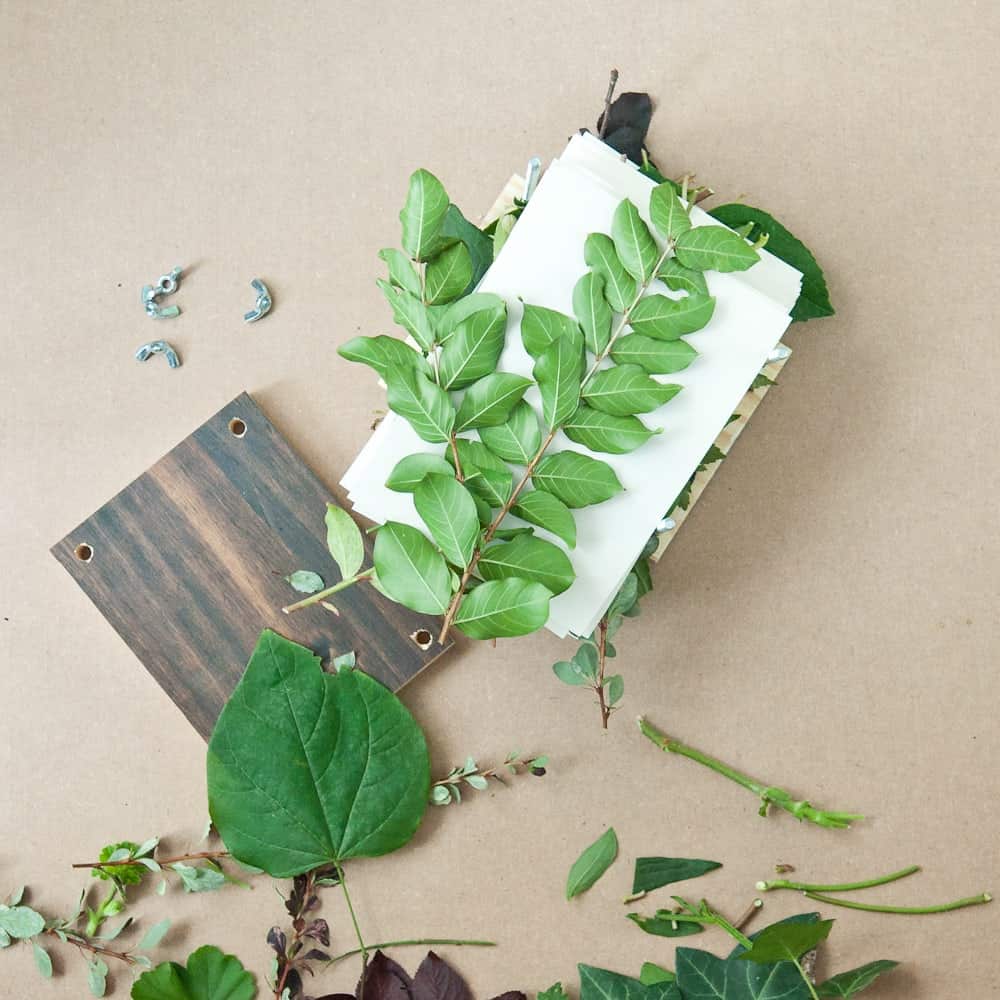
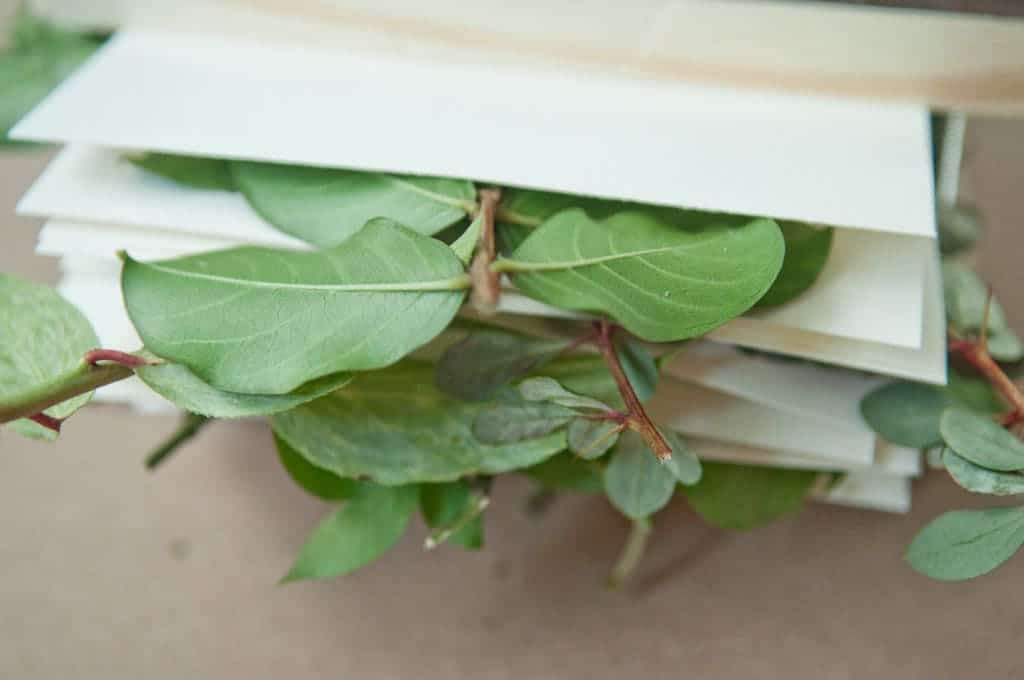
Ok, onto the fun part. Start by layering paper then foliage, then paper, etc… To create my prints I used leaves, flowers, and a combination of both. Also, remember negative space is just as important.
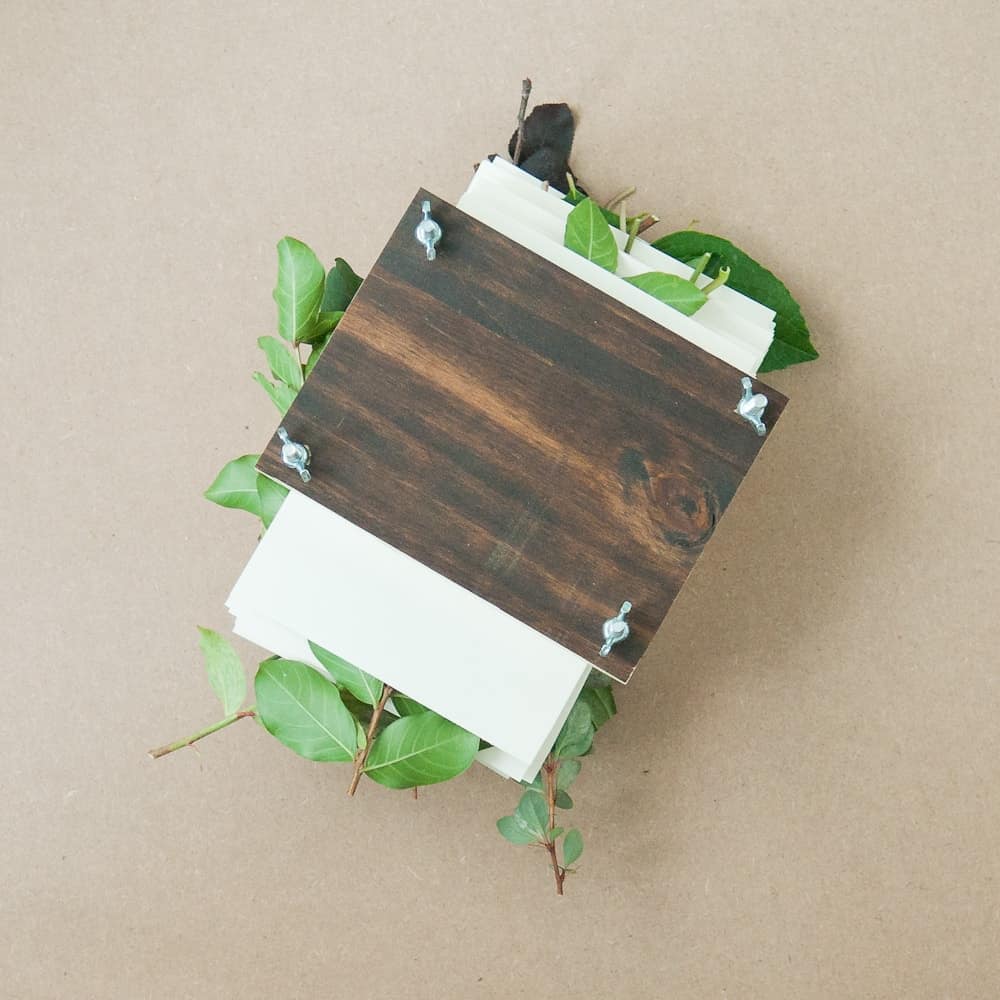
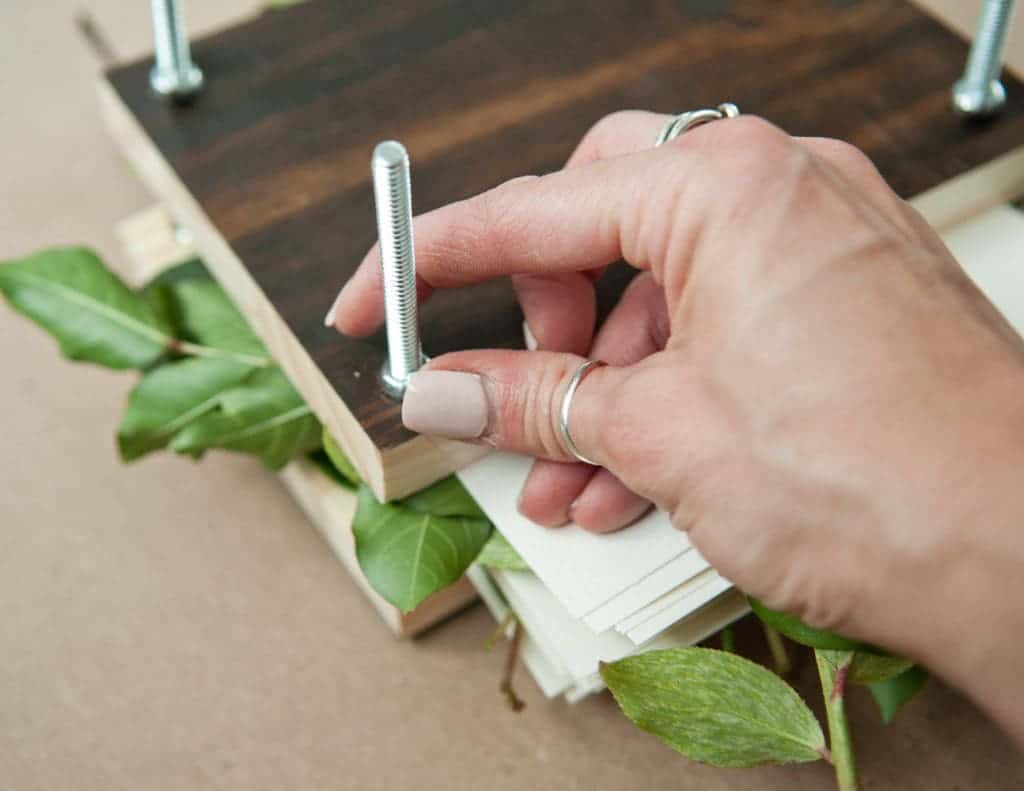
Once you’ve satisfied with what you’ve created, put the top board in place, careful to not disrupt your layering. Trying to compress as much as possible, tighten down the wing nuts.
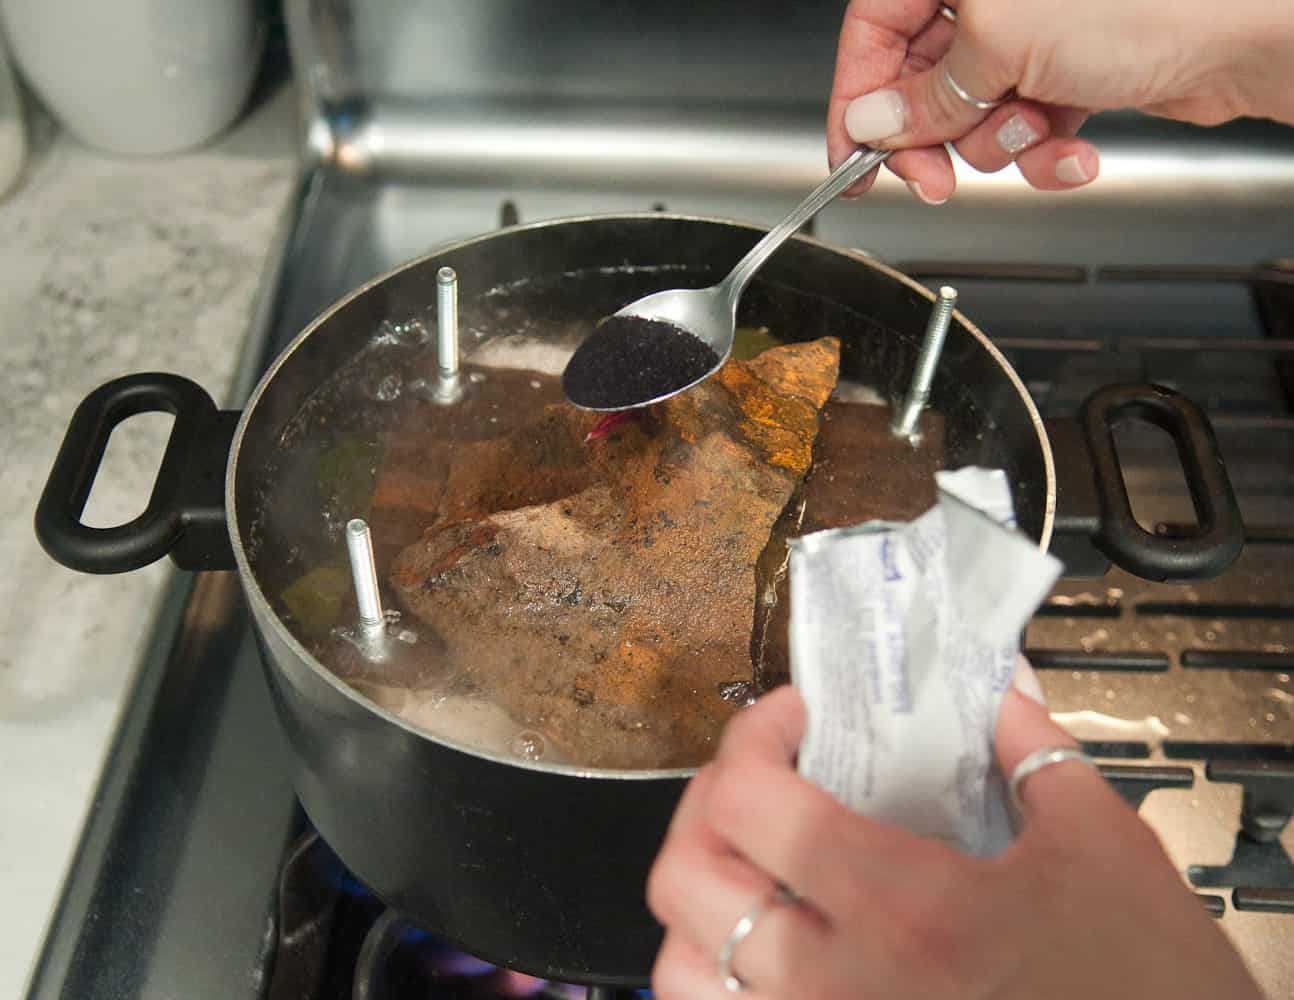
Alright, lets move to the kitchen! Placing your press into your pot, add enough water to fully submerge your press. Keep in mind that you should not use a pot that you use for food! I picked up a super cheap pot from Goodwill for $4.
Next, add approximatly a 1/2 a cup of white distilled vinegar. I also added some steal wool and a piece of cast iron to add some pigmentation elements. {I honestly don’t know if this was necessary, but other tutorials suggested it so I went with it!}
To keep the press submerged, I used a large stone from my yard. Not rocket science folks. The press will tend to float to the top without something to help keep it submerged.
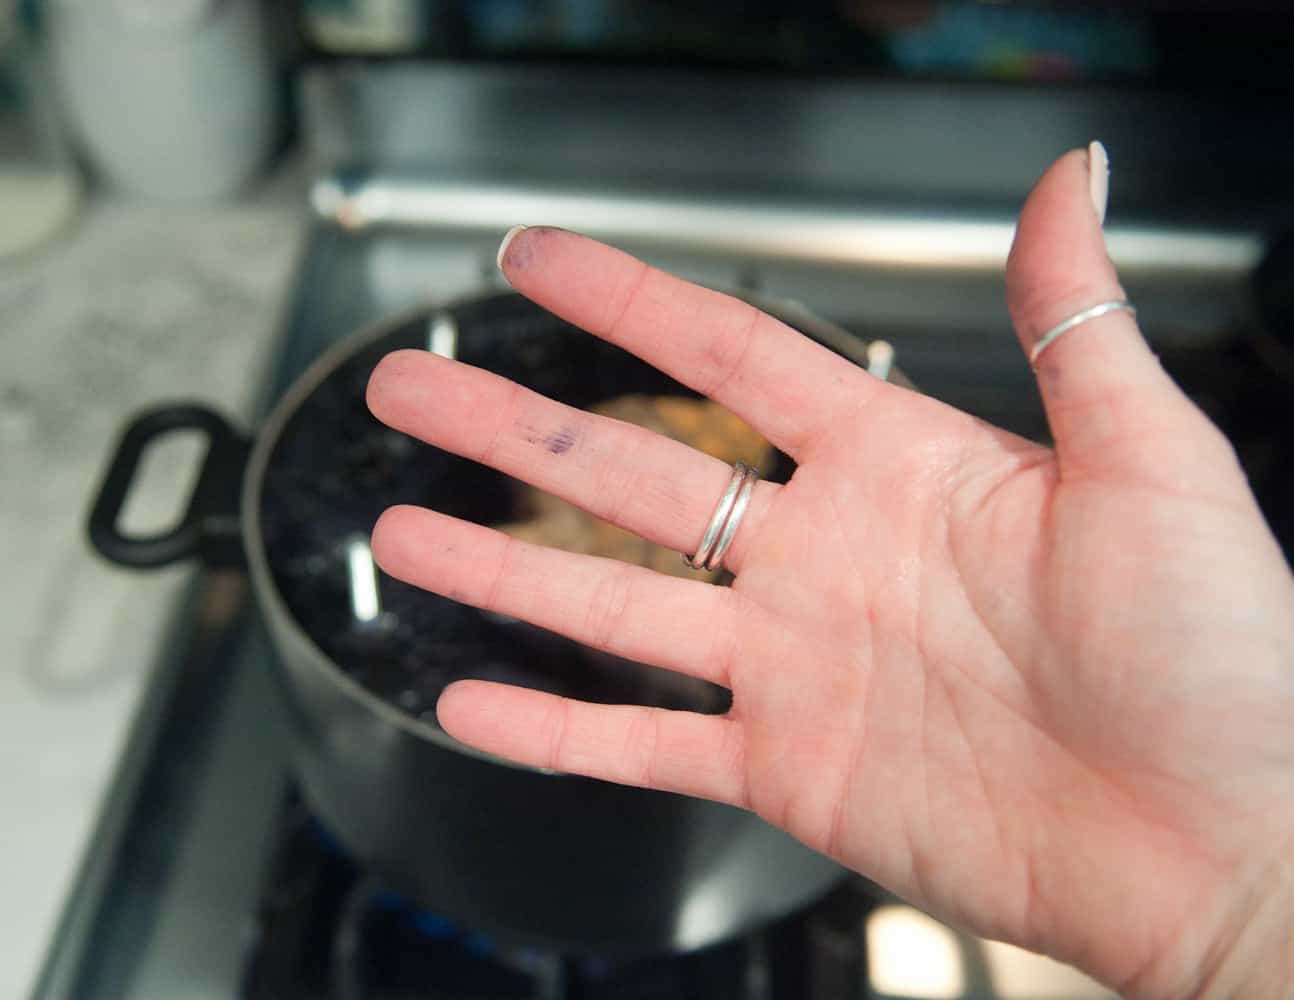
Next, bring the water to a rolling boil. Then add approximately a teaspoon of Rit dye to your water. I got a little over zealous and added a tablespoon, which made the blue really blue! This is negotiable, it’s your creation.
Keep in mind this stuff will dye anything it touches. This included my fingers… for like three days!
Once you achieve a rolling boil, cover and let it do it’s thing for 1-1.5 hours. Make sure you check in often to make sure the papers stay submerged. Add extra water if it starts to run low. I let mine boil for about an hour.
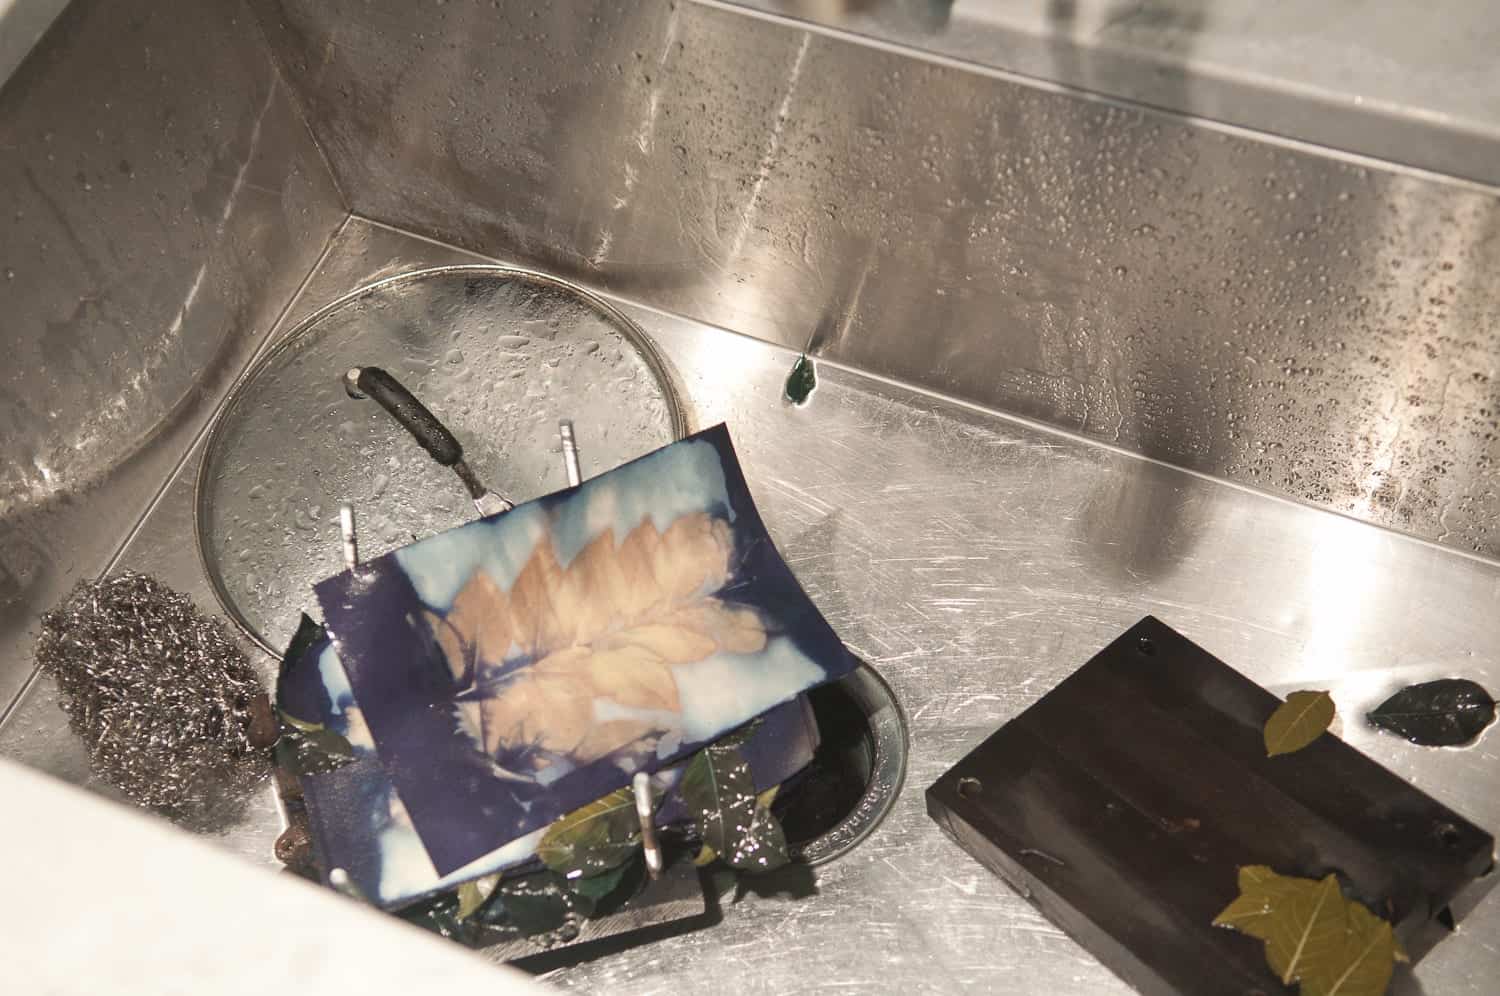
Once you’ve successfully boiled everything, take everything off the stove and let cool. Now this is the exciting part! Remember to be careful when taking apart your press, the metal pieces may still be hot. Under cool running water, start washing off your pages.
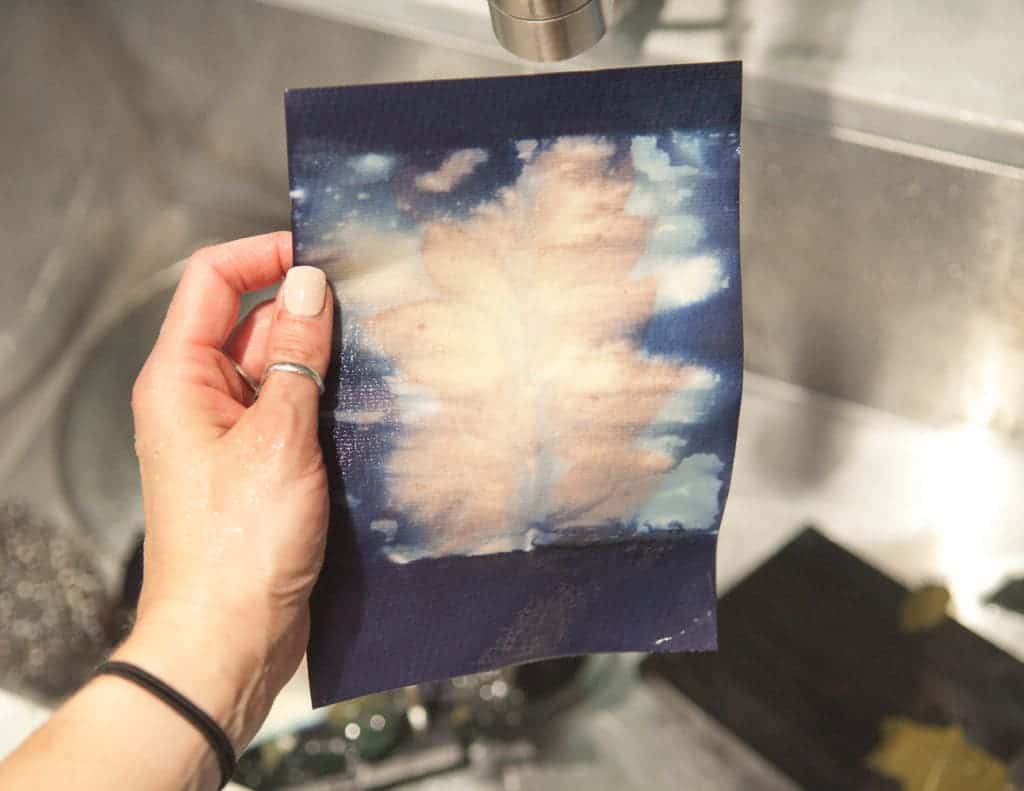
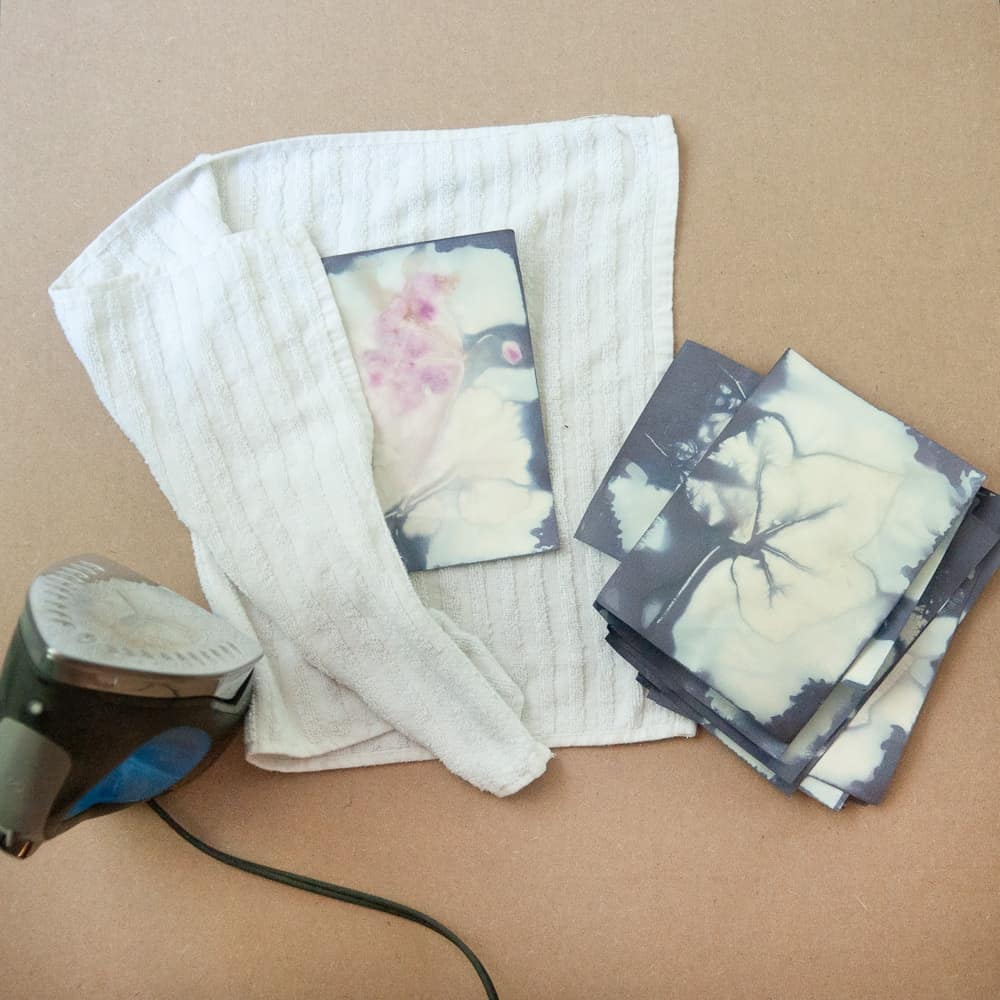
I was pleasantly surprised as I exposed these beautiful prints. The colors were brilliant and the details were so rich! Not to mention different leaves released different colors! Some were even purple and pink.
After rinsing off the papers, I made a clothesline to hang each paper to dry.
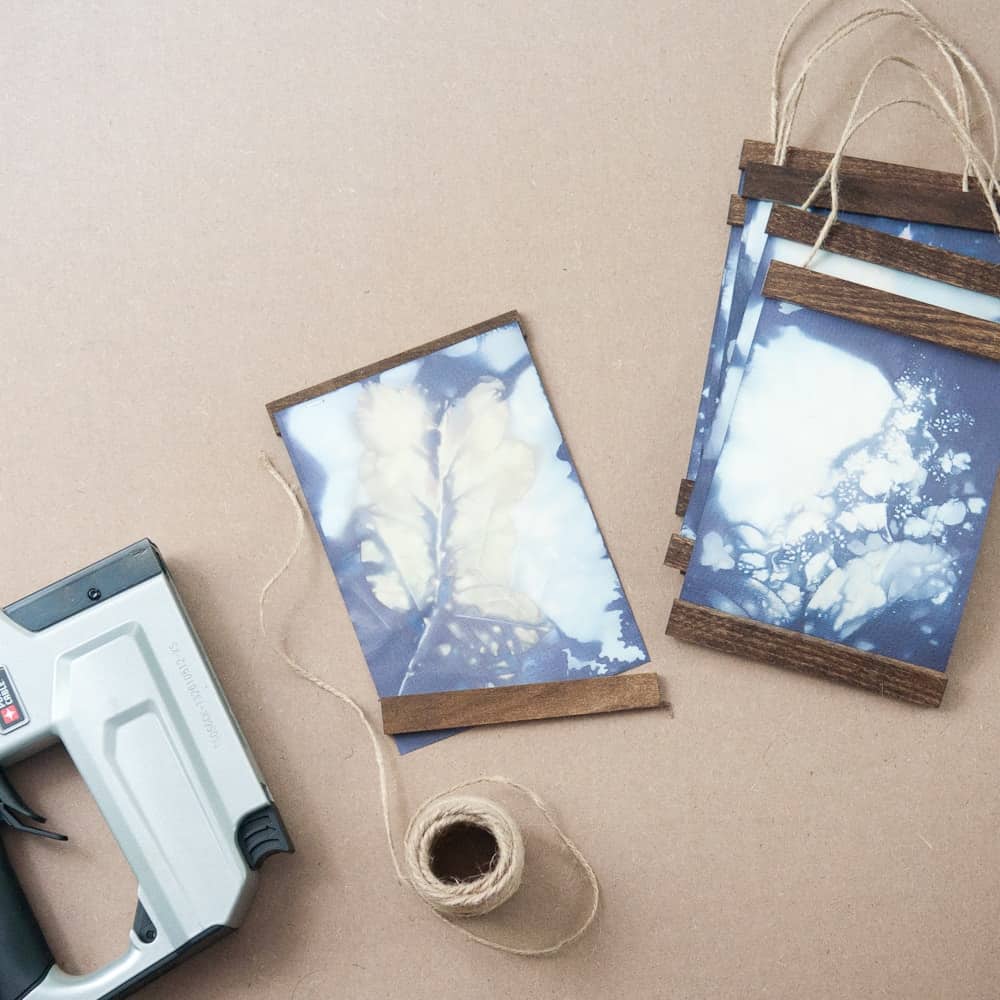
Making Your Prints into Wall Art
Once fully dried, I ironed the papers between layers of a towel on a light steam setting. This made them lay flat, or as flat as they were gonna go! {The heavier the watercolor paper the better, so keep that in mind when purchasing.}
Finally, taking a piece of 1.5×0.5 trim, I cut pieces slightly larger than the prints. I stained the wood a combination of Dark Walnut and Special Walnut, both by Minwax. Then I fired up my air compressor and used my staple gun to fix the pieces of trim to the prints as well as a piece of twine for hanging purposes.
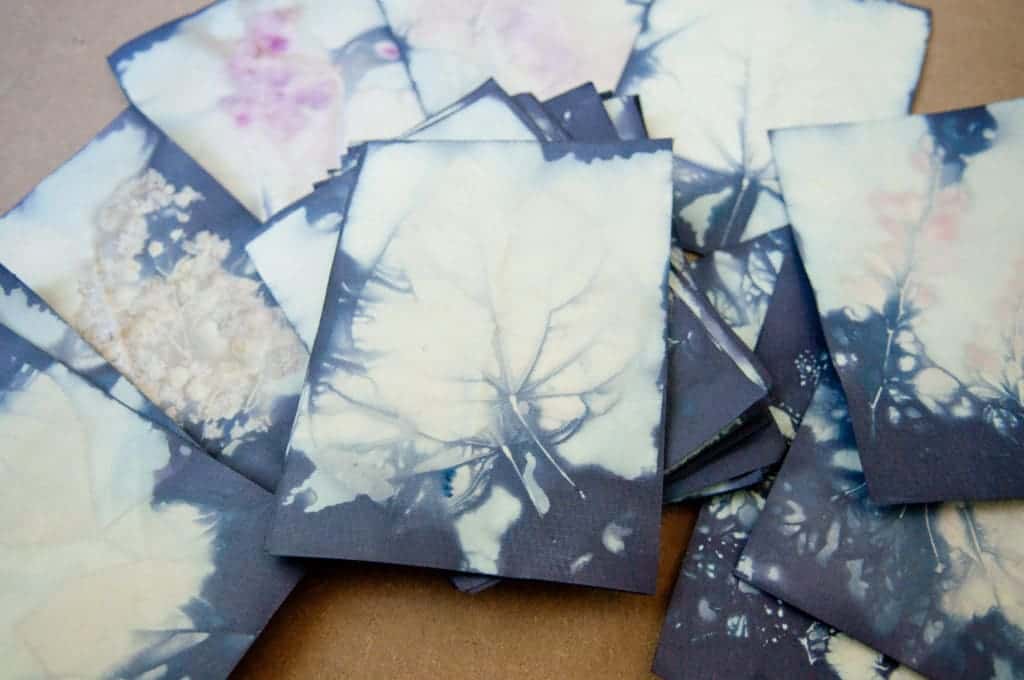
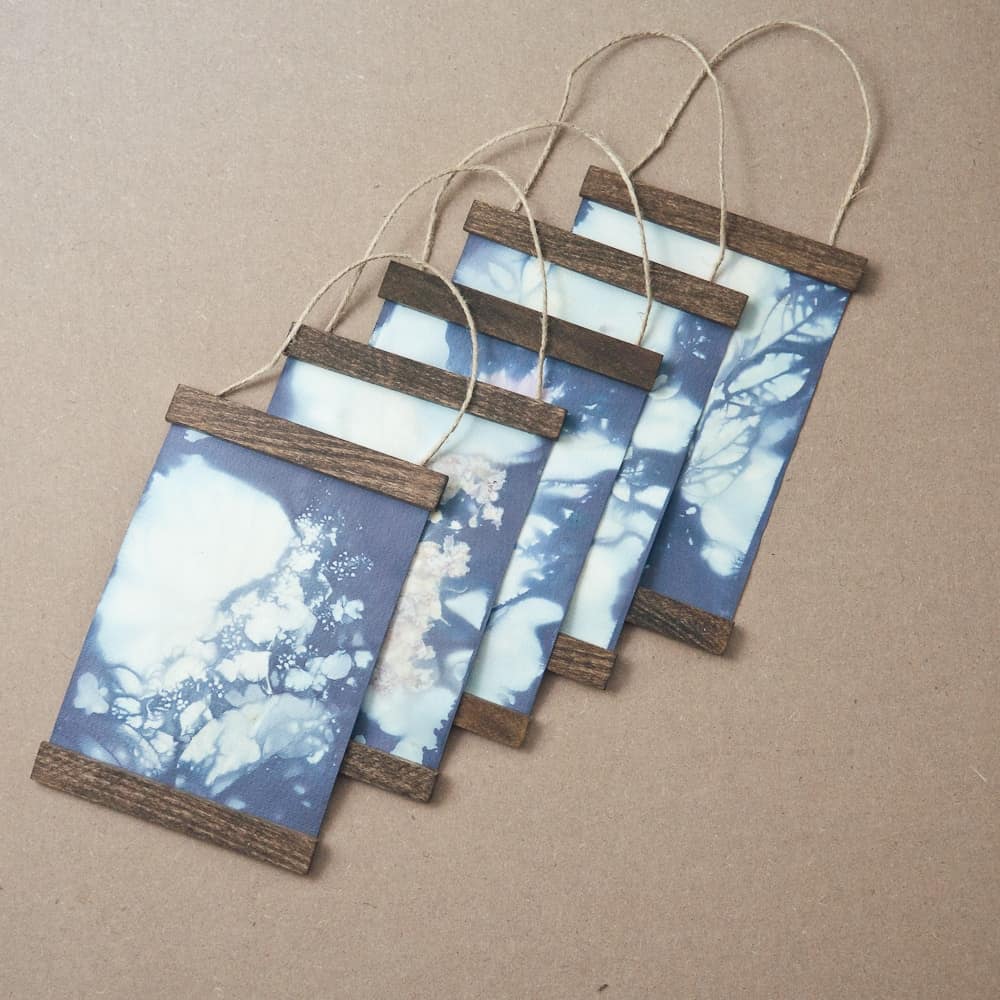
The photos do not do these prints justice! As you can see, they are all so beautifully detailed, I see something new everytime I take a peak.
I really hope everyone gives this little DIY a go. You can really make this project into anything you wish – wrapping paper, business cards, stationary… whatever you want.
Thanks for visiting my little piece of the internet!
I’m Maria, a lover of furry things, coffee and anything creative. This blog is where I love to share affordable home decor ideas, great DIYs, yummy recipes, unique crafts and so much more.
5 thoughts on “How To Create Beautiful Eco-Prints on Paper”
Wendy
Thanks for the idea of using the press. It will allow controle of composition, Which I liked in the beautiful prints you made. I’m not sure why you need vinegar. You need the iron as a mordant if using natural dye but not sure why you needed iron and vinegar using commercial dye. Thanks for sharing your technique.
I like how simple this technique is by add vinegar. I have seen others that requires alum to prepare the paper before eco printing. I’ll give this a go.
Thank you for sharing
These are beautiful, Maria. They would be lovely used in a collage. Thanks for the idea! I wonder if you could use this technique with artists’ canvas.
Lorraine, thank you for your comment. If you mean having them turned into stretch canvas art, I believe you could! They would look beautiful and give the wall some depth.


5 thoughts on “How To Create Beautiful Eco-Prints on Paper”
Thanks for the idea of using the press. It will allow controle of composition, Which I liked in the beautiful prints you made. I’m not sure why you need vinegar. You need the iron as a mordant if using natural dye but not sure why you needed iron and vinegar using commercial dye. Thanks for sharing your technique.
I like how simple this technique is by add vinegar. I have seen others that requires alum to prepare the paper before eco printing. I’ll give this a go.
Thank you for sharing
Meng,
It’s so simple and the results are so beautiful! I hope you have fun with it!
Cheers,
Maria
These are beautiful, Maria. They would be lovely used in a collage. Thanks for the idea! I wonder if you could use this technique with artists’ canvas.
Lorraine, thank you for your comment. If you mean having them turned into stretch canvas art, I believe you could! They would look beautiful and give the wall some depth.