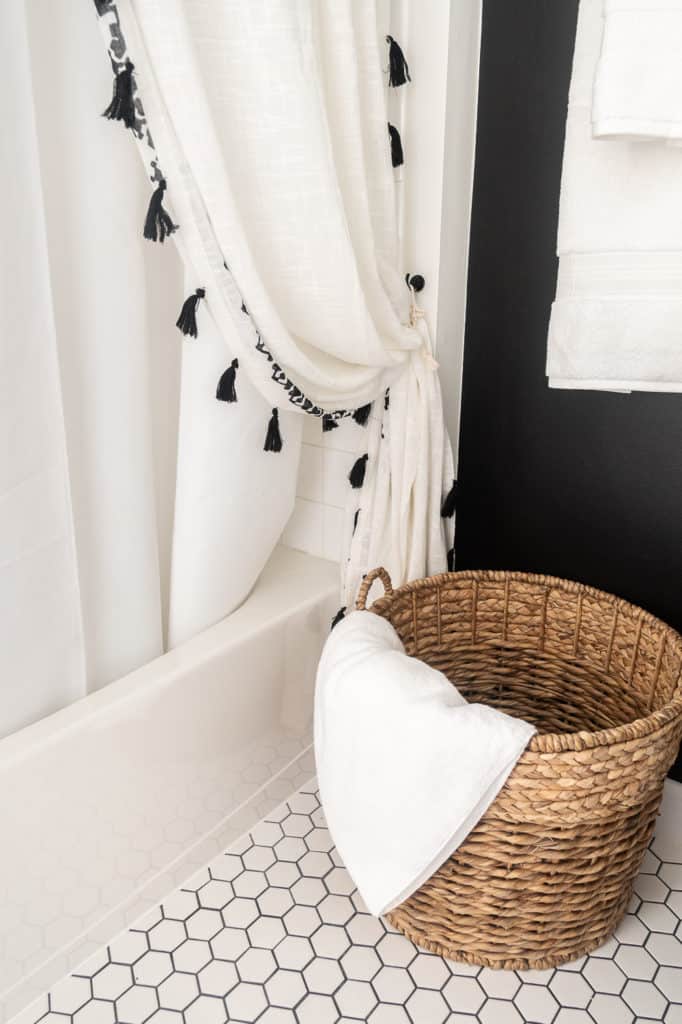
While completing my bathroom renovation for Better Homes & Gardens One Room Challenge, I learned how to paint crisp paint lines. That’s right, you read it right. Perfect.
Using this simple and easy method, I promise you won’t have any bleed through, no time wasted on touch ups – just perfect paint lines every time!
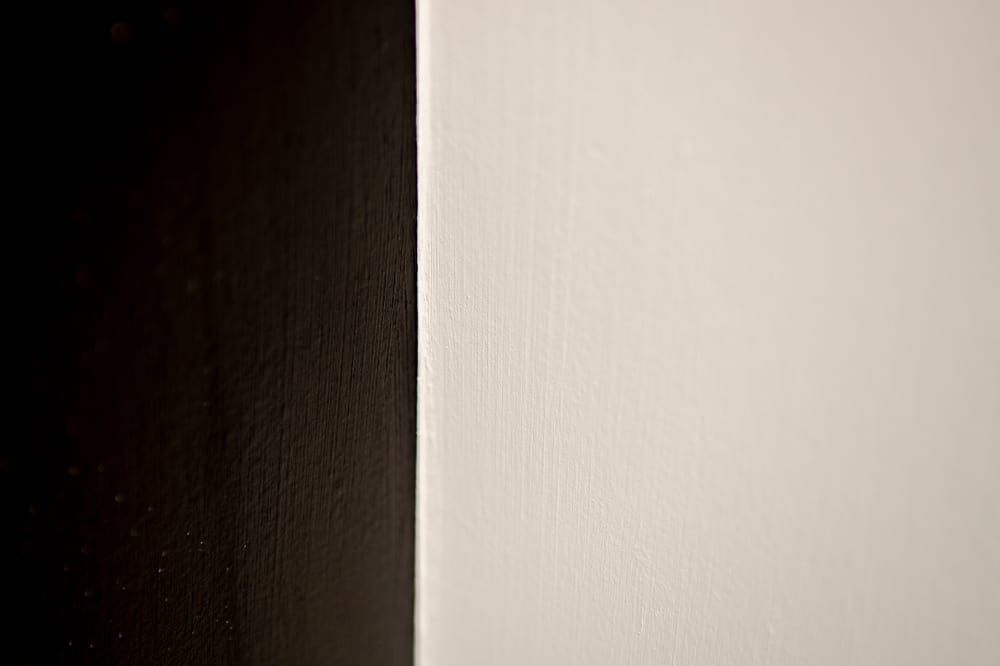
I really wanted to have crips paint lines when using such a bold color as black in this bathroom. I was really intimidated the lines wouldn’t come out straight and clean as I wanted. One little blemish and I know it would trigger my OCD… and really take away from the overall look I was going for.
I used this simple technique to get the perfect paint lines, and was blown away at how crisp the lines came out. Shocked is an understatement. And boy, let me tell you how easy it was.
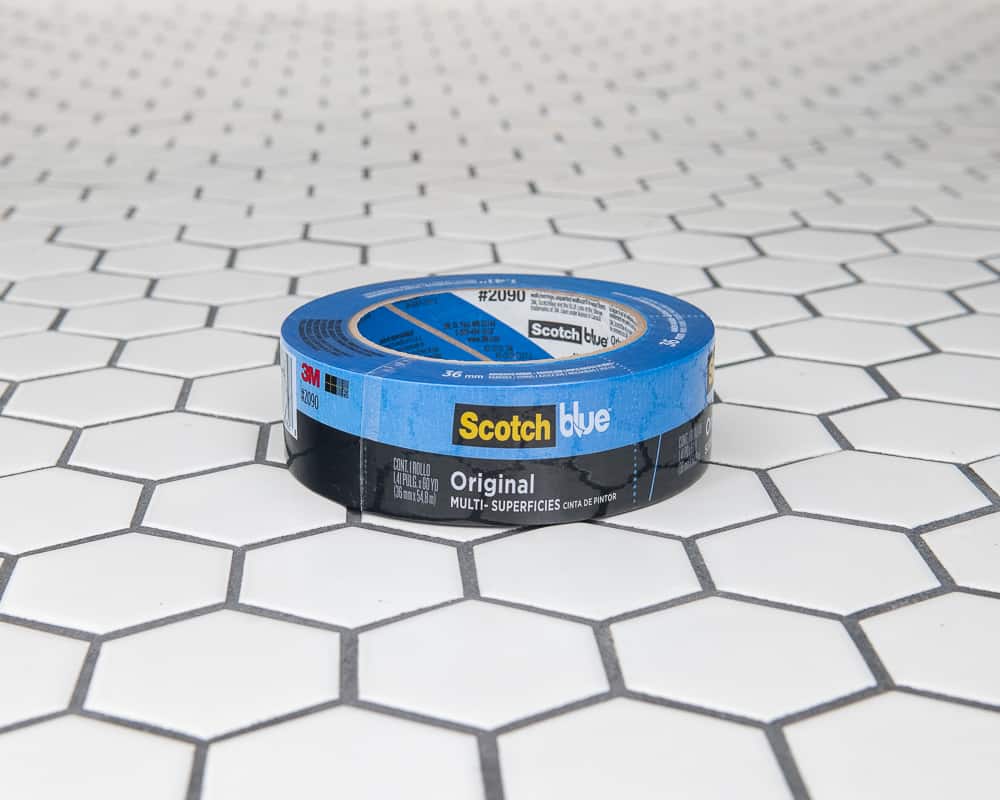
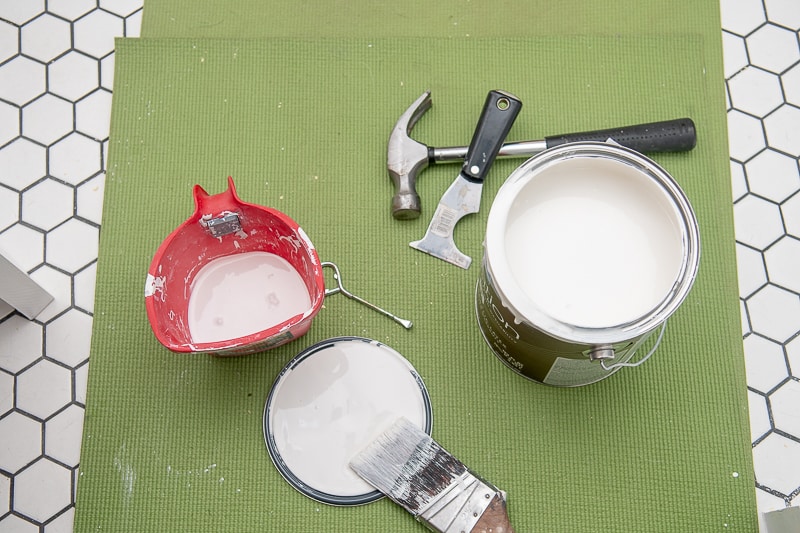
First, tape off your line using your painters tape.
Buy whatever brand you wish. I don’t spend the extra money on the expensive brand because it’s a waste.
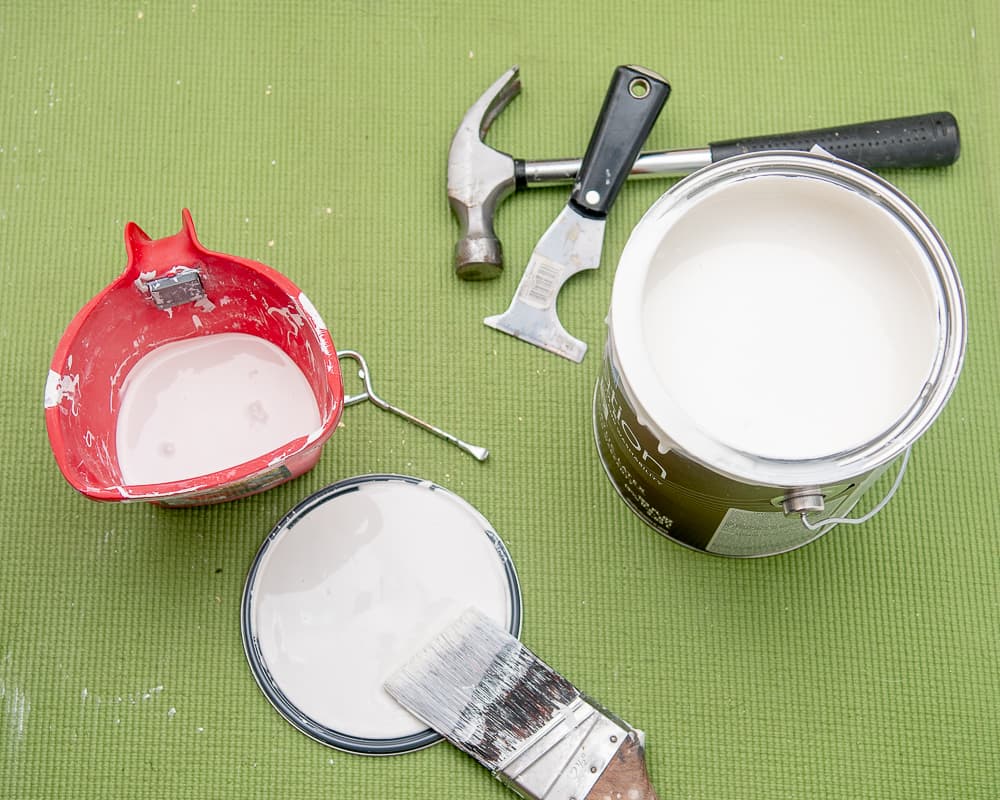
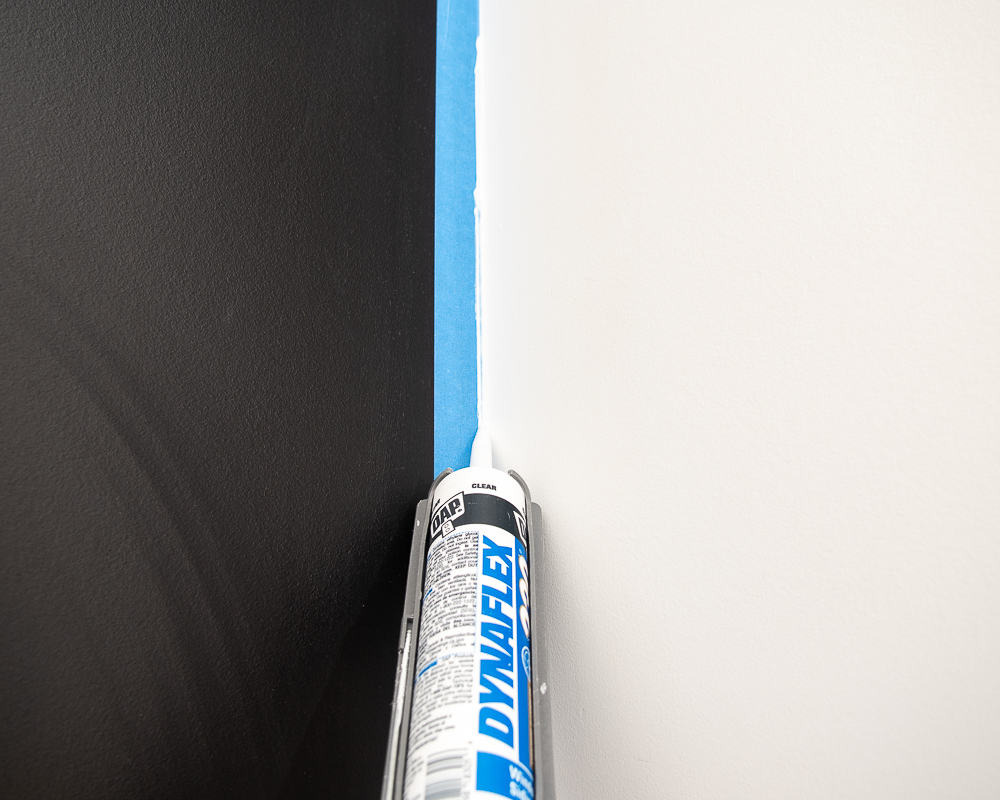
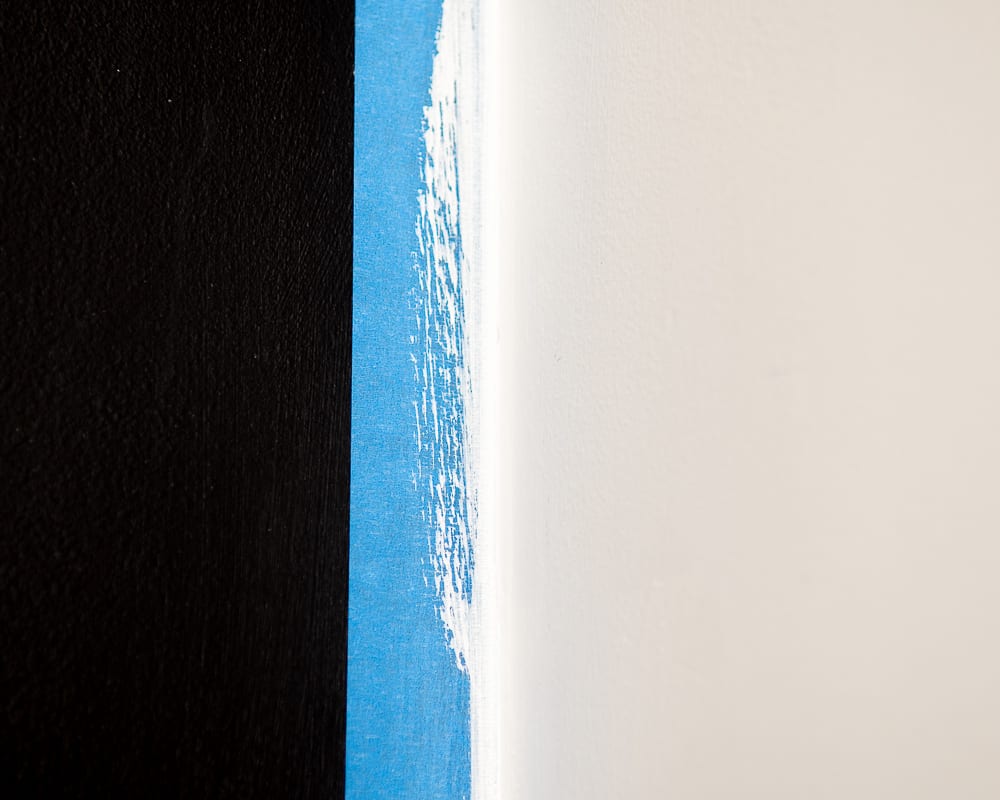
Next, run a very thin bead of clear latex caulk on the side of the tape you’re going to be painting.
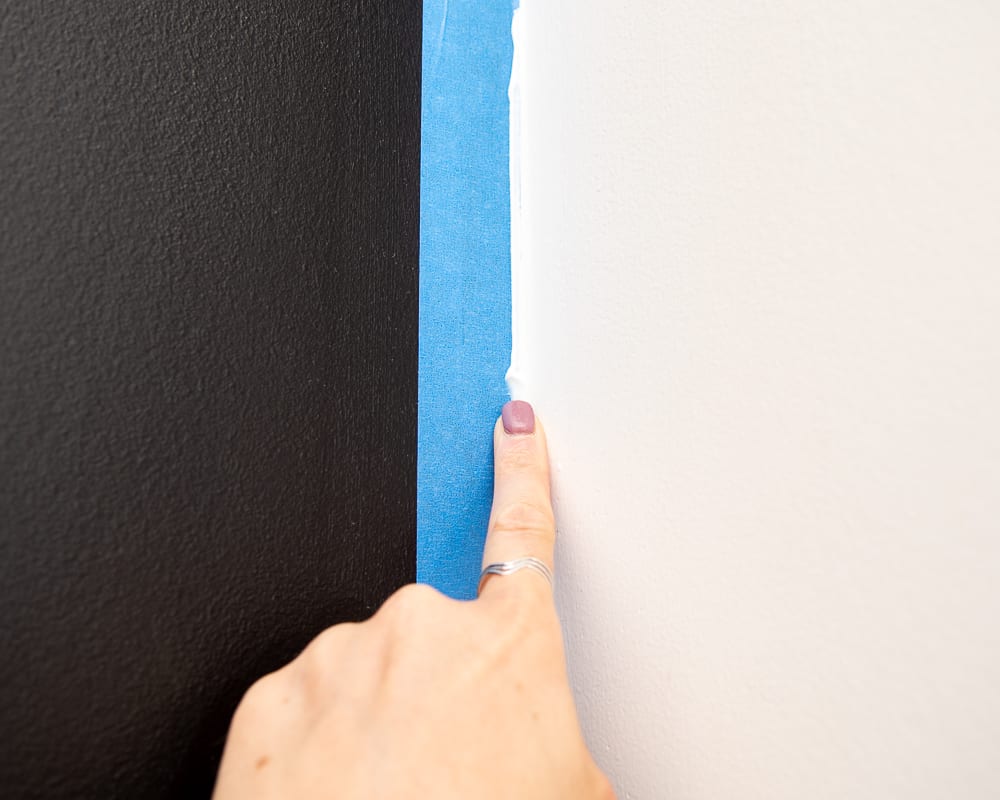
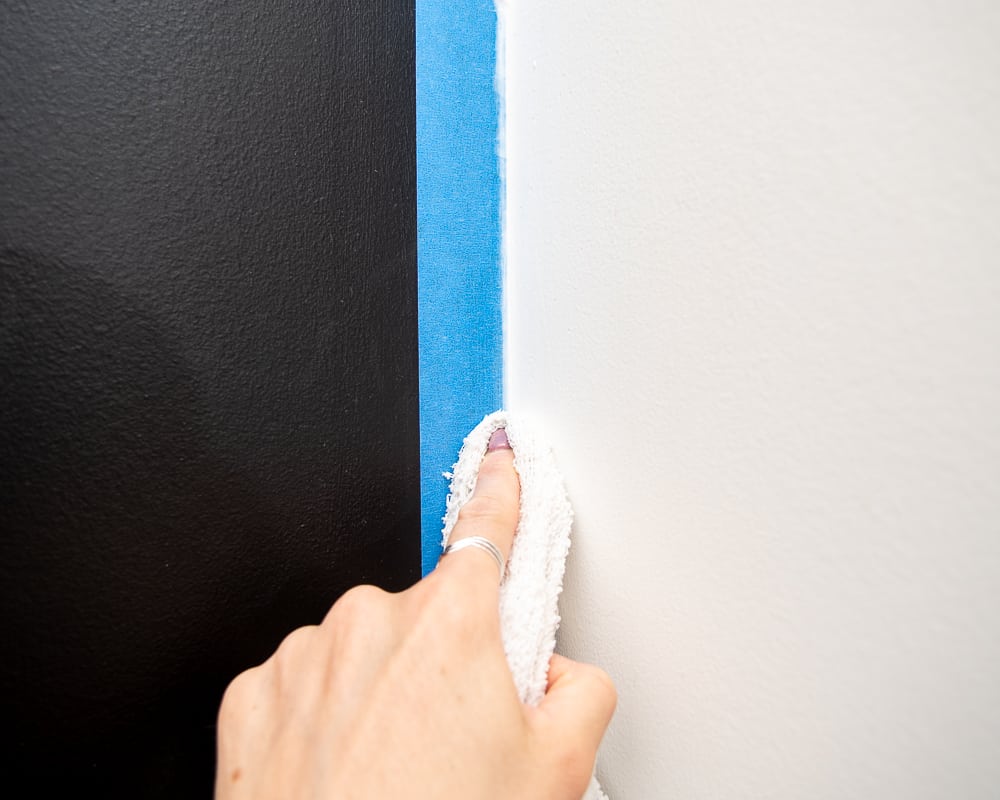
Immediately, use your finger to wipe the majority of the caulk off the tape. If you need to, use a damp rag to help clean any excess caulk off the walls. The latex caulk acts as a sealer.
Any paint that may have bled through will now be blocked by the caulk.
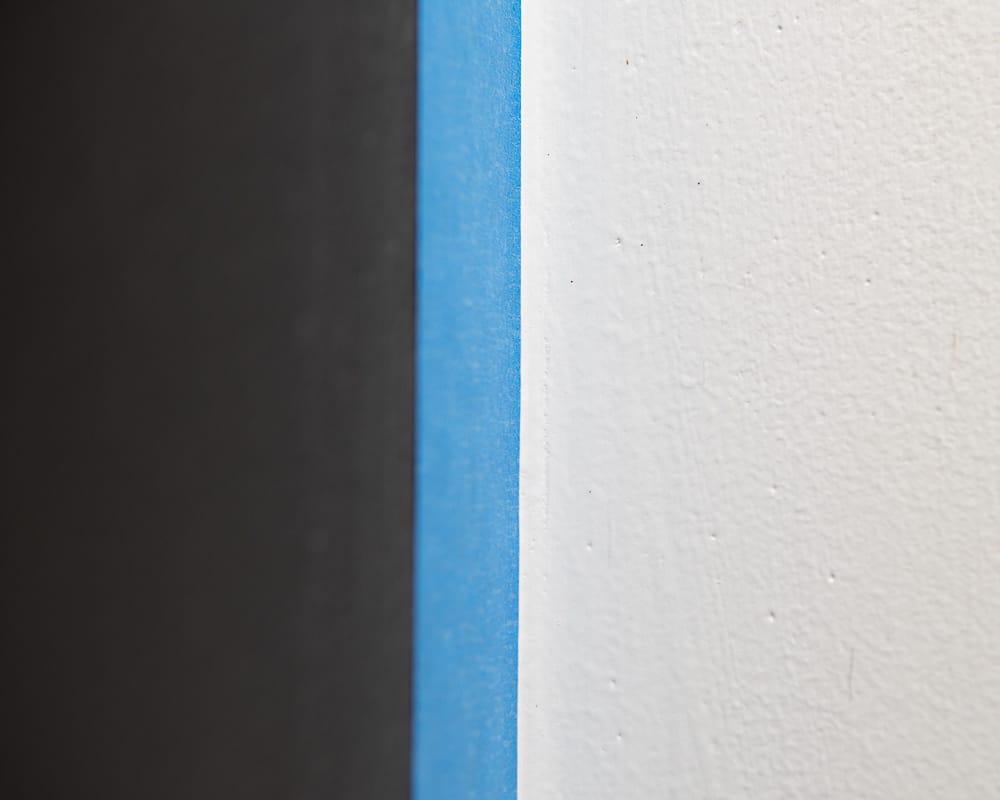
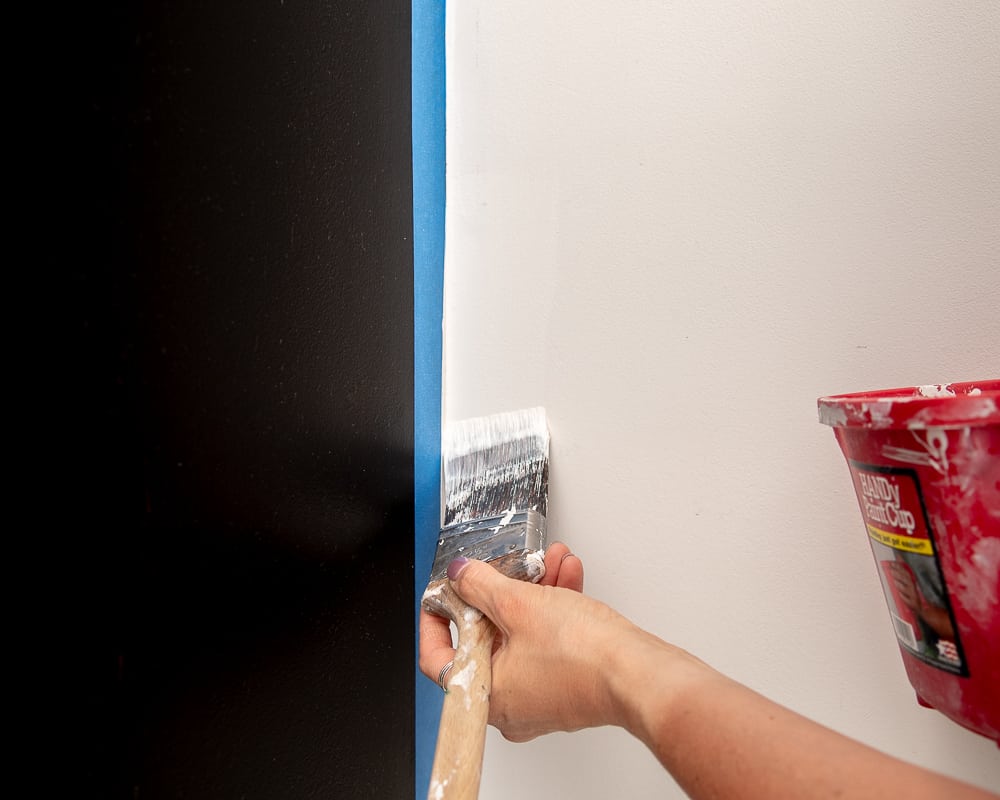
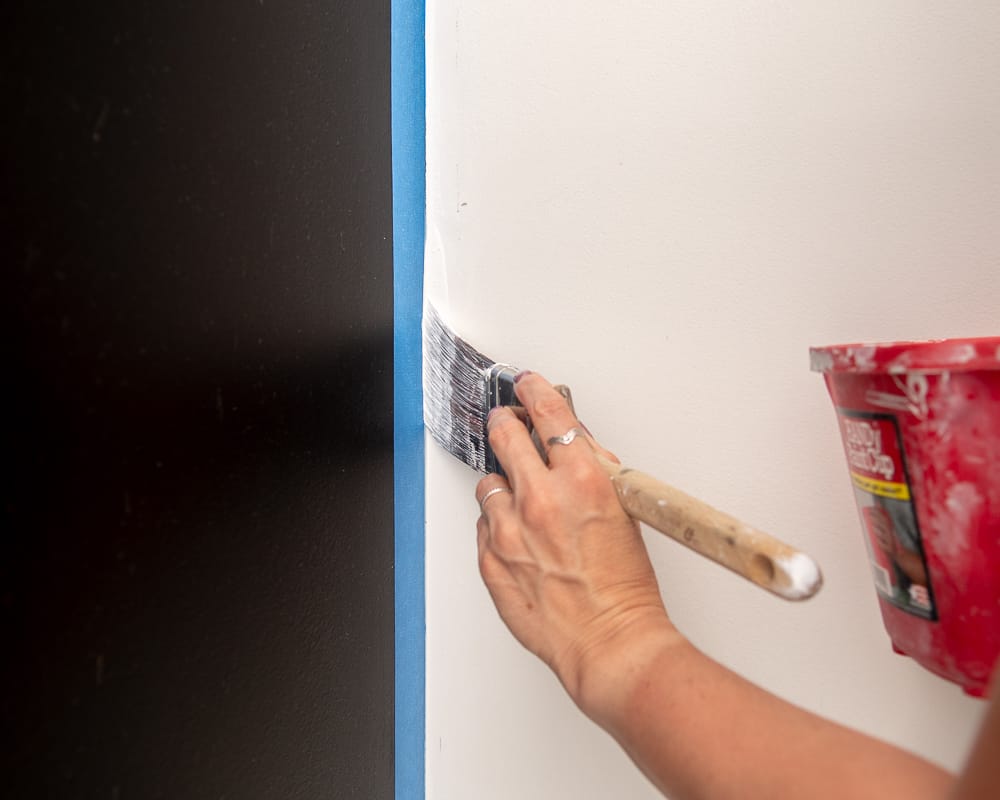
Now, paint over the edge of the tape. Do not fear, you will not push any paint under the tape.
I recommend making sure you do at least two coats to ensure full coverage without streaking (especially if you’re using a bold color.)
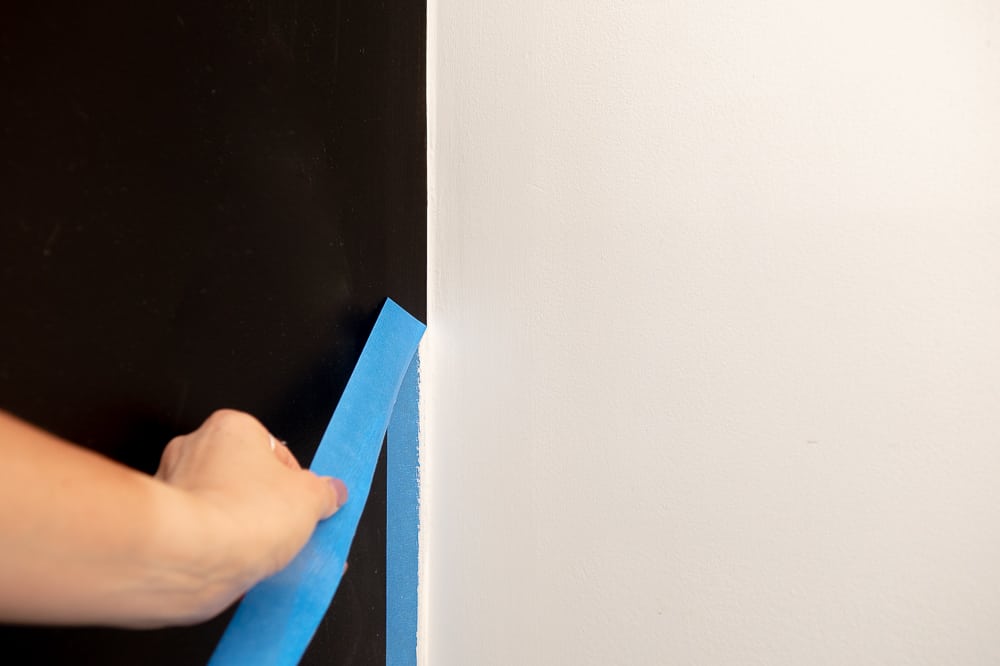
Lastly, you need to remove the tape from the wall before the caulk and paint fully dries. This means you work in sections you can complete in 30-40 minutes at a time.
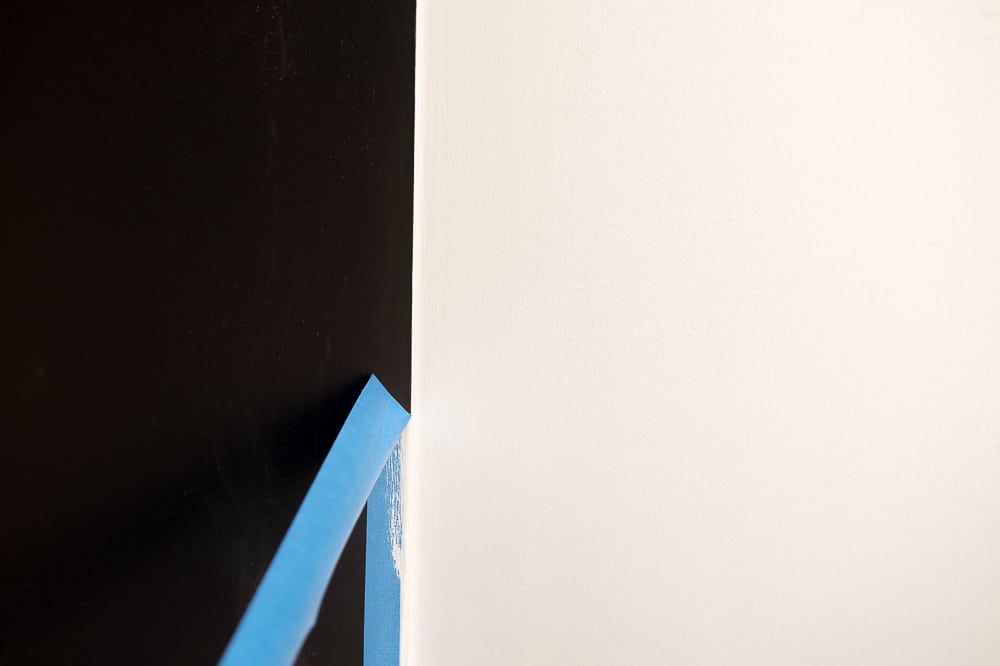
Pulling at a 45 degree angle, slowly remove the tape from the wall.
PRO TIP: Read your caulk dry time, this will help you determine how much time you have before it fully cures.
I was able to do all 4 sides of my accent wall (6 ft x 8 ft), edging in with two coats, and removed all the tape without an issue. It was about 35-40 minutes of work and the caulk drying wasn’t an issue.
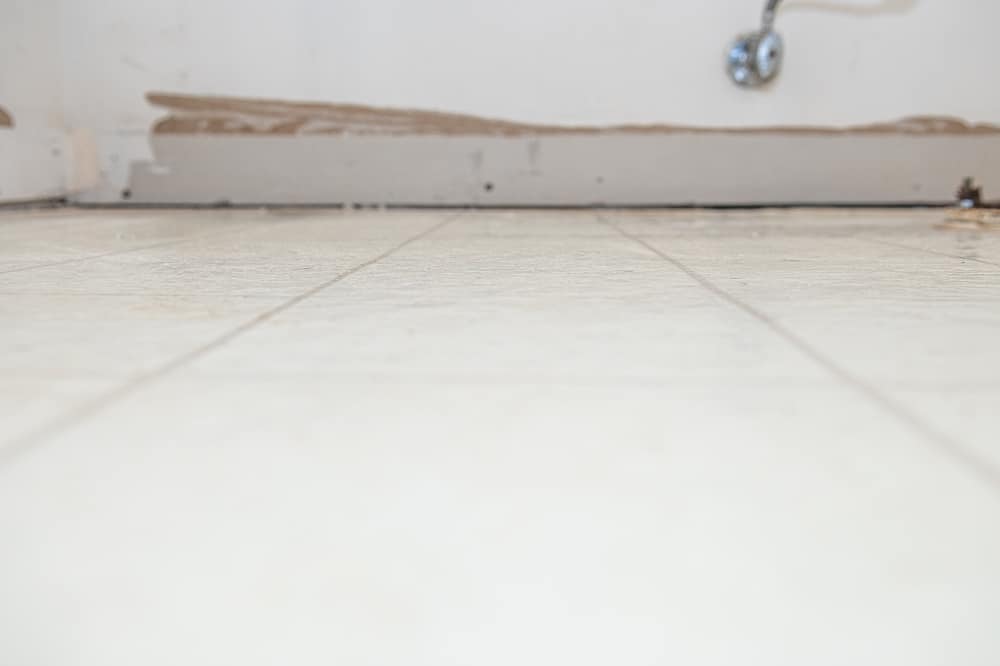
This technique is really helpful if you’re painting a textured wall. I promise this will prevent any bleed through, regardless of the texture of the surface you’re painting.
Well, there you have it – how to paint straight lines every time!
Thanks for visiting my little piece of the internet!
I’m Maria, a lover of furry things, coffee and anything creative. This blog is where I love to share affordable home decor ideas, great DIYs, yummy recipes, unique crafts and so much more.


3 thoughts on “How to Paint Perfectly Crisp Lines Every Time”
If you have to do a second coat then assuming you have to repeat this process and just make sure that you’re taping off the same line?
Stephanie,
It truly depends on the color I’m using! I usually do this with a second coat and just free hand the first coat. The final layer matters most! 🙂
I hope that helps.
Cheers,
Maria
Wow I’m really impressed with how that turned out…solid tip!