Modern Farmhouse Bathroom Renovation One Room Challenge | Week 7
{Note: this post contains affiliate links. This means that I will make a small commission – at no additional cost to you – if you make a purchase using my links.}
Thanks you for supporting my blog!
Holy CRAP are we already on week 7? I won’t lie, I feel like I’ve been hit by a bus. Like a big one.
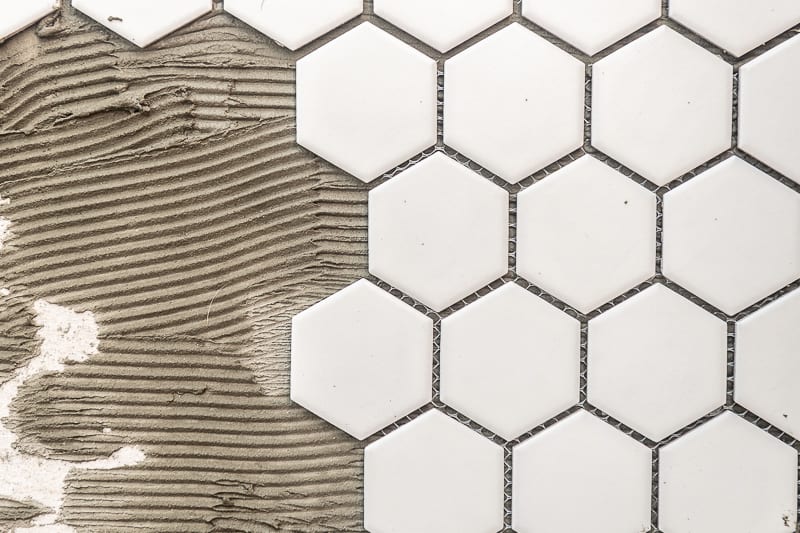
This week I got over a major hurdle, the dreaded toilet. If you’ve been following along, the damn tile floor kicked my bootay. I’ve never tiled anything before, so let’s just say the floor is a little uneven. Not a lot, but enough to cause me anxiety.
THE TOILET
This was the biggest stressor I’ve had when doing this bathroom. Well maybe.
In the past I have had a toilet cause water issues on my main floor. It was a mess. Call it PTSD but I was super nervous having this toilet sit level and without issue. Calling in some reinforcements, we were able to level the toilet and get it working in no time. Coolest thing was, no GROSS wax ring. We installed the toilet using this all-in-one toilet installation kit. It really made the installation process a breeze. It helped raise the flange to the perfect height and no anxiety about the wax ring sitting correctly.
All that anxiety for nothing. I may still say a little prayer every time I flush.
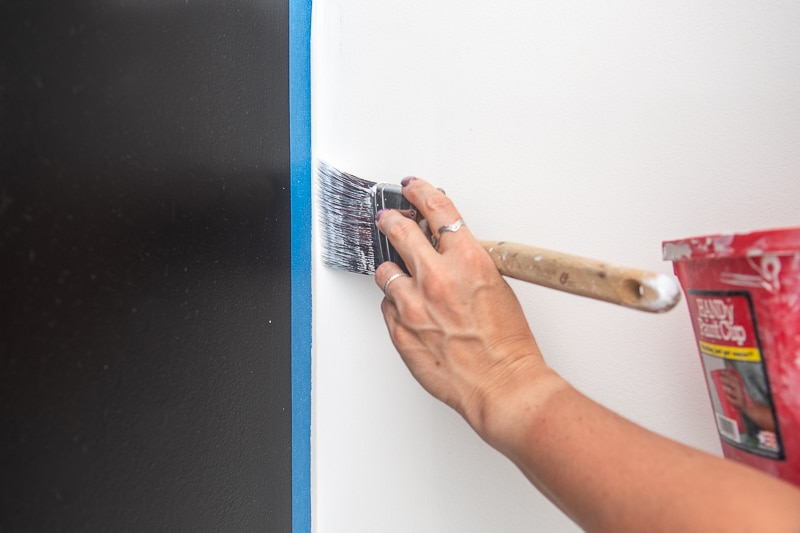
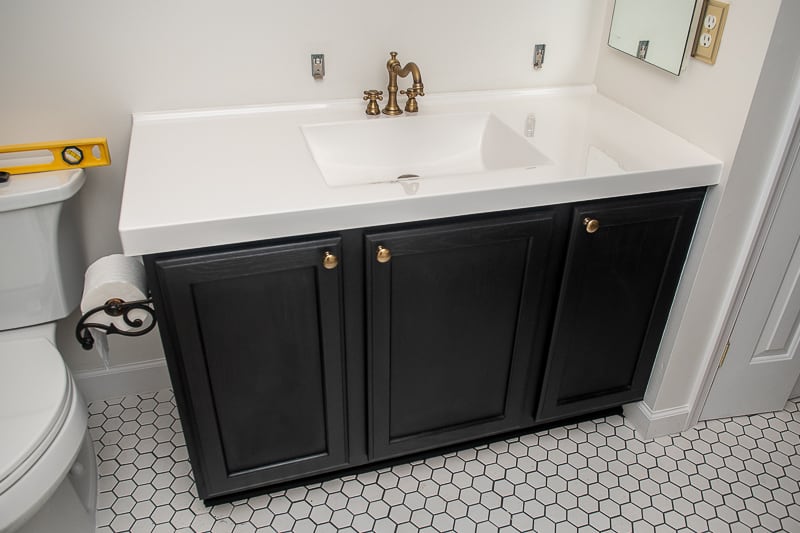
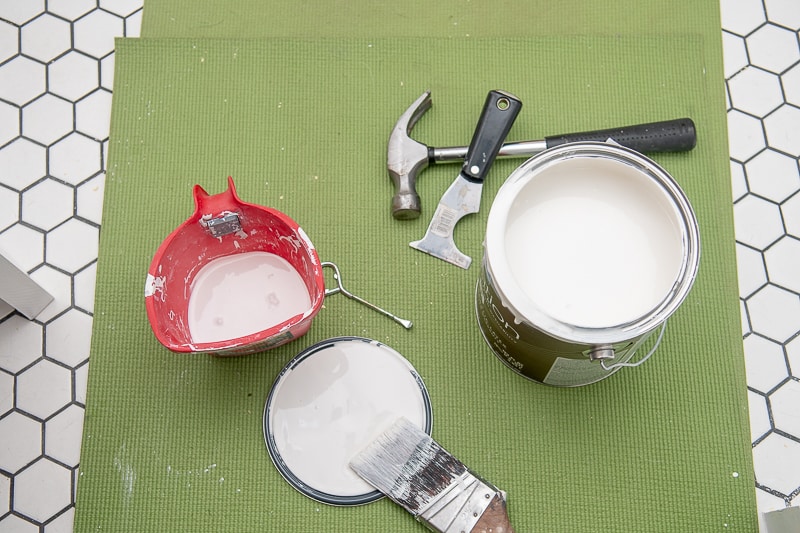
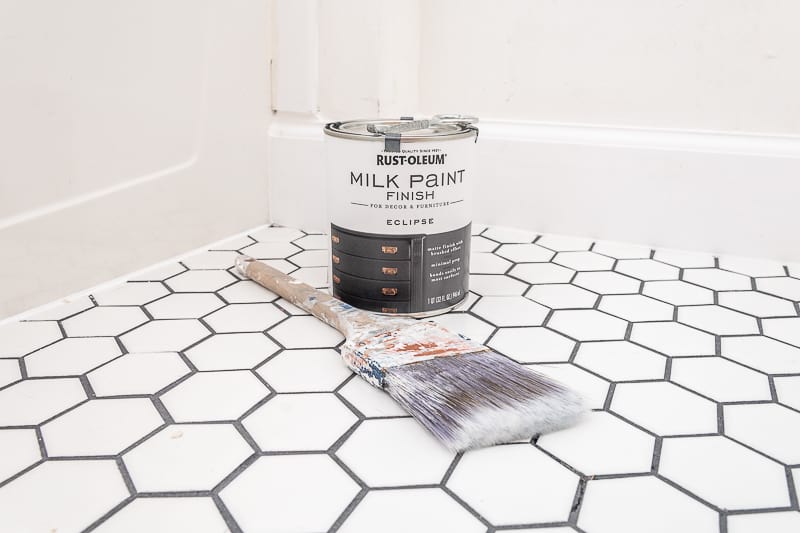
PAINTING
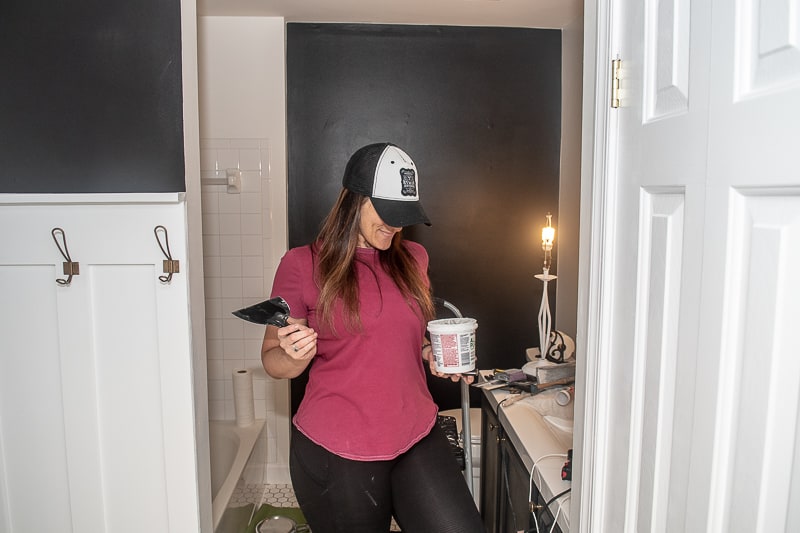
I have to say, I’m in love with Sherwin Williams paint “Black Magic.” It’s the the best shade of black. I completed three coats and it went on so smooth. No breakthrough at all. I honestly could have completed two coats and been just fine.
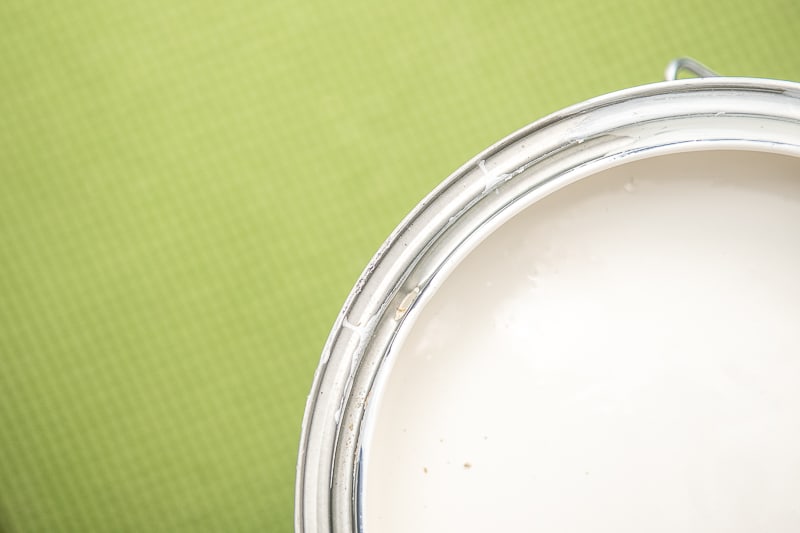
My second color was Sherwin Williams “White Flour” which is a slightly warmer white. The online sample doesn’t do it justice! It’s a beautiful white that brings a little warmth to this space that can lean a little cool with the black and white trim.
The accent wall and trim is all done in Benjamin Moore “Super White.” This is my favorite white on the market. It’s all throughout my house! It’s got a great reflective quality and is as neutral of a white as you can find on the market.
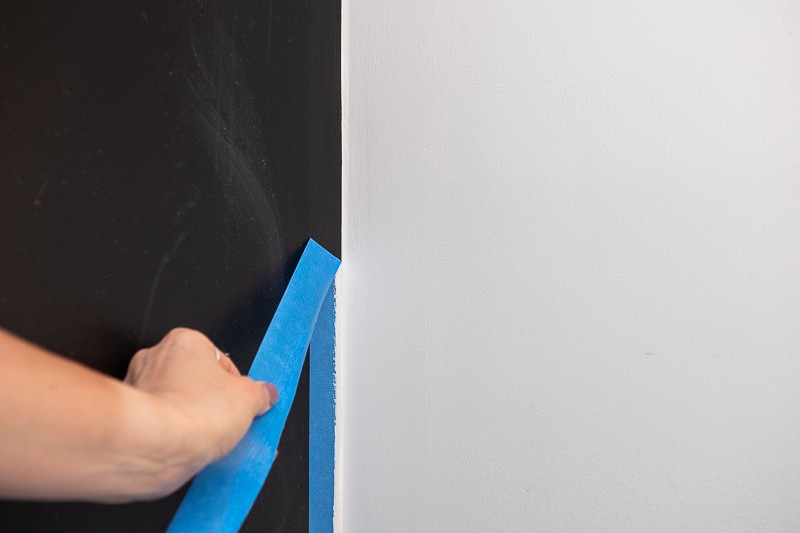
I also learned a great trick for painting the perfect line! If you’ve been checking my stories on Instagram, you already know! It’s mind blowing and satisfies my OCD like whoa! I was a little concerned about how it would turn out since the black is so bold, but I just LOVE it!
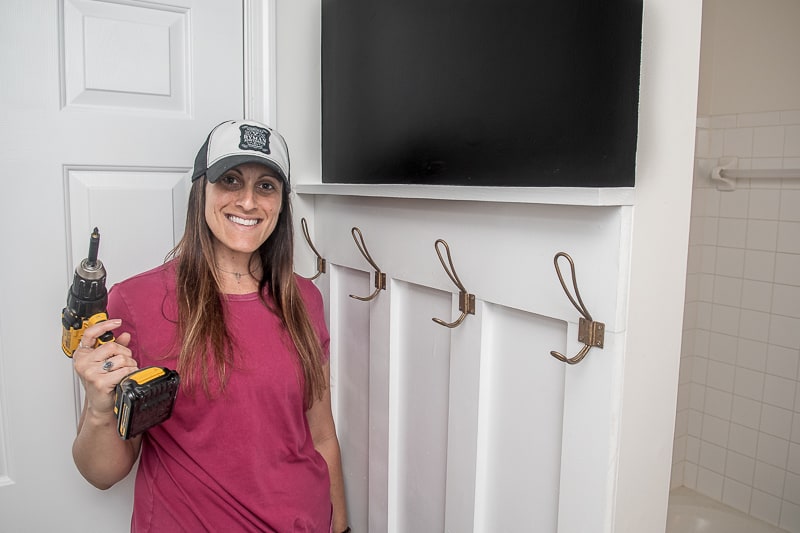
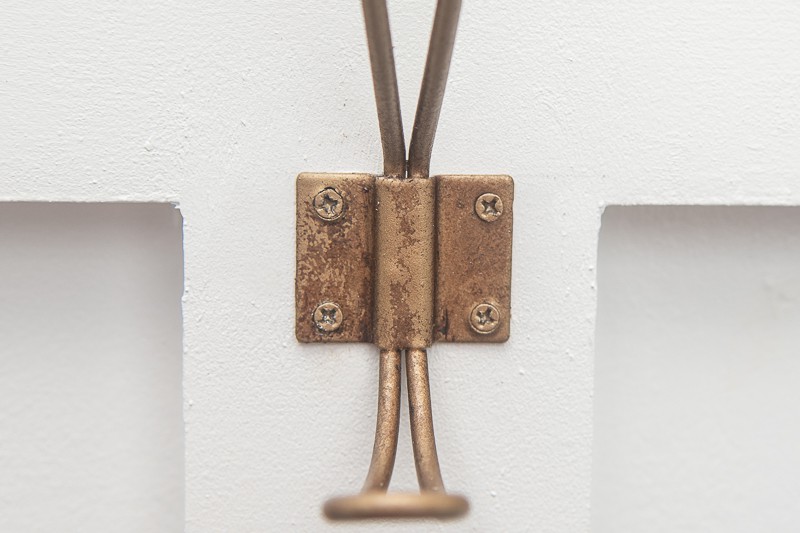
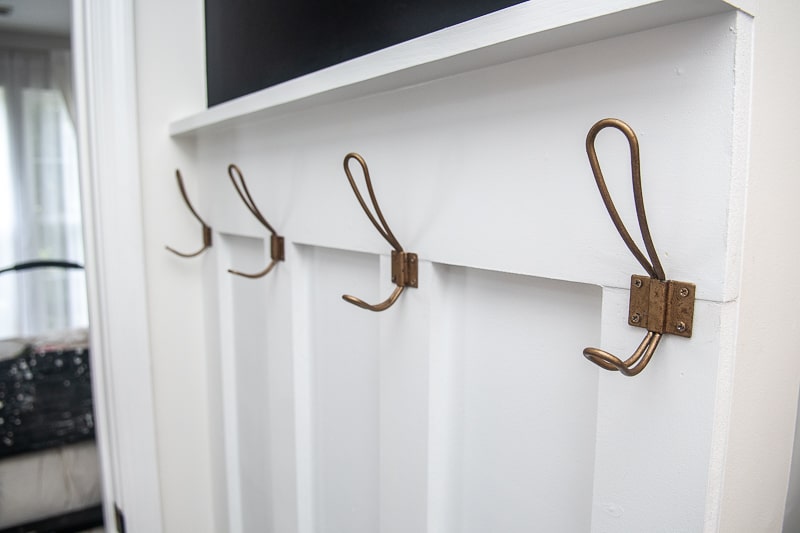
HOOKS
I bought these hooks via Amazon. I love the farmhouse and thought I wanted them in black. Well, once they arrived I changed my mind.
Easy fix, although I hate turning to spray paint. I primed them with Zinsser Primer to make sure they adhered well and held up to the use. I then used Rustoleum’s Antique Brass Spray Paint to cover them. That wasn’t really the finish I was looking for though. To give them that “antique” patina, I turned to my Annie Sloan Dark Wax. Buffing in the wax, it really gave me the depth I was looking for.
A few holes drilled and a few screws and they really help finish this space.
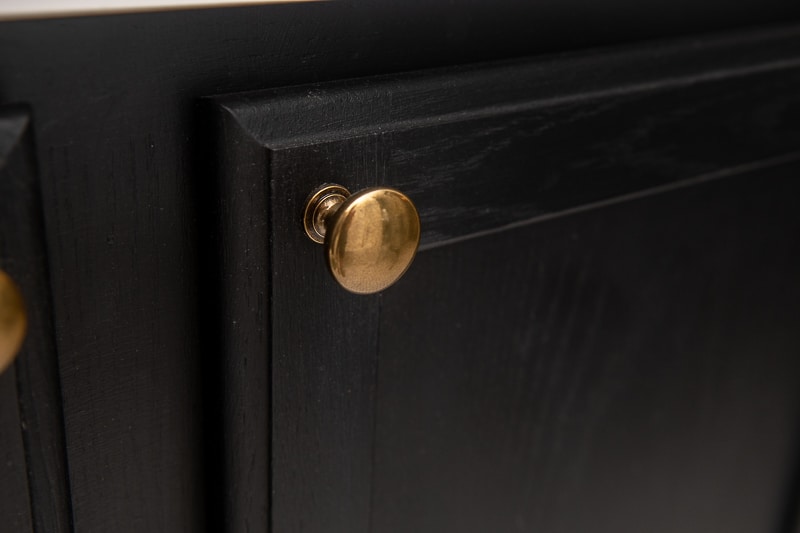
HARDWARE
This was a quick installation that made a big difference! I bought these super inexpensive brass knobs off Amazon and they are beautiful! Not bad for $1.87 if I do say so myself.
Using a paint stick as a template, it was easy to eye these guys up and install.
THE LIGHT FIXTURE... PART I
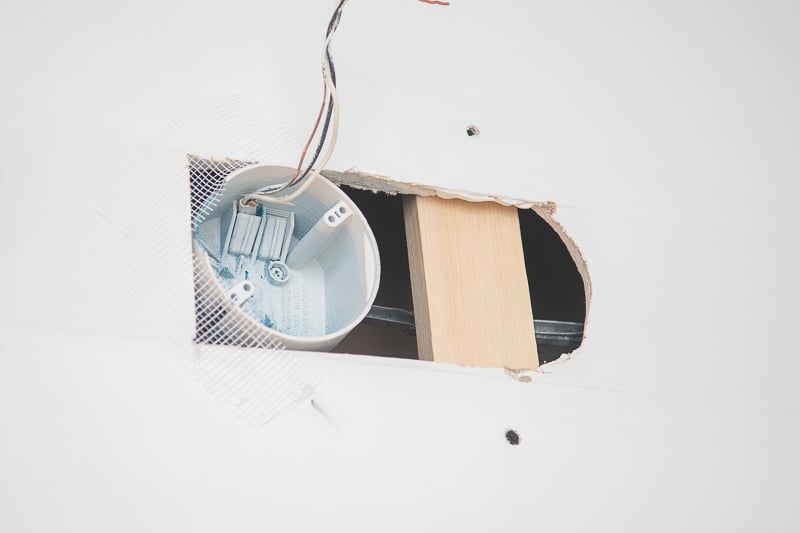
Last but not least… the biggest pain in the butt. The light fixture. I honestly wasn’t worried about this. I knew what I was getting into, until I removed the old light. There it was, wires where they didn’t belong and an electrical box in the wrong spot. Fantastic.
Thankfully, I was able to loosen some screws, slide the box over and center it. Oh the joys of DIY.
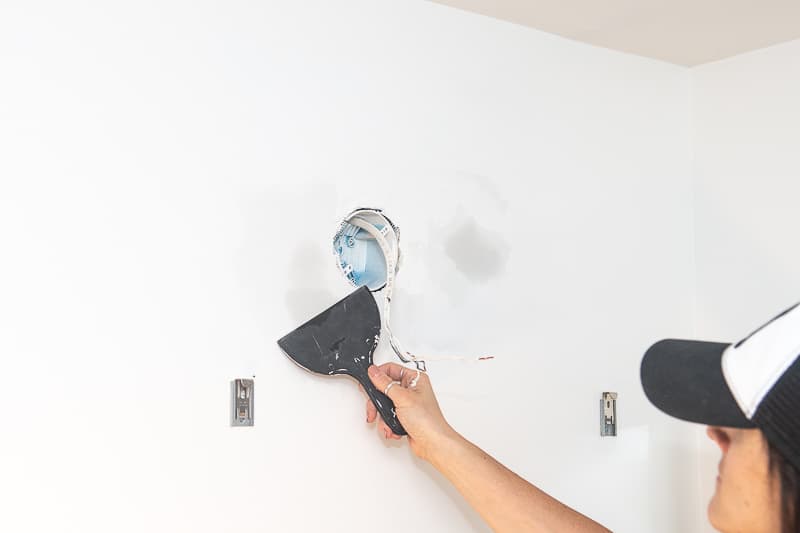
Once the electrical box was moved, I just needed to patch the drywall.
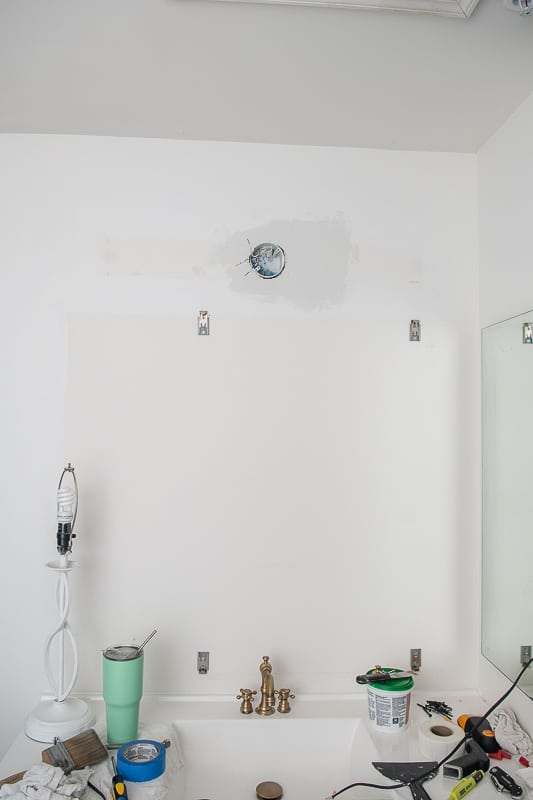
I did this using a small scrap piece 1×3 wood, a 3/4″ piece of drywall cut to the size of the hole, some screws, some mesh tape and joint compound. It took 3 coats to cover perfectly. Making sure to let adequate dry times in between.
This meant I needed to wait to paint, and then finally install. As much as I wanted to install the light this week, it’ll have to wait for the final reveal… NEXT WEEK!
Remember, the light should be centered over the faucet for a single vanity. So if you ever run into this issue, or you’re handing your own fixture, make sure it’s centered.
Ok, well…. the list is getting smaller. Thank god!
Install Drain Pipe
Moulding/Baseboards
Caulk EVERYTHING
Cut Down Door (so they open!)
Paint vanity
Install Hardware on Vanity
Hang Towel Bar
Turn bifold into French Doors
Batten Board on 2 walls
Install Hooks
Paint EVERYTHING!
Install Toilet
Stencil Walls (?) – NOPE!
Install Light
Thresholds
Hang Curtain Rod and Curtain
Artwork
Install 2 Shelves
Add the little decor extras!
Well, there you have it! Week 7 is in the bag. Over. Gone.
And just like that, next week is the big reveal! I hope you’re as excited as I am to finally see this space come to life!
Be sure to check out all the other guest participants of the Spring 2020 One Room Challenge. I hope they’re as excited for the reveal (an to be honest, for this to all be over with) as much as I am. I think I’m going to need to sleep for a few days after all this to recover… probably not. I’ve already got plans for my Fall 2020 makeover!
Thanks for visiting my little piece of the internet!
I’m Maria, a lover of furry things, coffee and anything creative. This blog is where I love to share affordable home decor ideas, great DIYs, yummy recipes, unique crafts and so much more.


2 thoughts on “Modern Farmhouse Bathroom Renovation One Room Challenge | Week 7”
I love seeing the progress you’ve made throughout the weeks! I have a feeling the reveal is going to be epic! Can’t wait…
PS Good job on the drywall where the light is going to hang. Working with drywall is never easy lol!
Rich,
Thank you! It’s been a labor of love, but anything in life worth having is isn’t it!?
XO,
Maria