It’s officially week 4 of the Better Homes and GardensOne Room Challenge!Can you believe it? It’s the halfway mark and I don’t feel like I’m half way….
I am proud to say the flooring is completed! While the tile is not perfect, I did it. ME. There’s this deep reward in knowing I did that on my own. Six years ago, I wouldn’t have had the courage to try this type of a project.
If you’ve been following me on Instagram, you saw that at 2 am on Memorial Day, I couldn’t sleep. My brain was turning, problem solving and going through all the “what if’s.” I finally said screw it, got up and got to tiling! I couldn’t go back to sleep so why not, right?
LAYING THE TILE DOWN
First, I needed to get some sort of plan on how I was going to lay the tile down. I practiced scoring and snapping the tile with my hand tool, as well as using the wet saw. I knew once I mixed the mortar I was going to be on the clock.
Once I had an idea as to how I wanted to lay the tile down, I started.
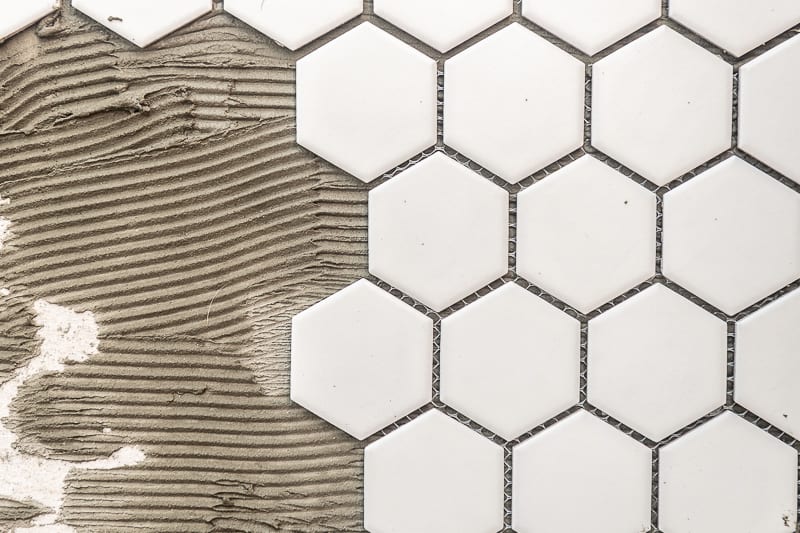
Using a “V” notched trowel I applied the flexbond mortar to the cement board, spreading a thin layer. Making sure my trowel was at a 45 degree angle and that the grooves were all in the came direction. This helps with adherance.
I carefully laid down the 12×12 sheets of tile, rocking them to insure good contact between substrate and tile backing. Tapping them down, and checking that they were level, I then went through and assessed the spacing. If spacers were needed, I placed in a little plastic 1/8″ spacer to insured no movement as the tiles dried.
If you’re like me, this will drive your OCD through the roof! Please, just be patient with yourself. There is no such thing as perfect here.
I did run into an issue with the spacing of the tiles on the mesh, but only with a few sheets. Make sure you’re checking your tile sheets as you grab them. This will prevent a big headache. Trust me.
CUTTING TILE
When planning this project, I was really worried about accurately cutting the tile. How was I going to cut these little guys and keep my fingers? I will tell you, I did 90% of the cuts with an inexpensive hand tile cuttter.
I was very thankful my friend (shout out to Kari, girl you da best!) let me borrow her wet saw. I used it for a handful of cuts but it did make the job go much smoother.
It was useful when I had to cut a tile in more than one direction, like around corners. I do recommend having both on hand.
GROUTING
Once all the tile was down and in place, I let it dry for 24 hours. I cleaned up all the spacers and any extra mortar that may have been residual on the surface of the tile. Just a little scrubber and water will do the trick.
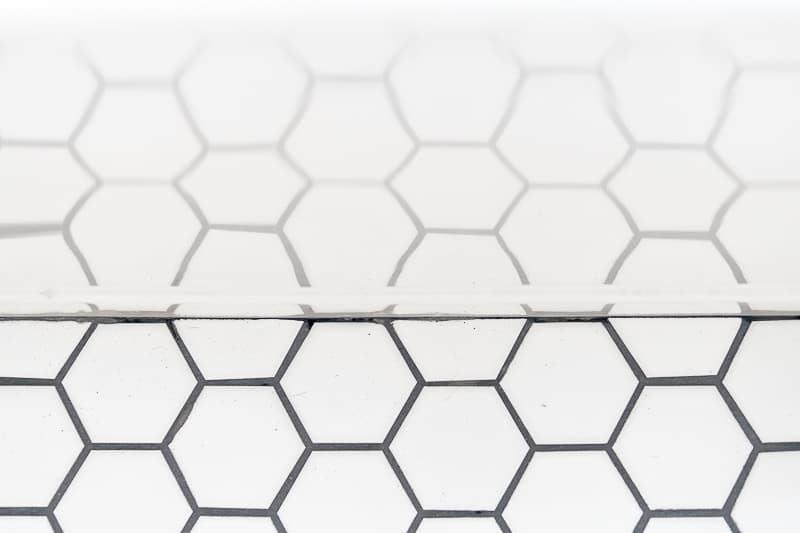
I really love the dramatic effect of a dark grout line accenting a simple white tile. I am also so tired of cleaning white tile grout lines!
Dark pigments can be inconsistent when being mixed so please keep that in mind. I will say, the charcoal grout did stain my hands for several days. It will stain porous surfaces, so be careful. Also, make sure the tile you’re using can handle a dark grout pigment. Some tile will absorb the color and ruin your project!
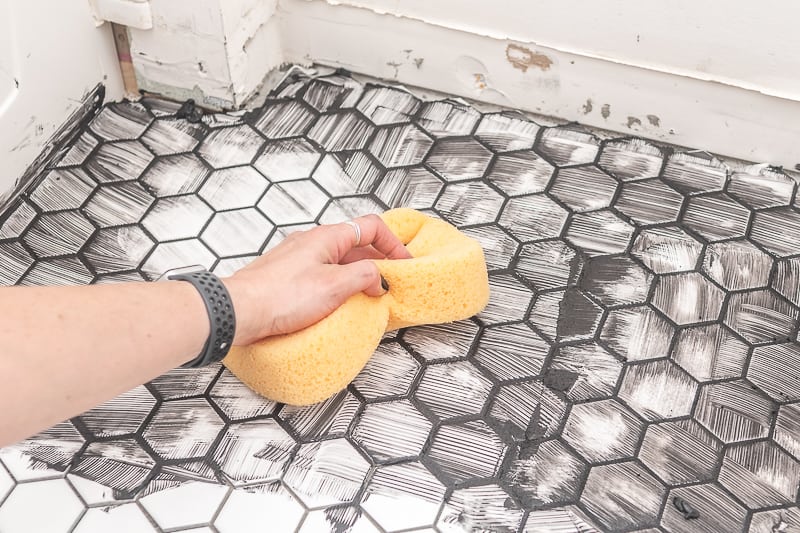
I used about 3/4 of a 25 lb. bag of Polyblend Charcoal Sanded Grout for the entire bathroom. Mixing the grout to the consistency of peanut butter (make sure you follow your brands directions) I started from the back of the bathroom and worked towards the door. Using a rubber tile float, I rubbed the grout into the gaps in various directions, making sure I had good coverage. Only working as far as I could clean up in 30 minutes (or reach!)
You want to wipe off any excess grout using a sponge and a clean bucket of water. Make sure not to use too much water as it will compromise your grout.
This was a challenge! Lots of wringing of the sponge and changing buckets of water out. But the results were so satisfying.
Once the entire bathroom was grouted, it was time to let it set. I waited about 3-4 hours before going back with a dry towel and rubbing off the grout haze. This is when I notice some of my tiles had stained!
I’m going to have to problem solve this later. I don’t want to apply anything to the grout for a few days (recommended a minimum of 3 days) to let it fully set.
If I find a solution I will share it – I promise!
Well, there you have it! I see the imperfections, but since this is my first time ever tiling anything… I thik it’s pretty fabulous! It really makes a statement.
WHAT'S NEXT?
To be honest, the further I go into this project, the more I keep adding. Unfortunately, I’m adding things faster than I can knock them out. I’m really feeling the crunch of the halfway mark and I have a faucet, vanity, and flooring. (Deep breath!)
At first I think I wanted everything be a surprise as I moved through this project. However, I think sharing my to do list might just keep me honest to what I want accomplished.
So here’s what I have left to do (in no real order)…
Install Drain Pipe
Moulding/Baseboards
Cut down Door (so they open!)
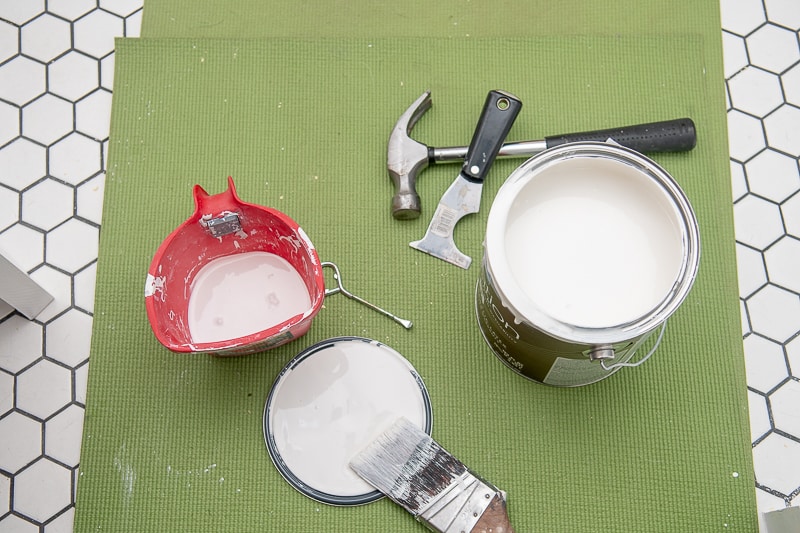
Paint vanity
Install hardware on vanity
Turn bifold into French Doors
Batten Board on 2 walls
Install hooks
Paint EVERYTHING!
Install Toilet
Stencil Walls (?)
Install Light
Hang rod and add curtains
Artwork
Add the little decor extras!
Well, that’s a wrap! Goodbye week 4…. hello week 5! Can’t wait to see what I get accomplished.
If you love this type of process and you want to check out other bloggers, head over to the One Room Challenge blog and find some of my fellow DIYers and what they’re working on in their spaces.
Thanks for visiting my little piece of the internet!
I’m Maria, a lover of furry things, coffee and anything creative. This blog is where I love to share affordable home decor ideas, great DIYs, yummy recipes, unique crafts and so much more.


2 thoughts on “Modern Farmhouse Bathroom Renovation | Week 4”
Impressive! New floor makes a huge difference.
Brenda,
Thank you! You’re so right! It was the most challenging and yet rewarding change in this space.
Cheers,
Maria