In lieu of the current climate of the country, the One Room Challenge folks as well as many of us influences, didn’t feel right continuing our content last week. We all took a vow of silence, so more important content could take center stage.
While the conversation is still very necessary, and will be for the foreseeable future, I am returning to my regular content. With a heavy heart and a distracted mind to be honest.
Hang with me… this post is a doozy!
WEEK 5
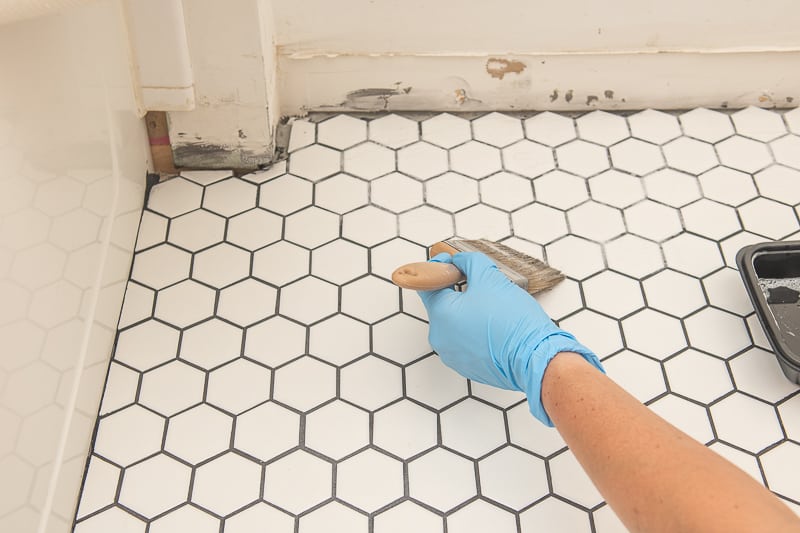
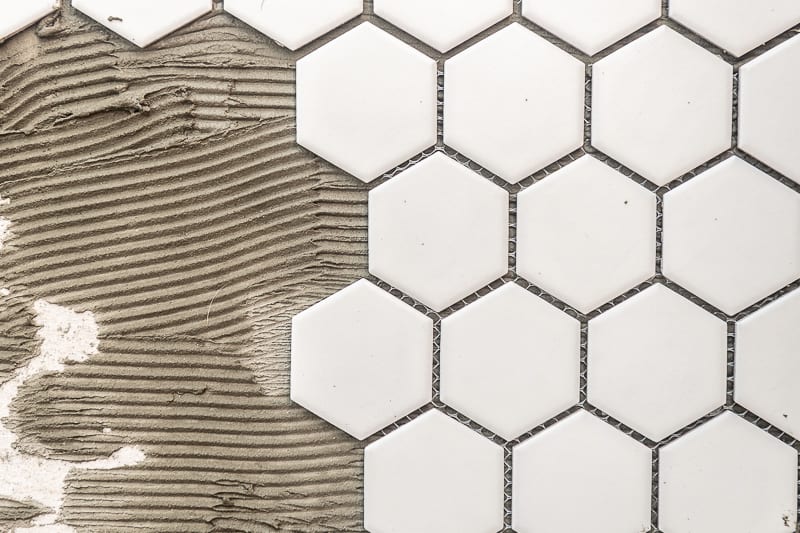
SEALING THE GROUT
The start of week 5 was sealing the grout and tile. I used 511 Impregnator Sealer (I didn’t make up the name.) I used a dry paint brush to paint on the sealer, making sure the grout lines were really saturated. I waited 3-5 minutes for it to fully penetrate, and then wiped it off with a clean rag. It was a quick and easy process that will help preserve the longevity of the tile and grout.
This is a process I would not skip! I also plan to redo my other tiled areas with this sealer. Occasionally, you will need to reapply so I’m happy to do whatever I can to preserve my flooring.
BOARD & BATTON WALL
Week 5 involved creating an accent wall. I choose to use 3/4″ MDF board because it was inexpensive! For $22, I was able to create this accent on either side of the small walkway into the bedroom, with plenty of MDF left over for the next project!
Now, I pride myself on doing most of this solo. I will say, you also need to know when to ask for help! A single 4’x8′ sheet of MDF is flipping HEAVY! I have the bruises to prove it. Calling up my best girls, I we ripped these boards down to 3 inch wide these strips, and capped them with a 6 inch wide boards top and bottom. Thank God for lady power!
Using a nail gun I fixed them to the wall spacing them equally. I did need to cut around my light switch on one wall. Using a chisel and a hammer, this took seconds to create a perfect fit.
Now, I was enjoying our girl time so much, I didn’t take one photo of this process! Oye! Blogger fail.
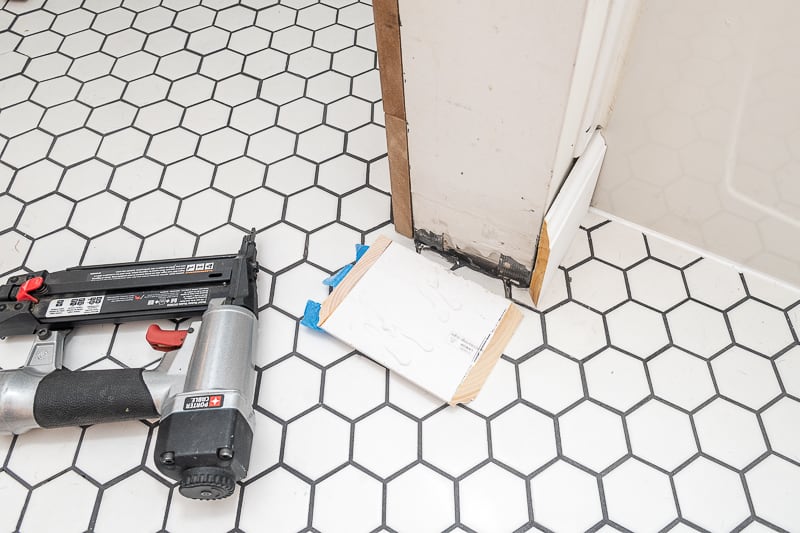
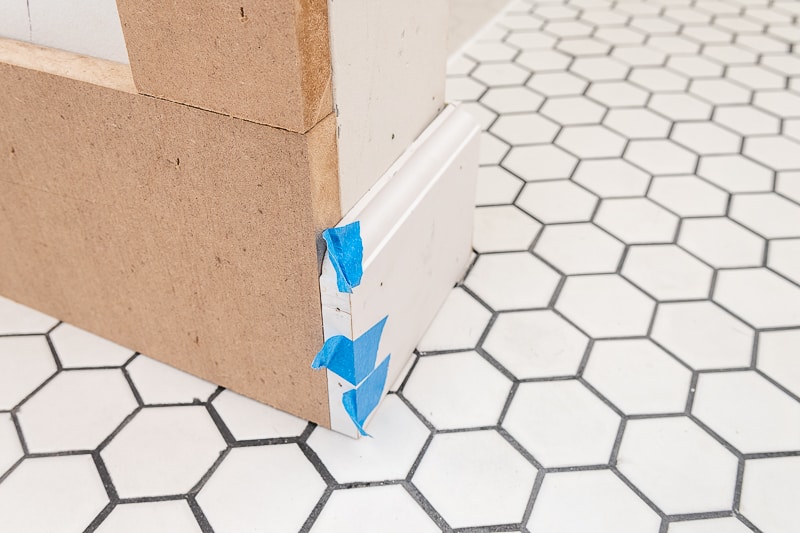
BASEBOARDS
Last thing to get completed during week 5 was the baseboards. Thankfully, I’ve mitered a fair amount so completing baseboards wasn’t that much of a challenge. I had an odd end so I finished it off with and end cap. It took a little engineering but I think it worked out well.
I’m loving these tall baseboards! These will be a must in the next home.
WEEK 6
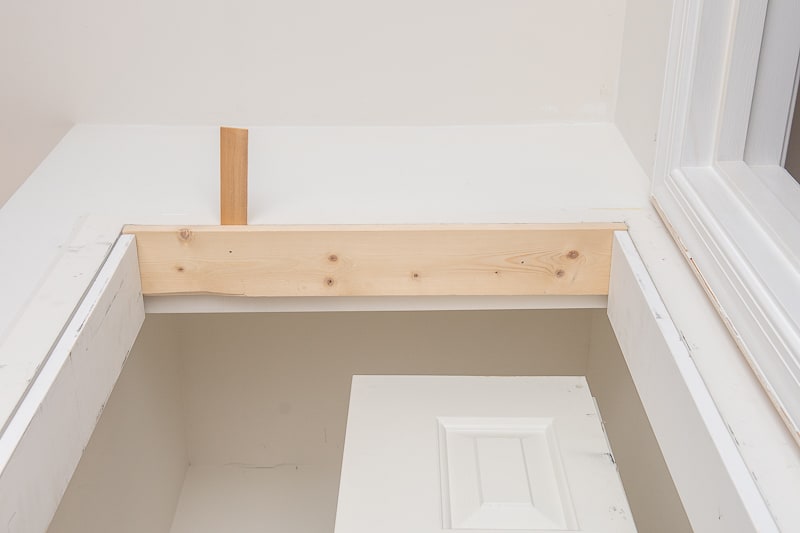
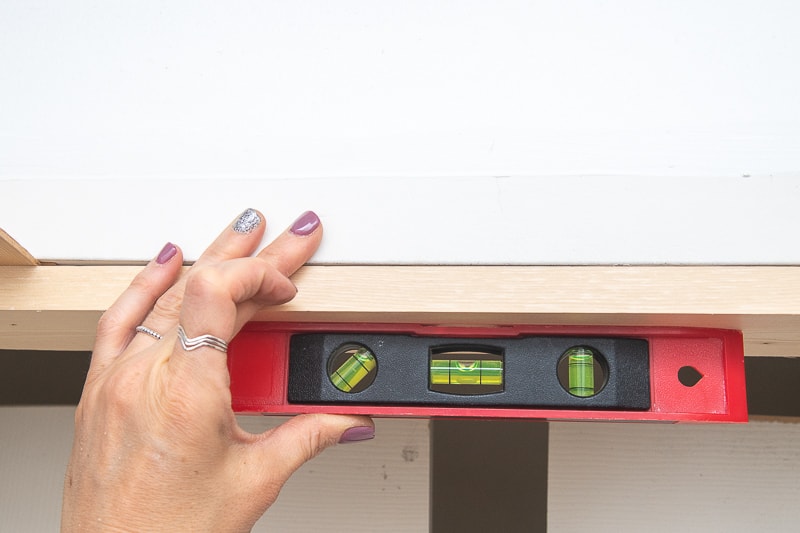
BI-FOLDS INTO FRENCH DOOR
The start to week 6 was rough! This by far has been the suckiest part of the renovation.
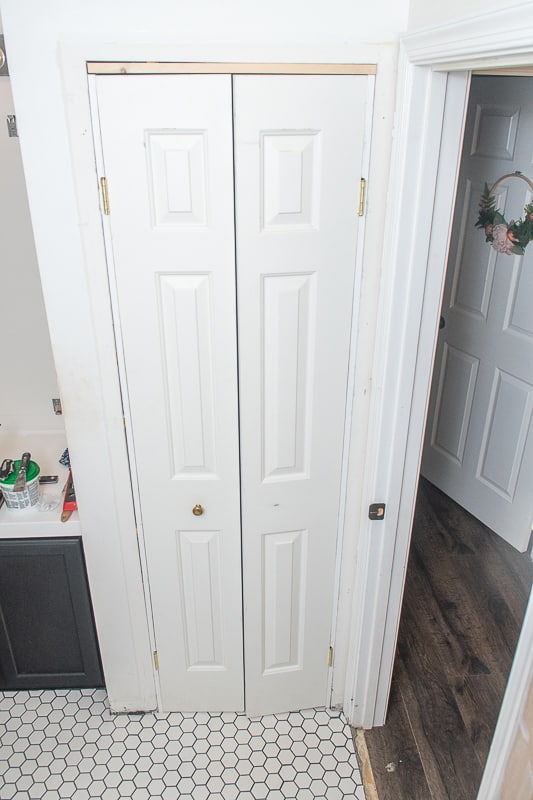
I wanted to turn the doors to my linen closet, from a crappy bi-fold, into a beautiful french door. I researched my butt off and knew I could make this work. I think…
After, 2 hours into it, I knew I needed help. I’m a little stubborn so admitting this was a challenge in itself. I called a friend that had some experience with doors. It ended up being a complete custom build! The doors were cut straight originally, the jamb was not plumb and neither were the walls.
Even with the experience, it still took us 8 hours to the doors up and on hinges. The best part is they work! This project is definitely not for beginners. I’m also sure expert DIYers would be challenged by this task.
Regardless, I have closet doors, and I love them. Welcome to DIYing right?
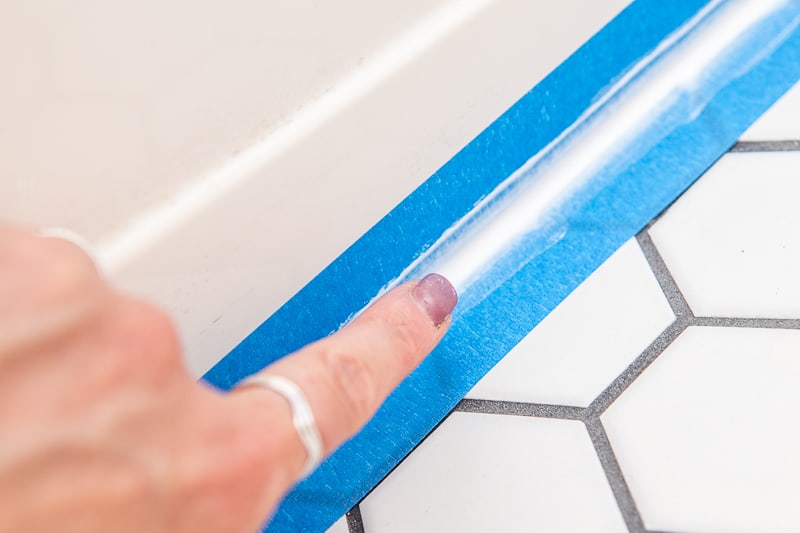
CAULKING
It was time to caulk. Everything! I have to say, I’ve become better at caulking over the years. A small amount goes a long way.
Tips for a perfect caulk job are: cutting the tip of the caulk at 45 degree angle, using a wet rag and your finger. Small beads followed by your finger to help smooth things over will help seal all the cracks between the trim and the wall. Use the wet rag to clean your finger occasionally and wipe up any excess from the trim and walls to prevent ridged.
I put on the jams and 3 hours later everything was caulked!
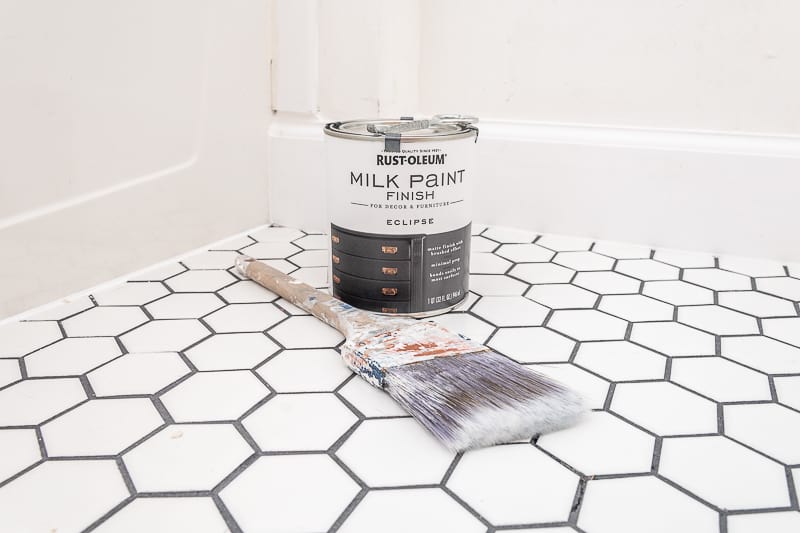
PAINTING THE VANITY
I will have to say, this is the where it all started. I got the itch to paint the vanity in this space black, back in January!
I almost always use chalk paint for my projects, but with store being closed, I had no access to Annie Sloan Chalk Paint. On a whim, I ordered Rustoleum Milk Paint in Ebonyhoping it would work as well. Well, I have to say, they are very similar, I might prefer the chalk paint due to its thickness. Now, if I was mixing my own milk paint, I’m sure I could have changed this some.
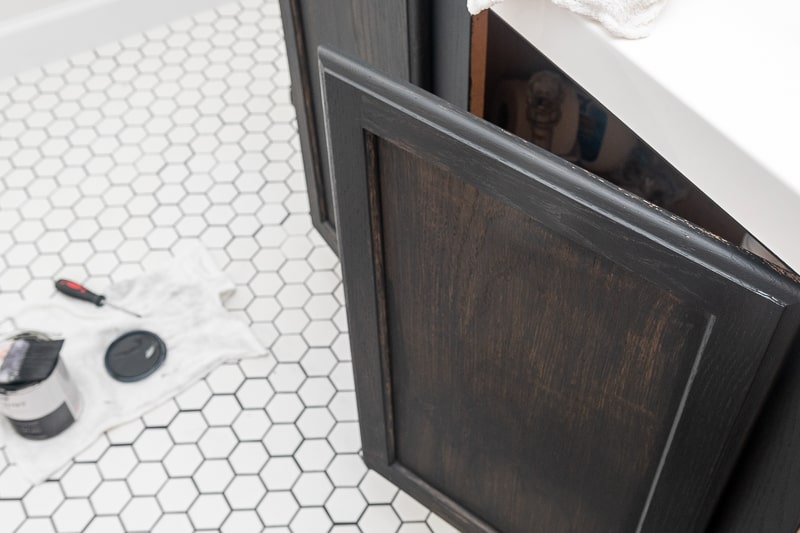
It took three coats to cover the entire vanity. It was super easy to lay on, no brush marks, and good coverage. No prep work is my favorite part of both milk and chalk paint.
I’m going to wait to show you the final project. You’ll love it!
Well… there’s the wrap up on Week 5 and Week 6 of the One Room Challenge by Better Homes & Gardens!
The list keeps going.
To STILL Do:
Install Drain Pipe
Moulding/Baseboards
Caulk EVERYTHING
Cut Down Door (so they open!)
Paint vanity
Install Hardware on Vanity
Hang Towel Bar
Turn bifold into French Doors
Batten Board on 2 walls
Install Hooks
Paint EVERYTHING!
Install Toilet
Stencil Walls (?)
Install Light
Hang Curtain Rod and Curtain
Artwork
Install 2 Shelves
Add the little decor extras!
Well there you have it. Week 5 and 6 are in the books. Time is flying and the project list is long.
Thanks for visiting my little piece of the internet!
I’m Maria, a lover of furry things, coffee and anything creative. This blog is where I love to share affordable home decor ideas, great DIYs, yummy recipes, unique crafts and so much more.