How to Paint the Inside of a Fireplace – A Simple Upgrade
I can’t wait to share with you my most recent upgrade – how to paint the inside of a fireplace. Painting the inside of a fireplace really makes a dramatic impact. Not to mention how it can be done in under an hour.
Who doesn’t love a dramatic effect without a lot of effort?
When I bought the farm, one of the things I loved about this house was the 3 large fireplaces. Not to mention the one in the master bedroom.
However, just like the rest of the house, it needed to be updated. Little more modern farmhouse chic.
I have to confess, this was the easiest DIY project. It took a single afternoon and little to no supplies.
Let me walk you through the do’s and dont’s of painting the inside of a fireplace.
PRICE
$8-35
TIME
1 hour
DIFFICULTY
Super Easy
First, let’s take a peak at the before images… I’m not sure WHY the insides were this ivory/cream color. Personally, I feel it would always look dirty. Maybe that’s why the previous owner never actually used these fireplaces.
Side Note: We did have them inspected and we have been given the go ahead to use them. All is well. I’m not sure I ever will, but maybe…
Let's Talk Paint:
Before you go choosing paint, know that not ALL paint is created equal.
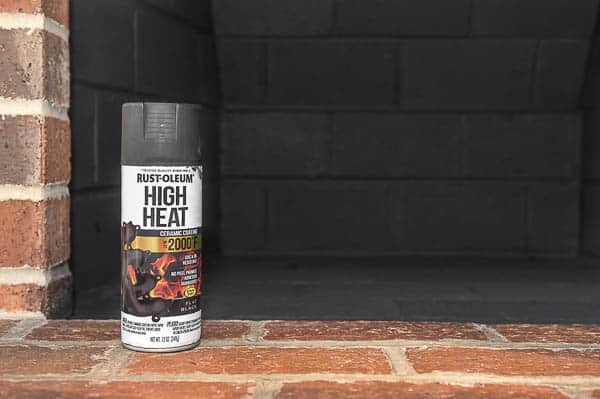
To paint inside your fireplace, you need high heat paint. Keep in mind, most paintable high heat paint comes in a gloss or satin finish.
I really didn’t want a “shine” glowing from inside the fireplace. Thankfully, I was able to snag this High Heat Spray Paint in flat black. Major find! Who says I can’t spray paint the inside of my fireplace?
Let's Talk Paint Safety:
Hold up, before you take on this project, let’s talk safety.
Spray paint contains VOCs that are known to irritate the respiratory system. This means before you spray anything, make sure you have adequate ventilation and respiratory protection.
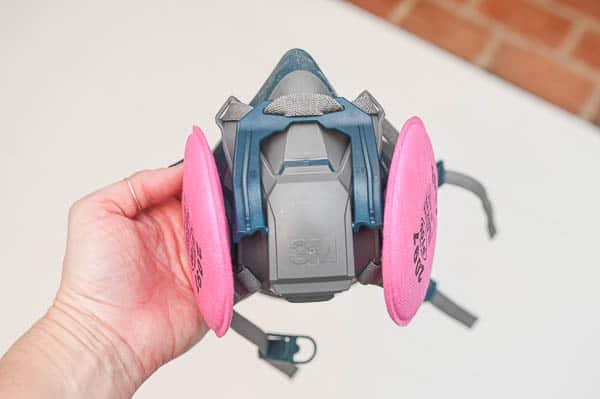
With that in mind, you’ll need to get yourself a respirator.
The good news, most face mask respirators are inexpensive these days.
Personally, I use this 3M respiratorfor all my cutting, spraying and sanding activities. I especially use this mask for indoors and areas with poor ventilation.
Let's Talk Surface Prep:
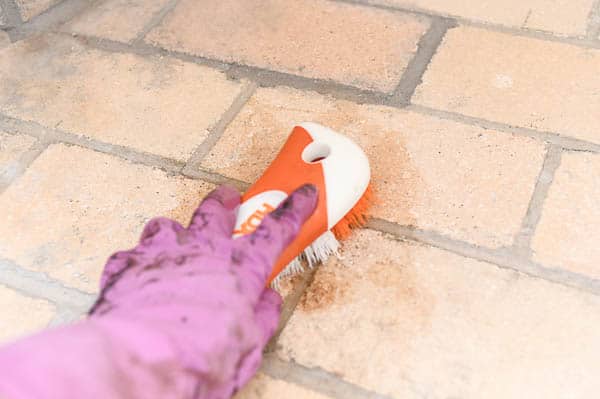
The better you prep your surface, the better you paint will stick to your fireplace.This means, you better go get your rubber gloves and a scrub brush!
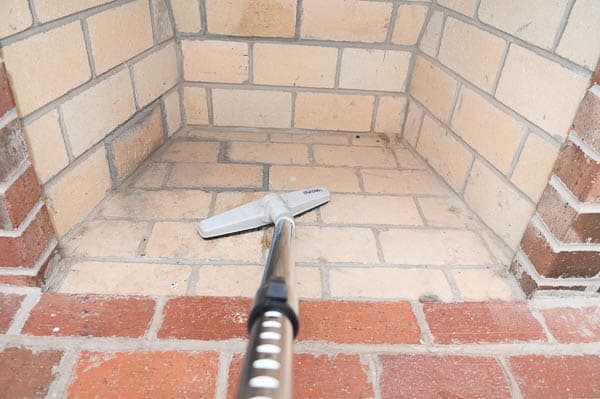
In order to prep your fireplace, start by vacuuming the inside thoroughly. Next, use a scrub brush and some warm soapy water – scrub, scrub, and scrub some more! The cleaner and smoother the paint application.
Thankfully, my fireplace hasn’t been used anytime soon, so I didn’t need to use any aggressive solvents.
If you have some soot residue, I recommend using this cleaner. It is known for deep cleaning porous surfaces surprisingly well.
Let's Talk Application:
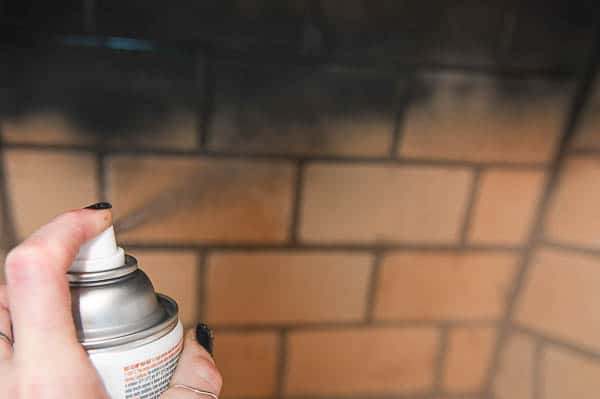
Once everything is clean and you have your respirator on… it’s time to spray some paint!
Using short sweeping motion, approximately 12″ from the surface you’re painting, spray a light first coat.
Rustoleum high heat spray paintdries to touch in 30 minutes, and is ready for another application in an hour. Remember to use light layers of paint to help with even coverage and dry times.
With all that in mind, it took 2 coats of paint to fully cover the inside of the fireplace.
I used two cans of spray paint to complete the entire project. A total cost of $14!
Let's Talk Curing Paint:
Now keep in mind, high heat spray paint doesn’t cure like normal paint. It needs to 1-2 hours to dry, but it needs heat to cure.
This means it needs a fire or some sort of heat application to fully cure. So, if you use your fireplace, go fire it up and let the paint cure. Each product has a specific heat application times, so make sure you refer to your products recommendations for cure times.
Since I’m not using this fireplace just yet, I’m going to hold on curing the paint at this time.
My fireplace is approximately 3′ x 3′ x 4′ – for reference.
Let's Reflect:
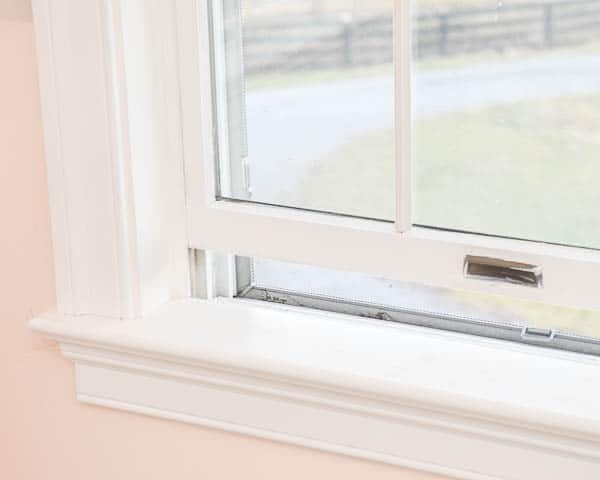
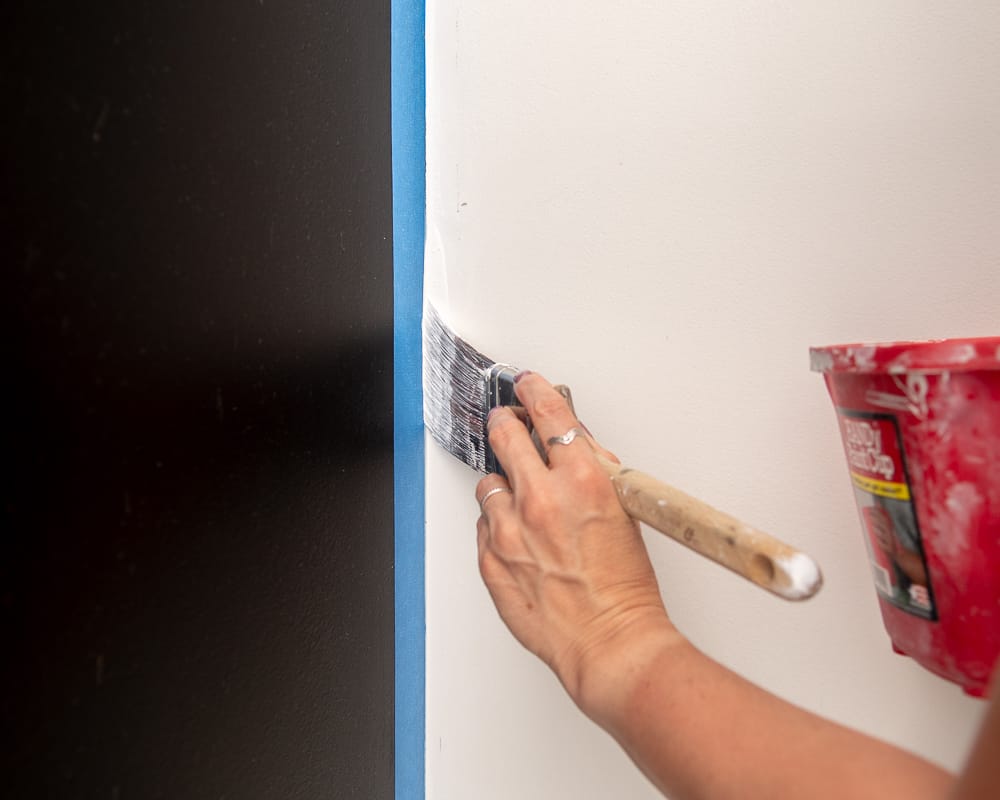
As you can see, this quick upgrade has really modernized this space (…ugh I know I need to finish painting the trim!)
I have to say, this new high heat spray paint has become my new best friend. In case you haven’t been following along on Instagram, I first used this spray paint on the baseboard heaters in the barn. Let me tell you, what a major improvement! I wonder what else I could use it for?
You’re totally correct, this old brick fireplace was actually “washed” using watered down thinset mortar! I had an old container of it from a tile project but I used this brand. I loved it’s color and really didn’t need to add any white paint overtop of it. I have heard of letting the mortar dry and then brushing it with a watered down white chalk paint or milk paint.
It was a quick facelift that I have done to ALL my fireplaces!
Hope that answered all your questions. Thanks for following along!
Hi Maria,
Thanks for this – really helpful.
If I am not planning on using the fireplace, just going to make a little spot for my dog, do I need to cure the spray paint? If so, any suggestions. I really am not comfortable making a fire. Heat gun? Space heater? I used Rustoleum High Heat
I called Rustoleum customer support, the high heat 2000 degree paint they said is not recommended near open flame like in this case inside the fireplace. How long ago did you do this project and did you see any peeling ? Thank you in advance for your help.
Thanks for reaching out. I have not had any peeling in my fireplace after painting. I feel if there’s any directly under the firewood, then it is unnoticeable to my naked eye! Overall, there’s minimal notice that there’s been any alteration to the black paint on the bricks. This project has been over a year and it’s holding strong. I guess it’s up to you and your esthetic desires!
That’s a great question. Unfortunately, I’m not sure I have the answer for that. I’ve tented to control overspray when spraying paint, but as far as the release of VOCS I’m unsure. Always use a respirator to provide you the best protection!
Thanks for visiting my little piece of the internet!
I’m Maria, a lover of furry things, coffee and anything creative. This blog is where I love to share affordable home decor ideas, great DIYs, yummy recipes, unique crafts and so much more.


10 thoughts on “How to Paint the Inside of a Fireplace – A Simple Upgrade”
How did you get the brick “white washed” not sure if that’s the correct term but I love the farmhouse white and gray look of this!
Analissa,
You’re totally correct, this old brick fireplace was actually “washed” using watered down thinset mortar! I had an old container of it from a tile project but I used this brand. I loved it’s color and really didn’t need to add any white paint overtop of it. I have heard of letting the mortar dry and then brushing it with a watered down white chalk paint or milk paint.
It was a quick facelift that I have done to ALL my fireplaces!
Hope that answered all your questions. Thanks for following along!
XOXO,
Maria
Hi!
How long did you wait after cleaning to paint?
Becca,
I have like zero patience. I painted as soon as the brick looked dry and felt dry to touch!
XOXO,
Maria
Hi Maria,
Thanks for this – really helpful.
If I am not planning on using the fireplace, just going to make a little spot for my dog, do I need to cure the spray paint? If so, any suggestions. I really am not comfortable making a fire. Heat gun? Space heater? I used Rustoleum High Heat
Thanks
Jamie,
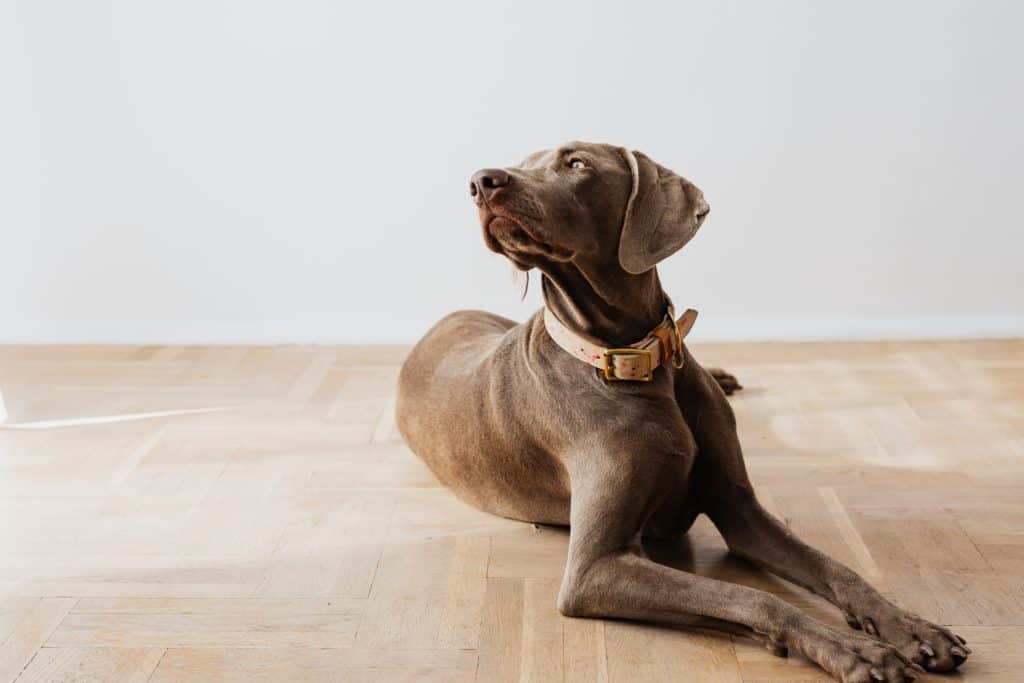
If you’re not planning on using it, don’t worry! I love this creative puppy nook. I hope your furbaby appreciates all your efforts!
Cheers,
Maria
Hi
I called Rustoleum customer support, the high heat 2000 degree paint they said is not recommended near open flame like in this case inside the fireplace. How long ago did you do this project and did you see any peeling ? Thank you in advance for your help.
Thanks
Vik
Vik,
Thanks for reaching out. I have not had any peeling in my fireplace after painting. I feel if there’s any directly under the firewood, then it is unnoticeable to my naked eye! Overall, there’s minimal notice that there’s been any alteration to the black paint on the bricks. This project has been over a year and it’s holding strong. I guess it’s up to you and your esthetic desires!
Happy to help!
XO,
Maria
If I leave the plastic tent cover over my fireplace after spraying… Will that help to control the vocs fumes for the time they are in the air?
Becky,
That’s a great question. Unfortunately, I’m not sure I have the answer for that. I’ve tented to control overspray when spraying paint, but as far as the release of VOCS I’m unsure. Always use a respirator to provide you the best protection!
Cheers,
Maria