Recently, I’ve been experimenting with watercolors, and I quickly grew tired of using a kitchen plate for a paint palette! Inspired by the many beautiful handmade paint palettes I’ve seen, I decided to customize create my own. Through a little trial and error, I discovered a simple and effective method for crafting a stunning custom palette using air dry clay.
I am learning to use air dry clay. After many failed projects some trial and error, I have learned some Tips & Tricks that I recommend you read before starting your own project.
I’ve now come to love working with air dry clay. I’ve made quite a few projects now. This project has by far been my most favorite.
{Note: this post contains affiliate links. This means that I will make a small commission – at no additional cost to you – if you make a purchase using my links.}
Thanks you for supporting my blog!
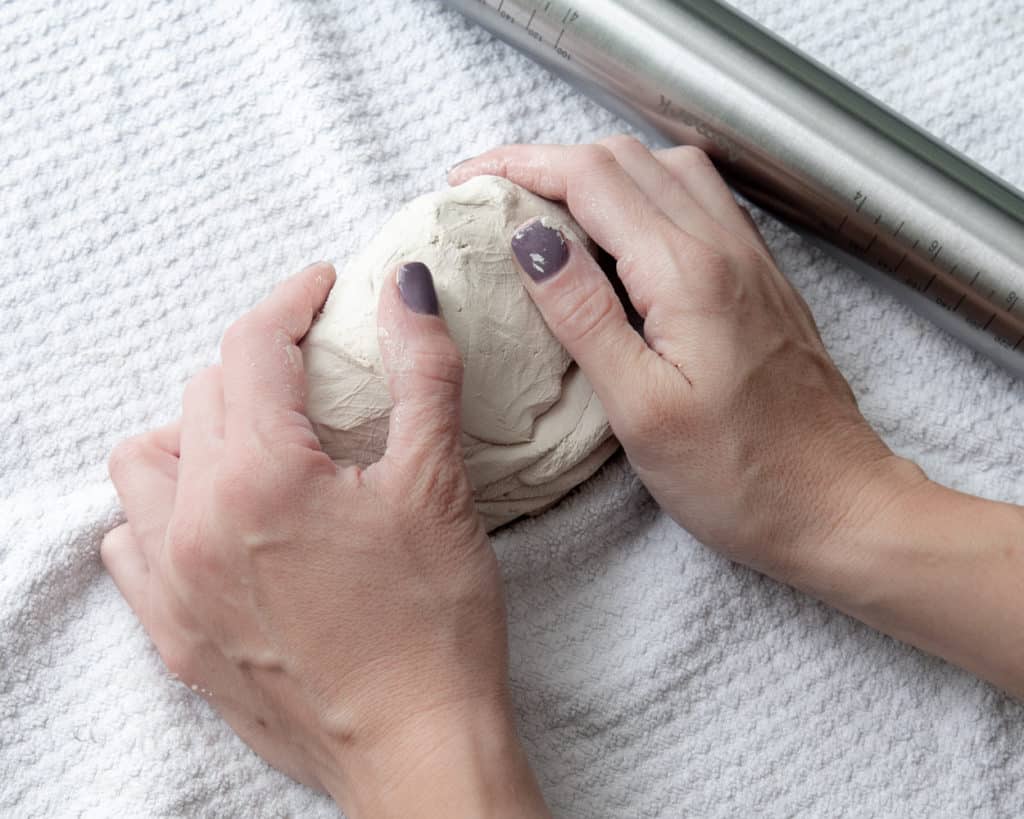
I starting making this project by kneading up a ball of clay. Kneading clay, prior to creating your project, helps expel air bubbles in the clay. Air bubbles can cause your project to crack, so kneading prior to making your project will make this less likely to occur.
After kneading the clay for a few minutes, I rolled out the clay onto a dish towel. This would help me shape the palette later on without needing to transfer it to a different surface.
Using my rolling pin set to 1/4″, I made a uniform slab of clay. If you’ve never used an adjustable rolling pin, you must! I just purchased this stainless steel rolling pin from Amazon, and I adore it. No longer do my clay projects come out uneven! It’s glorious. I highly recommend purchasing one if you don’t already have one {you can thank me later!}
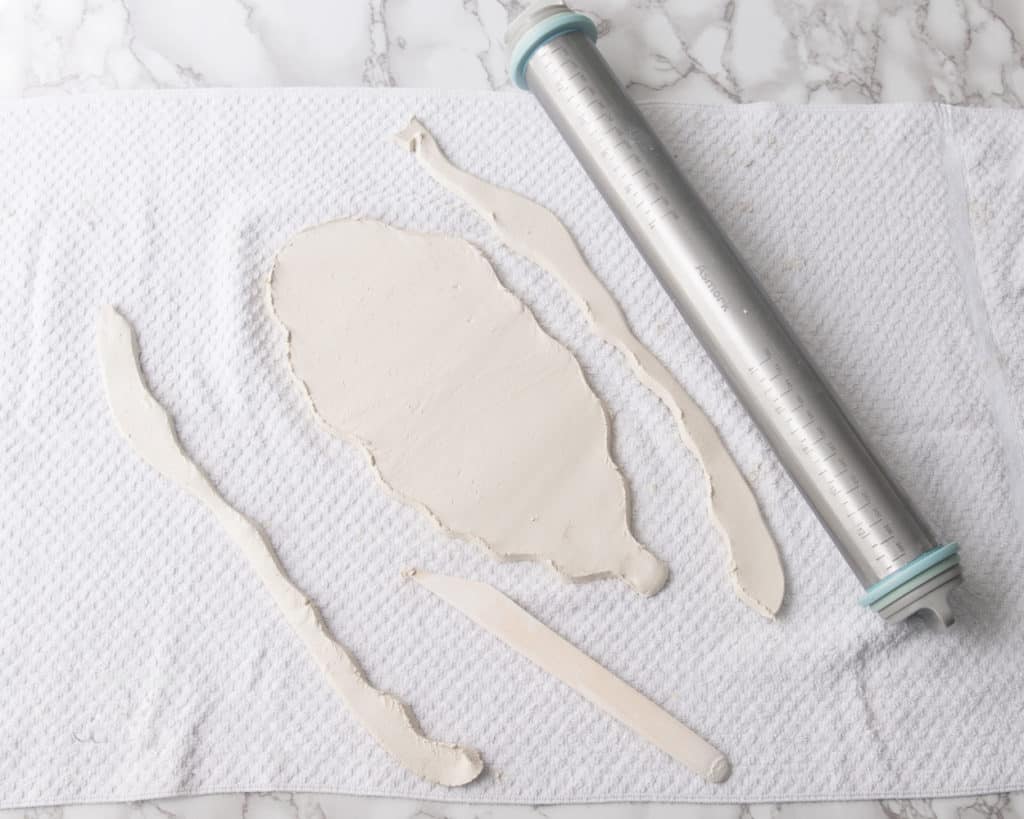
After rolling out the clay to an even thickness, I cut out the shape of a leaf, I knew I could alter it later on, so I just gave it a quick shape.
I ended up adding a little clay down the center, to make the stem. To do this, I made sure to score and use slip to adhere the additional clay. This make it strong and less likely to crack off when drying.
Using a wet sponge, I smoothed everything out. Making sure not to use too much water, this causes more drying time. This is a little cathartic, you’ve been warned!
Next, I used my finger to start sculpting the veining in the leaf.
Once everything dried, I did one more quick sponge over everything to smooth everything out.
Once I had the look I wanted, I scrunched {the technical term I think} around the edges of the leaf to turn it up some. This gave me the subtle lip to my palette, and the piece a little motion. Once it was where I wanted, I used a wet sponge to smooth out all the surfaces {again!} and gave it a more polished look.
Next is the hardest part… let it dry. This piece took approximatly 72 hours to fully dry, it all depends on the thickness of the clay.
After the piece was completely dry, I took some very fine grit sandpaper to any rough edges that remained.
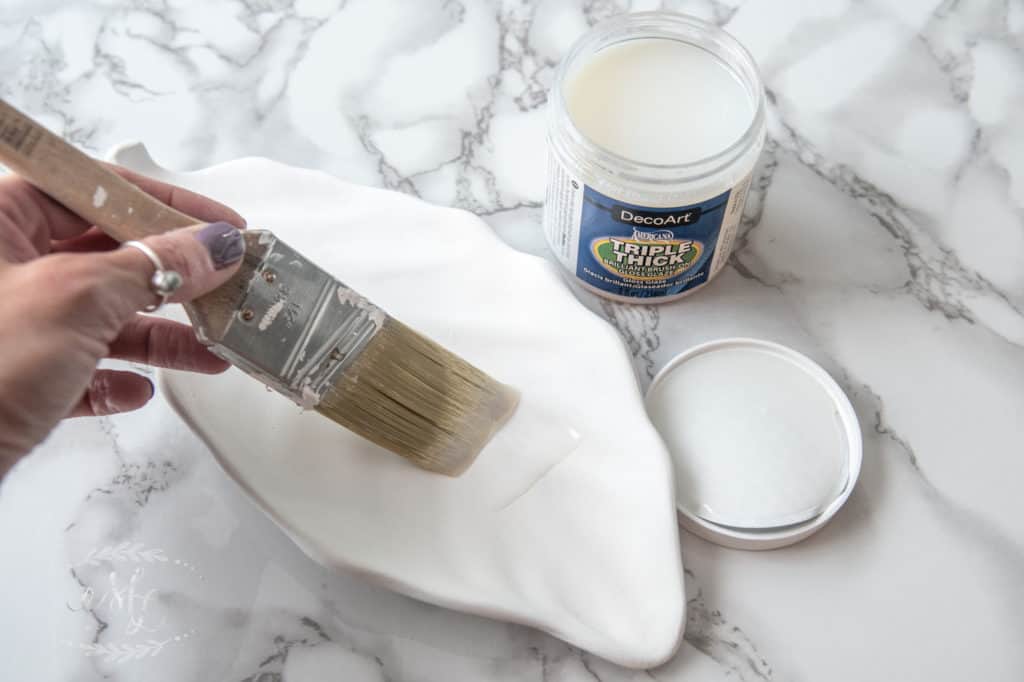
Once the finish was where I wanted, I painted the entire piece white with some chalk paint {I just had it onhand really. White acrylic paint would just fine.}
I let the paint dry for 24 hours to fully cure. Once everything was smooth, I used DecoArt Triple Thick Gloss Glaze to seal this piece. I intended to use it as a paint palette, so it needed to be durable and “semi waterproof.”
I then waited 24 hours for the glaze cure before using it as my watercolor palette.
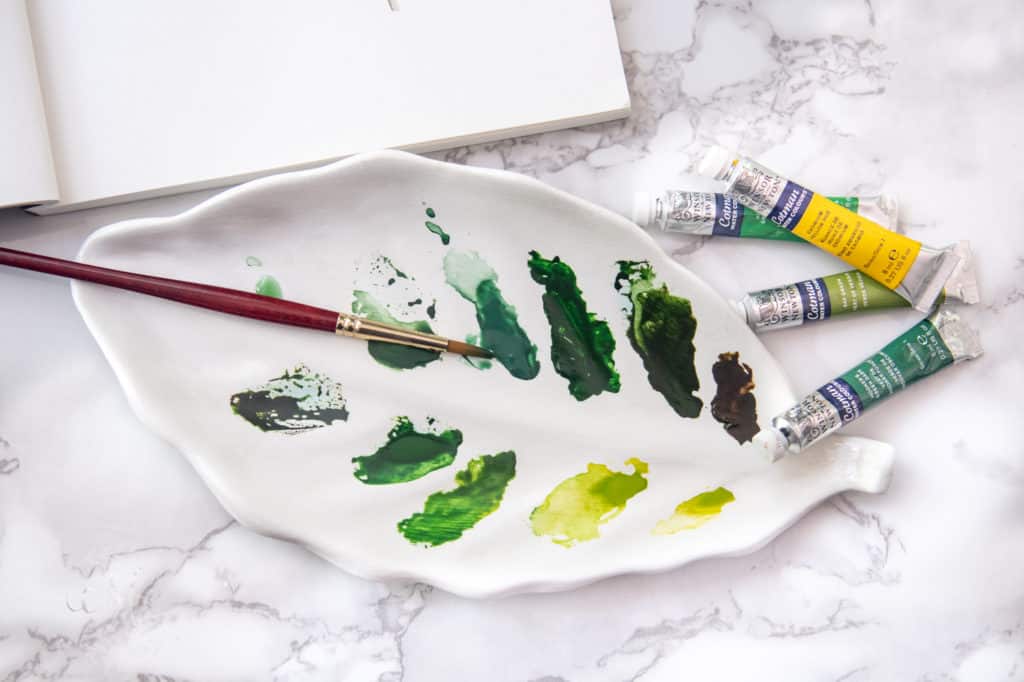
I made this piece into a palette for my watercolors. Each of the little veins in the leaf acts as little wells for the paint.
There’s some controversy over making air dry clay truly waterproof. I will say, I have not had any problems with this palette and exposing it to my paints or standing water. I do hand wash it only.
I hope this inspires you to pick up some air dry clay and create something wonderful for yourself.
I wash mine and use mine for watercolors! It does stain a little with my watercolors but no biggie for me. I hand wash them and they have held up. I just wouldn’t use it for a container to hold water or place it in the dishwasher.
Thanks for visiting my little piece of the internet!
I’m Maria, a lover of furry things, coffee and anything creative. This blog is where I love to share affordable home decor ideas, great DIYs, yummy recipes, unique crafts and so much more.


4 thoughts on “Make Your Own Paint Palette with Air Dry Clay”
What does “semi waterproof” mean? haha How wet can I get the clay after glazing?
Alyssa,
I wash mine and use mine for watercolors! It does stain a little with my watercolors but no biggie for me. I hand wash them and they have held up. I just wouldn’t use it for a container to hold water or place it in the dishwasher.
Thanks for reading!
XO,
Maria
Way to go on this post man. Really interesting stuff. I’ll be back to read your other posts.
Brain,
Thank you for the kind comment and thank you for reading along! I’m so glad you like it. 🙂
Cheers,
Maria