Does you skin take a beating in the winter months? I know mine does. Between frequent hand washing at work in between patients and spending time outside in the cold, my skin hates me. However, I’ve recently started making these all natural lotion bars and it has been a game changer for my skin.
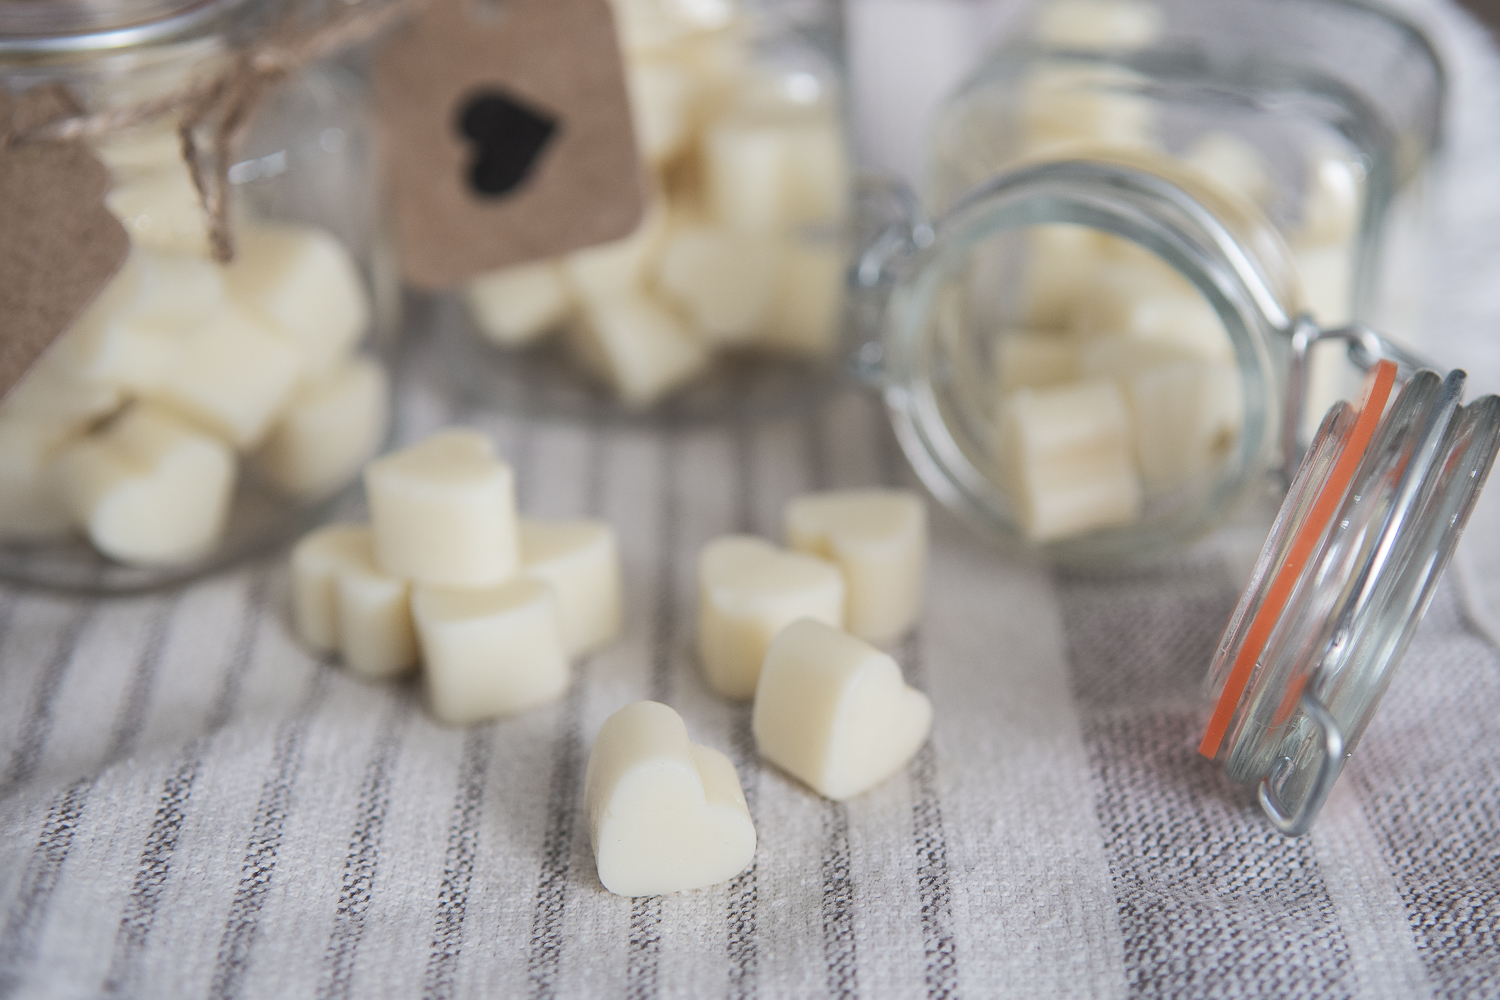
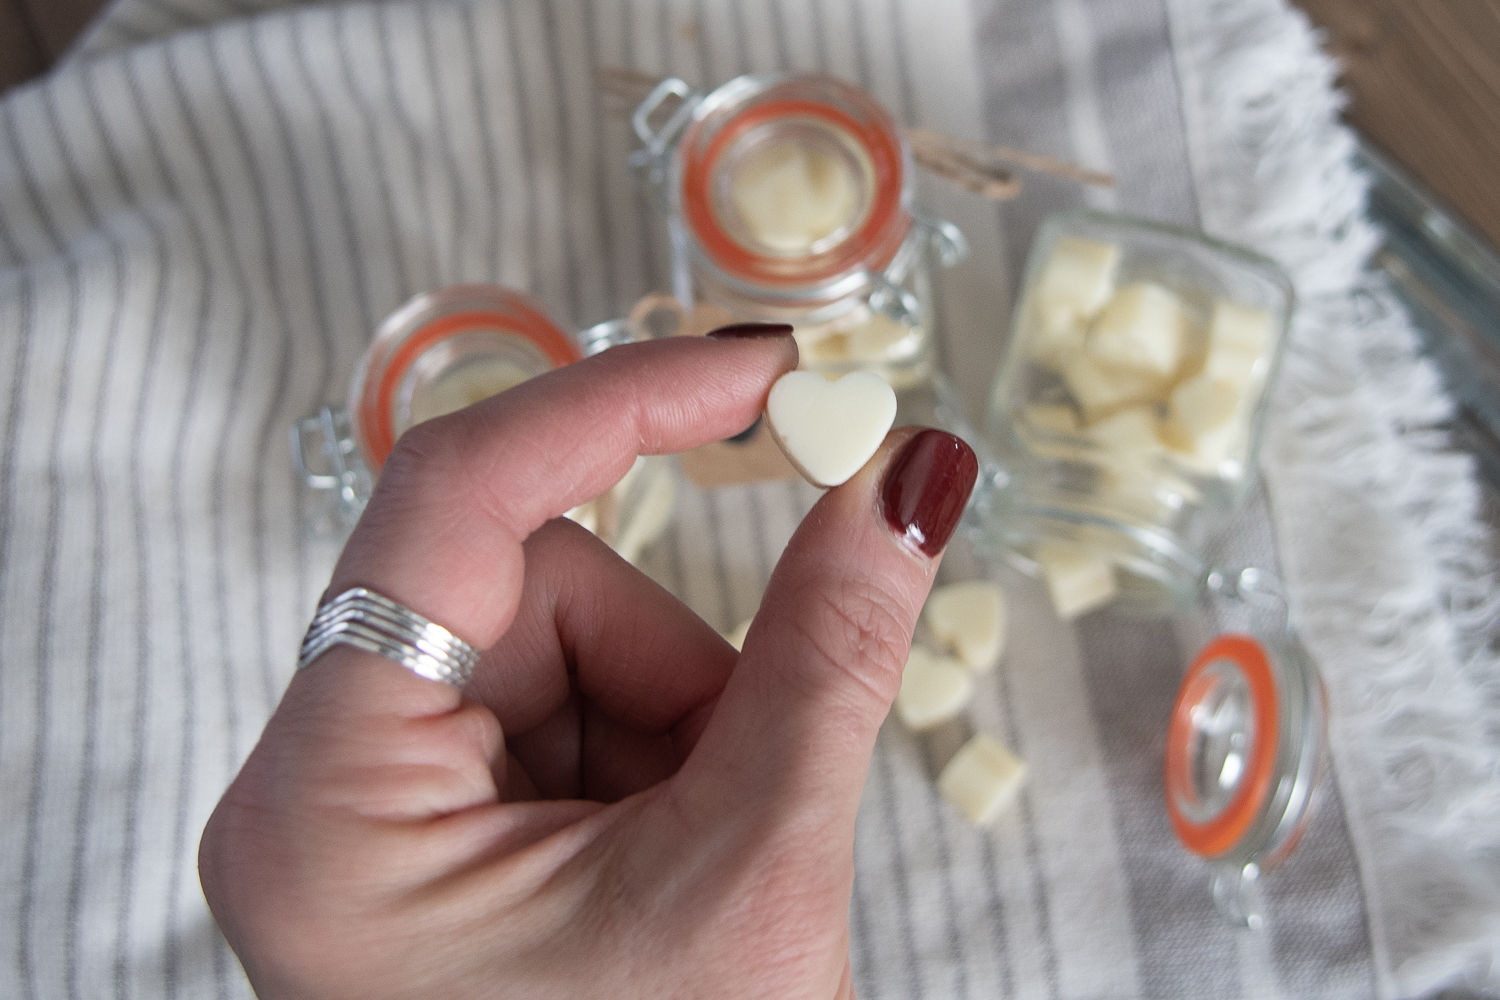
I was looking for an all natural, non-waxy, and non-greasy solution to add to my skincare routine. These all natural lotion bars were my perfect solution. They are small in size, but boy do they pack a big moisture punch!
Why Use an All Natural Lotion Bar?
In the winter our skin tends to get stripped of its natural oils. This can occur due to hotter showers and the dry heating of indoor spaces. My skin is particularly susceptible to this even before the depths of winter begin.
These mini lotion bars have been the perfect solution for my skin. These all natural lotion bars quickly absorb into the skin after application, making my skin feel silky smooth.
Honestly, I have to say I enjoy knowing that the ingredients are all organic and natural. I’m not putting harmful chemicals on my sensitive skin.
Many store bought lotions have preservatives and stabilizers that are known to be linked to cancer, hormone disruption and much, much more. Head over to Prevention.com and read about some of these harmful chemicals and why you should avoid them.
Why not give your skin some needed support without all the harmful chemicals used in most common lotions? This was an easy decision for me.
Why Use Essential Oils:
I don’t know about you but I’ve become a huge fan of essential oils. There are so many benefits of essential oils, and many of them are seen when the oils are directly applied to the skin. These oils do need a carrier oil, which is why this recipe is perfect.
Some of my favorite essential oils for skincare products are:
Lavender – used to relieve stress, can soothe irritated skin
Bergamot – used to reduce stress and improve skin conditions like eczema
Rosehip – filled with anti-aging vitamin C, and fatty acids that help hydrate your skin
Copaiba – is high in beta-caryophyllene, which has been studied to combat inflammatory properties in skin
Frankincense – can reduce the appearance of fine lines and wrinkles, also helps with pigmentation
Tea Tree – is a natural antimicrobial that helps fight bacteria that can cause acne, fungus and dandruff
Chamomile – is perfect for people that have sensitive skin, helps retain moisture skin
Sweet Orange – packed with anti-aging vitamin C, gives your skin a great glow
Sandalwood – reducing inflammation while promoting moisture in the skin
Eucalyptus – has pain-relieving qualities, it will also provide moisture to itchy, painful skin rashes
If you want to do more research on other essential oils and their benefits, Healthline published a great article on The Best Essential Oils for Your Skin,.
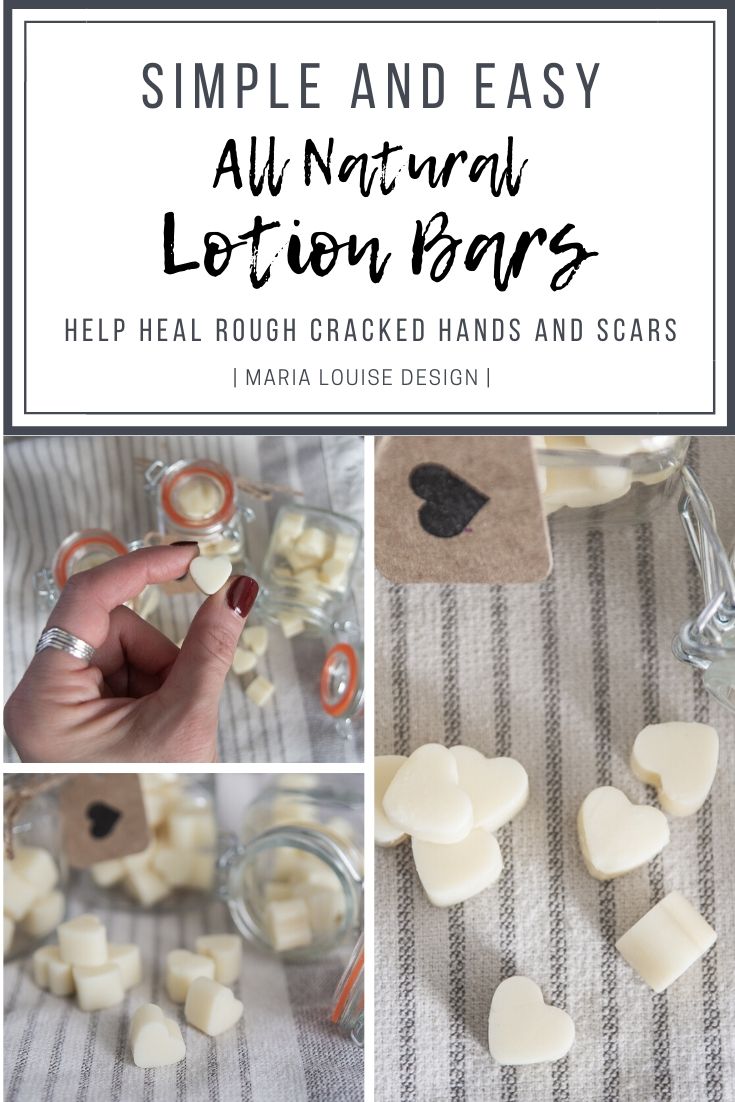
All Natural Lotion Bars
SERVINGS: 12 small bars
PREP TIME: 15
TOTAL TIME: 40
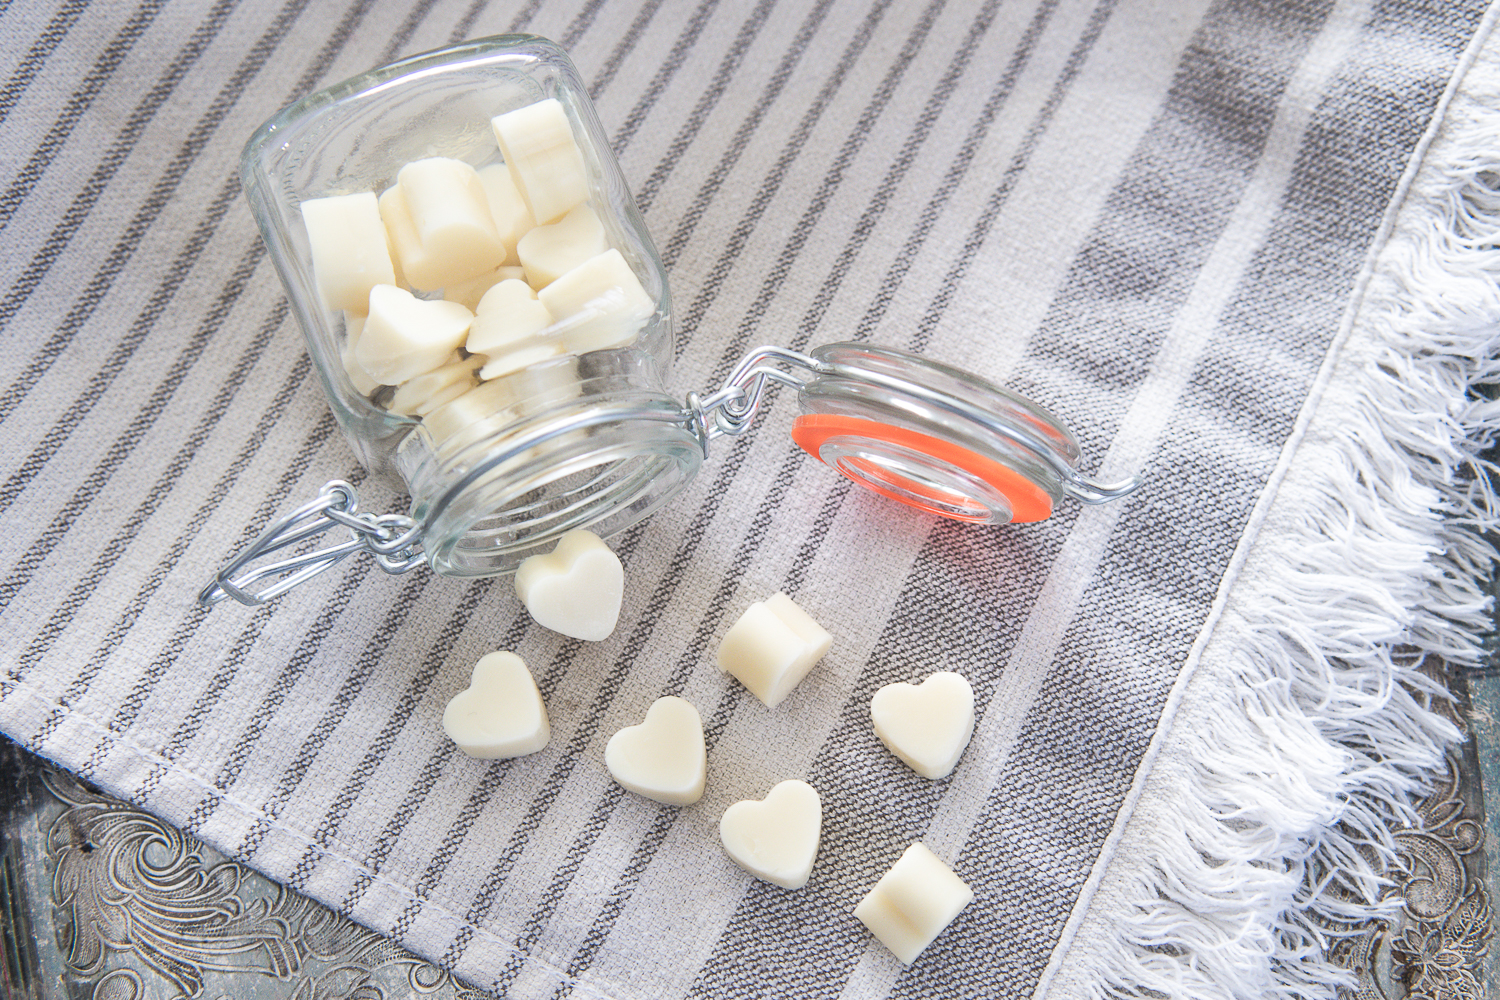
These delicious smelling, pint size lotion bars are perfect to help you nourish and hydrate your skin all winter long.
Melt coconut oil, beeswax, shea butter and cocoa butter in a double boiler.
Stir frequently until ingredients are completely melted.
Remove from the heat. Now you can add your essential oils and vitamin E, stir until completely combined.
Immediately pour into desired molds.
Let sit for several hours or overnight (You can also accelerate the process and put in the refrigerator for a couple of hours) until firm.
Once cooled, remove the lotion bars from their molds.
Place in sealed container and store in a cool dry place.
Notes:
* Best measured in oz on a food scale – for the most accurate recipe
* If you want a harder lotion bar, add a little more beeswax (1-2 oz). and less coconut oil/shea butter.
* Creamer bars, add 1 oz. extra shea butter
Not only has my skin improved so much since I starting using these lotion bars, I have given them to my patients recovering from major surgery. The vitamin E and moisturizers help protect and heal new and fragile skin. This helps with faster recovery!
I really hope you give them a try and share them with friends! If you do try and like this All Natural Lotion Bar Recipe, please share it with those you think will enjoy it. Or simple share it with others.
2 thoughts on “How to Make All Natural Lotion Bars”
Susan
These are wonderful lotion bars. I received some from Maria for Christmas and use them every night. My hands were so dry and the tips of my thumbs were splitting. Once I started using these, I have had no more problems.
Thanks for visiting my little piece of the internet!
I’m Maria, a lover of furry things, coffee and anything creative. This blog is where I love to share affordable home decor ideas, great DIYs, yummy recipes, unique crafts and so much more.


2 thoughts on “How to Make All Natural Lotion Bars”
These are wonderful lotion bars. I received some from Maria for Christmas and use them every night. My hands were so dry and the tips of my thumbs were splitting. Once I started using these, I have had no more problems.
Awww, thank you for such a sweet comment. I’m SO glad they are helping your hands!
Maria