Anyone else in love with the smells of fall? Me personally, I can’t get enough. Today, I wanted to share this great little project I snuck in this weekend, homemade air fresheners.
Use your favorite essential oils or fragrance oils with these homemage air fresheners and enjoy the warm and spicy notes of of vanilla, cinnamon and clove.
Previously, I had been using drawer sachets around my house to give my home a lovely aroma.
However, these little goodie bags typically reside in drawers. I wanted something I could add to my household decor, covertly, while providing that desired aroma.
Therefore, I came up with homemade air fresheners made from Plaster of Paris and uses essential oils to provide the best custom smells for your home.
Follow along and see how you can made some of your own.
{Note: this post contains affiliate links. This means that I will make a small commission – at no additional cost to you – if you make a purchase using my links.}
Thanks you for supporting my blog!
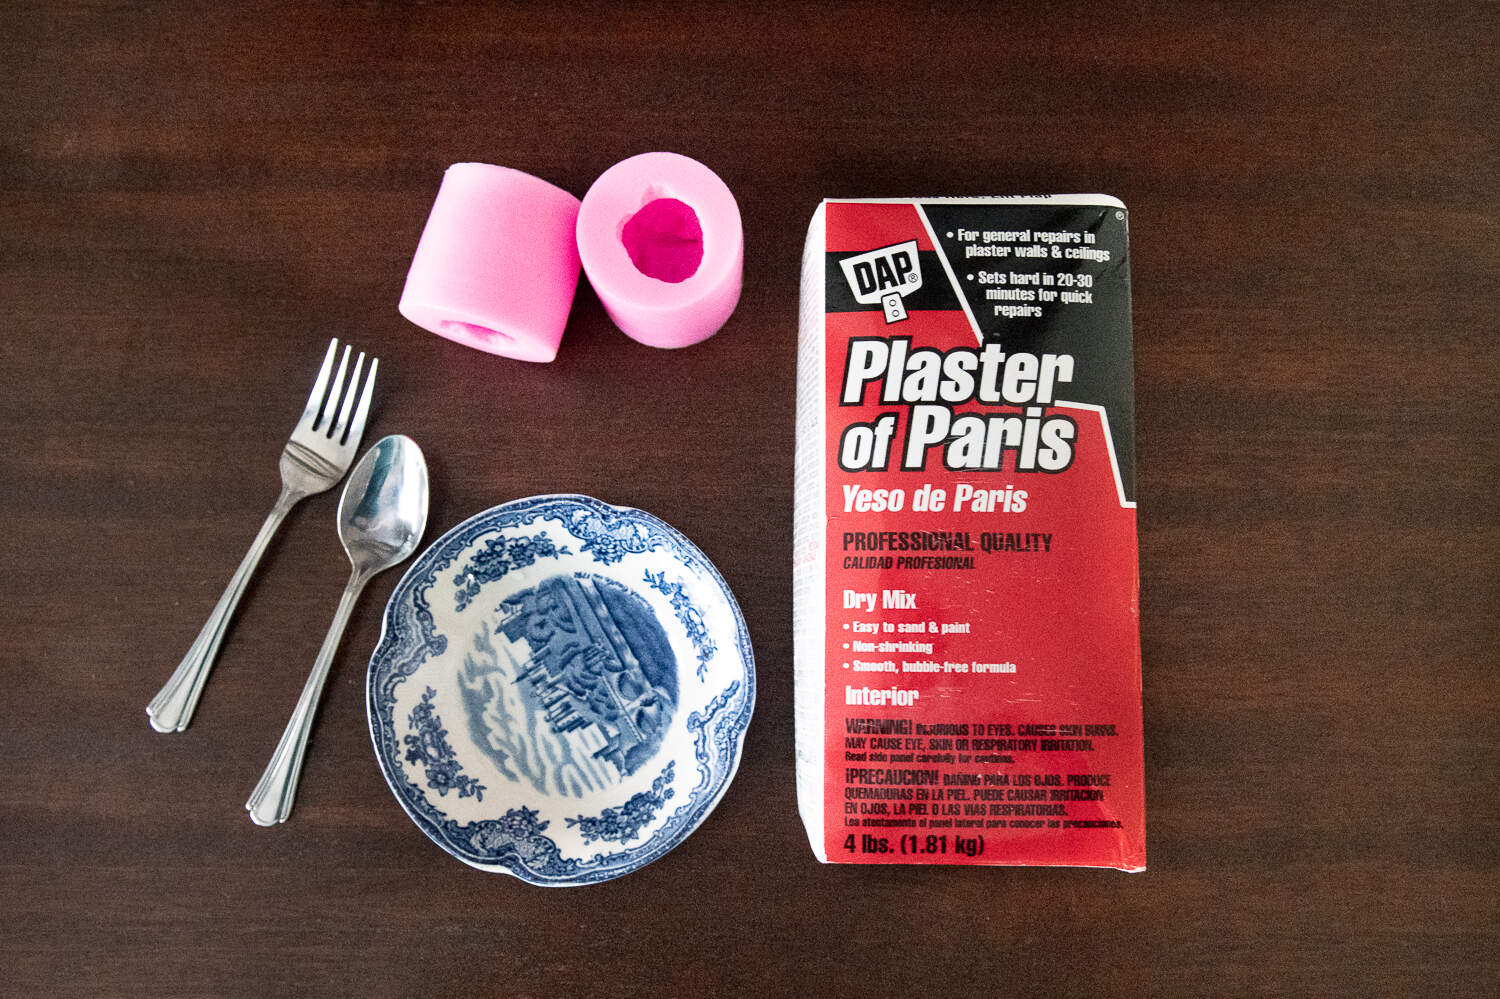
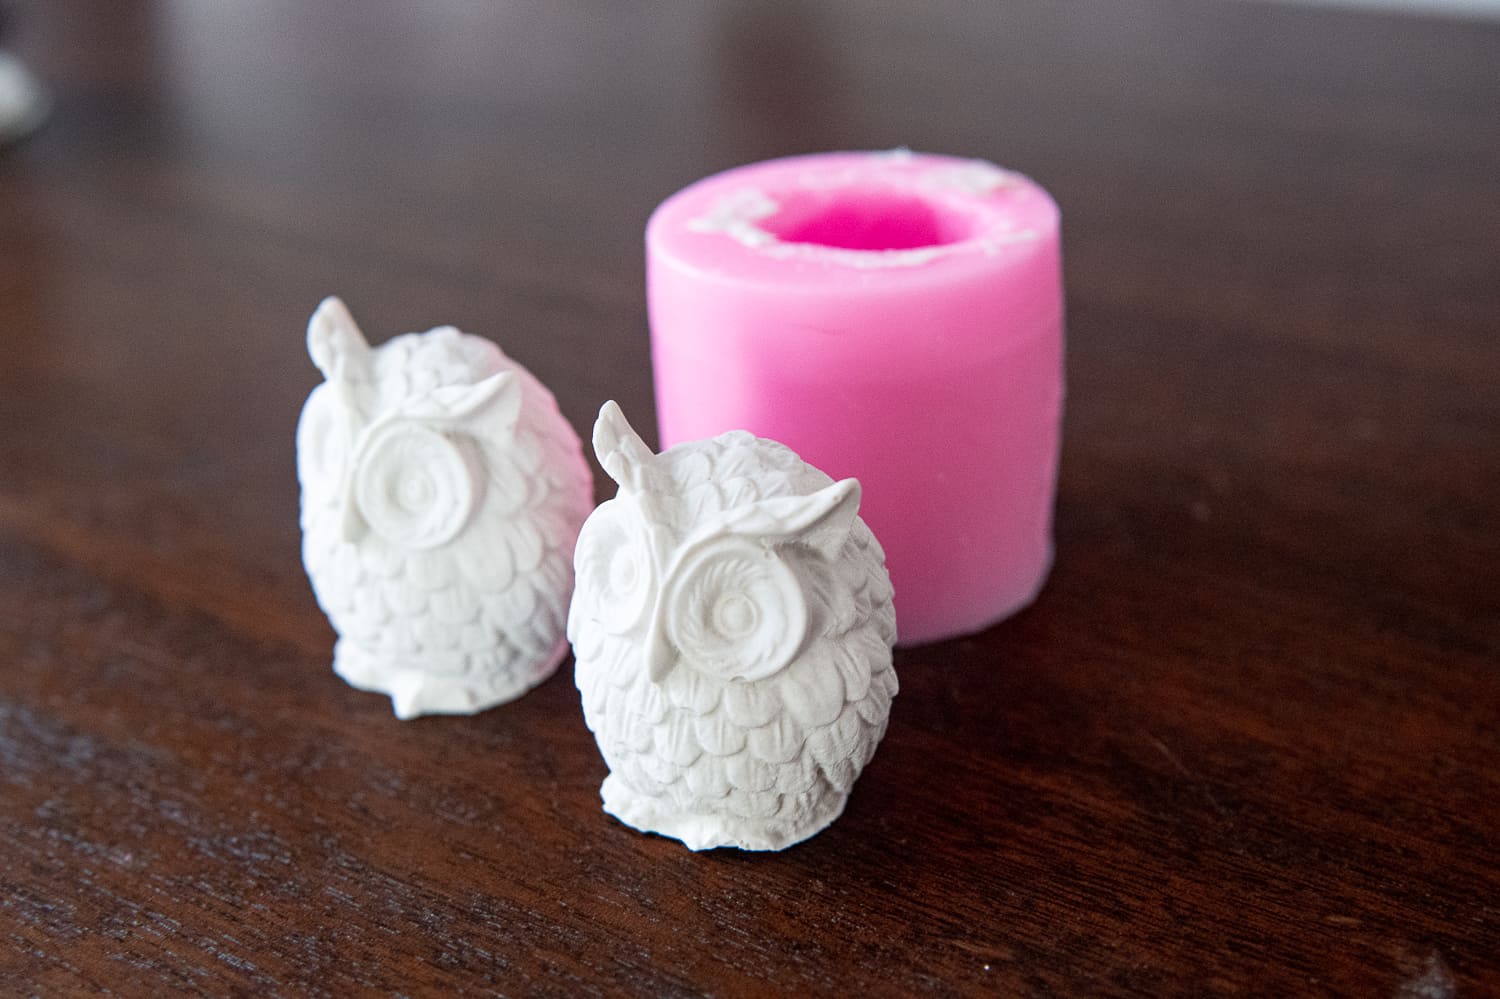
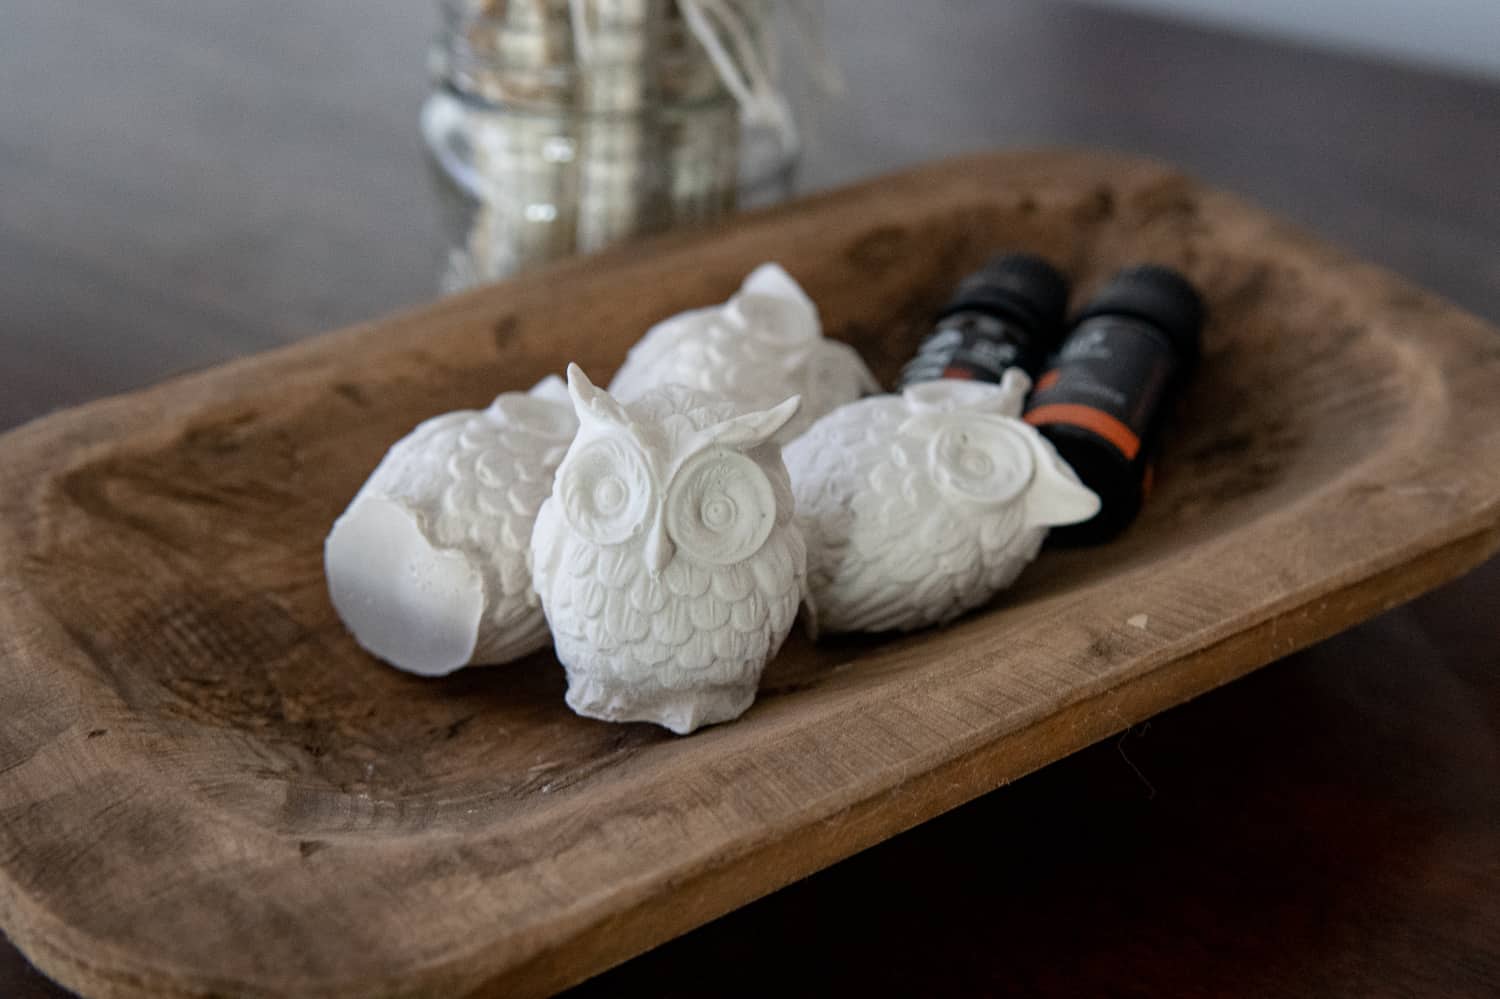
To start off, I ordered these cute little silicone owl molds from Amazon. They took a little while to come from china but they were so worth it! The bonus is, the molds can be used for soaps and candles too. I love versatility.
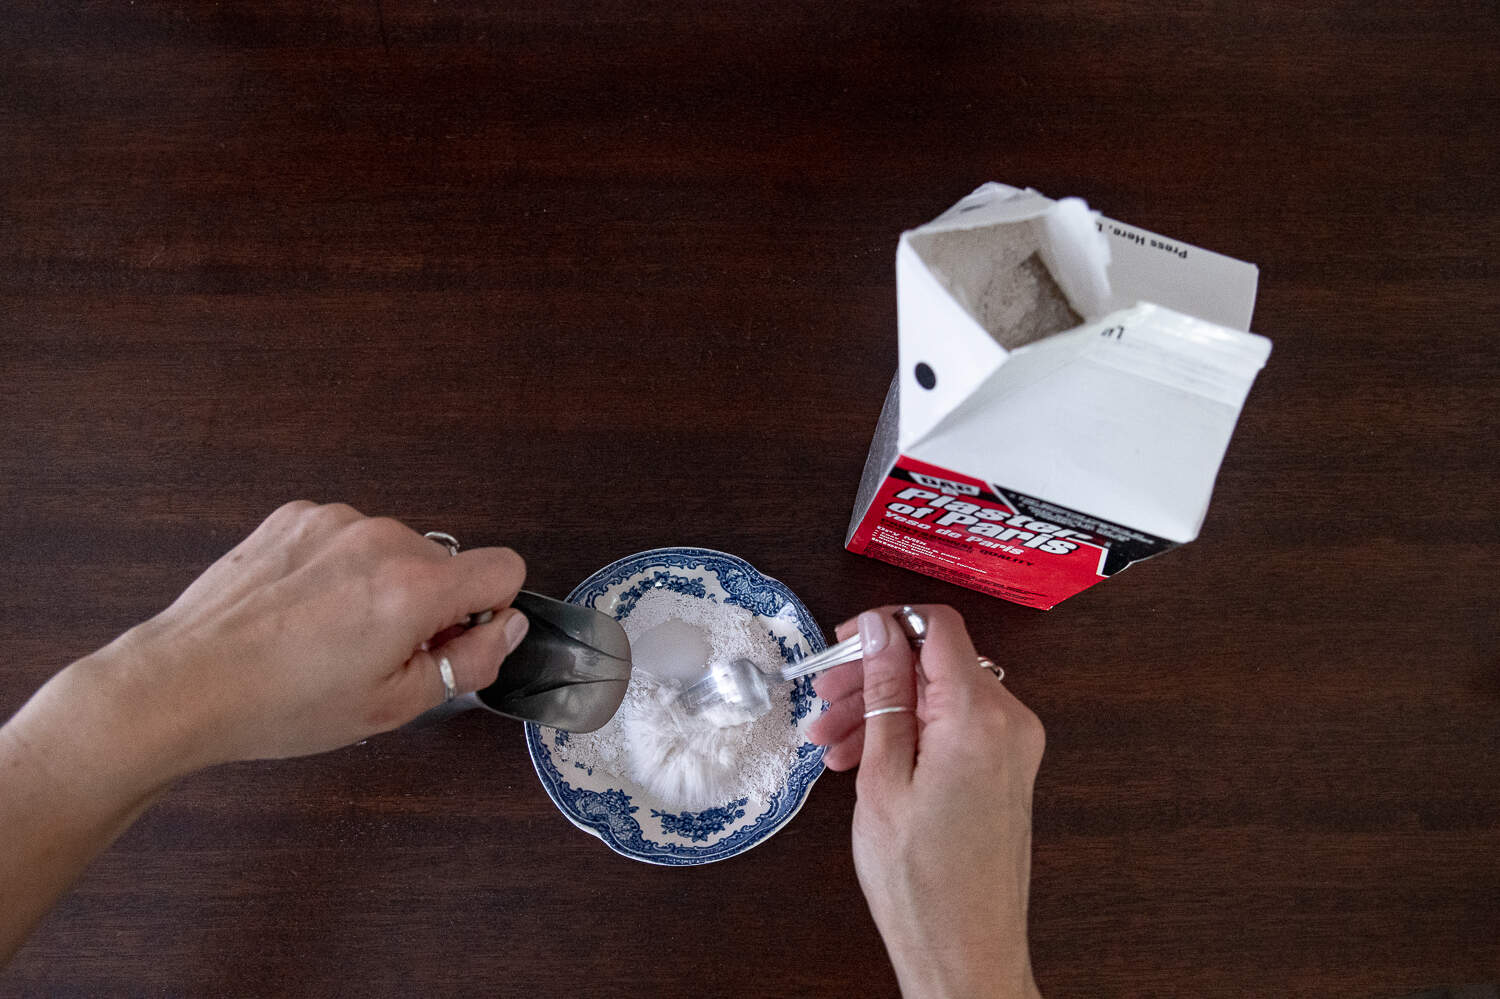
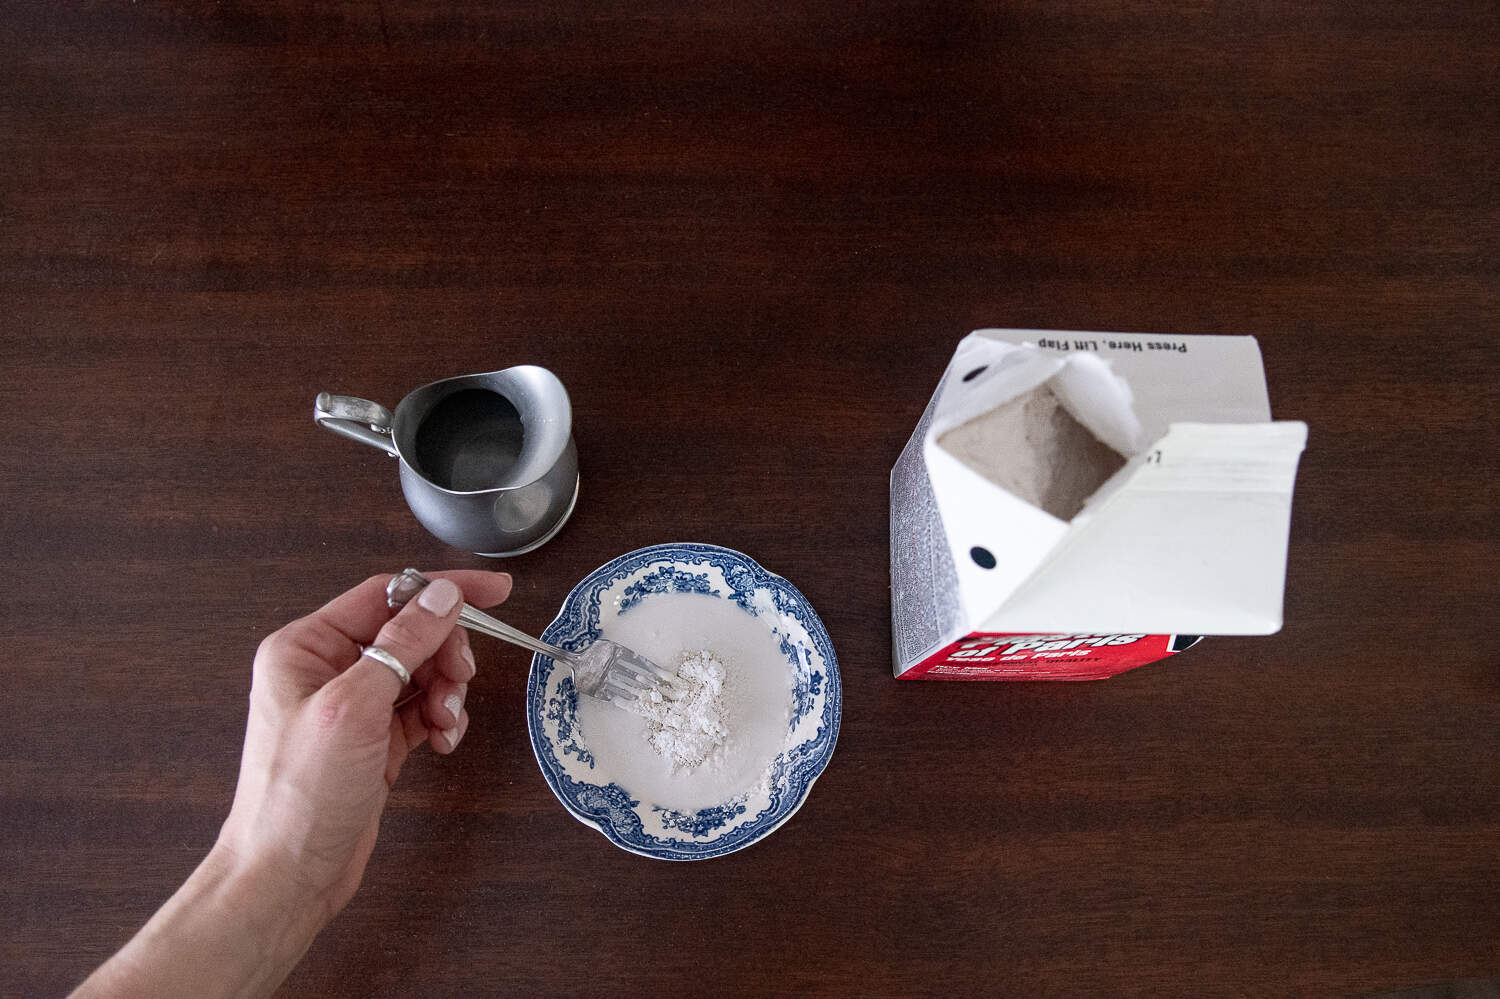
Mixing Your Plaster
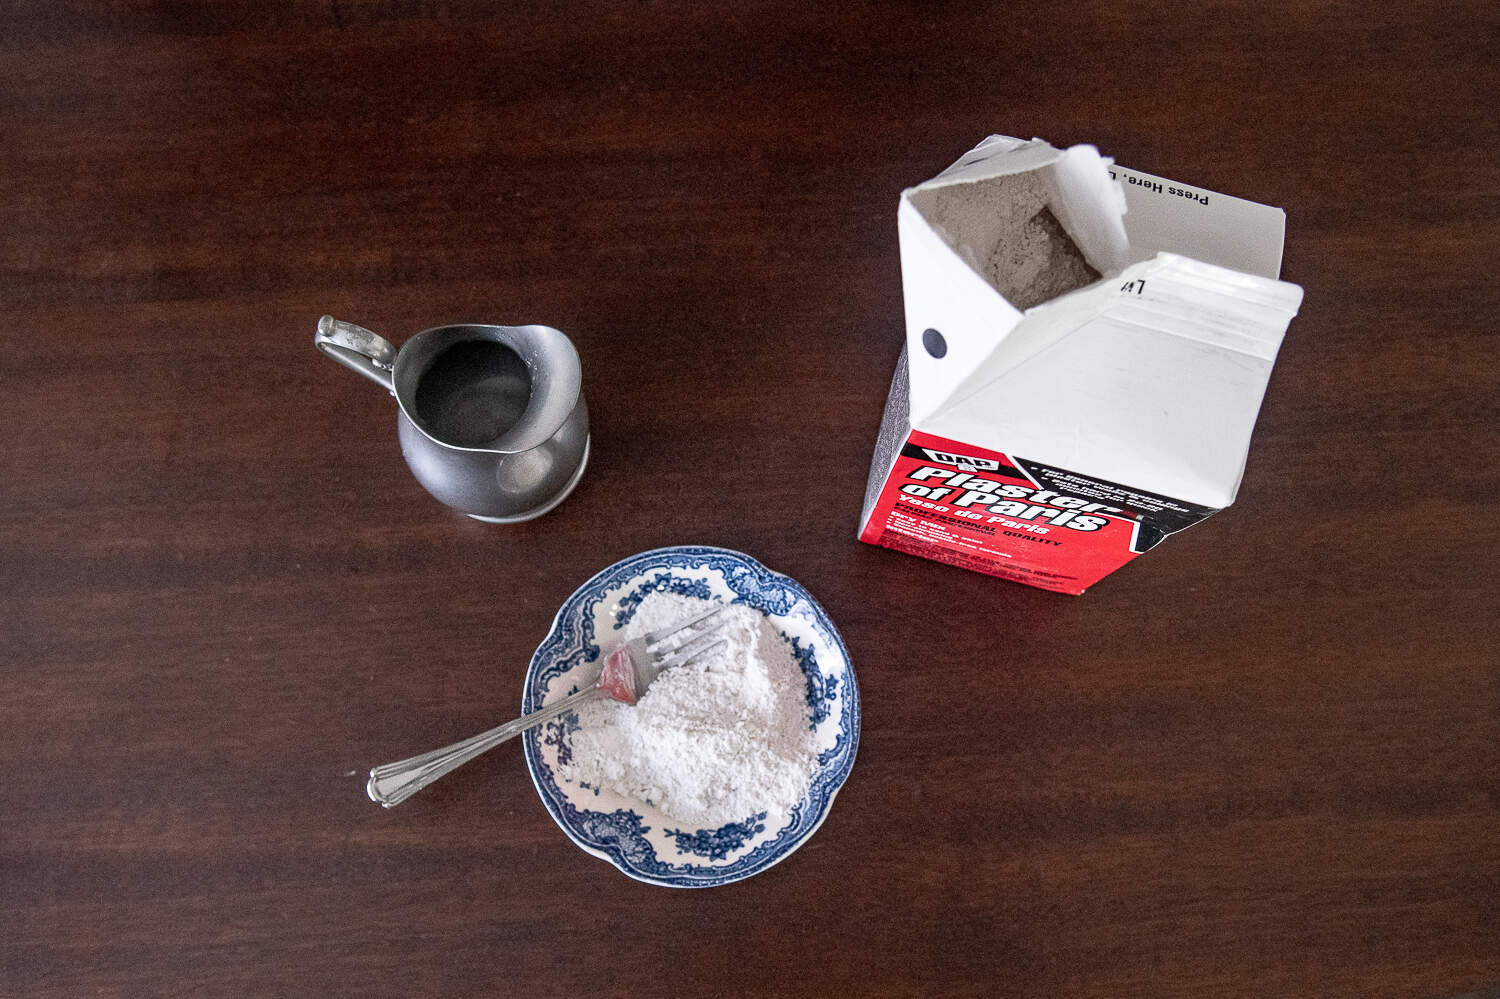
To start, begin mixing your plaster per the products recommendations.
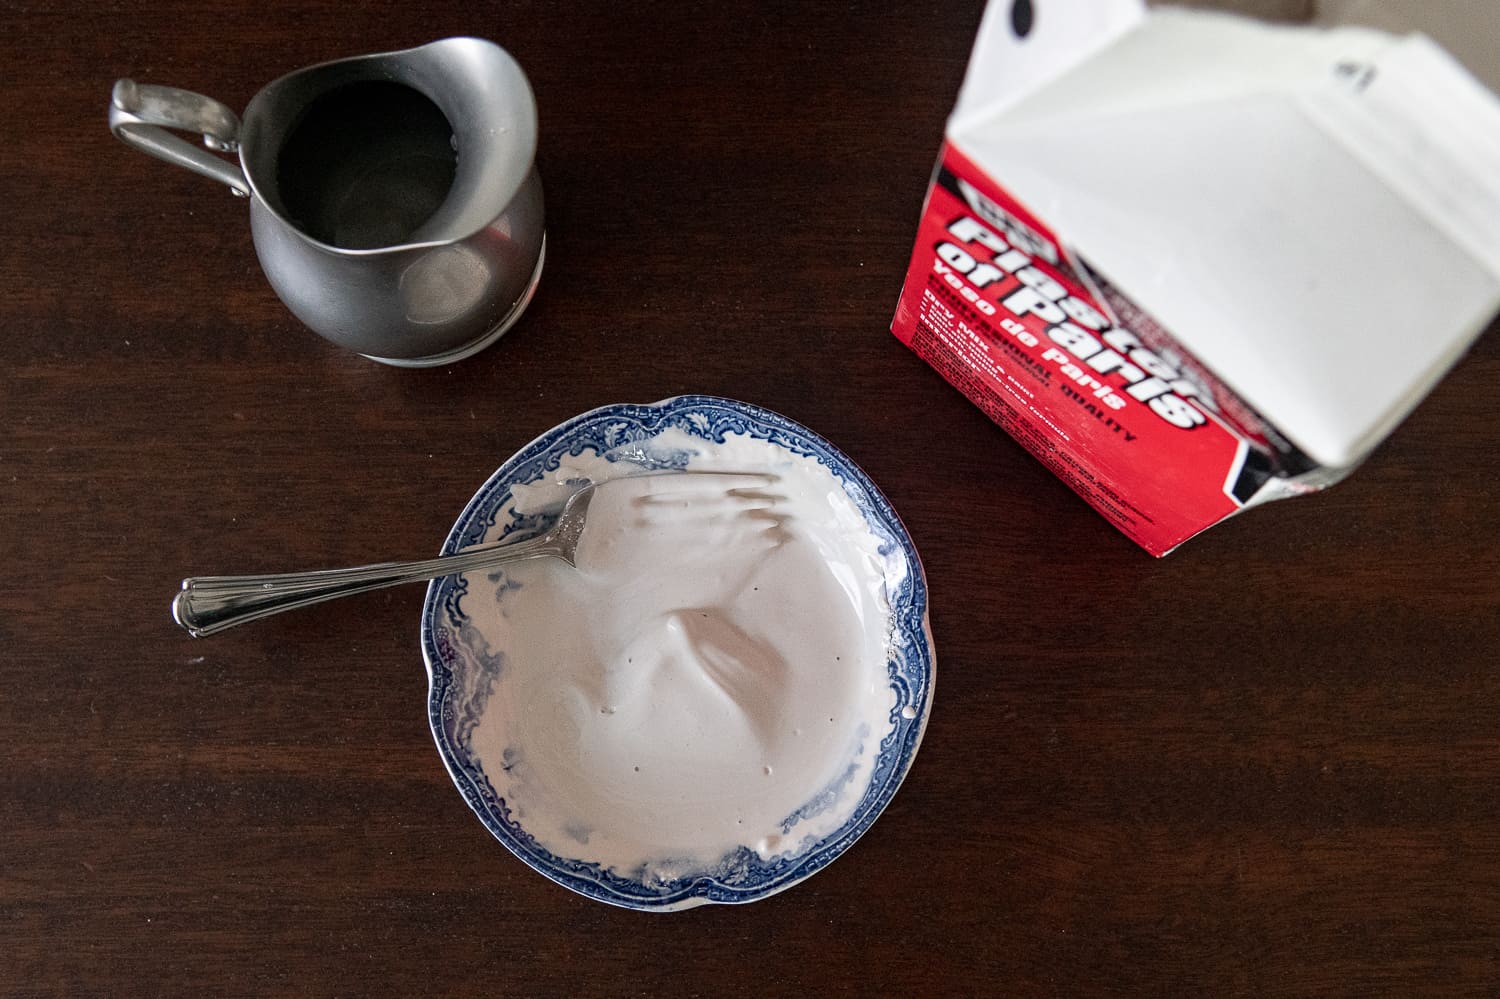
It’s pretty simple honestly. Just add a little powder then add a little water, until your consistency is like runny pancake batter.
Pouring into Your Molds
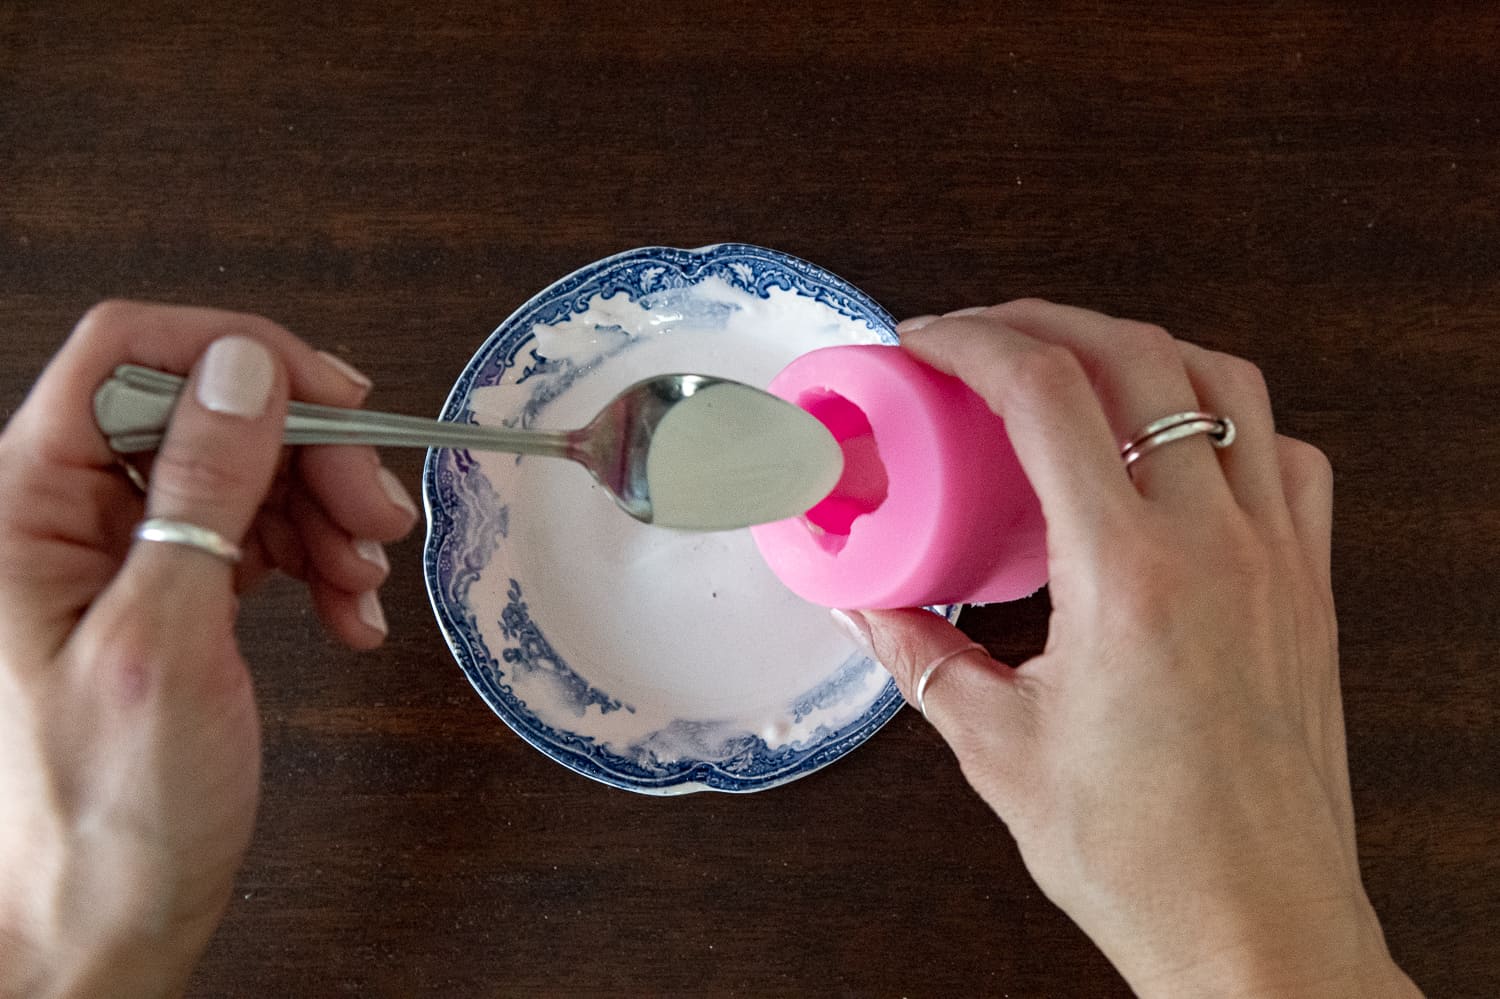
Once you have mixed your plaster to the right consistency, let it rest for a minute or two.
Now, you can gently spoon the thickened mixture into your molds. Make sure you fill it up to the very top.
Once the mold is full, you will start to see bubbles rise to the top.
Rigorously, tap the mold on your working surface or with your hand to encourage all the bubbles to come to the surface.
These bubbles will weaken your air freshener and leave little imperfections. Get to tapping! Once you think you’ve got all the air bubbles out, let your plaster set up. This typically take about 20-30 minutes depending on the size of your mold.
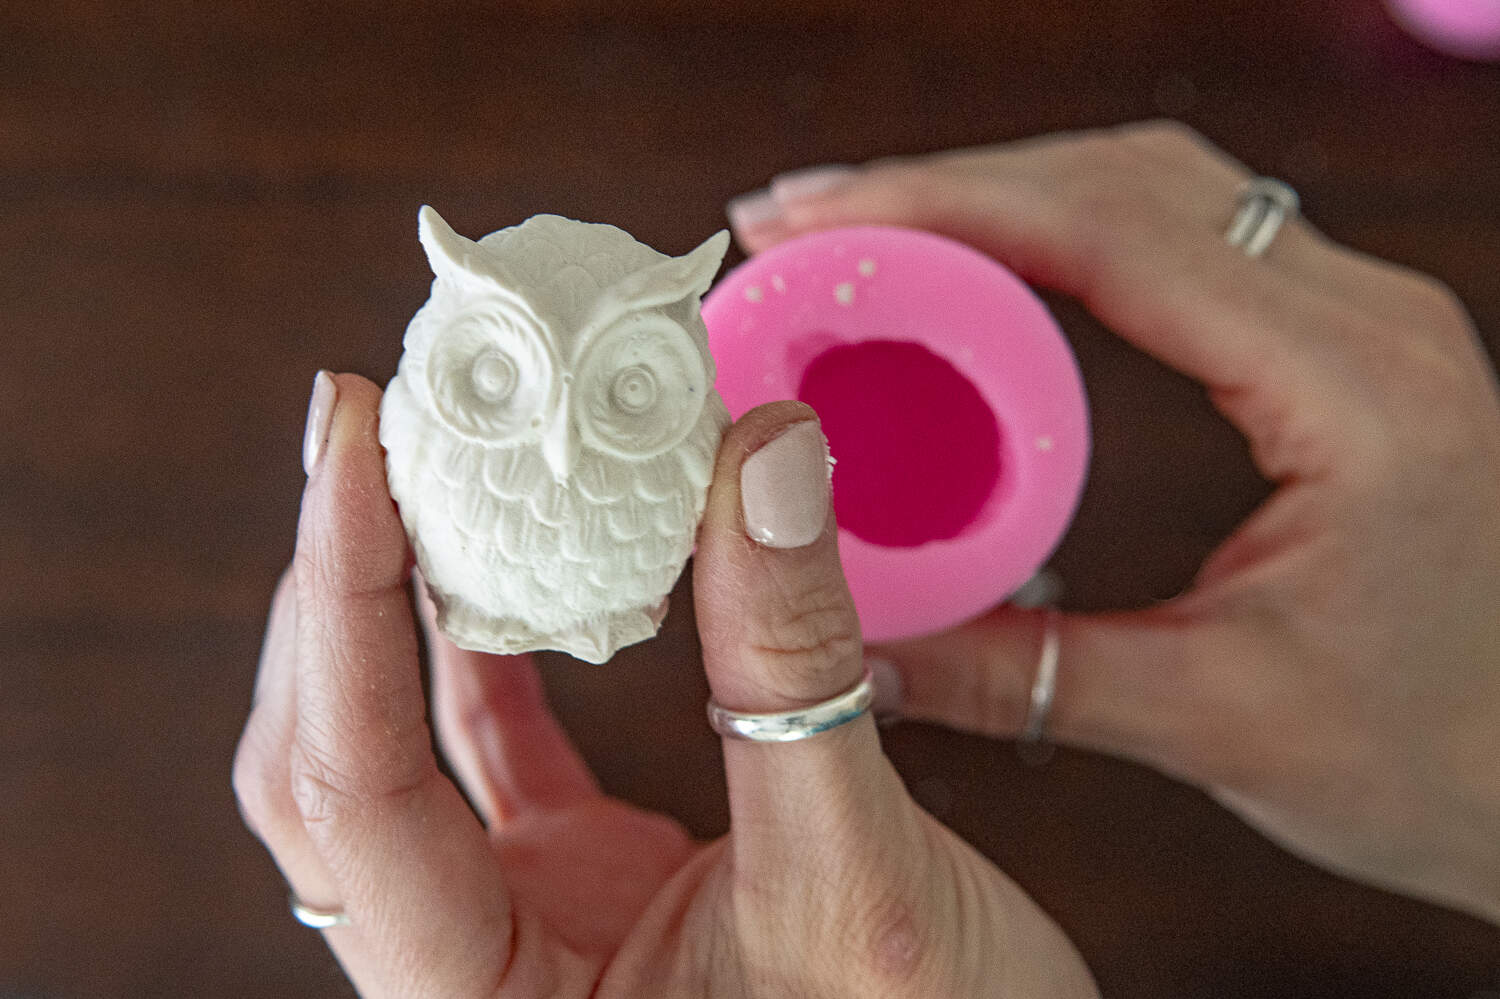
Unmolding Your Air Fresheners
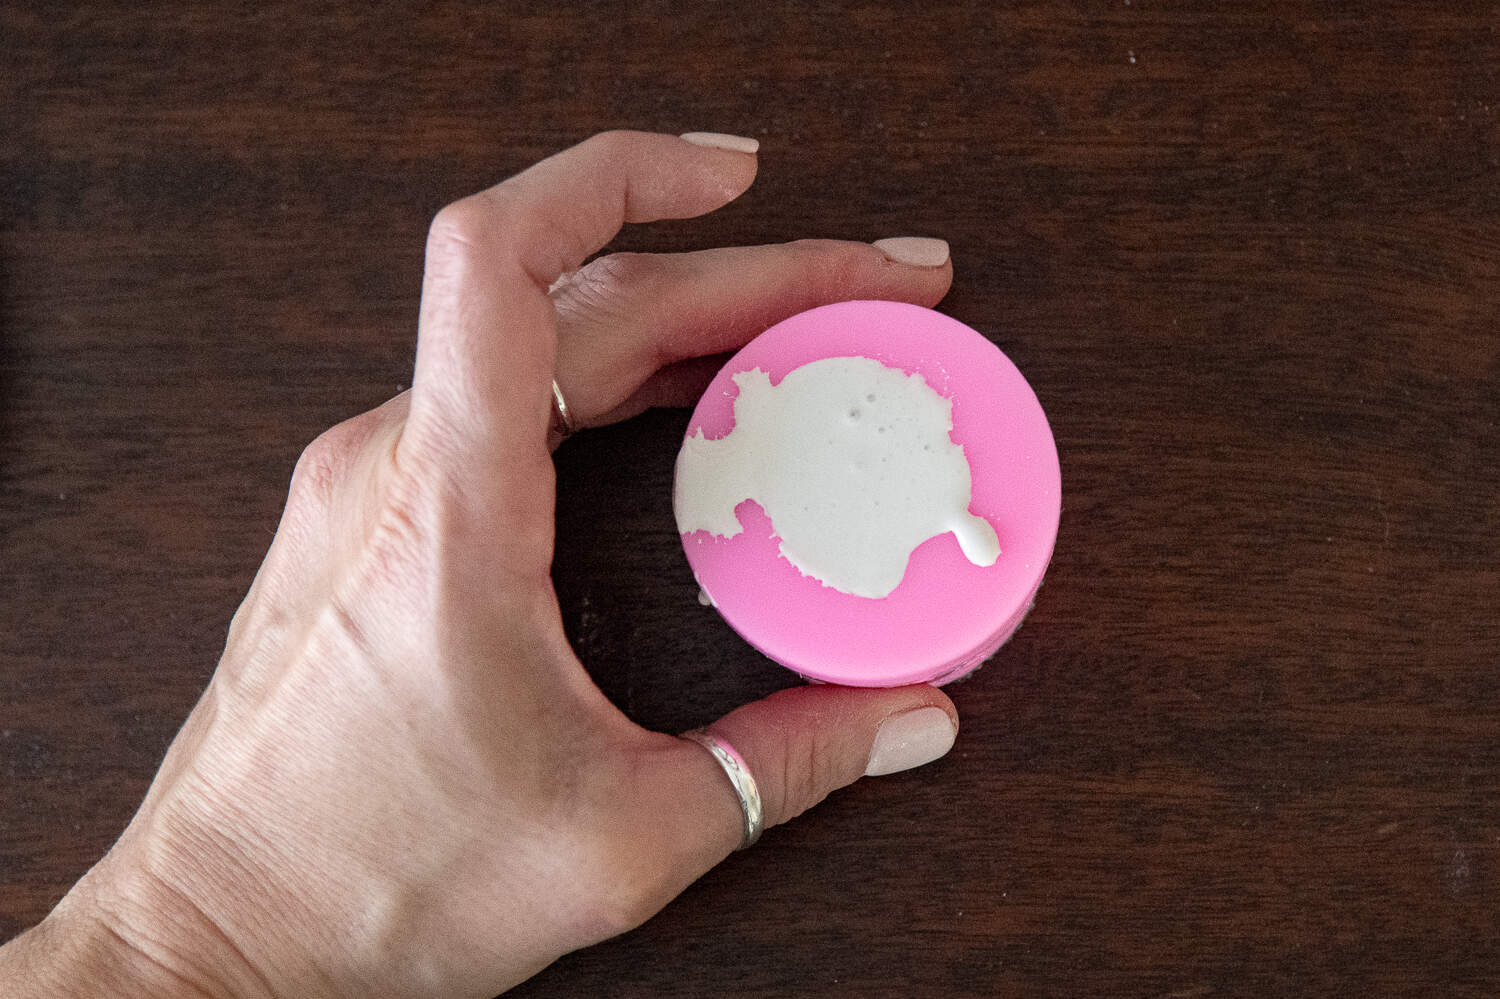
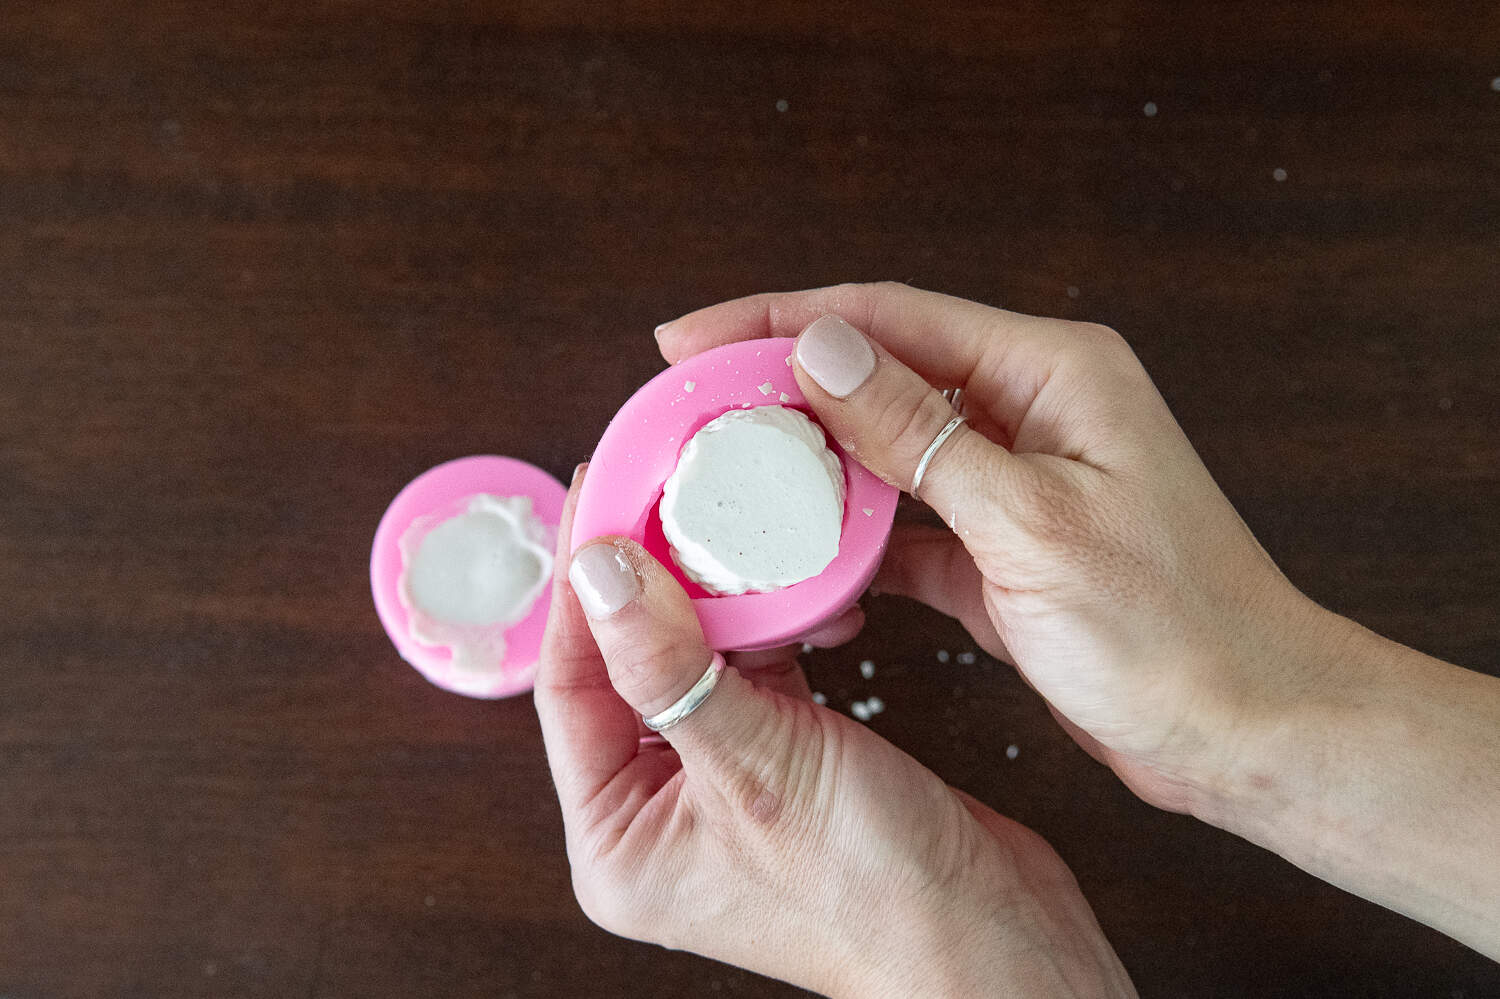
Once you’ve let your plaster set up, it’s time to remove it from the mold.
When removing your plaster from the mold, gently begin to peel the edges aware and coax out your air freshener!
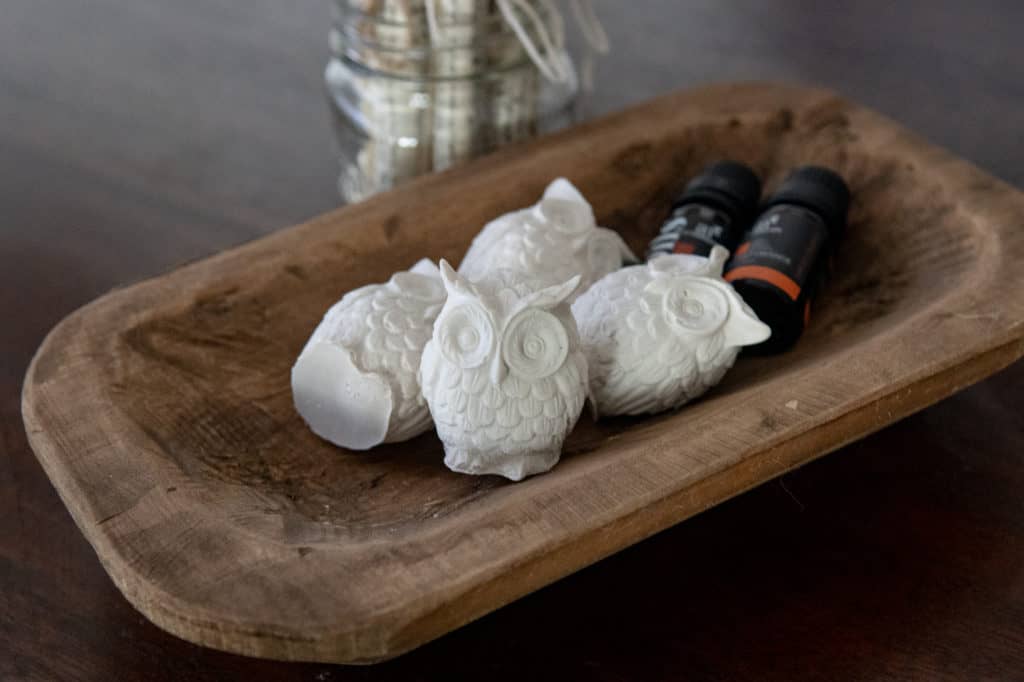
There you have it! The cutest little owl air freshener.
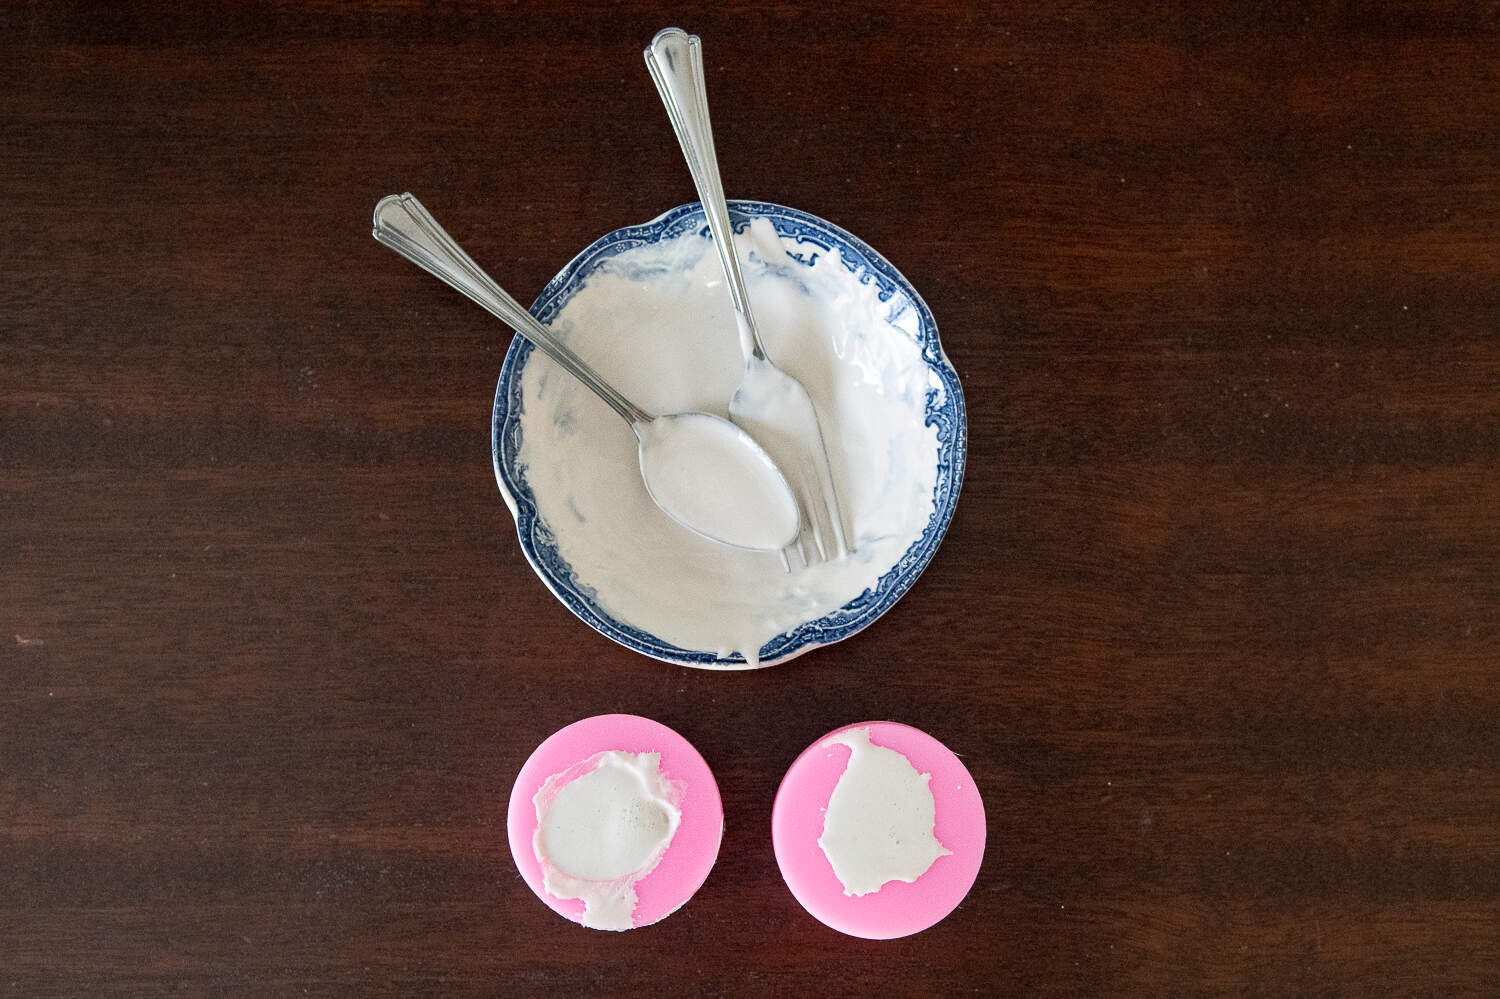
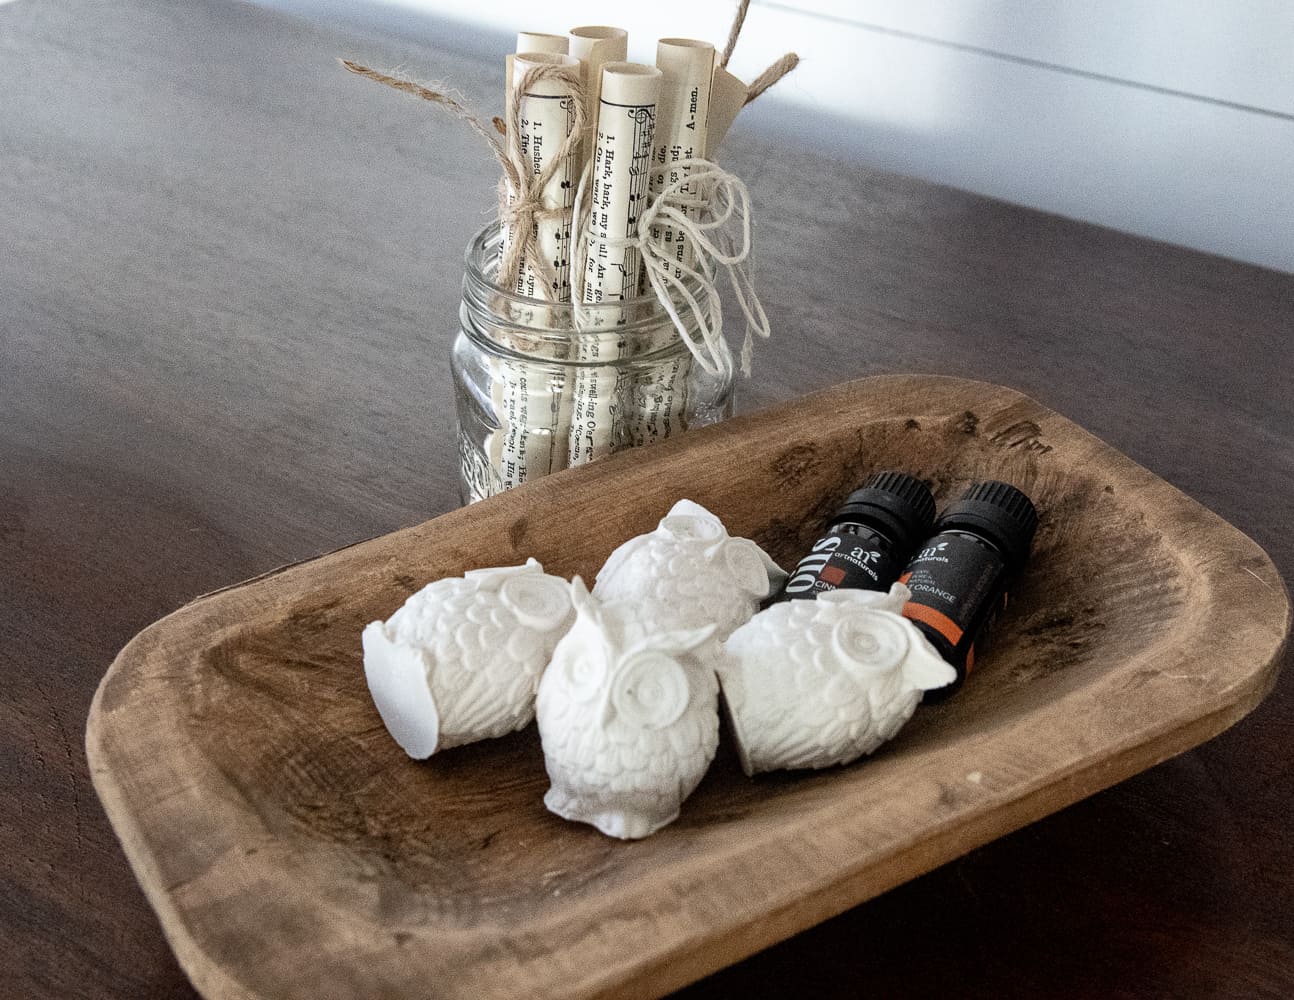
Since plaster is porous, it makes it excellent at absorbing essential and fragrance oils! However, make sure you let your plaster cure for 24 hours before introducing any oil.
Troubleshooting
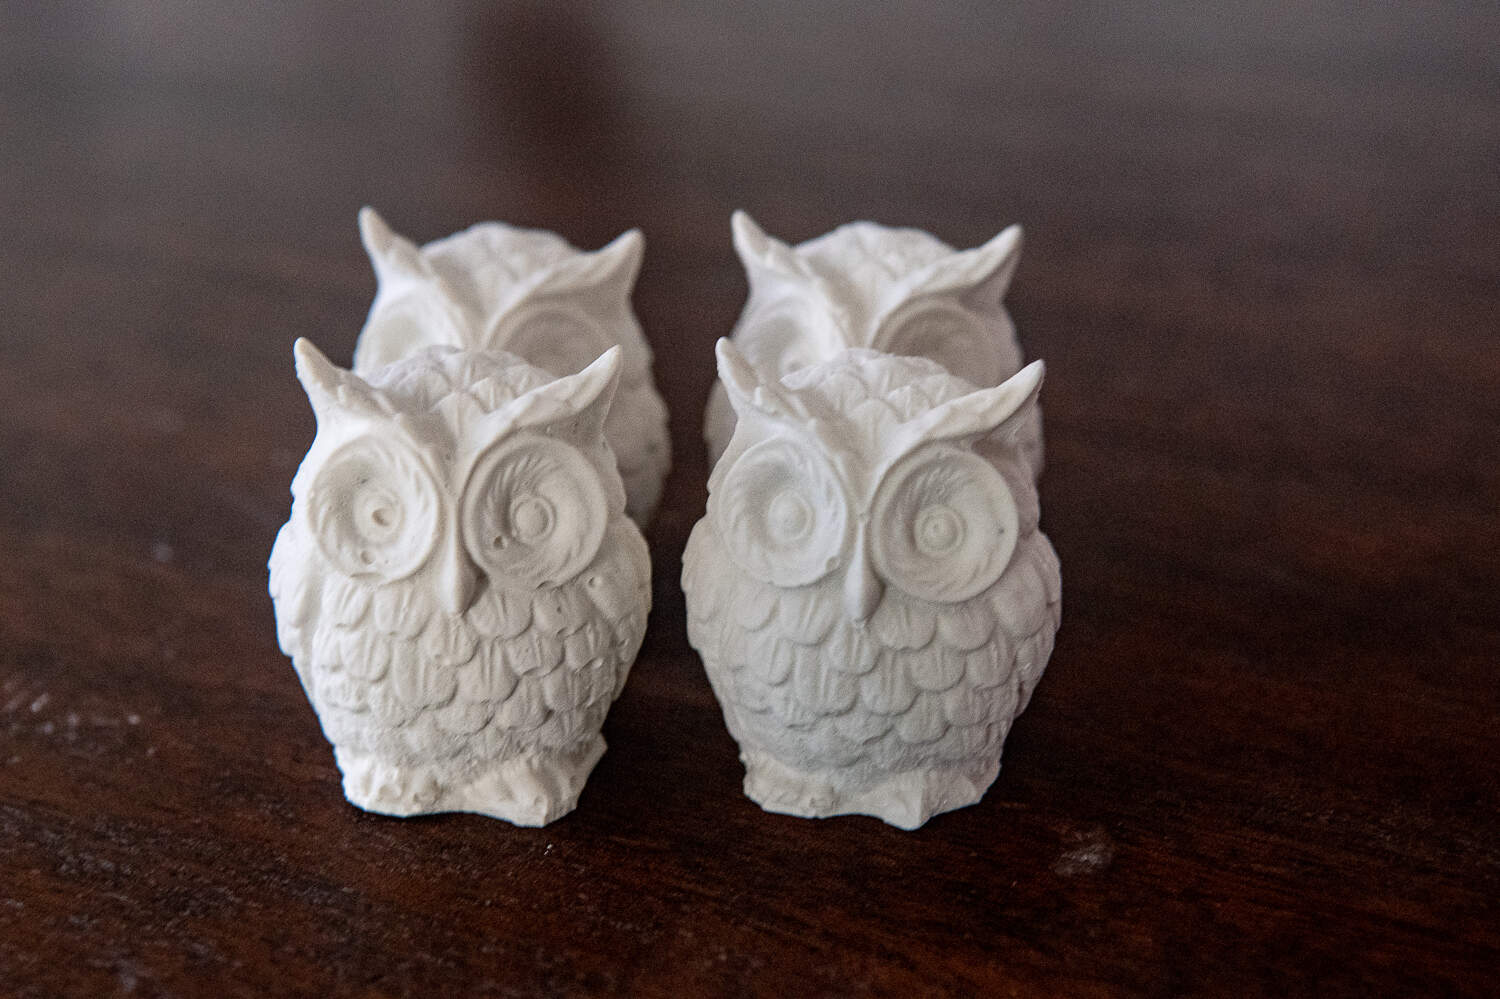
As you can see above, the owl on the left has some air bubble imperfections. Keep in mind, that this can happen.
Bubbles occur due to the surface tension of water in the mixture when contacting the mold.
It’s recommended to use a solution of windex and water in a 1:1 ratio to help relieve this surface tension. This mixture acts as a surfactant {there’s your word for the day} allowing the water in the mixture to spread on contact with the mold.
Just spray a little into the molds before pouring in your plaster. It’s that simple.
Once out of the mold, I let me new homemade air fresheners fully dry for 24 hours.
In the spirit of fall, I love using sweet orange, clove and cinnamon essential oils to make a yummy warm scent.
I used 2-3 drops per scent which throws a strong yet a lovely smell.
I cannot say enough how simple and easy it is to make these little homemade air fresheners. I think they would be a perfect addition to any stocking, christmas tree, or gift box!
I’m thinking about ordering some more molds for the holidays. Maybe some cute little trees or snowflakes and adding them to the tops of my christmas presents?! Oh, let the creativity flow…
Thanks for visiting my little piece of the internet!
I’m Maria, a lover of furry things, coffee and anything creative. This blog is where I love to share affordable home decor ideas, great DIYs, yummy recipes, unique crafts and so much more.
I have made these little plaster guys both ways actually. After experimenting a little, I think adding after makes the smell a little stronger. But neither would be wrong. The plaster will set regardless! So glad you like the idea. Happy crafting dear.


2 thoughts on “How to Make Plaster Homemade Air Fresheners”
What a great idea. Did you mix the essential oil in the plaster mixture while wet or did you put drops on item when dried?
Susan,
I have made these little plaster guys both ways actually. After experimenting a little, I think adding after makes the smell a little stronger. But neither would be wrong. The plaster will set regardless! So glad you like the idea. Happy crafting dear.
XO,
Maria