Modern Farmhouse Bathroom Renovation One Room Challenge | Week 3
Bring on week three (actually my week 2) of the One Room Challenge. For those of you playing along…. I started the challenge a week late! Late, but never count me out!
This week I wanted to address the flooring. Since the first day I owned this townhouse, I’ve wanted to rip up this disgusting and damaged laminate flooring.
That meant, when designing this space, the first thing I knew I wanted to do was replace this crap with beautiful tile. One hang up I have never actually tiled anything… like ever. It can’t be that hard right? Off to YouTube and fellow One Room Challenge participants for some tips!
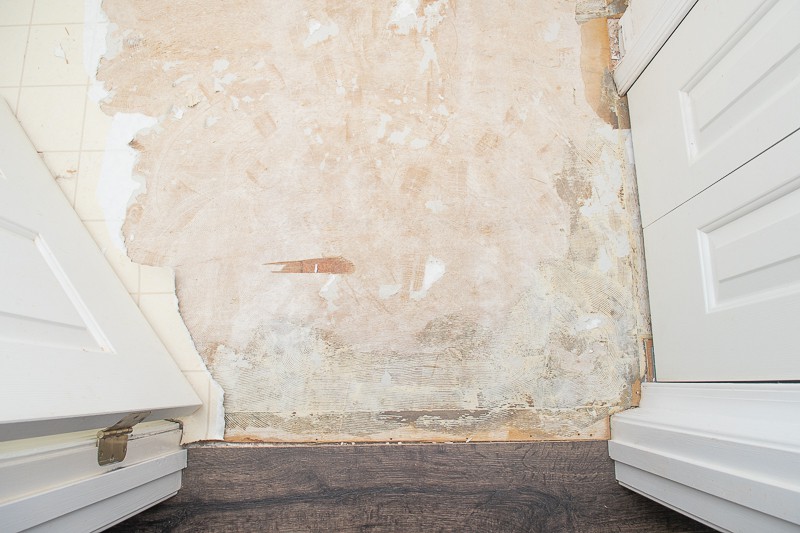
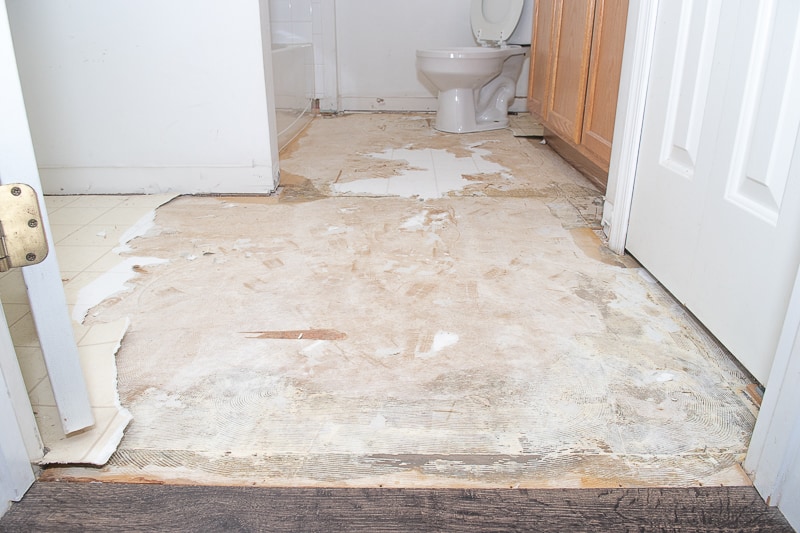
REMOVING THE OLD FLOORING
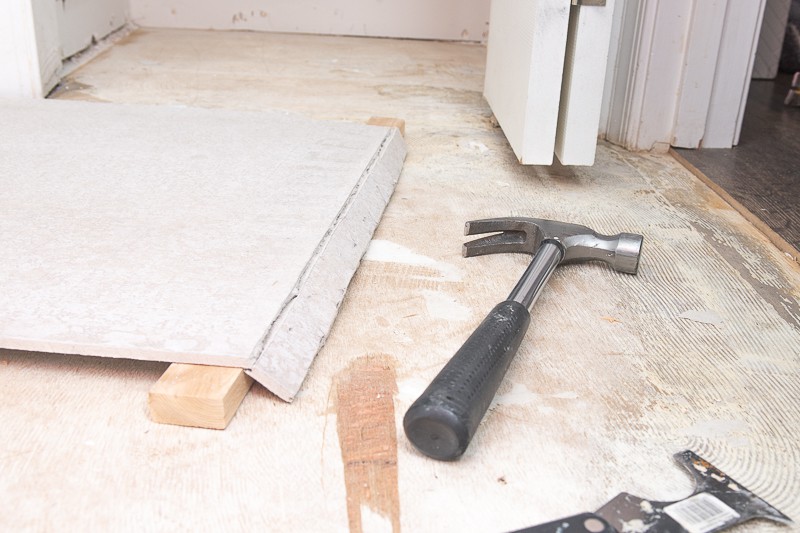
First things first, the laminate needs to go!
Using a crowbar and a hammer, I was able to peel up most of the flooring. Took me about 1 hour to get it all up. I have a great time lapse of this over on my Instagram Highlights – pop on over and check it out!
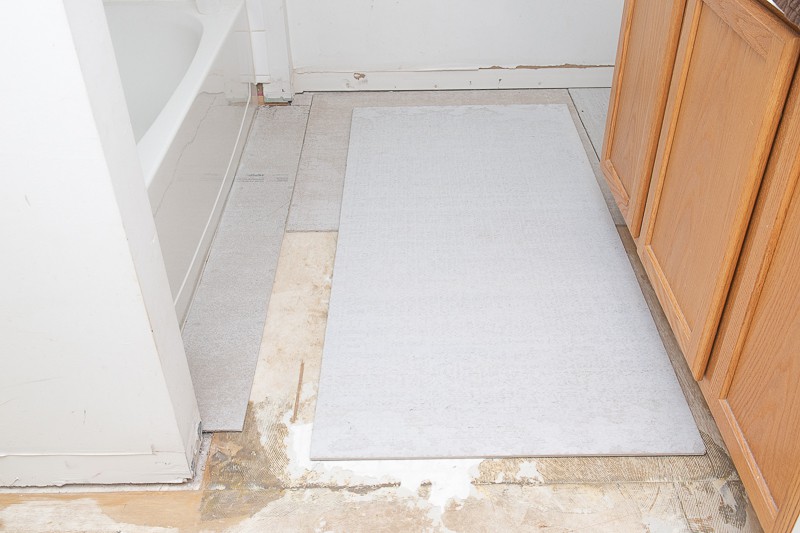
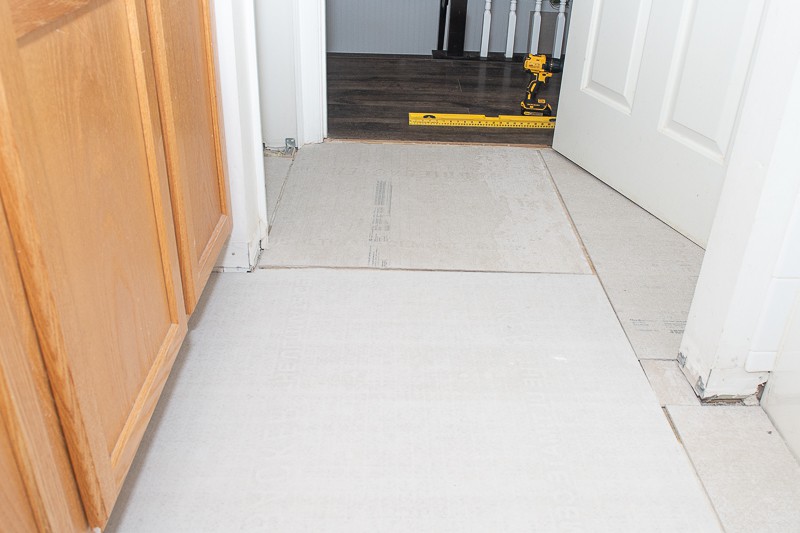
DRY FITTING THE CEMENT BOARD
Next, I needed to dry fit all the cement board. This meant cutting down the boards and piecing everything out before the actual install.
Cement board is used in areas that may get exposed to moisture. It is less likely to dissolve or have mold/rot issues. This makes it a superior foundation for tile in bathrooms.
If you want to know how to install your own cement boards, I’m working on that tutorial right now! Coming soon.
Let’s just say it took lots of scoring, snapping, measuring and playing the worst game of tetris ever!
I won’t lie, carrying these 3×5′ pieces up three flights of stairs was exhausting. They are super heavy! I used 5 in total.
Here it is, all pieced together! This was a major celebration moment for me. It was time for instillation.
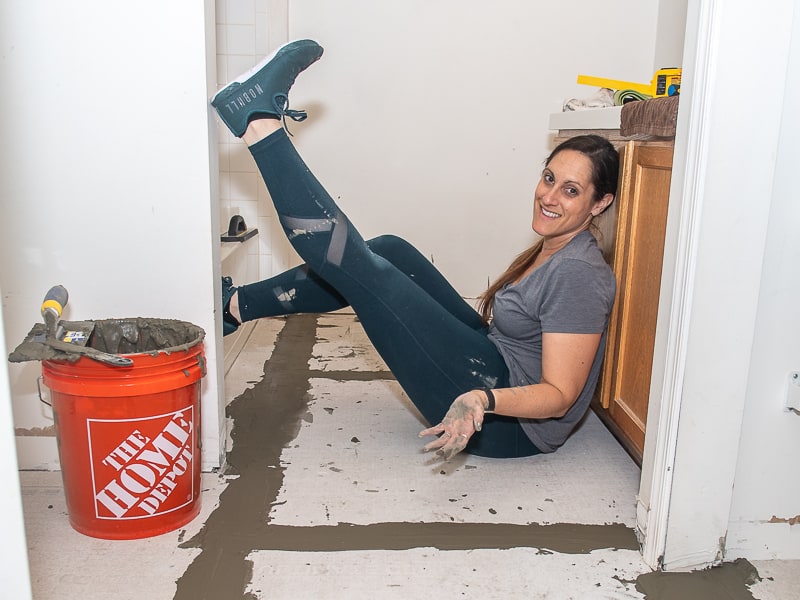
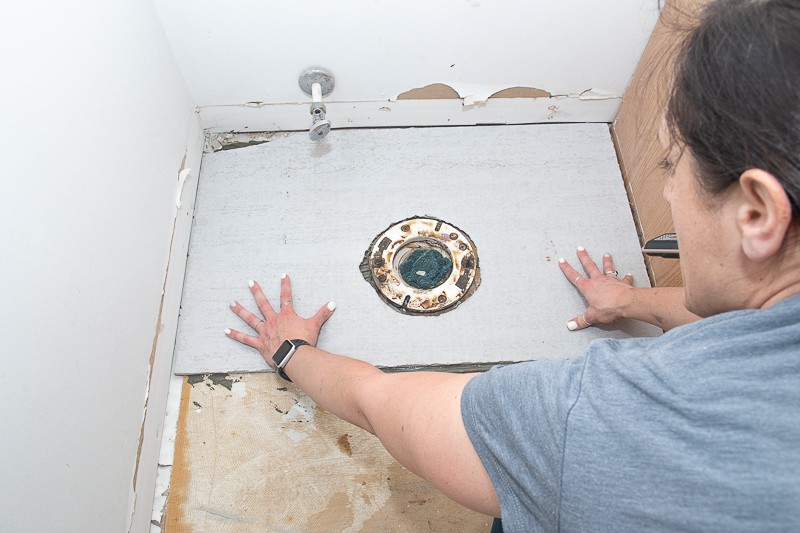
INSTALLING THE CEMENT BOARD
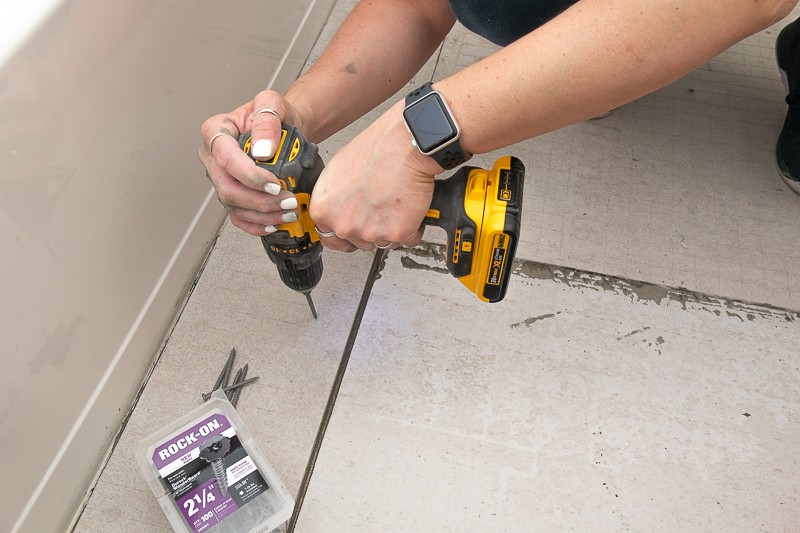
Now ,this is where things get a little messy. Using a thin-set mortar, I troweled on thin layers onto the plywood underlayment, then slowly placed the cement board into place.
To help it adhere better, I rocked each board a little and then screwed it down with special screws. This guarantees this isn’t going anywhere!
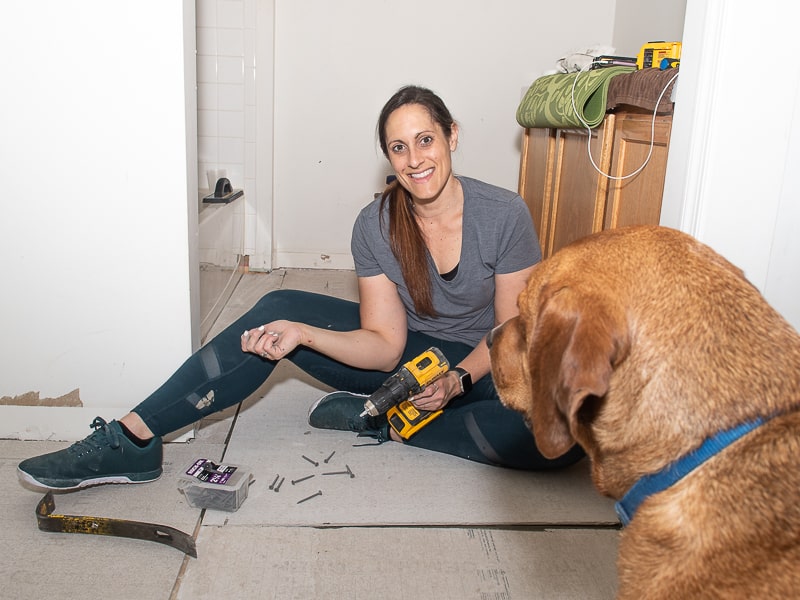
I never get anything done without Duncan’s supervision. He loves project time, the silly goofball!
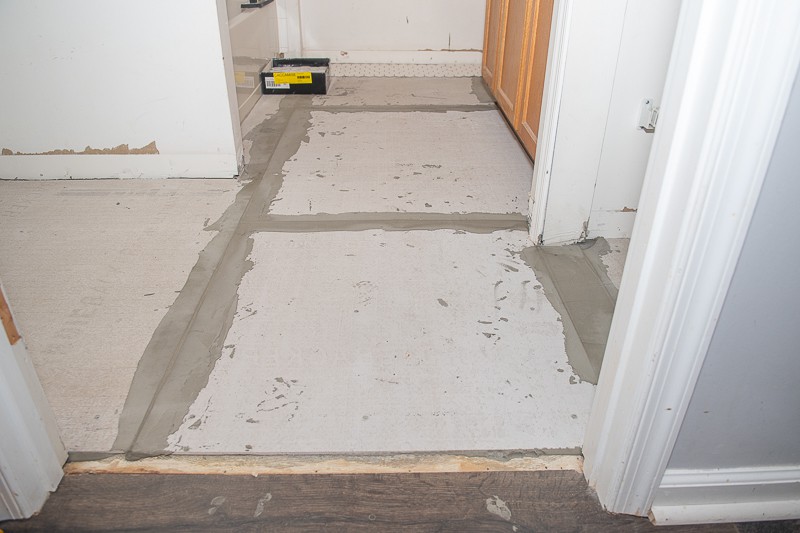
Once everything was screwed down all I needed to do was fill the seams with tape and mortar. This makes for a very secure fit.
Now, my technique was not the best here. You want your seems flush to the boards, mine were a little sloppy. {Beginner’s learning curve…} However, this might affect the tile laying level. I’m hoping I don’t run into too many issues…
Welcome to DIYs though.
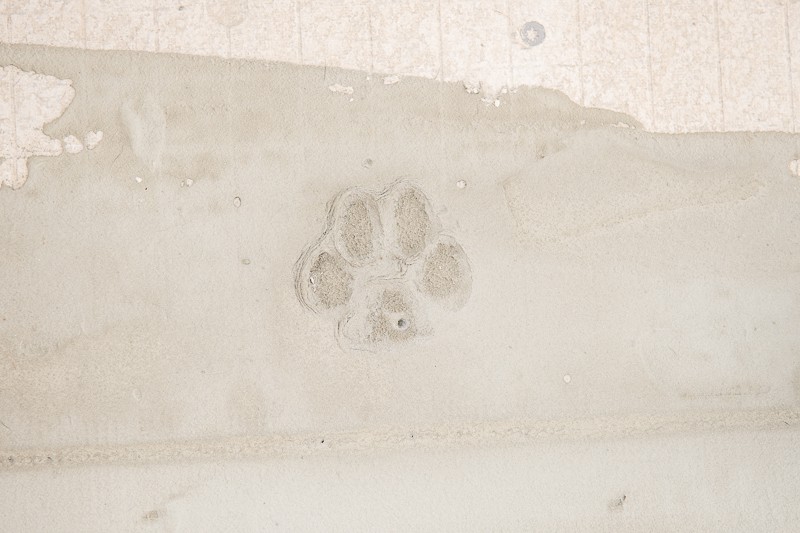
It wasn’t till two days later that I noticed this little gem. I know exactly who that little paw belongs to. Sometimes things happen. It’ll all workout somehow.
And just like that… week 3 is done!
I’m rolling into week 4. Here is the agenda: tile the floor, bead & batten the walls, pick paint colors, cut the moulding and install, and make the drain functionable. Not too bad right? Let’s hope!
Thanks for visiting my little piece of the internet!
I’m Maria, a lover of furry things, coffee and anything creative. This blog is where I love to share affordable home decor ideas, great DIYs, yummy recipes, unique crafts and so much more.


5 thoughts on “Modern Farmhouse Bathroom Renovation One Room Challenge | Week 3”
Love watching the progress!
Girl, you are an inspiration! Wow!
Aww, thank you so much Lorraine! It’s REALLY coming along now. I’m SO excited to show you all the final room in July 1st!
Till then I’m holding my breath everything comes together.
XO,
Maria
You go, girl! Nice work.
Thank you Lorraine!I need the cheering section. It’s been a LOT of work. Phew…
But I can’t wait to share the tile results. 😀
XOXO,
Maria