How to Raise Baby Chicks: Everything You Need to Know

a group of baby chicks

So you want to raise baby chicks eh? Well, I think that’s an egg-cellent idea! (I crack myself up…)

Not only do chickens provide you with delicious eggs, but they also help you manage insects around your homestead. Seriously, nothing tastes better than farm fresh eggs!

Learn how easy it is to raise baby chicks and how you can raise your own healthy and happy flock.

a baby olive egger chick

Where to Purchase

First things first, where do you purchase baby chicks? Well, there are a few different ways, you can buy from an online hatchery, find local farmers, or even at your local Tractor Supply. It all depends on what you want.

Personally, I wanted certain breeds as well as having them sexed, I decided to order my baby chicks from McMurry’s Hatchery. You can also find sexed chicks at Tractor Supply, but it’s all in what they have in stock.

I’ve been told it’s not perfect science but it’s a good start to making sure you don’t have too many roosters – since roos can compete with one another.

Making sure these adorable fluff balls get a healthy start is imperative to their overall ability to thrive as adults.  

Follow along and learn all about how to raise baby chicks to be healthy and happy birds!

The Essentials

Before your chicks arrive, you’ll need to set up your brooding box or area. There are a number of items you should have prior to bringing home your chicks.

Containment

The first step in raising baby chicks is providing them a safe environment to grow. Often called a brooding set up, this area could be made from a variety of things such as a livestock trough, a large container, or even a child or puppy playpen.

I choose to raise my chicks in this setup. I felt it was the best option for me because it was washable, easy to store, had a top to make sure none of the little ones could escape!

Your setup should be in a draft-free area, with good ventilation, and provide protection from predators. Once you choose your method of containing the baby chicks, let’s review what they will need to thrive.

two baby chicks in a grass field

Food

The correct food source is imperative for the health of your baby chicks. You should start your chicks on starter food or chick feed crumbles that should contain 20-24% protein. It’s important to mention that you should wean your chicks off this high protein around 6 weeks. Excess protein can cause liver damage in young chickens, so this would be the time to transition grower chicken feed with less provided protein.

This food can be medicated or non-medicated for coccidiosis – that’s your choice. Coccidiosis is a devastating disease that often results in death. It is a protozoan that lives in all birds but can easily overwhelm a baby chicks digestive system. 

Water

It’s essential for chicks to have access to fresh water. When you raise baby chicks, you learn that they can be picky – they will not drink water that is too cold, or too hot. Provide your baby chicks room temperature or tap water to keep your little ones hydrated. 

Adding a small amount of apple cider vinegar (ACV) to their water has been known to help with digestion in chicks and adult birds. Since baby chicks are prone to “pasty butt” (I’ll review this later) some feel ACV helps prevent this. Just be careful, too much ACV can cause other health issues in chicks and adult birds such as thrush (candidiasis.)

Most chicken raisers swear by Sav-A-Chick electrolyte and vitamin supplement the first few days after receiving new chicks. This water soluble powder is added to their water for the first few days to give a boost. 

Remember, most chicks are shipped or purchased within hours to days of being born. This traveling and changing of environments can cause a lot of stress on these new little ones. Giving them a boost of goodness is a great way to start them off to being healthy and happy birds.

Heat

Without adequate warmth, baby chicks will ultimately die. New chicks are unable to regulate their own body temperature at first, and won’t until they grow enough feathers. This means you will need to provide a heat source.

There are a few ways to provide warmth for your new chicks. I highly recommend using a brooder heat plate. While chicks need light, a constant light will affect their sleep/wake cycles. There are also studies suggesting constant light will delay egg-laying in young hens. This means using a heat lamp for a heat source tends to cause more harm than good. 

Additionally, heat lamps can be a fire hazard. They can also cause chicks to inconsistently heat or overheat. Therefore, I discourage you from using them as a heat source if you want chicks to thrive

baby chicks in the brooding set up

Initially, you want your brooder heat plate to be provide temperatures between 95-100 degrees for the first two weeks. I recommend purchasing a digital temperature gun to make sure you’re raising your chick in optimal conditions. 

As you watch your chicks grow, you should reduce the temperature by 5 degrees every week until they are able to regulate themselves.

Chicks start being able to regulate their own temperature around 8-10 weeks, depending on the atmospheric temperature. You’ll notice them moving about more without really relying on the heat source you provided.

Bedding

Chickens are messy – they peck, scratch, poop everywhere! Choosing a safe, inexpensive and absorbent bedding is important for the safety of your baby chicks. 

You want a material that isn’t slippery to promote healthy leg development. Also, you want something that is very absorbent to help prevent the spread of bacteria from their waste. 

You will be cleaning up often so making sure you choose a dust free and inexpensive bedding is also important. Lining the bottom of your brooder area with newspaper or inexpensive puppy pads first will help cleaning easier too. 

Two of the most common bedding choices are hemp or pine shavings as your bedding, for a few reasons. Hemp is all natural, very absorbent, and can be disposed of in your garden or compost pile. Pine shavings are also absorbent and all natural, however, there is new research indicating pine dust as a potential toxin due to abietic acid and it’s negative effects on their respiratory systems.

Health Concerns

Vitamin Deficiency

Signs of vitamin and mineral deficiency in baby chicks can presents in various ways. Some common presentations can be, but not limited to: lethargy, weakness, weight loss, sparse feathers, reduced appetite, and/or stunted growth.

Vitamin deficiencies may be due to poor diet, illness, or parasitic infestation.

This is a great resource for determining what deficiency your chick may or may not be experiencing.

Pasty Butt/Sticky Bum

Pasty butt is one of the most common problems when raising baby chicks. It’s gross, trust me. Their poop gets stuck to their hind feathers and eventually their vent (where they eliminate waste), which can cause constipation. 

Pasty butt can be fatal is not delt with. To treat, gentle run slightly warm water over their backside until the dried poo is removed. Careful not to pull any feathers, as that area is very sensitive and can cause skin irritation. Make sure you dry your chick off before returning him to the brooding setup.

Feather Picking

Baby chicks tend to feather pick one another or themselves if they are overcrowded. It’s in their natural tendency to scratch and pick, so if they are overcrowded or stressed, they may go after one another.

To prevent this, make sure you have adequate space for the amount of birds you purchased. Also, make sure there isn’t environmental stressors that make be provoking.

Chick Milestones

1-4 Weeks:

Starting them off right is key. Make sure you provide a safe environment, offer fresh water and adequate warmth as your chicks are adjusting to their new lives. Feed starter crumbs with at least 20% protein and fortified with amino acids, vitamins and minerals to help with development.

Around the second week, they will begin to sprout new feathers. You can also introduce a small perch for them to practice on.

5-6th Week:

You should be seeing visible changes in feather growth as your chicks mature. You can introduce some chicken grit and even come pulled dandelions with some dirt to get some added benefits of dirt and greens. You will start seeing their “adult” feathers will start coming in too.

During this time, they will start establishing a “pecking order” with more personalities beginning to emerge.

7-15th Week:

You now have undisciplined teenagers on your hands! They are awkward and unruly. Around this time, your flock has establishing a routine. They should be 2/3 of their full size and ready for layer food

Layer feeds are designed to provide optimum nutrition for birds that are ready to lay eggs for consumption. This feed will provide 16% protein and has increased levels of calcium for shell development. 

At week 8, you can start introducing them to outside. You can also expand their taste pallet and start introducing them mealworms, scrambled eggs, grains, and greens.

Around 18 Weeks:

Typically, around 18 weeks your hens should be starting to lay eggs, if there’s adequate light and have access to appealing nesting boxes to lay in. 

You’ll know your hens are ready to lay when their pinkish combs become more red, and they become more vocal. They will develop adult shiny plumage (feathers) and have reached full size per their breed standards.

Right around the time your hens start laying their first eggs, there will be feathers everywhere. It is now time for them to molt! Molting season usually occurs in the beginning of fall, where they shed their feathers and prepare for winter. Make sure you increase their protein intake to 20% as feathers are made from 80-85% protein.

Frequently Asked Questions

Baby chicks need supplemental heat for the first 6 weeks or so, depending on outside air temperature. This allows for them to grow their mature feathers to help them regulate their own body temperature.

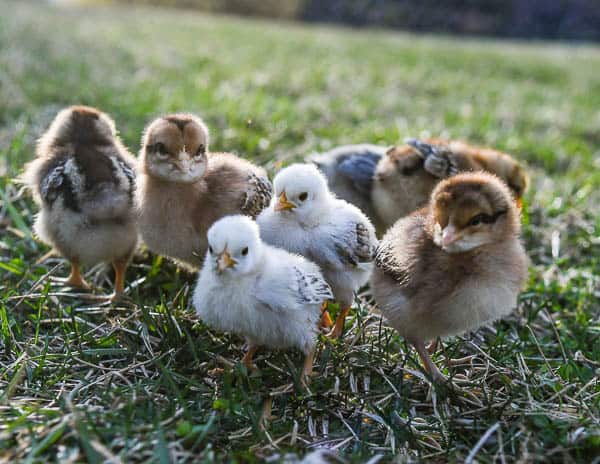
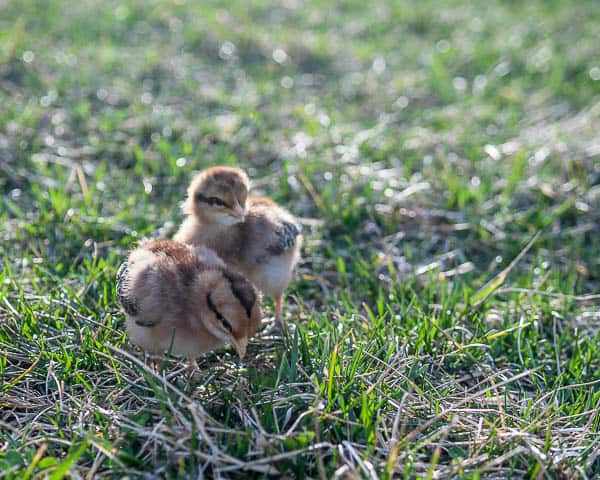
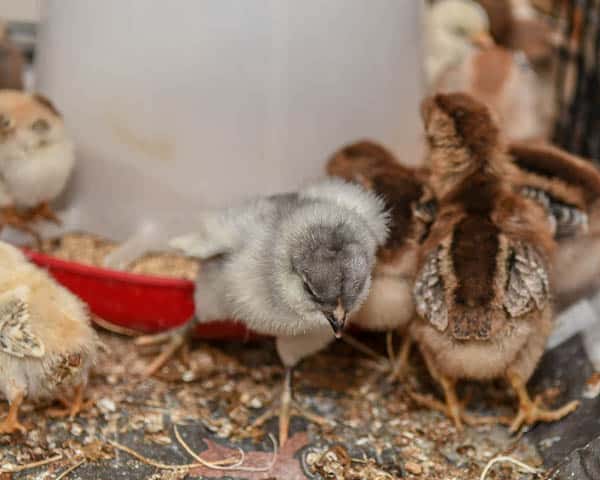
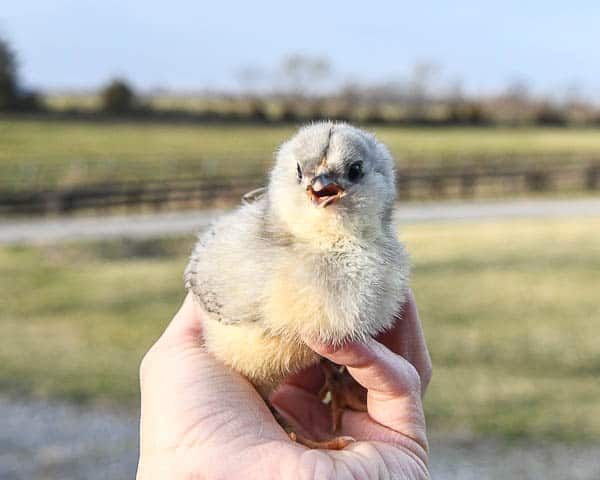
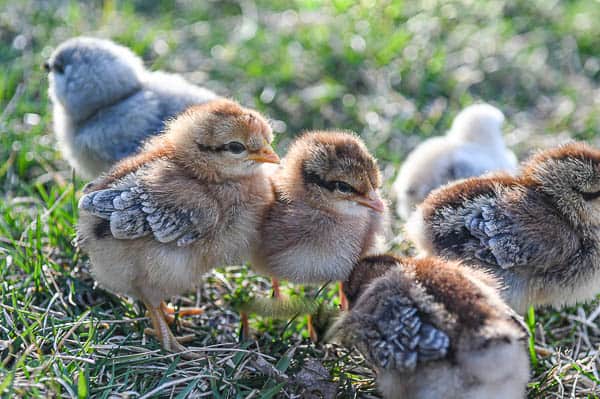
Yes. I believe interacting with your chicks as much as possible is key to domestication. 

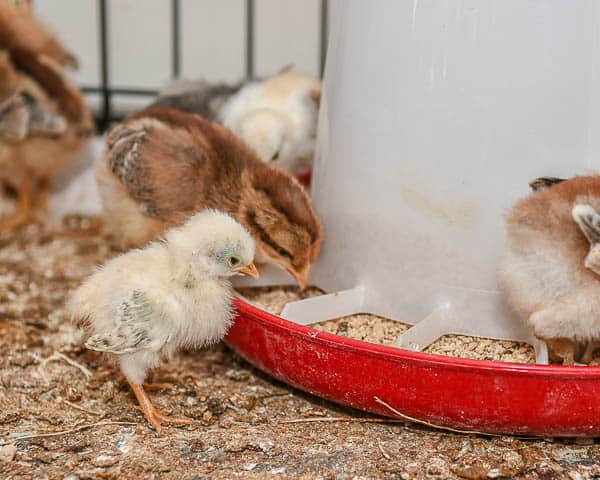
Be careful, they are fragile. No they might not be best for young children to handle without supervision.

Let them feel your heartbeat and warmth. This will make them associate you with pleasurable things and make them easier to handle as adults.

Chicks often chirp for a variety of reasons. Some of those reasons are they are too hot, too cold, hungry, thirsty, excited, or even sick. It won’t take you long to understand the sounds your chicks make and what their needs are.

You can treat your chick, but remember too much of a good thing can be bad.

Chicks typically enjoy meal worms, alfalfa hay, sprouts, broccoli, wax worms, and yes…scrambled eggs.

If chicks are eating anything other than starter chick feed, you should be feeding them chick grit. This will aid in digestion.

Well, there’s your crash course in raising baby chicks. I can genuinely say our chickens have added so much fun and enjoyment to our little homestead!

If you’ve ever wanted to raise chickens, I highly recommend it. Enjoy your little balls of fluff and joy!

SHOP THIS POST

RELATED POSTS:

Leave a Comment

Your email address will not be published. Required fields are marked *

Like What You See?

Join the newsletter and stay updated on all the DIYs, recipes, crafts, renovations and much more!