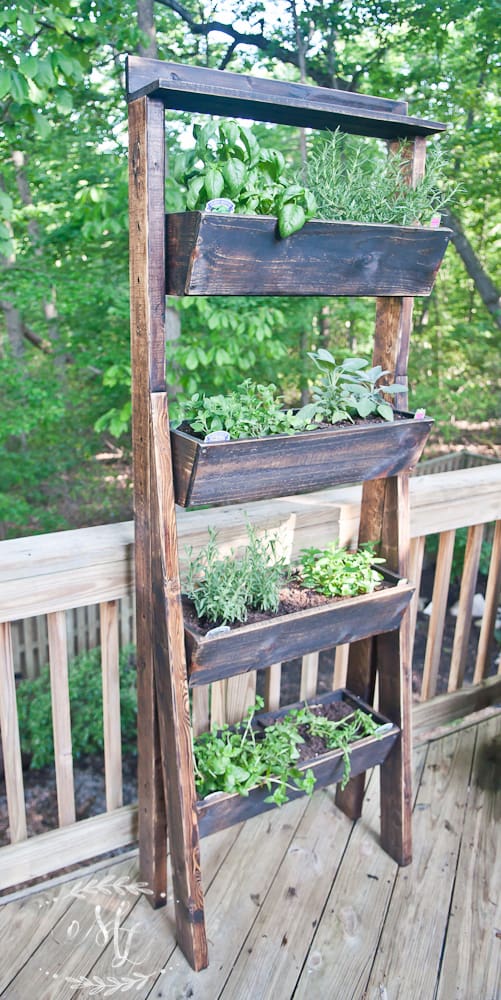
I’ve been craving a little garden, but seeing as the Great Dane has impeccable aim {if you catch my drift} and I can’t manage to grow veggies or herbs on the ground. To problem solve this, I recently created this simple and inexpensive standing herb planter for my deck.
What You'll Need
So, here’s a quick list of what you’ll need for this project. It wasn’t much! I pulled the stain, brushes and 2×4″s from my stock. We just needed a few supplies from Home Depot.
I wanted to create a multi-box design that would stand the test of time without leaning against the siding of the house.
I prefer to keep the siding intact, so I came up with this design for the boxes.
Making The Planters
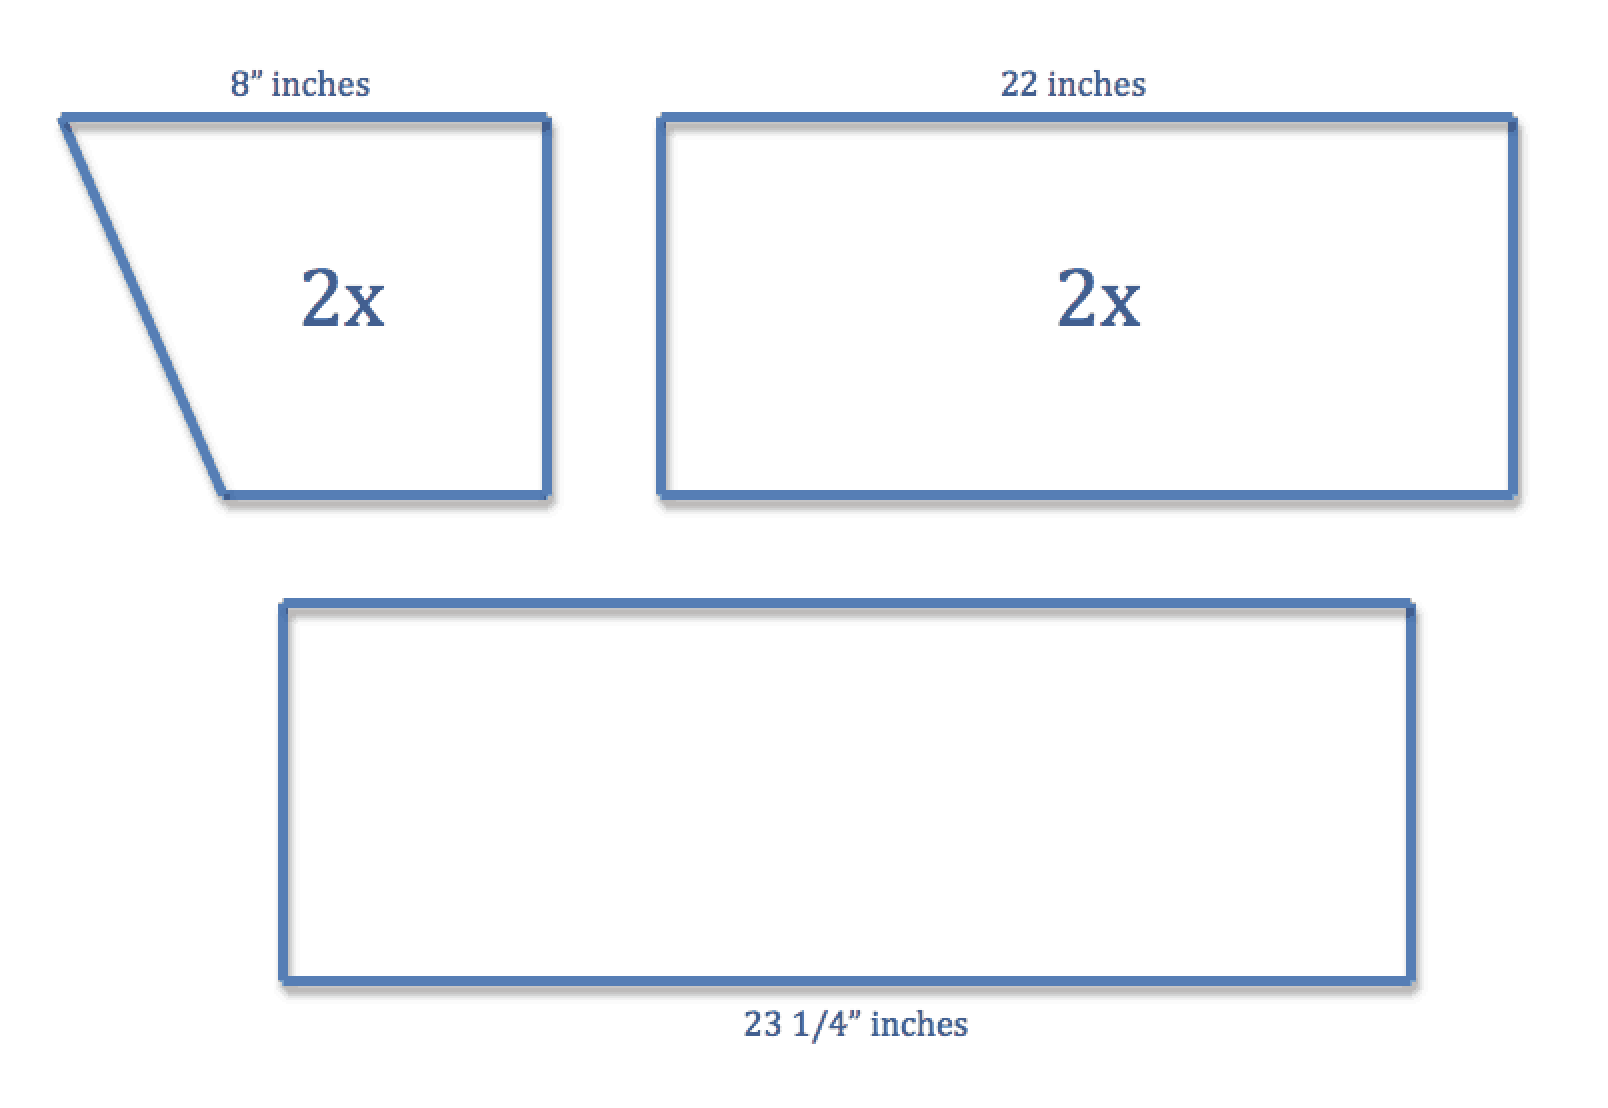
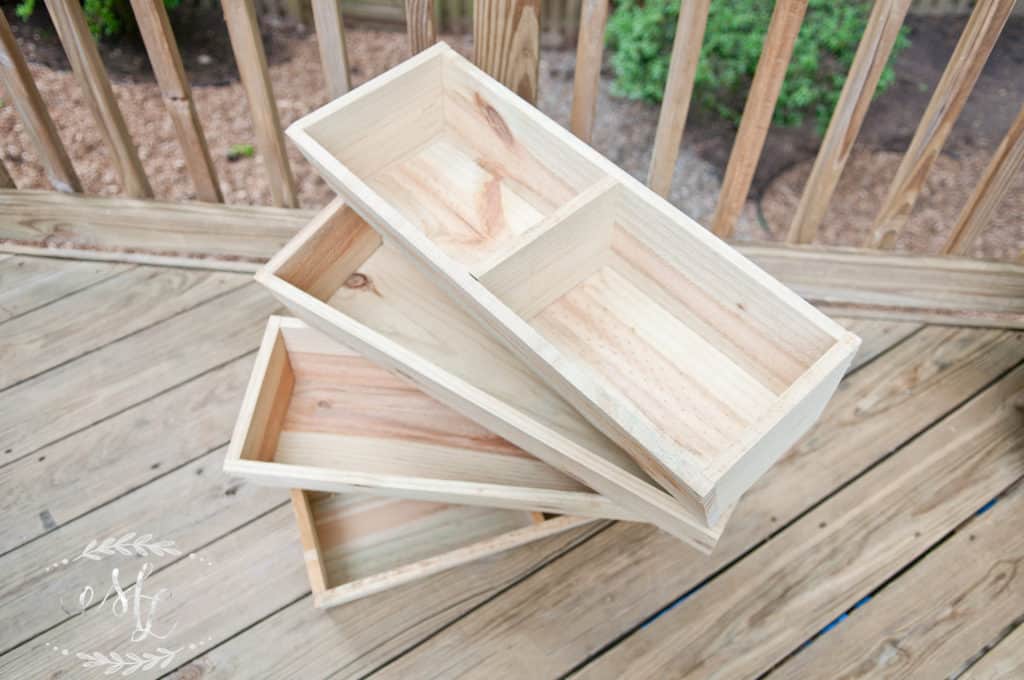
I knew I wanted at least 4 boxes, so I started by cutting out the pieces as shown above.
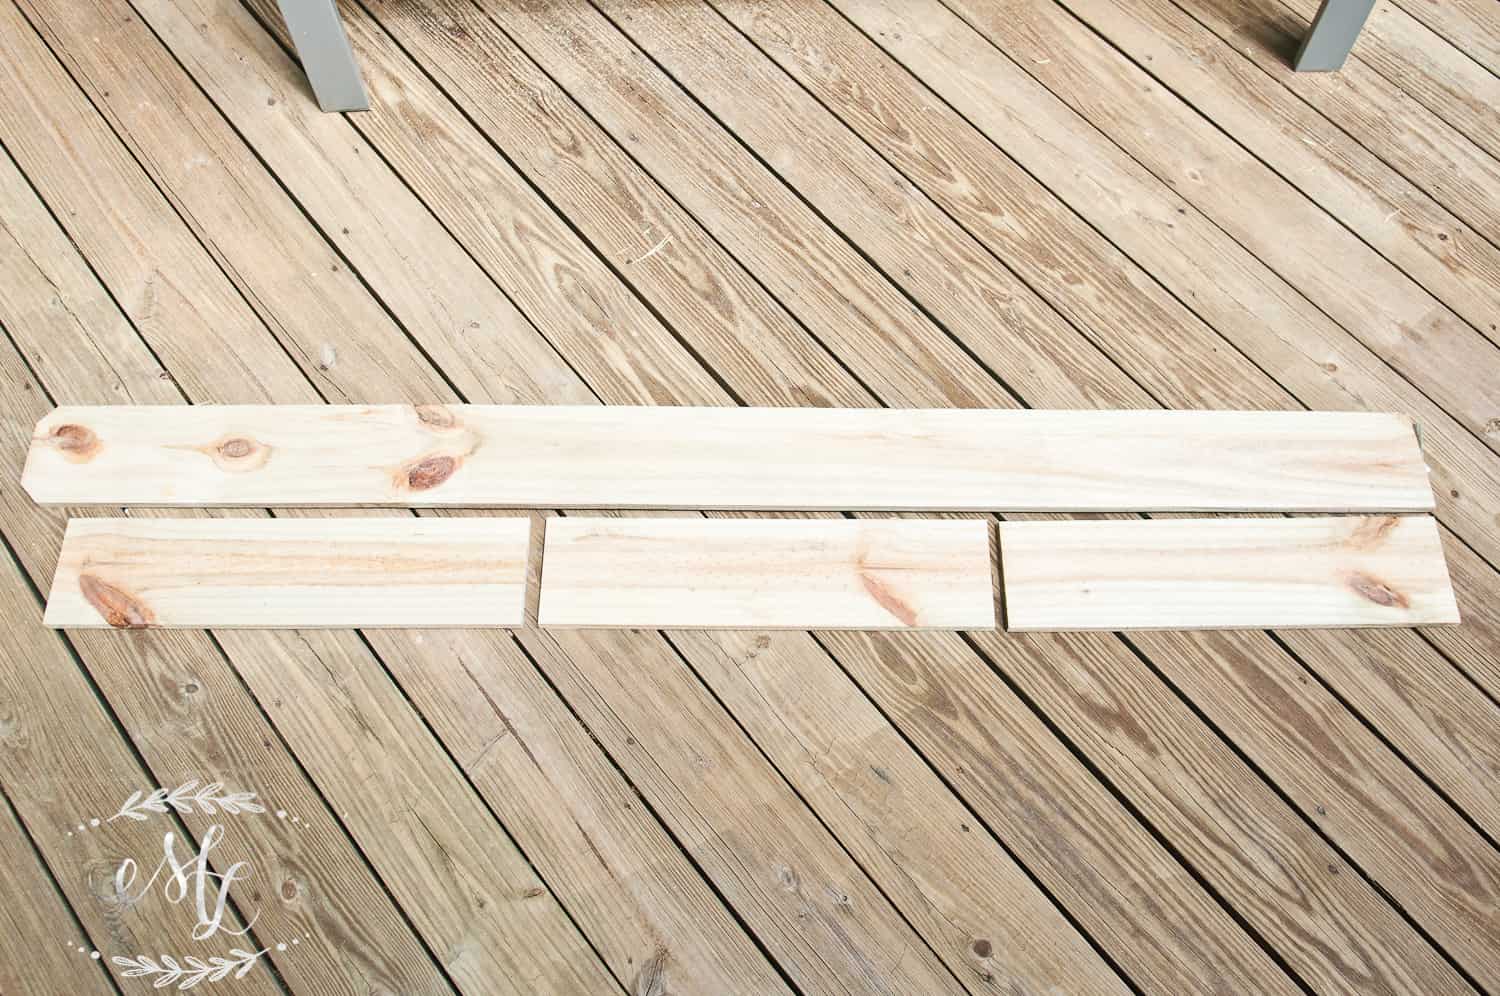
Honestly, I’m not great at math and measuring to maximize materials. I find DIY tutorials with cutting tips really helpful. Here’s how I made the most out of my materials: I was able to make 2 cuts of 22 inches and 1 cut of 23 1/4 inches from one board (4 boards total).
The last thing I needed to cut was the sides. Once I cut one piece, I used it as a template. I may not be great at math, but I’m really good at being efficient! Look, no waste!”
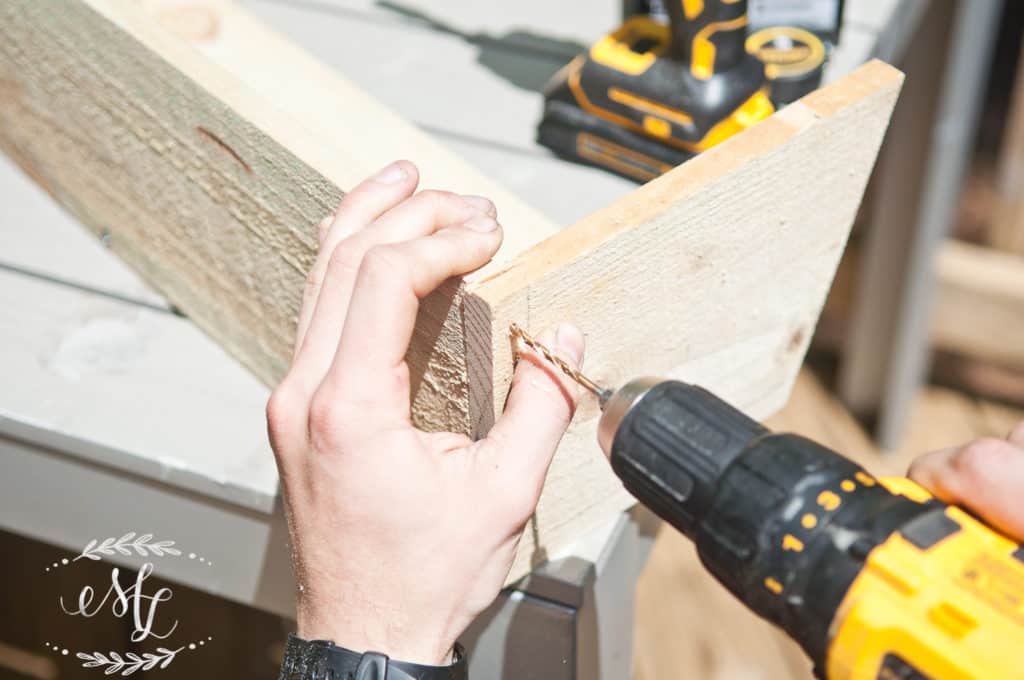
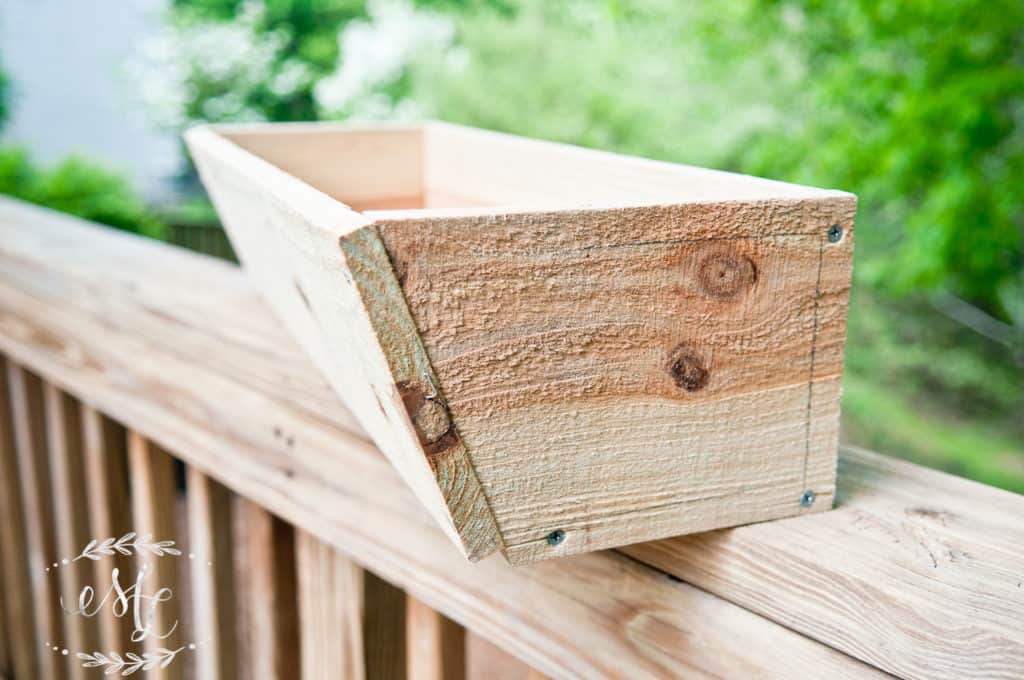
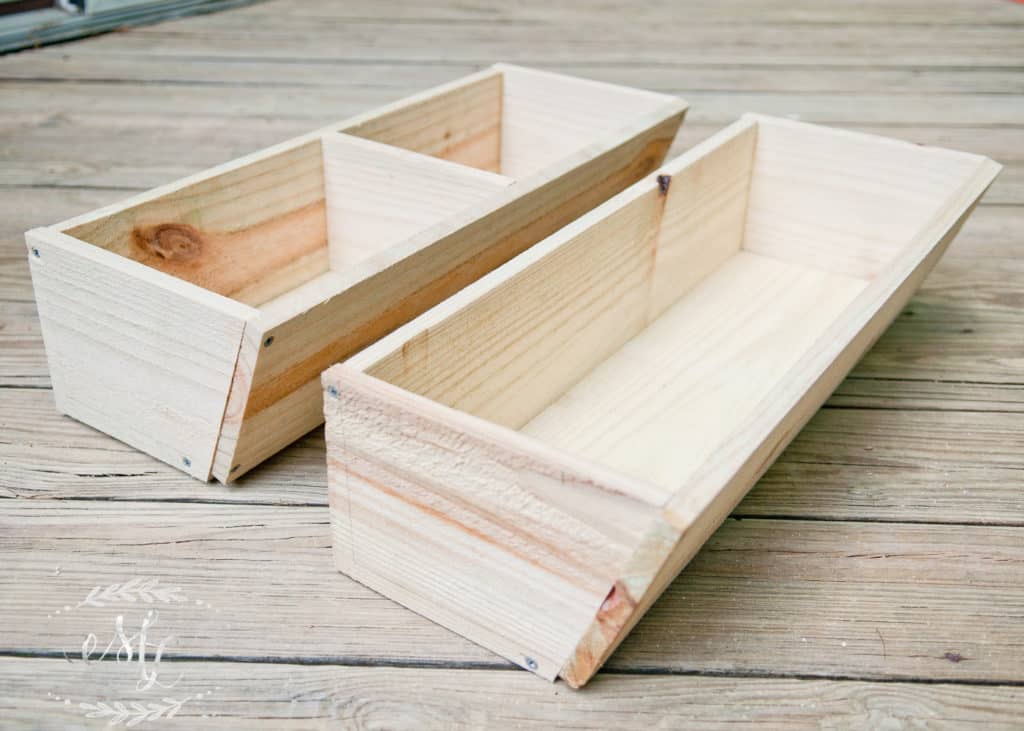
Okay, so as I laid out all the pieces, I started assembling the boxes. I made sure to pre-drill to prevent the wood from splitting and then used outdoor deck screws to put the boxes together.
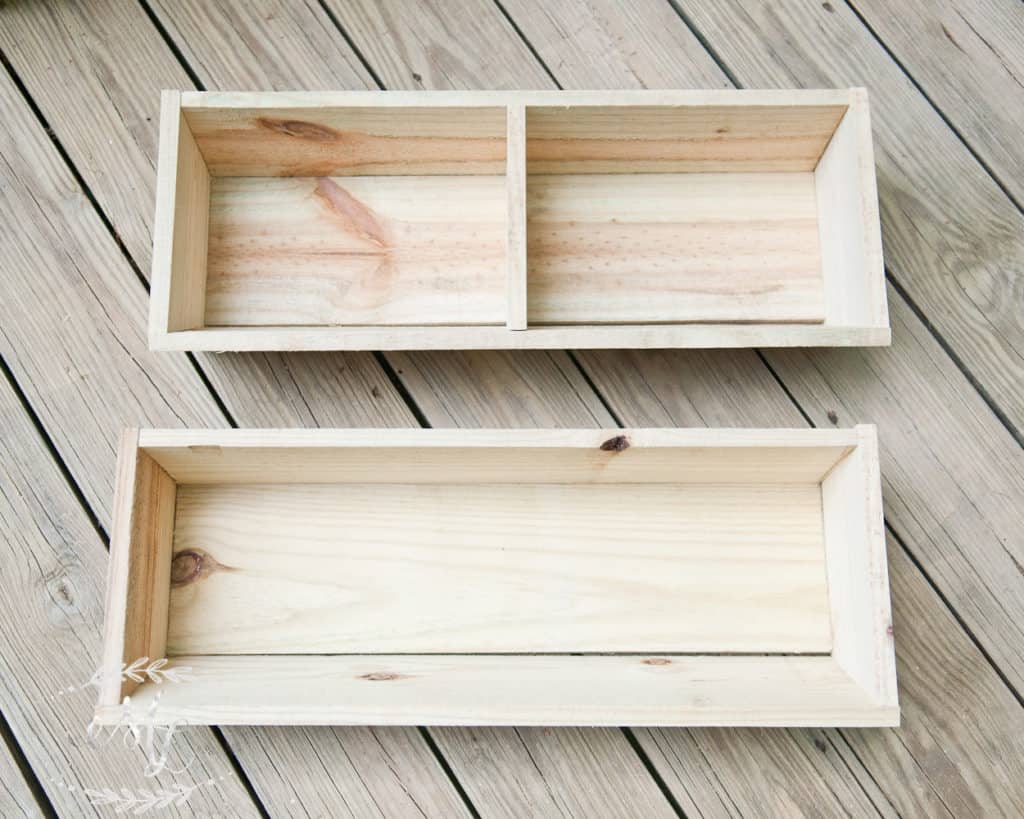
I decided to add dividers to two of our planters. To do this I simply used the end pieces, and cut them down approximately 1/4″ or the depth of the bottom board. They fit right in!
Aren’t they pretty!?
The Framing
I’ll admit, this was the most difficult part of this project.
I precut the 2×4’s used for the back side of the stand to 70″. This allowed for 10″ between the planters. Once the boxes were attached to the back braces, I stood the stand up and measures out the front braces. The front 2×4’s ended up being angled at 15 degrees to allow for a sturdy frame.
I also wanted a small top shelf for a finishing touch. Using a scrap piece of 1×4, I cut and attached to the top of the stand
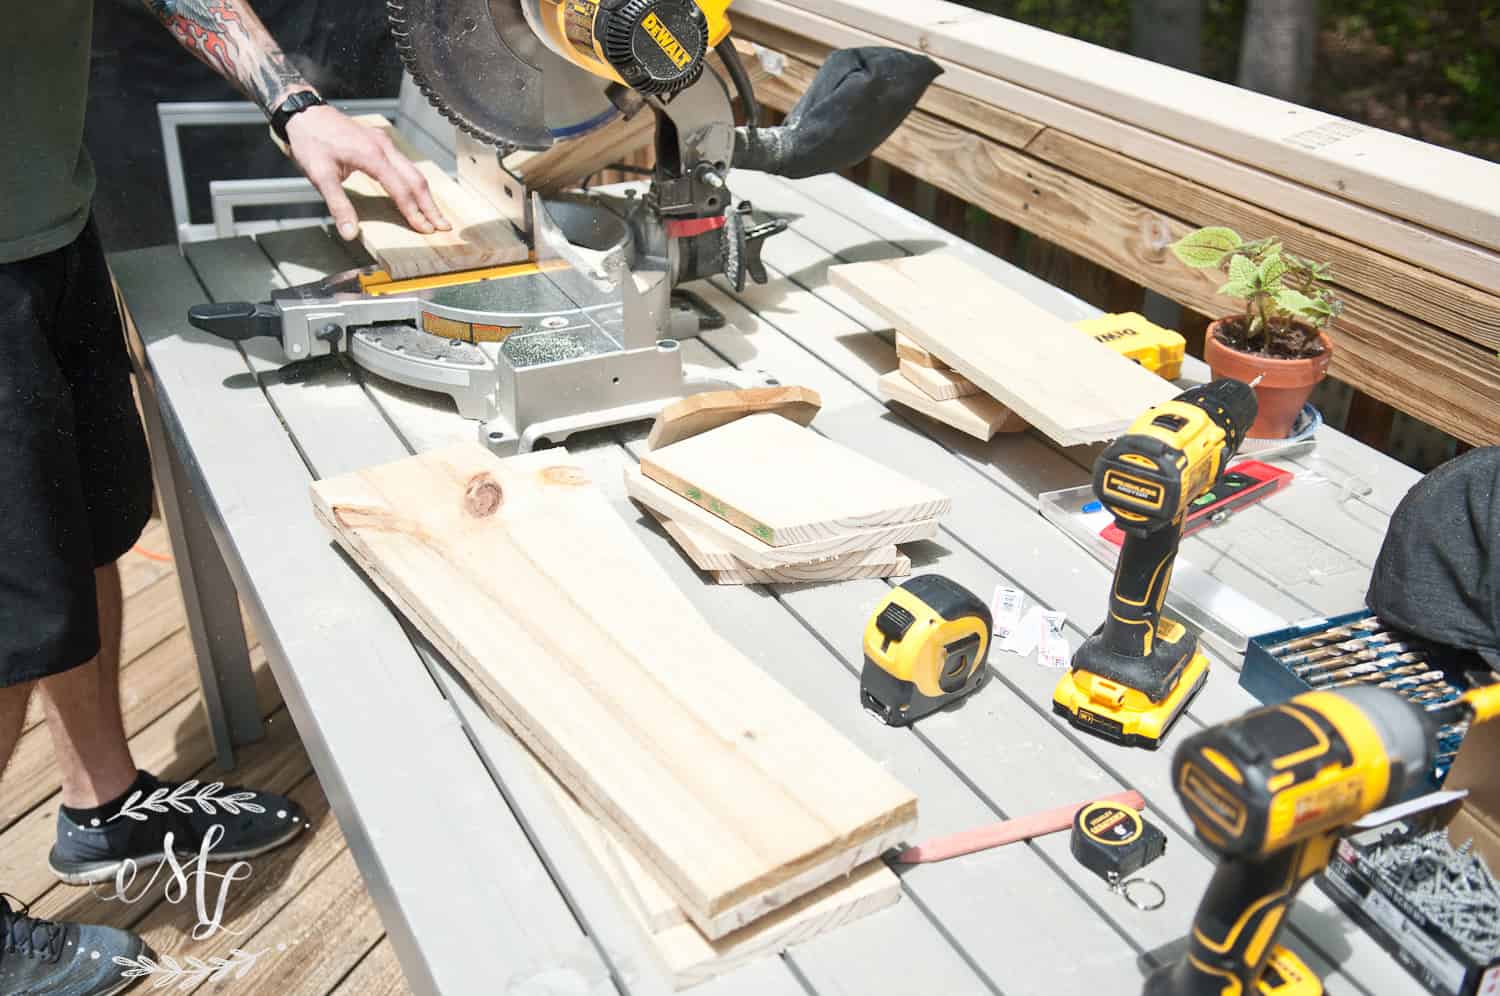
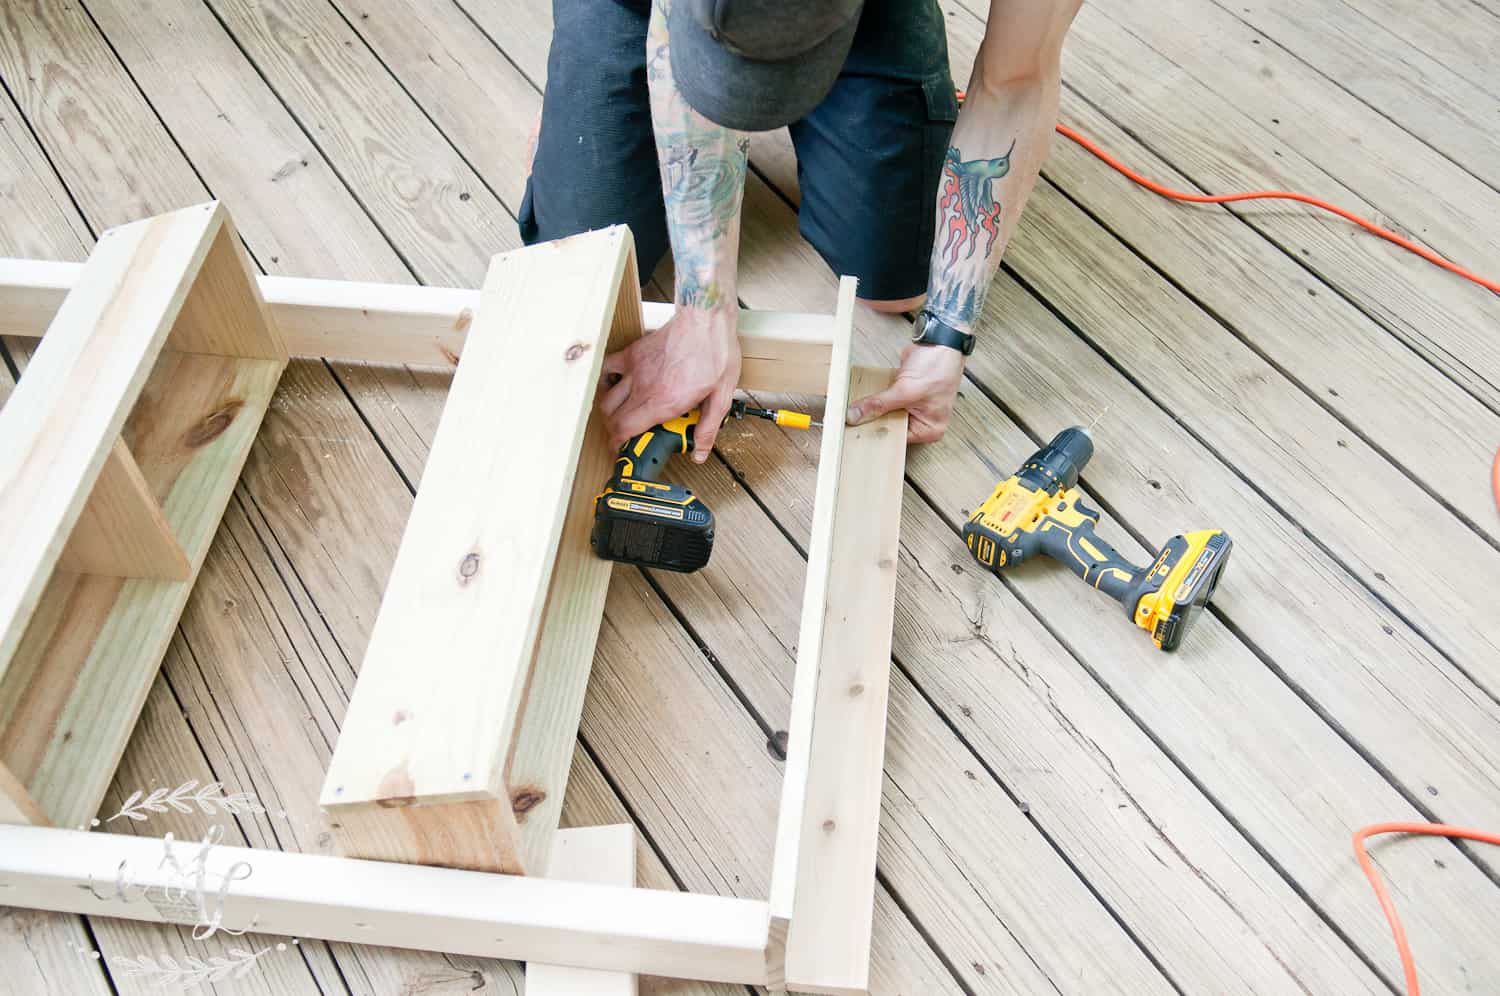
I got completely distracted by this cute face, so I didn’t have photos of cutting the front 2×4’s for the stand.
Once the front legs were cut, I attached them to the planters by drilling form the inside out. This allowed for a cleaner look.
{…but seriously. That face!}
Sanding, Staining and Sealing
Once assembled, I sanded for a smoother finish. I’m sure this would have been better to do before assembling. Lesson learned!
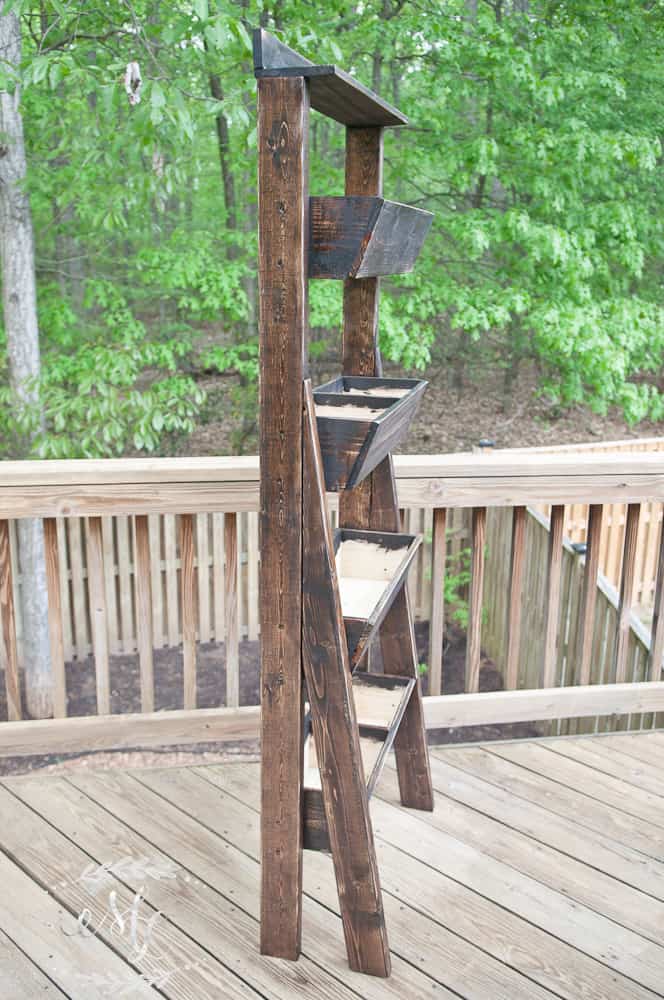
After sanding, I stained the stand using Varathane Espresso, giving it a dark and aged look.
Once stained, I let it dry for 12+ hours. Again, I was going for a more aged look, so I took a hand sander to it and roughed up the edges. It ended up looking great!
Finally, I applied Olympic Waterproof Sealant in clear to seal the whole project. Quick coat of sealer with another foam brush and patience. You’ll need 24 hours of dry time before putting your planter out in the elements.
The Finished Product
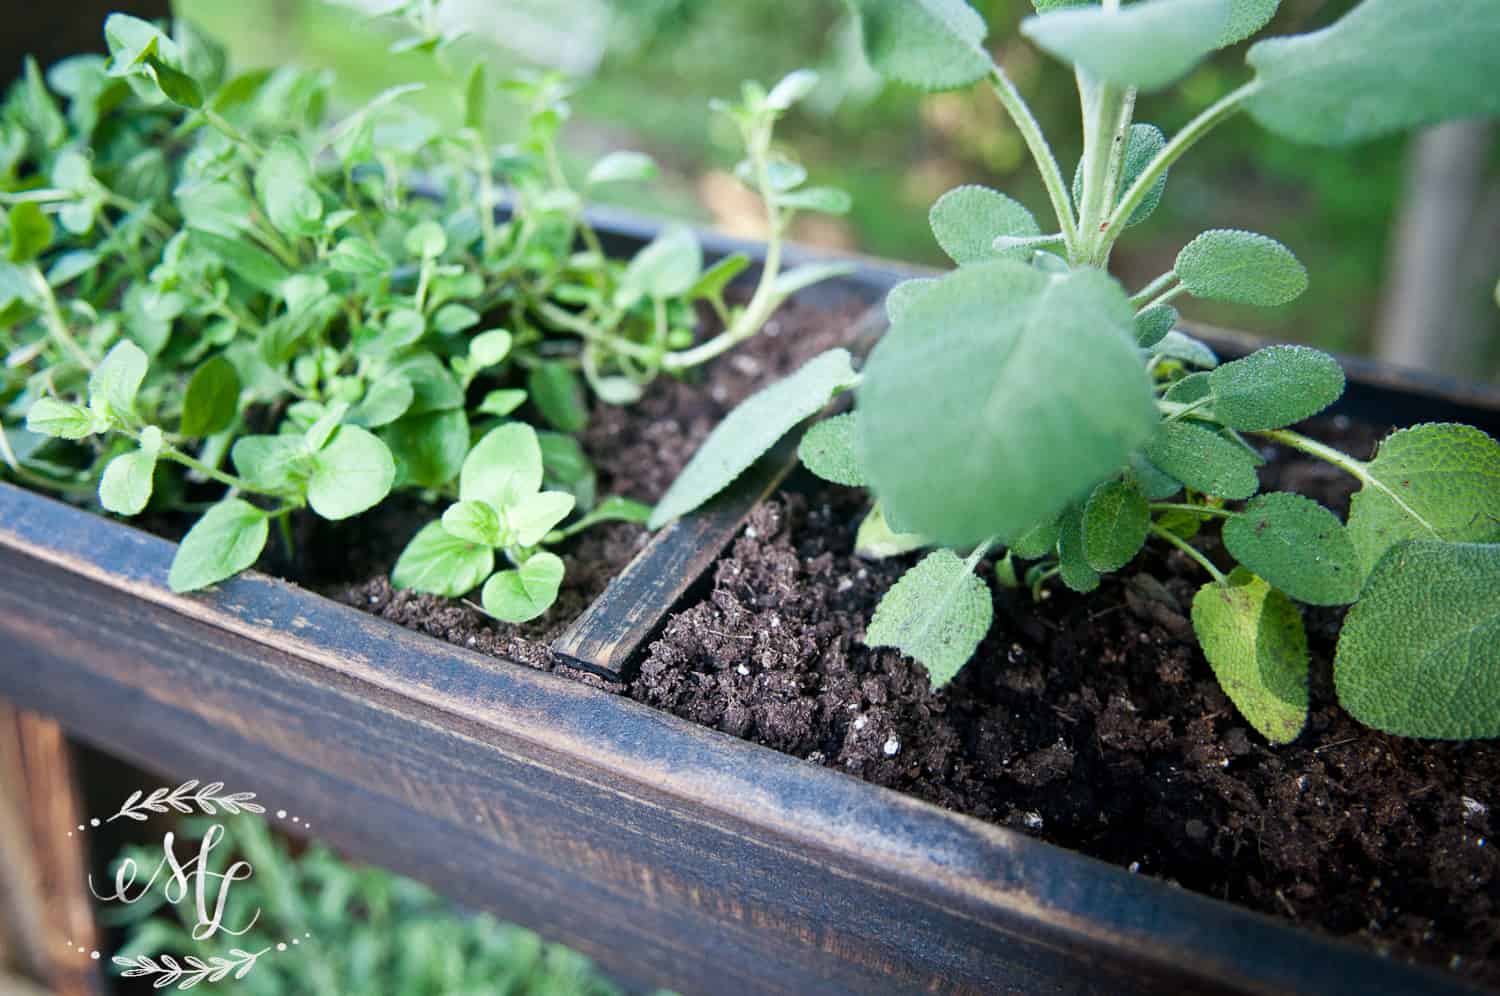
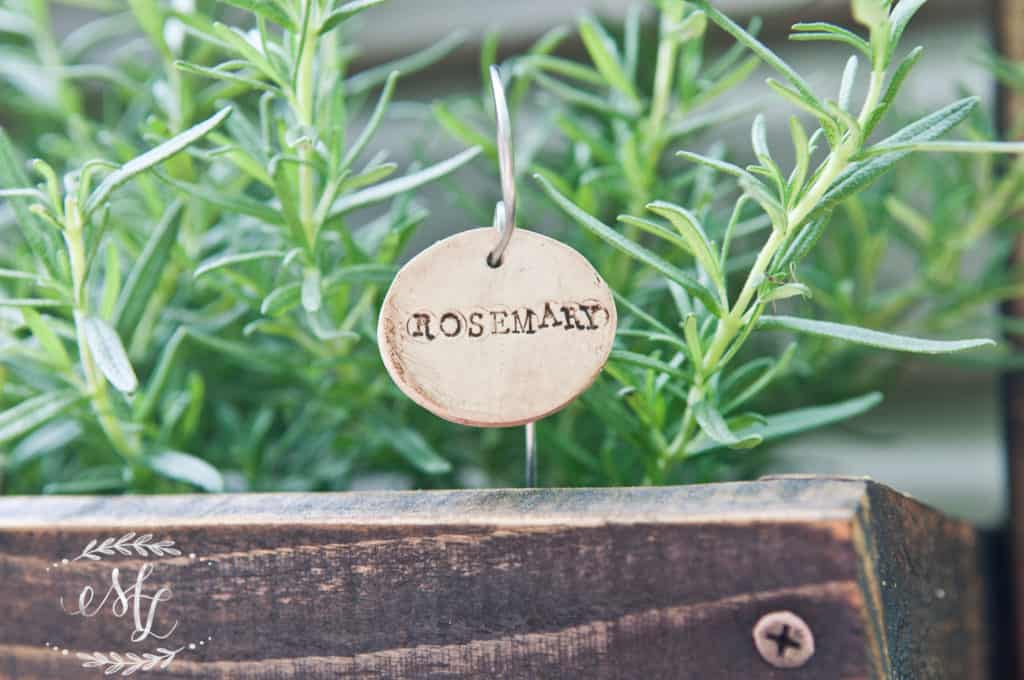
Well, I don’t know about you guys but Maryland has been waterlogged! I finished this project but it took over a week to plant anything in it because of the 5+ days of rain! Ugh. In hindsight, I probably should have built an ark…. However, Sunday I finally got to plant some little herbs.
I’m really pleased at how this turned out. It’s a great space saver, and allows me to have all my herbs within steps from my kitchen.
Now, I need a good mojito with some fresh mint!
Let me know what you guys think and share if you decide to make one yourself. Can’t wait to see what you guys create yourself. Happy Spring!
Thanks for visiting my little piece of the internet!
I’m Maria, a lover of furry things, coffee and anything creative. This blog is where I love to share affordable home decor ideas, great DIYs, yummy recipes, unique crafts and so much more.
Okay, so the 15 degree angle goes at the bottom of the front board where it touches the ground. Then, I’m assuming that once you lay that board to where it leans back to hit the back brace board, then you cut the angle according to how it needs to lay against the back board.
I think I understand. Hopefully once I go to do it, it’ll be more obvious.
This is my first ever major DIY project, if you couldn’t tell. Lol
Thank so much for sharing and for answering my question!
YES! I totally understand being nervous. The blessing of DIY is you learn lessons. You might be challenged and frustrated but you will persevere! Remember “FAIL” means – First Attempt In Learning… so even if it doesn’t go as planned… you’re learning. The next project will be that much better.
I didn’t really explain that well now did I! I’m so sorry. For the front post I angled the feet at 15 degrees. Then I just lined the board up and penciled out the cut line for the angle. I used a circular saw to get that long cut for the front legs. The back leg is a 2×4″ measured at 70″ tall, you are correct.
I hope that brought some clarity. Thanks again for asking and bringing that to my attention.


7 thoughts on “Make Your Own Standing Herb Planter”
Thank you!
Okay, so the 15 degree angle goes at the bottom of the front board where it touches the ground. Then, I’m assuming that once you lay that board to where it leans back to hit the back brace board, then you cut the angle according to how it needs to lay against the back board.
I think I understand. Hopefully once I go to do it, it’ll be more obvious.
This is my first ever major DIY project, if you couldn’t tell. Lol
Thank so much for sharing and for answering my question!
Kim,
YES! I totally understand being nervous. The blessing of DIY is you learn lessons. You might be challenged and frustrated but you will persevere! Remember “FAIL” means – First Attempt In Learning… so even if it doesn’t go as planned… you’re learning. The next project will be that much better.
So proud of you!
XO,
Maria
What was the width of the cut pieces for boxes?
Nichole,
I used the width of the board as my height. I bought them from home depot and the boards were 5.5″ wide.
Thanks for reading! Hope that helps!
XO,
Maria
I know the back brace board was cut to 70” but what is the front brace board cut to before cutting the angle? Can you explain how to cut the angle?
I didn’t really explain that well now did I! I’m so sorry. For the front post I angled the feet at 15 degrees. Then I just lined the board up and penciled out the cut line for the angle. I used a circular saw to get that long cut for the front legs. The back leg is a 2×4″ measured at 70″ tall, you are correct.
I hope that brought some clarity. Thanks again for asking and bringing that to my attention.
Cheers,
Maria