Hey ya’ll! {Disclaimer: I DO live below the Mason-Dixon line, so I feel I’m allowed to use ya’ll…}
I’m sooooo excited to share this little tutorial on how to make your own budget friendly picture frames.
The Backstory:
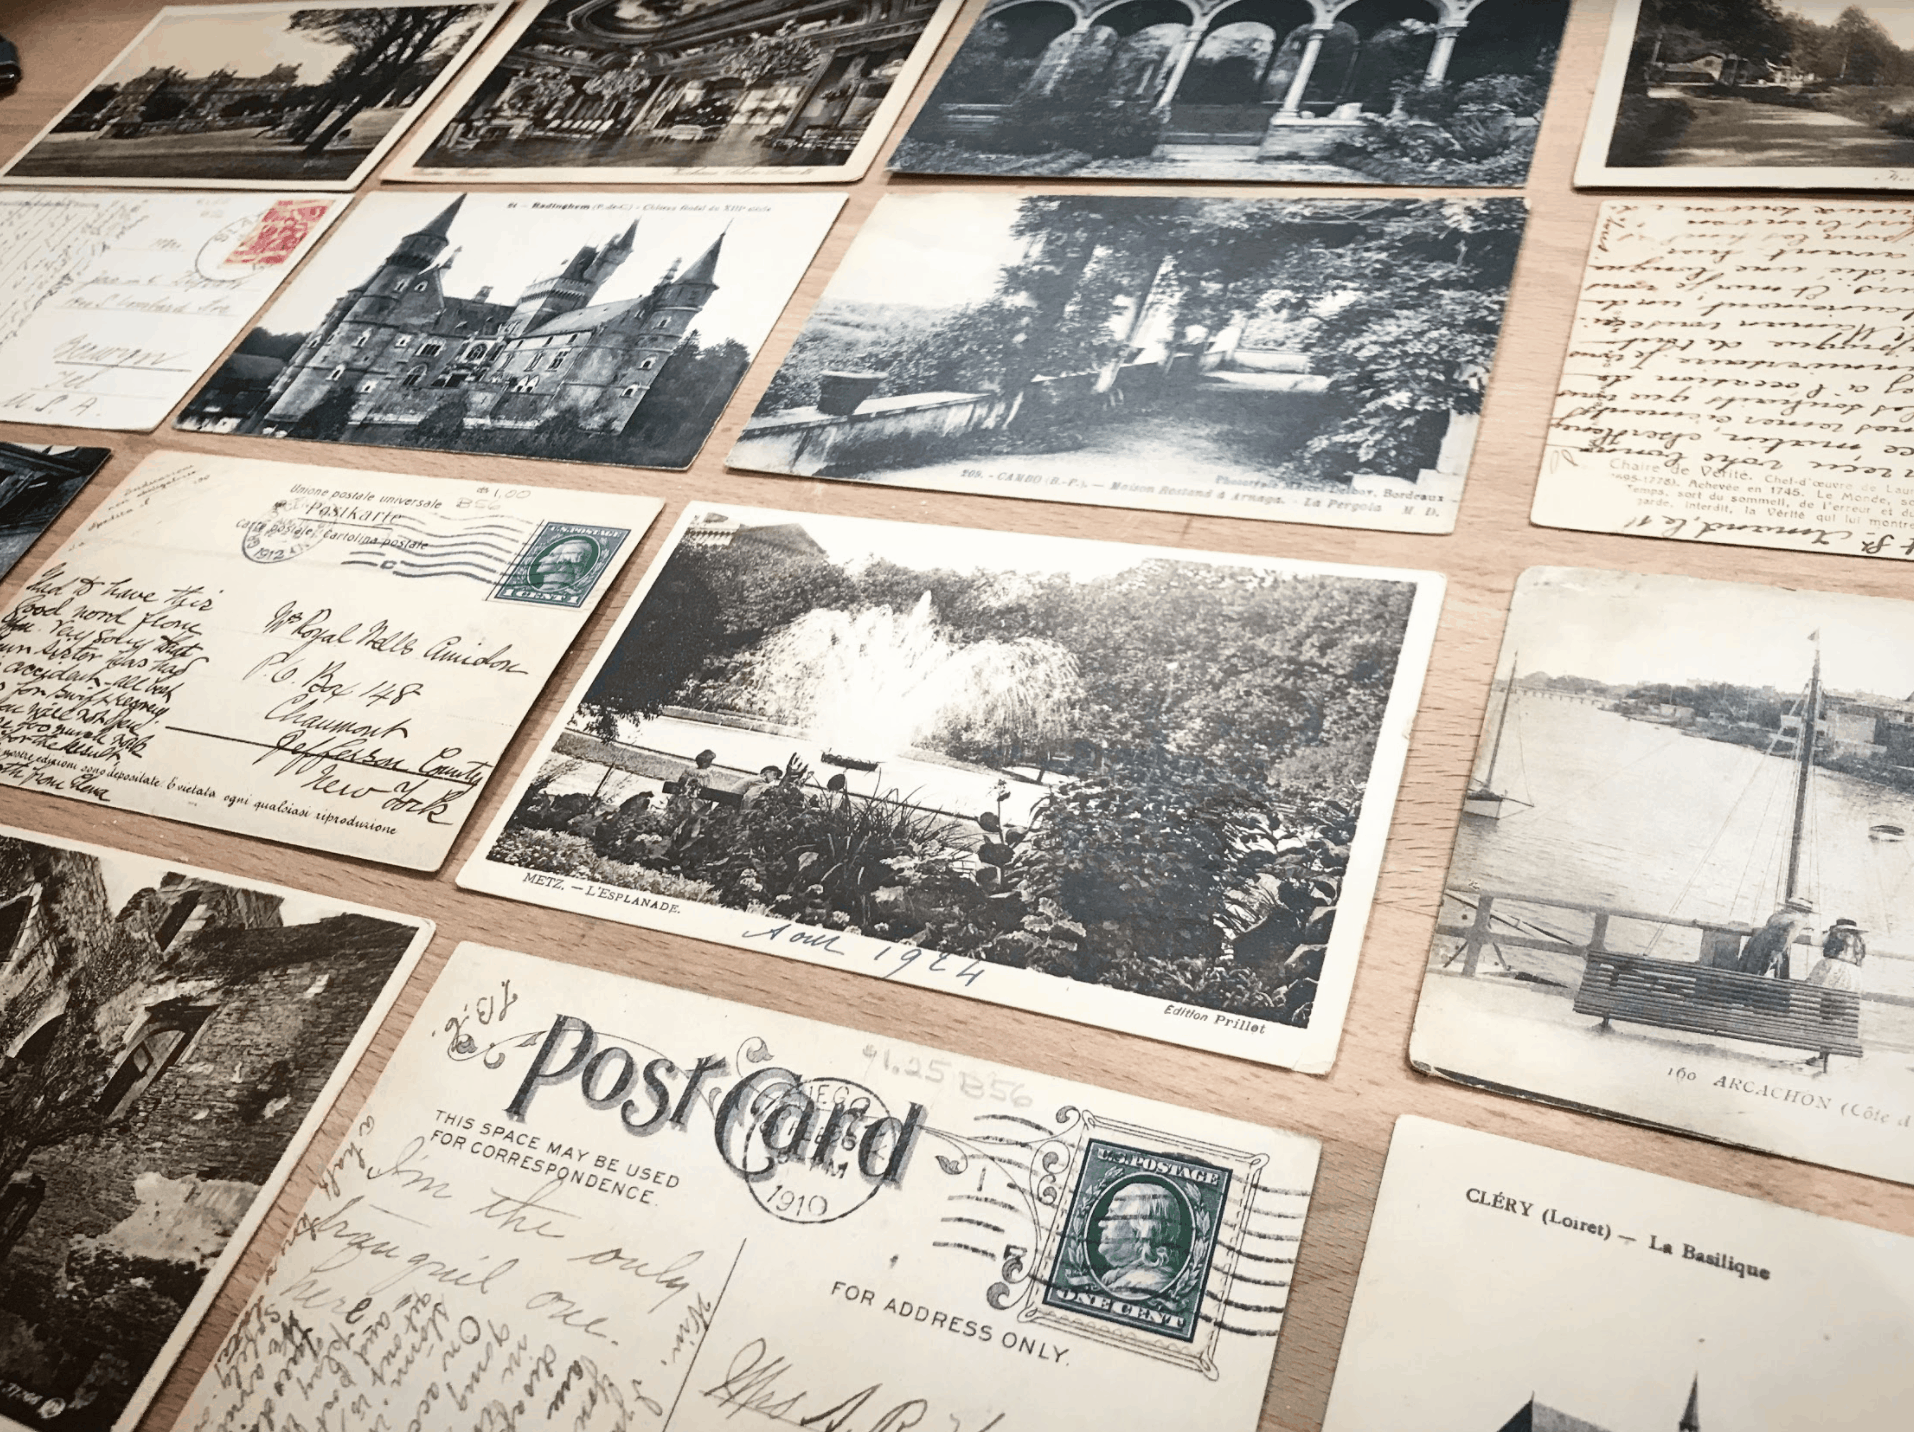
A while back, a good friend of mine came with me on a little weekend adventure. Our trip had us coming across one of those huge antique malls in Westminster, MD. My girlfriend and I got caught up in flipping through stacks and stacks of old post cards.
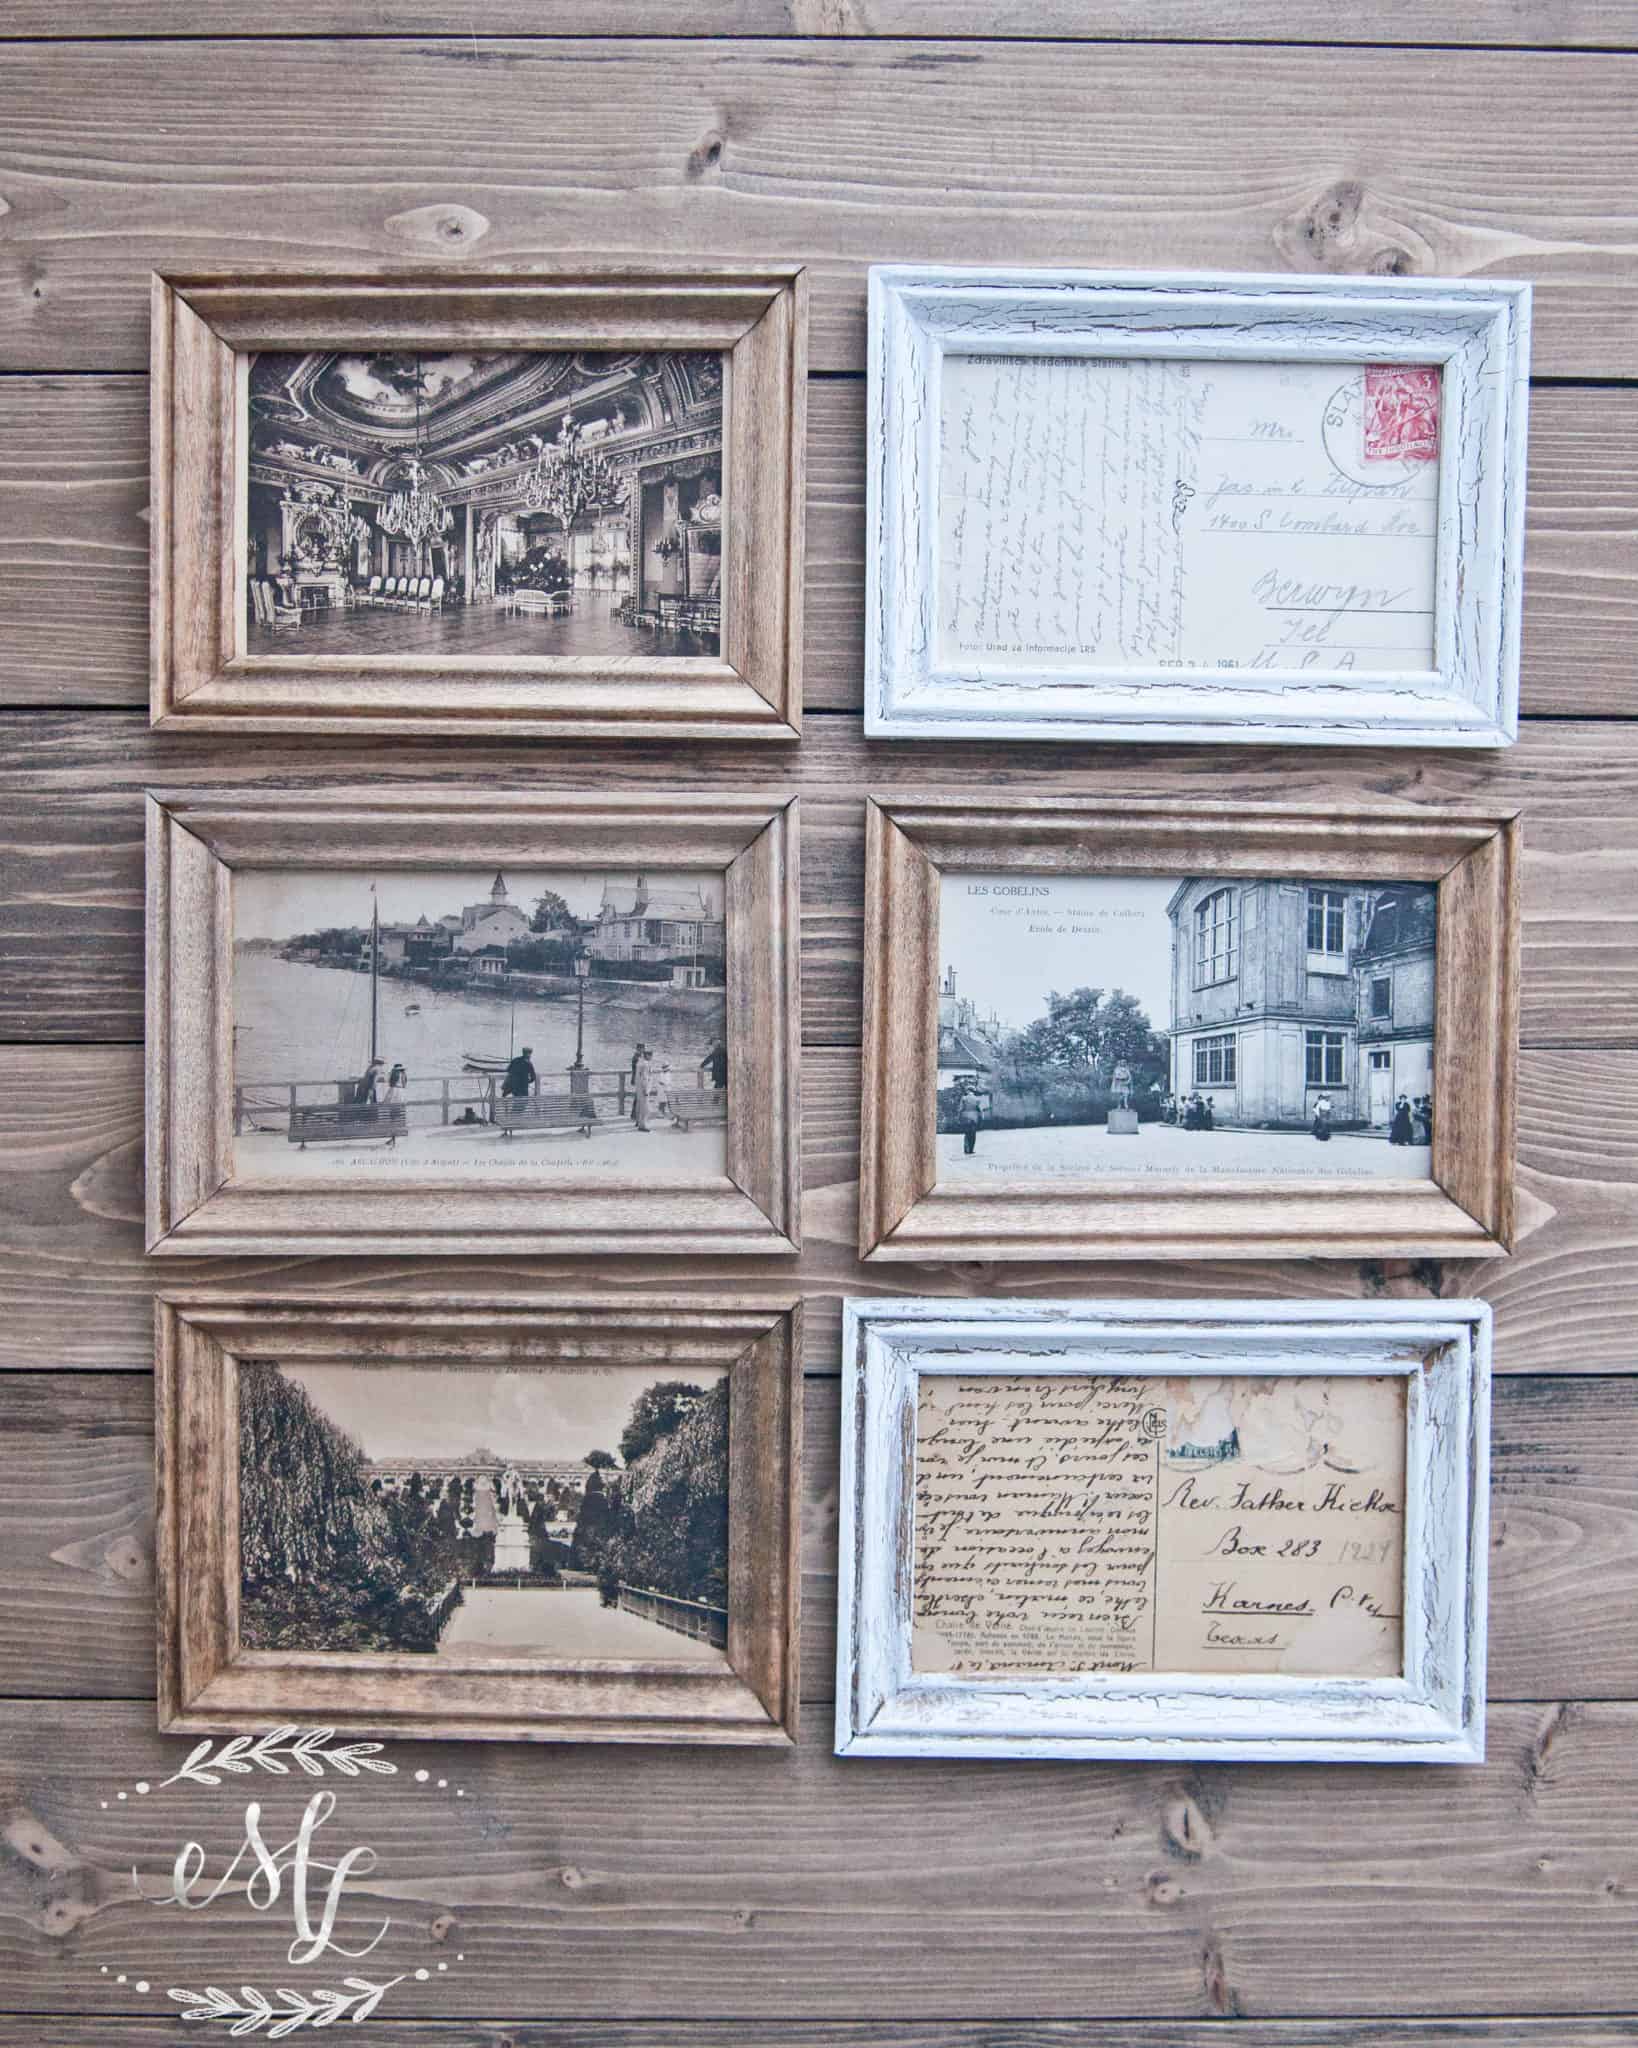
Looking through these vintage photos was like going back in time. The messages on the back had us laughing and reminiscing of a simpler time. I instantly had a vision of these old post cards hanging in the guest bedroom displayed in natural wooden frames. So I picked out a handful of my favorites and purchased them.
Once getting the post cards home, I discovered the majority of them were not a true 4×6 size. Most were 3.75ish” by 5.75ish” due to the deterioration of the boarders. Go figure. The option of buying wooden frames went right out the window. However, it gave me a perfect excuse to make my own!
What You'll Need
Moulding/Trim/Crown or any unfinished wood you desire
Wood Stain
Sponge Brush
Finishing Nail Gun w/ 1″ nails
Crown Staple Gun w/ 1/2″ staples
Sandpaper
Miter Saw or Miter Box
Glue Dots
Sawtooth Picture Hanger
The Project:
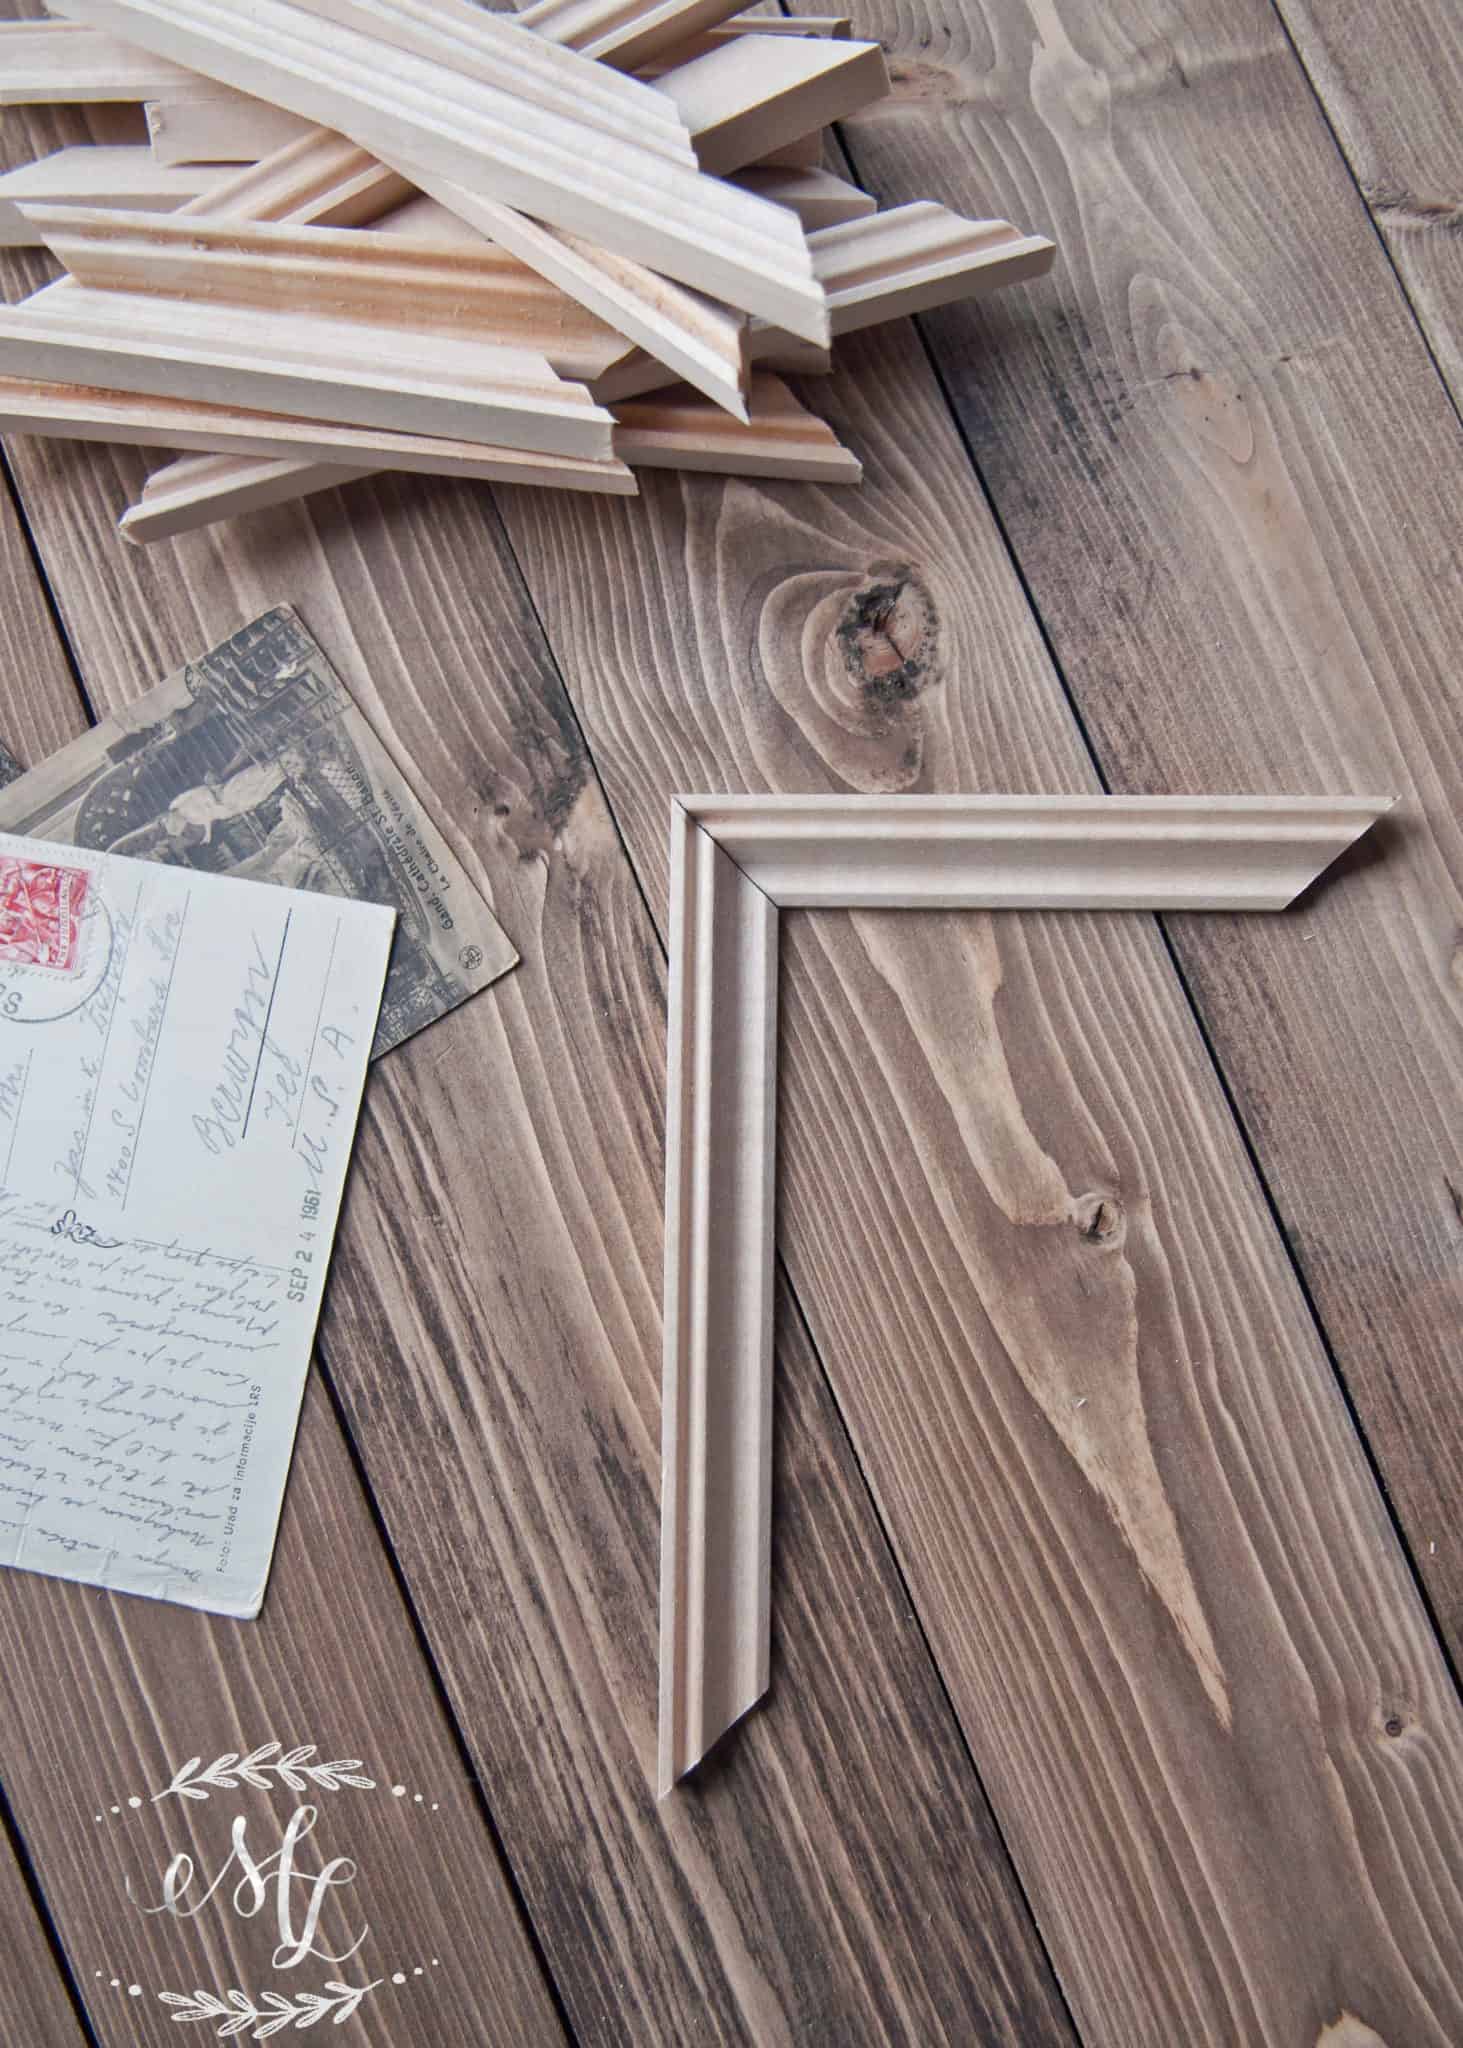
After walking the moulding isles for about 35 minutes, I determined the most cost effective way to give me the look I wanted was to purchase unfinished shoe base moulding at $0.64/linear foot. The price was right, the wood finish was perfect, and did I mention the price?
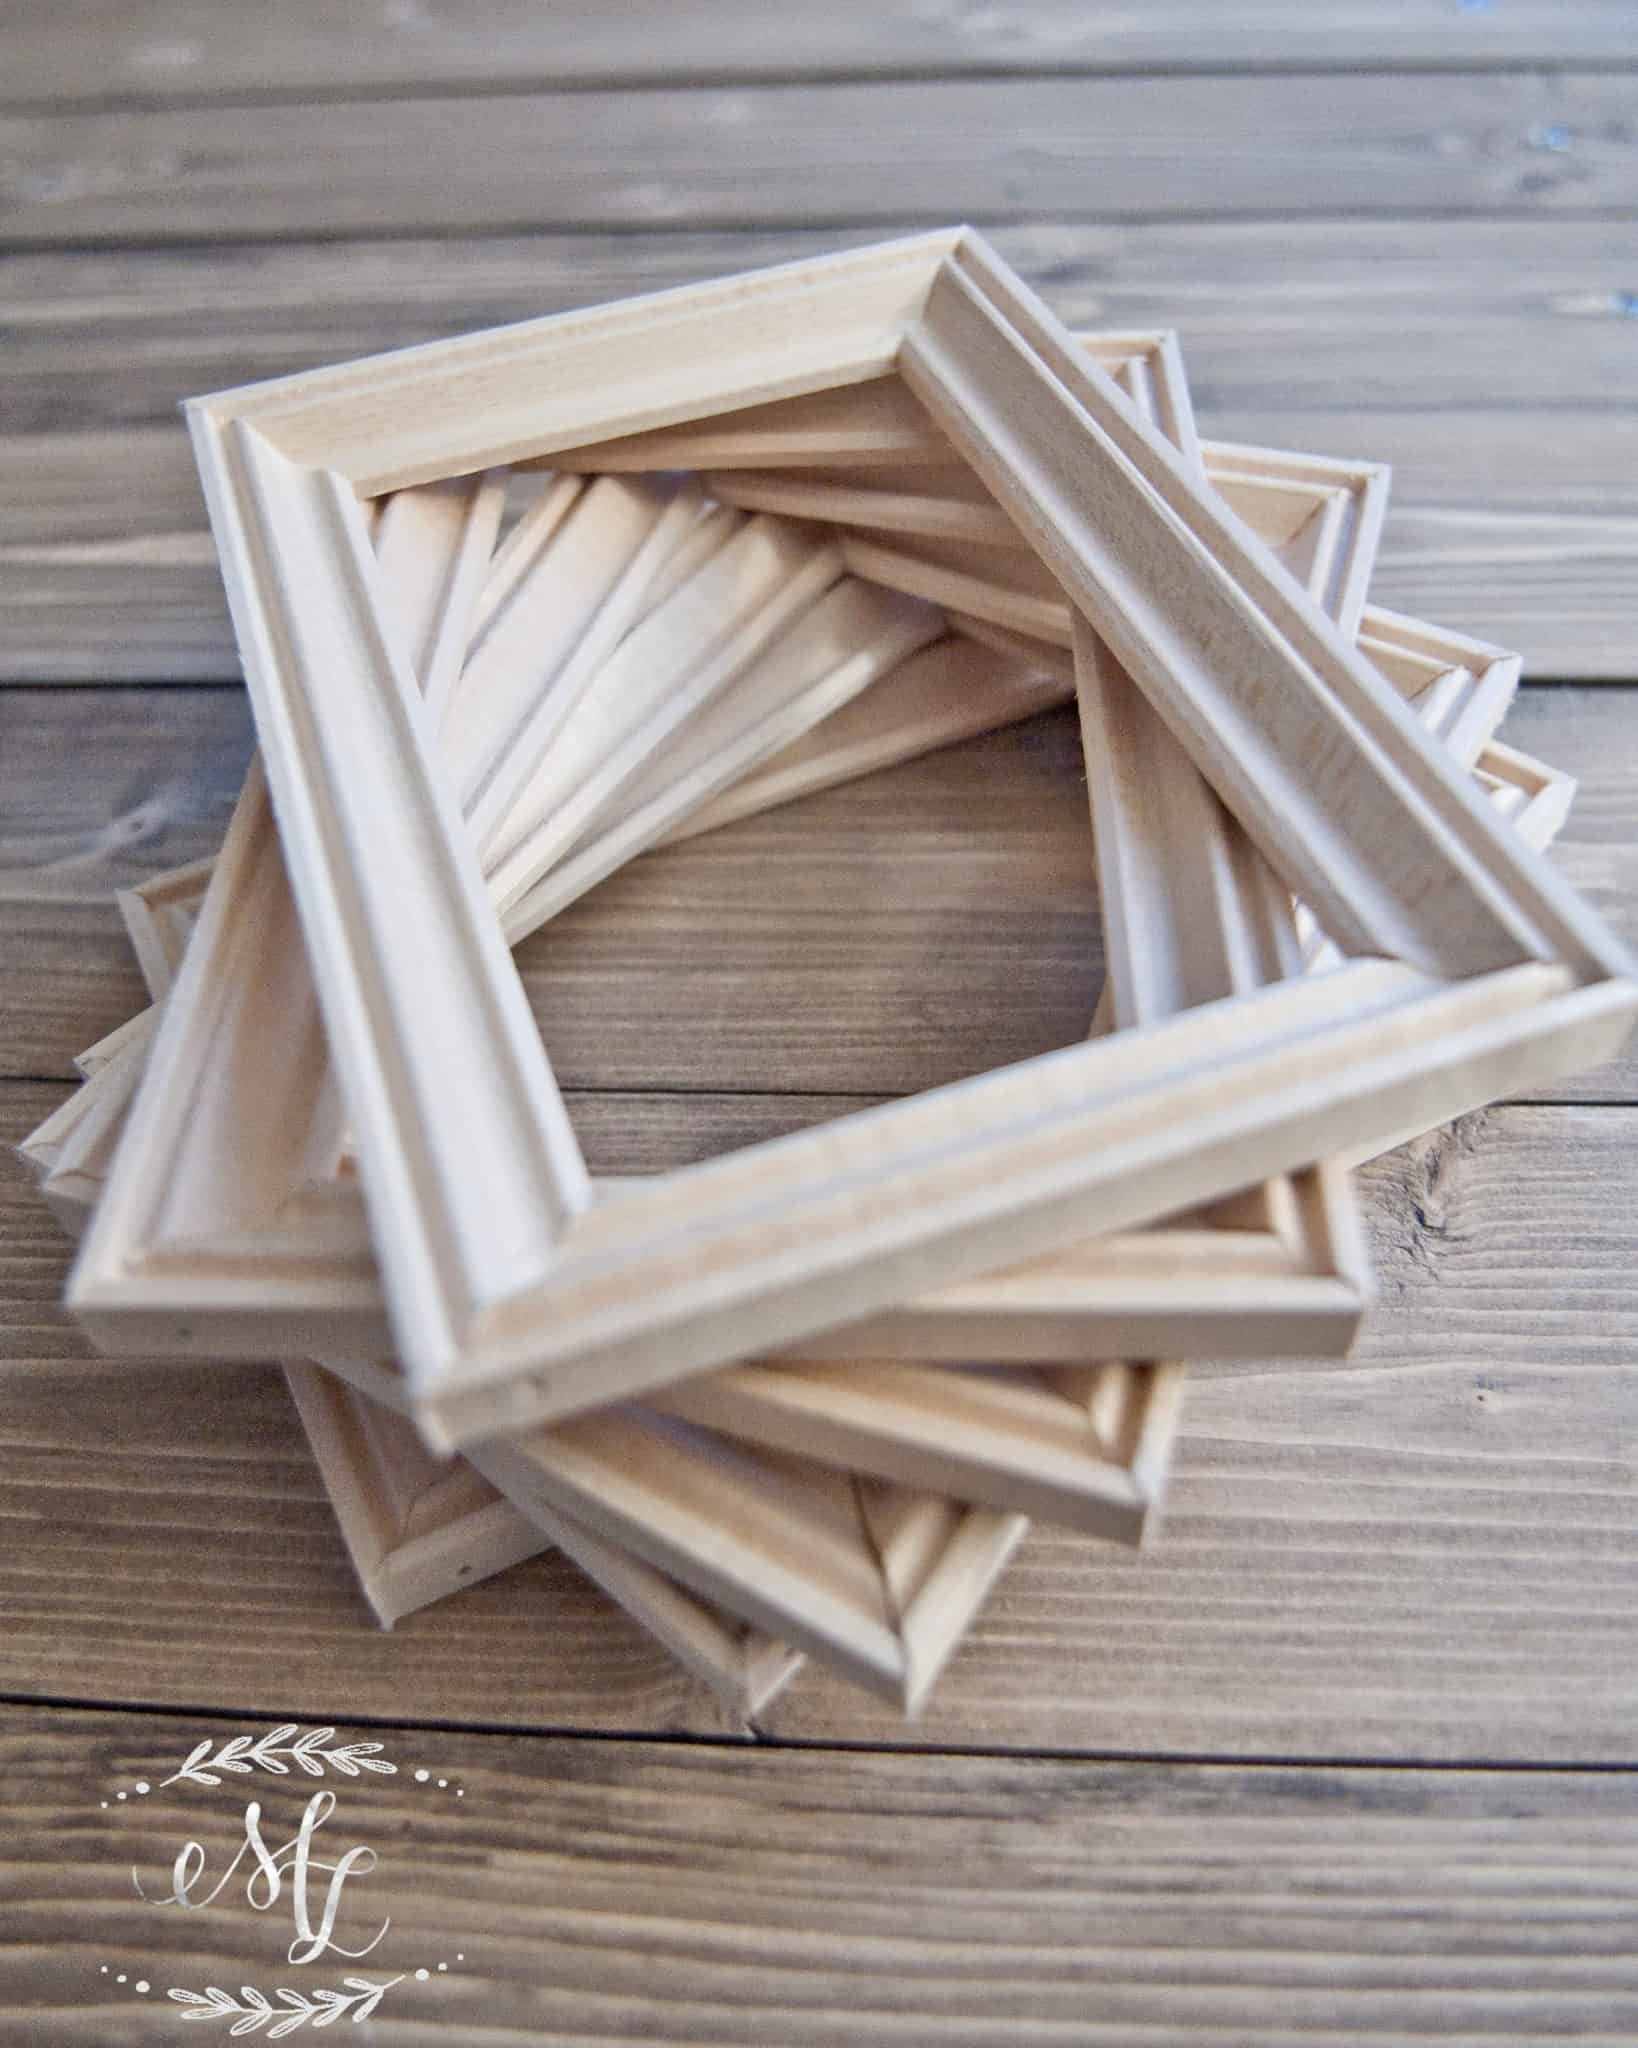
Once I determined the measurements I needed to frame all of the cards evenly, I broke out the miter saw. I cut the moulding into 32 small and 32 larger pieces.
I will say, if you ever want to by a power tool, buy a miter saw! It was my first tool and I have gotten my use out of it. Trust me.
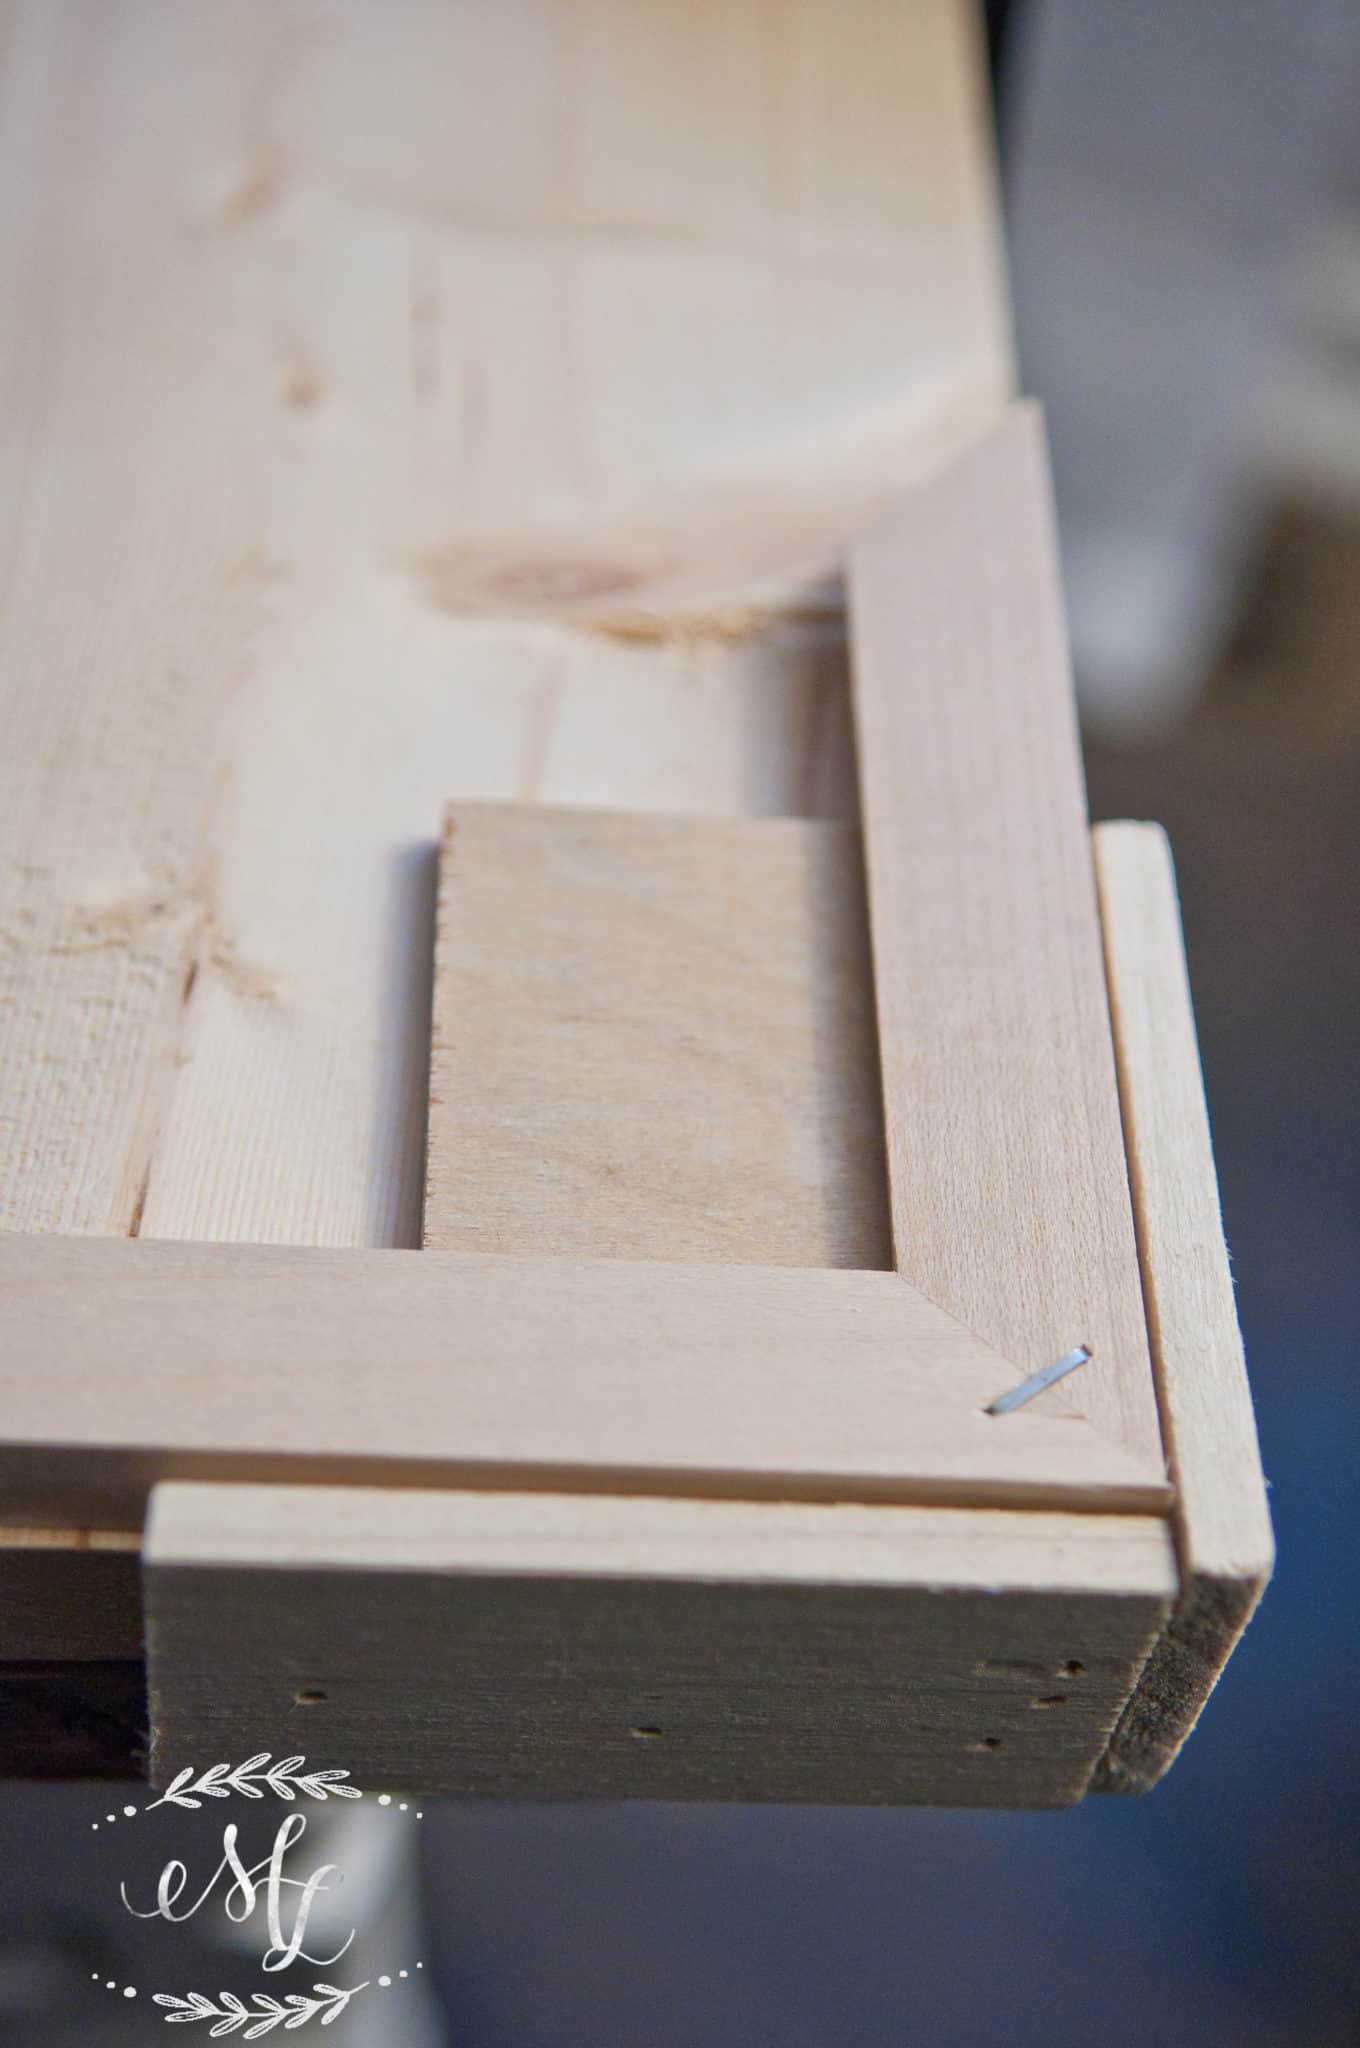
After cutting all the pieces, I decided to make a guide of sorts. This allowed us a clear and simple was to assemble many frames in a time efficient way. I came up with this simple 90-degree base that allowed me to slide the two pieces in and pop a staple into them.
After assembled, the staples weren’t providing enough stability so I finished them off with a single finishing nail in each corner. I only split 50% of them! You just need to be very, very steady with a finishing gun to make sure you drive the nail straight and not through the front of the frame. You’re still going to miss a few, don’t panic, it’s rustic right?
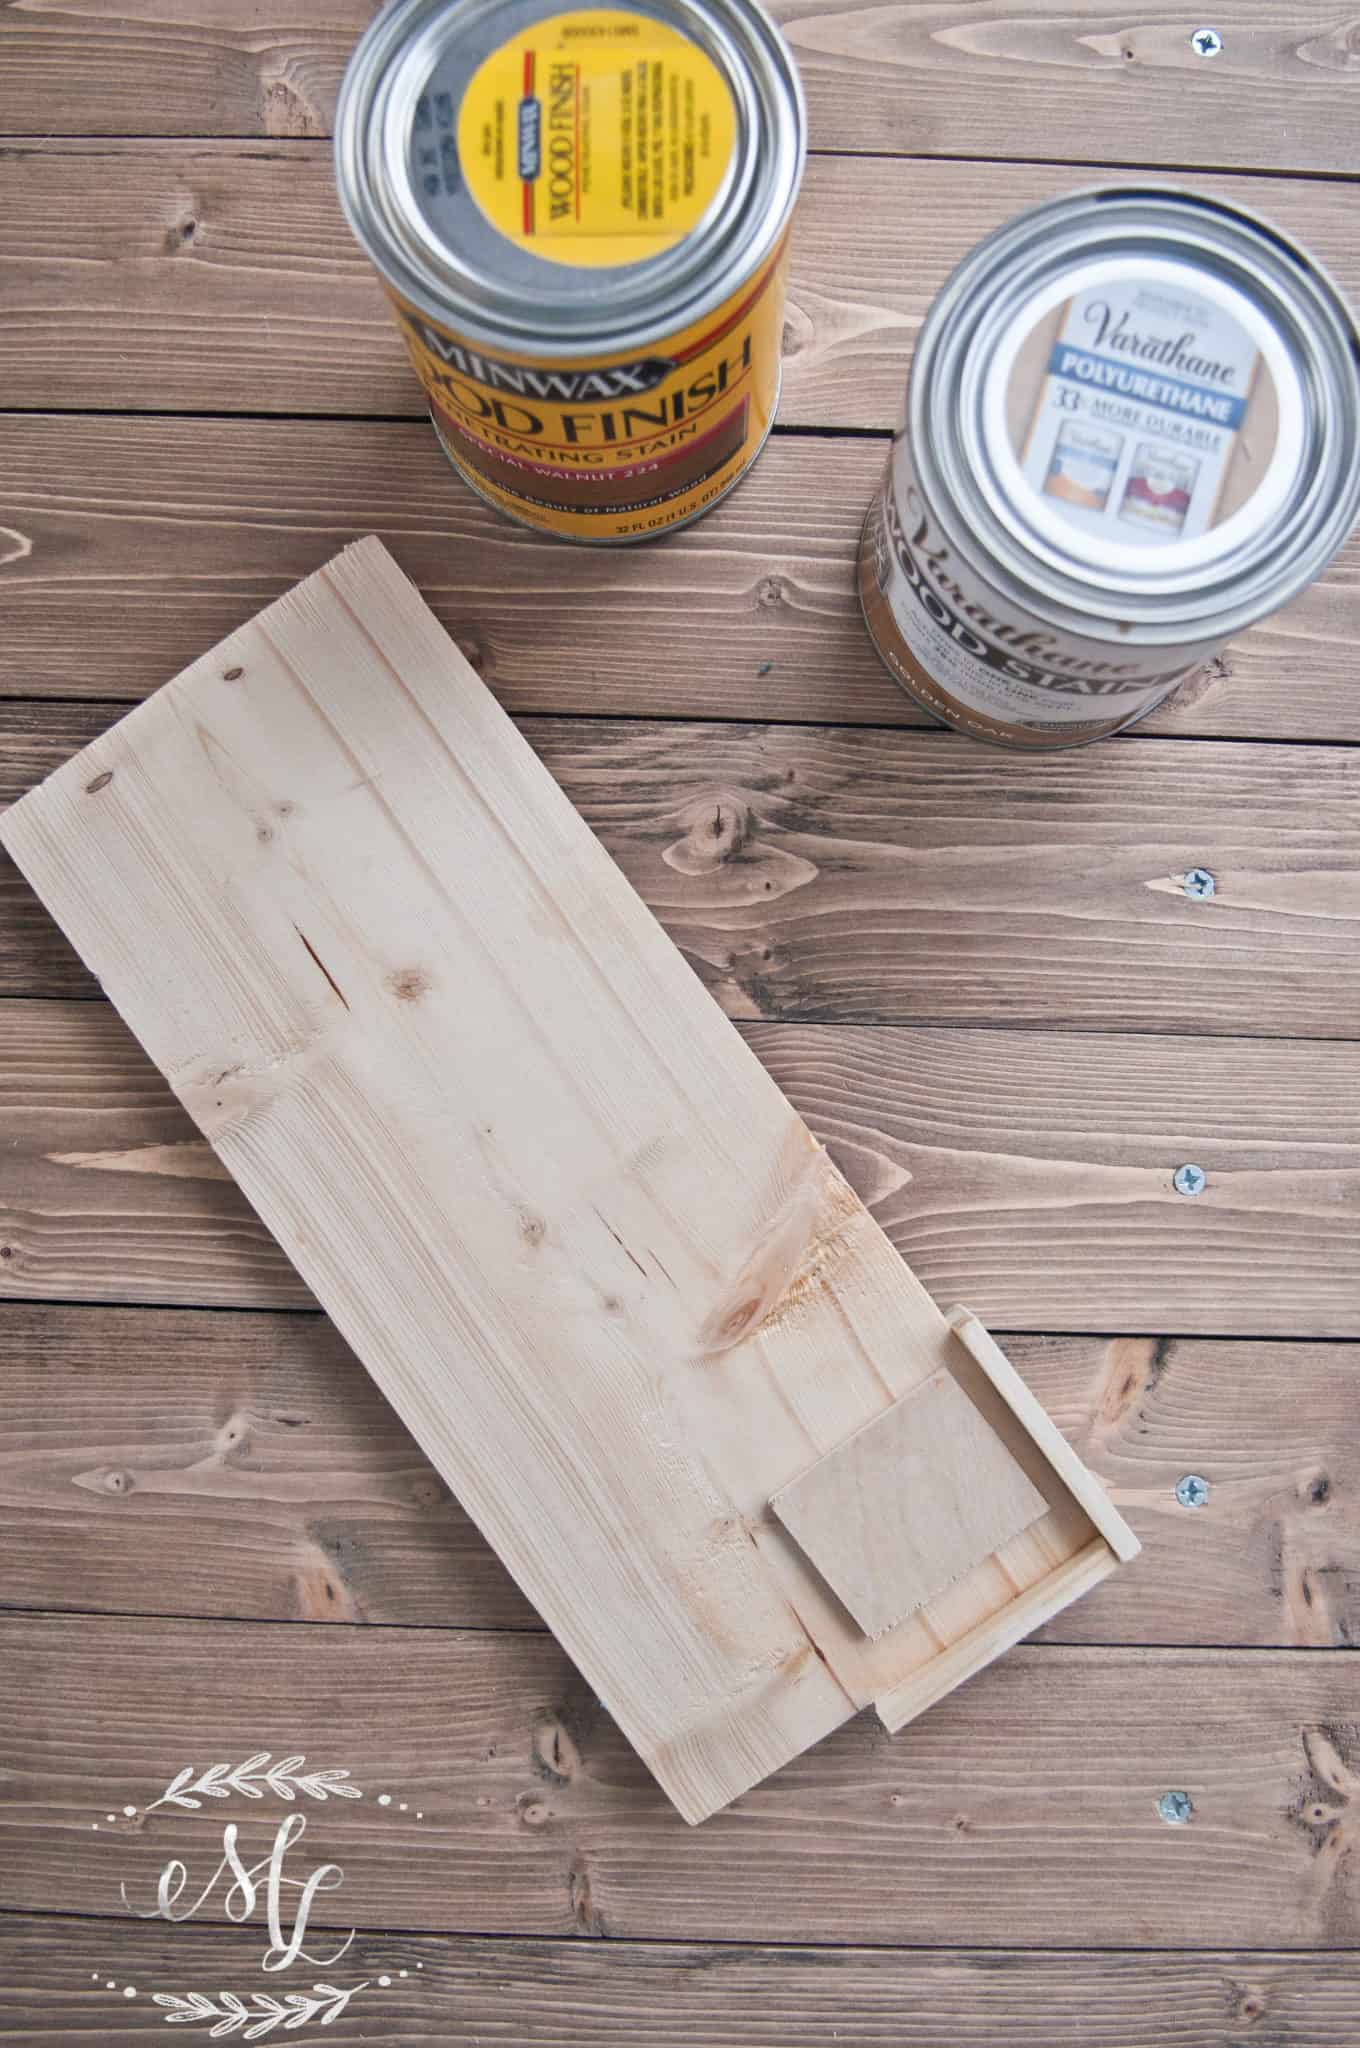
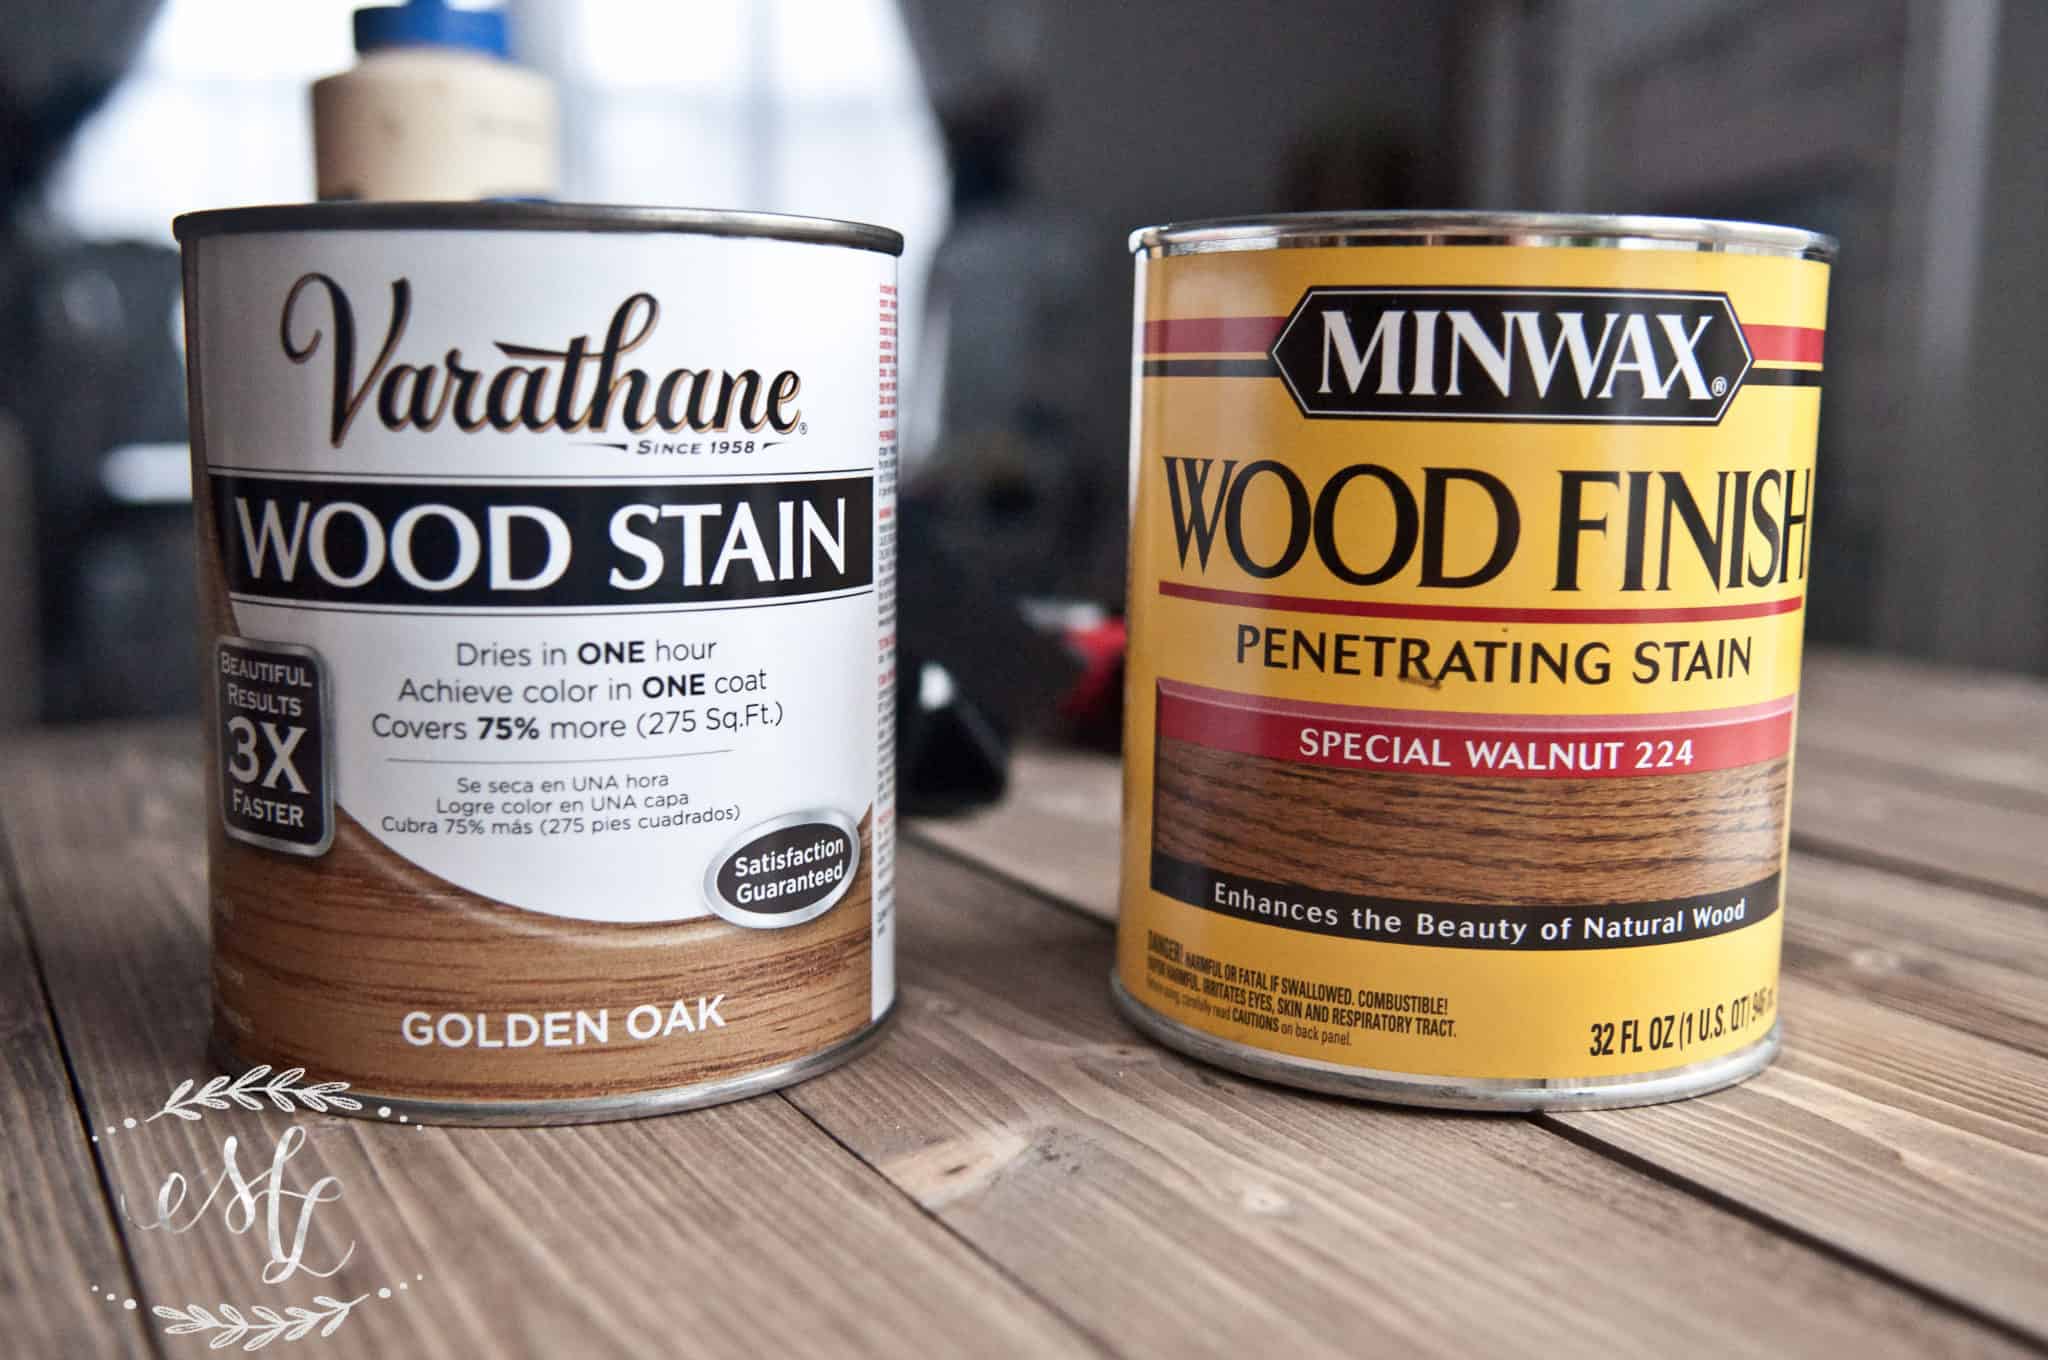
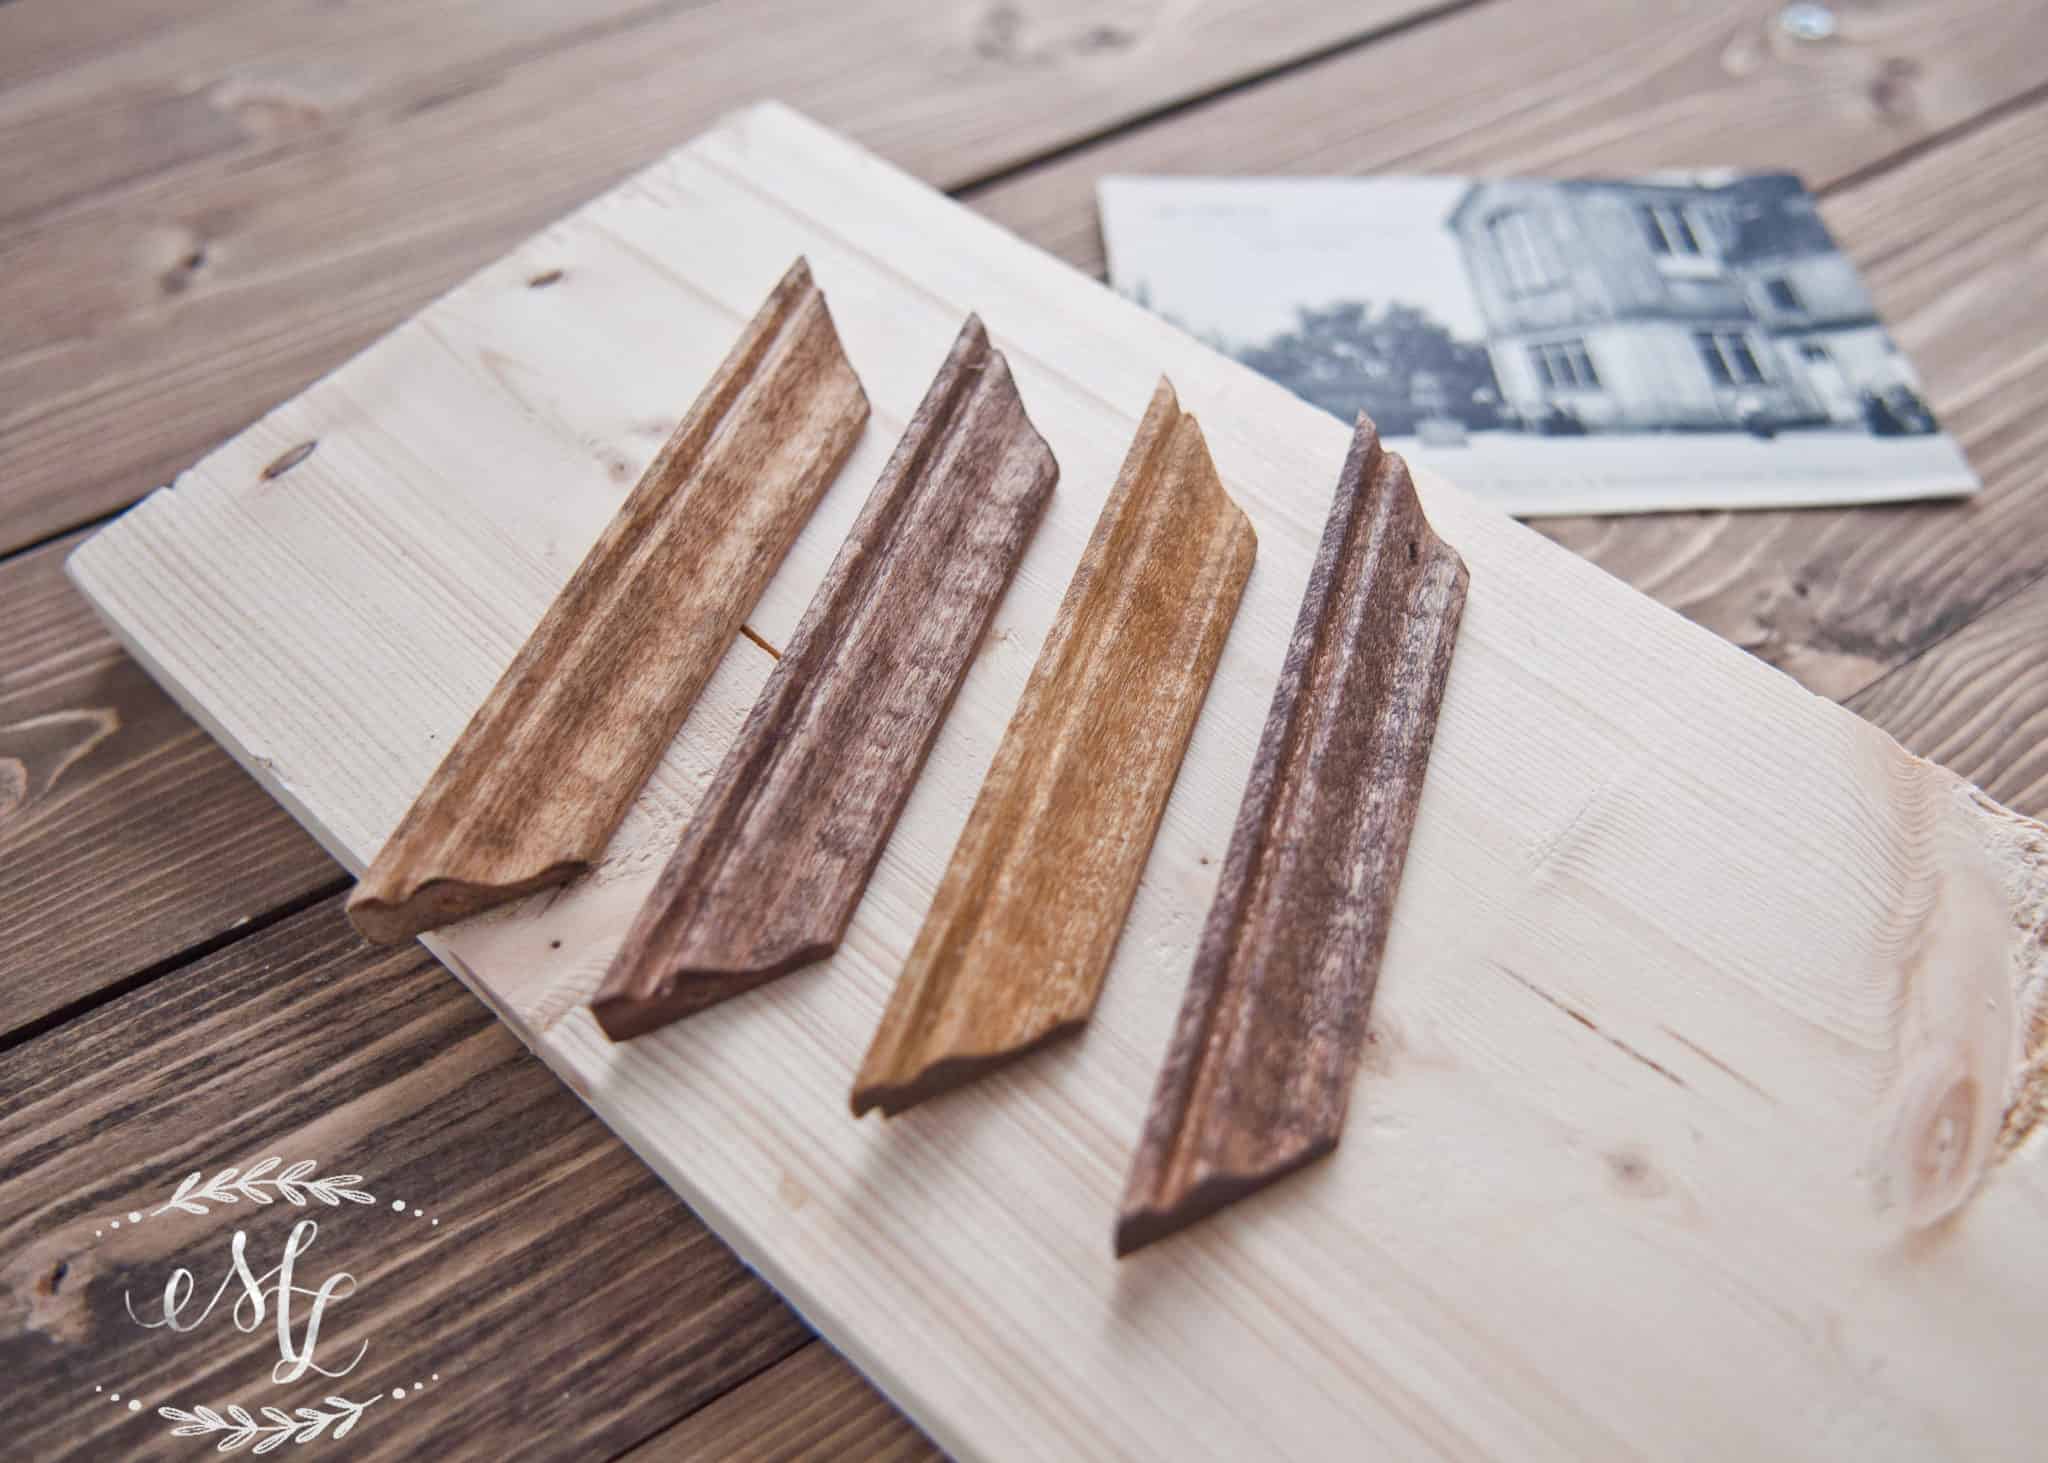
Once all the frames were assembled, next was selecting the right stain. I sampled Verathane’s Golden Oak, Minwax’s Special Walnut, Minwax’s Golden Oak, Minwax’s English Cherry.
I’ve been loving these more natural, warm hues in woodwork recently. Verathane’s Golden Oak would eventually be the winner.
Varathane’s Golden Oak, Minwax’s Special Walnut, Minwax’s Golden Oak, Minwax’s English Cherry
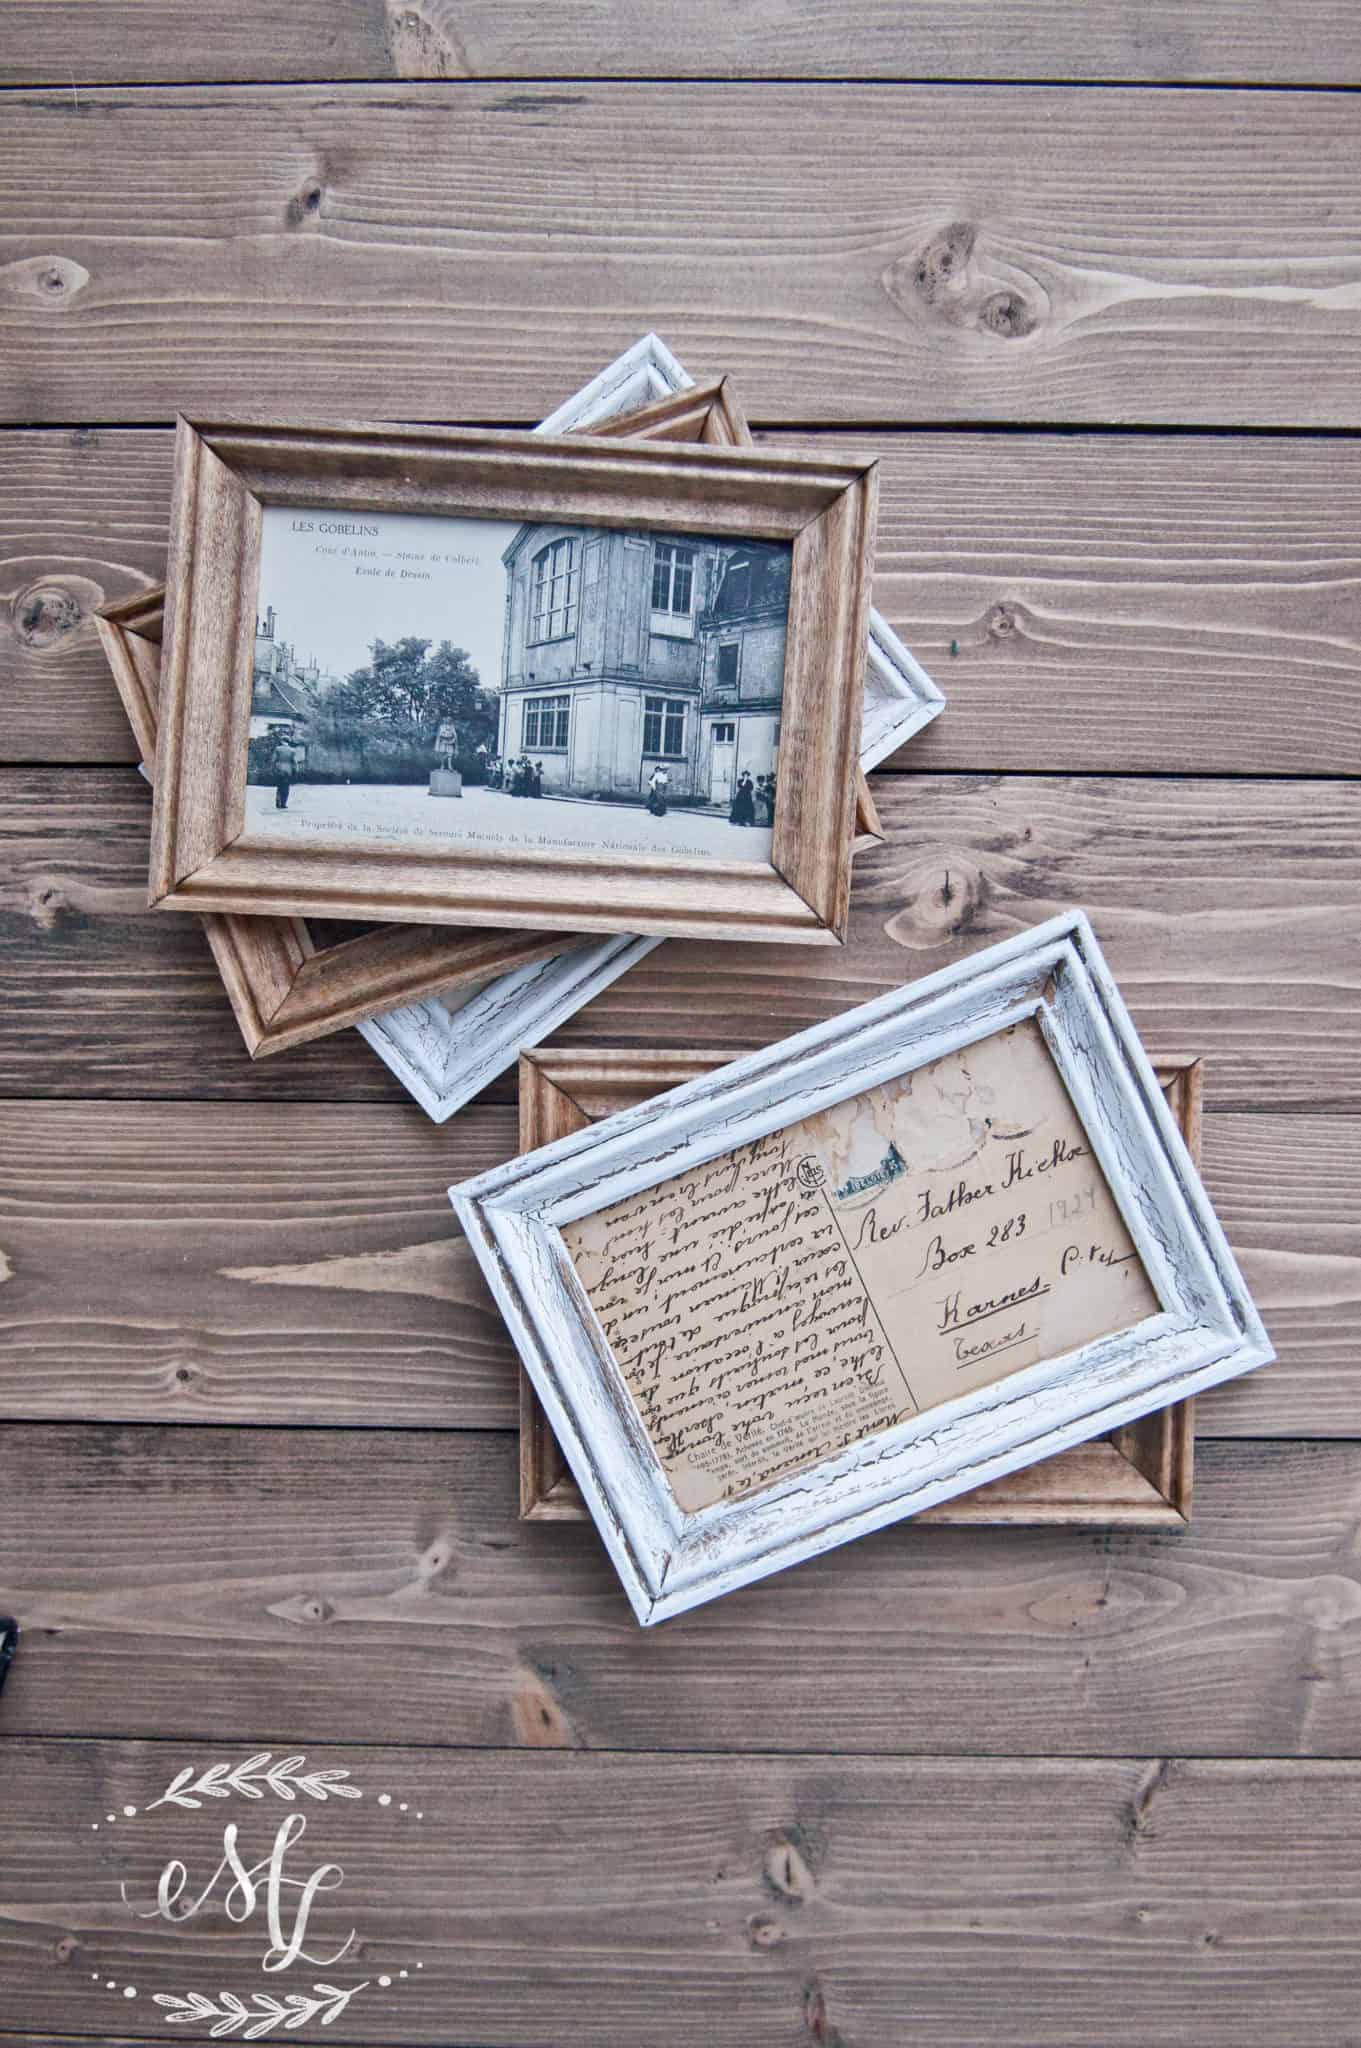
The Final Product:
I’m love the final result of this project.
I also wanted a little variation so some frames were white washed with Annie Sloan Chalk paint as well as a crackled technique I’ve grown to LOVE. I’ll post a tutorial about how I achieved this finish so you can see the technique. Stay tuned!
I can’t WAIT to hang them above this beautiful dresser, I don’t own just yet. I’m on the hunt before my BFF from college is coming into town. The guest bedroom is almost finished. It’s about time!No seriously, like it’s been since October that it’s sat there waiting to be decorated and loved. I’ve got a week left to have it ready to rock and roll for her. I cannot wait to have it together to have a big reveal! It’s been a big overhaul and a total pain in the labor of love.
Hope you guys can use this little DIY to create something beautiful in your own home! Lets see what you come up with. Please feel free to post and share your own projects.
Cheers,
PIN IT FOR LATER
HELLO & WELCOME
Thanks for visiting my little piece of the internet!
I’m Maria, a lover of furry things, coffee and anything creative. This blog is where I love to share affordable home decor ideas, great DIYs, yummy recipes, unique crafts and so much more.
Wood glue plus the staple would have provided stability. Spread the glue, put the corner in the jig, push it together and staple it. Wipe off excess glue with a damp rag.


2 thoughts on “Budget Friendly Picture Frames”
Wood glue plus the staple would have provided stability. Spread the glue, put the corner in the jig, push it together and staple it. Wipe off excess glue with a damp rag.
Great thinking! I think that’s a good point. It would add stability for sure.
Thank you for sharing and reading along.
Cheers,
Maria