Modern Farmhouse Bathroom Renovation One Room Challenge | Week 1
Welcome to Week 1 of the One Room Challenge, hosted by Better Homes and Gardens. I’m starting to feel the weight of this renovation. I’m both excited and nervous! This is my first “full transformation” without having having any professional help. Oh yeah, and getting supplies hasn’t been easy. I’m ordering things online like crazy and hopeful that they can get here within the 8 week time period {stress!}
Regardless, week one has been full of demolition. Who doesn’t LOVE hitting things with a hammer? Right, I thought so!
REMOVING THE VANITY TOP
First thing I wanted to tackle was removing the old vanity. My old roommate chipped the bowl as well as it just simply being outdated! It was installed pretty well, but after a few attempts to pry it off, I quickly gave in and pulled out my hammer! A few wacks, off it went!
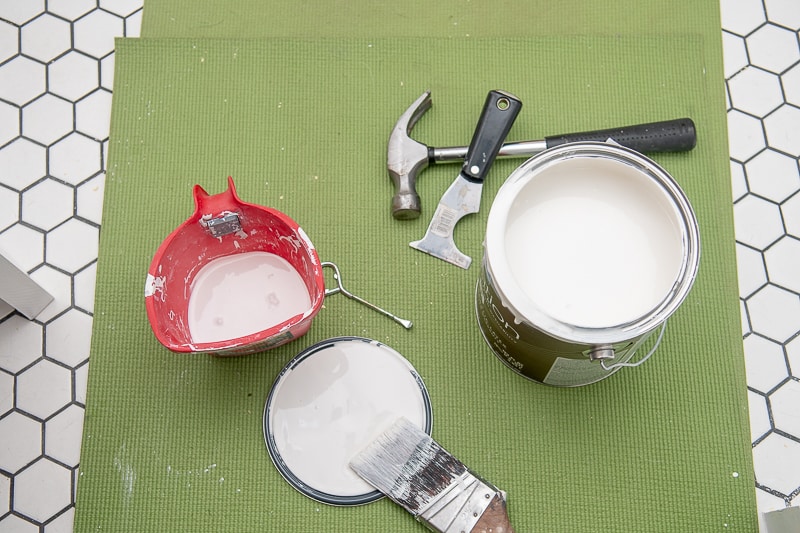
Next, using a hammer and an all purpose tool, I pried off the splash plate from the wall. Once both wall plates were off the wall, I filled any holes or blemishes with joint compound.
I haven’t decided if I’m tiling or leaving this area, but I want to make sure it’s repaired either way.
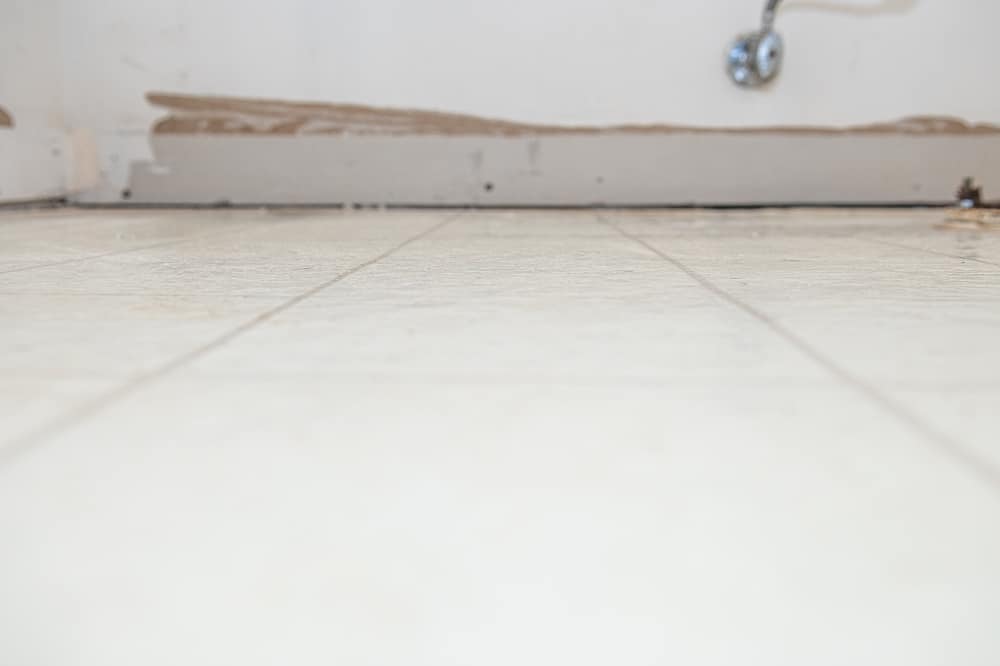
REMOVING THE BASEBOARDS
The last thing I wanted to do before starting to lay down the cement board was remove the old baseboards. Using a crowbar and a hammer, I removed the baseboards around the entire room. There is something satisfying about demolition! I will say, do yourself a favor and score with a knife before prying the board off the wall. This will prevent drywall damage. Take my word for it.
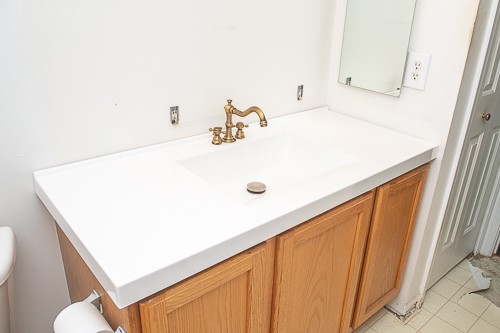
THE NEW VANITY TOP
I purchased this 49″ white vanity top from Home Depot. It’s perfect because the sink is already built in! One less thing I needed to address. It was light-weight enough I could position it by myself into the vanity. A little heavy duty liquid nails on the frame and then let it dry for 24 hours. Totally new look!
INSTALLING THE FAUCET
Plumbing is SO out of my world of DIY. I have unclogged, fixed a leak, but nothing quite like this.
It took me 30 minutes to unscrew the parts to this faucet before I could even begin the installment. Once I got everything prepped, I started with the faucet. I silicone caulked the faucet in place and tightened it down to the vanity. It may never come off!
When I started to install the knobs, I ran into a small error. I swear I measured, double and triple checked that everything would work out. Unfortunately, it wasn’t working out. The right fit beautifully, the left didn’t! Time to improvise. I took the decorative plates off and installed them anyhow. It was perfect! Good thing because I’m certain these aren’t ever coming unscrewed from the vanity top!
Well, there you have it! Week one is complete.
I didn’t really feel like I was making progress till sitting down and typing this all up. I’m feeling a little better after reflecting on it. I’m so very thankful for this challenge and the opportunity to push myself!
I also cannot wait to have the flooring installed! Thanks to curbside pickup, I now have tile! Make sure you’re following my Instagram for daily updates and the inside scoop on the whole project. I often ask for opinions and advice.
Thanks for visiting my little piece of the internet!
I’m Maria, a lover of furry things, coffee and anything creative. This blog is where I love to share affordable home decor ideas, great DIYs, yummy recipes, unique crafts and so much more.