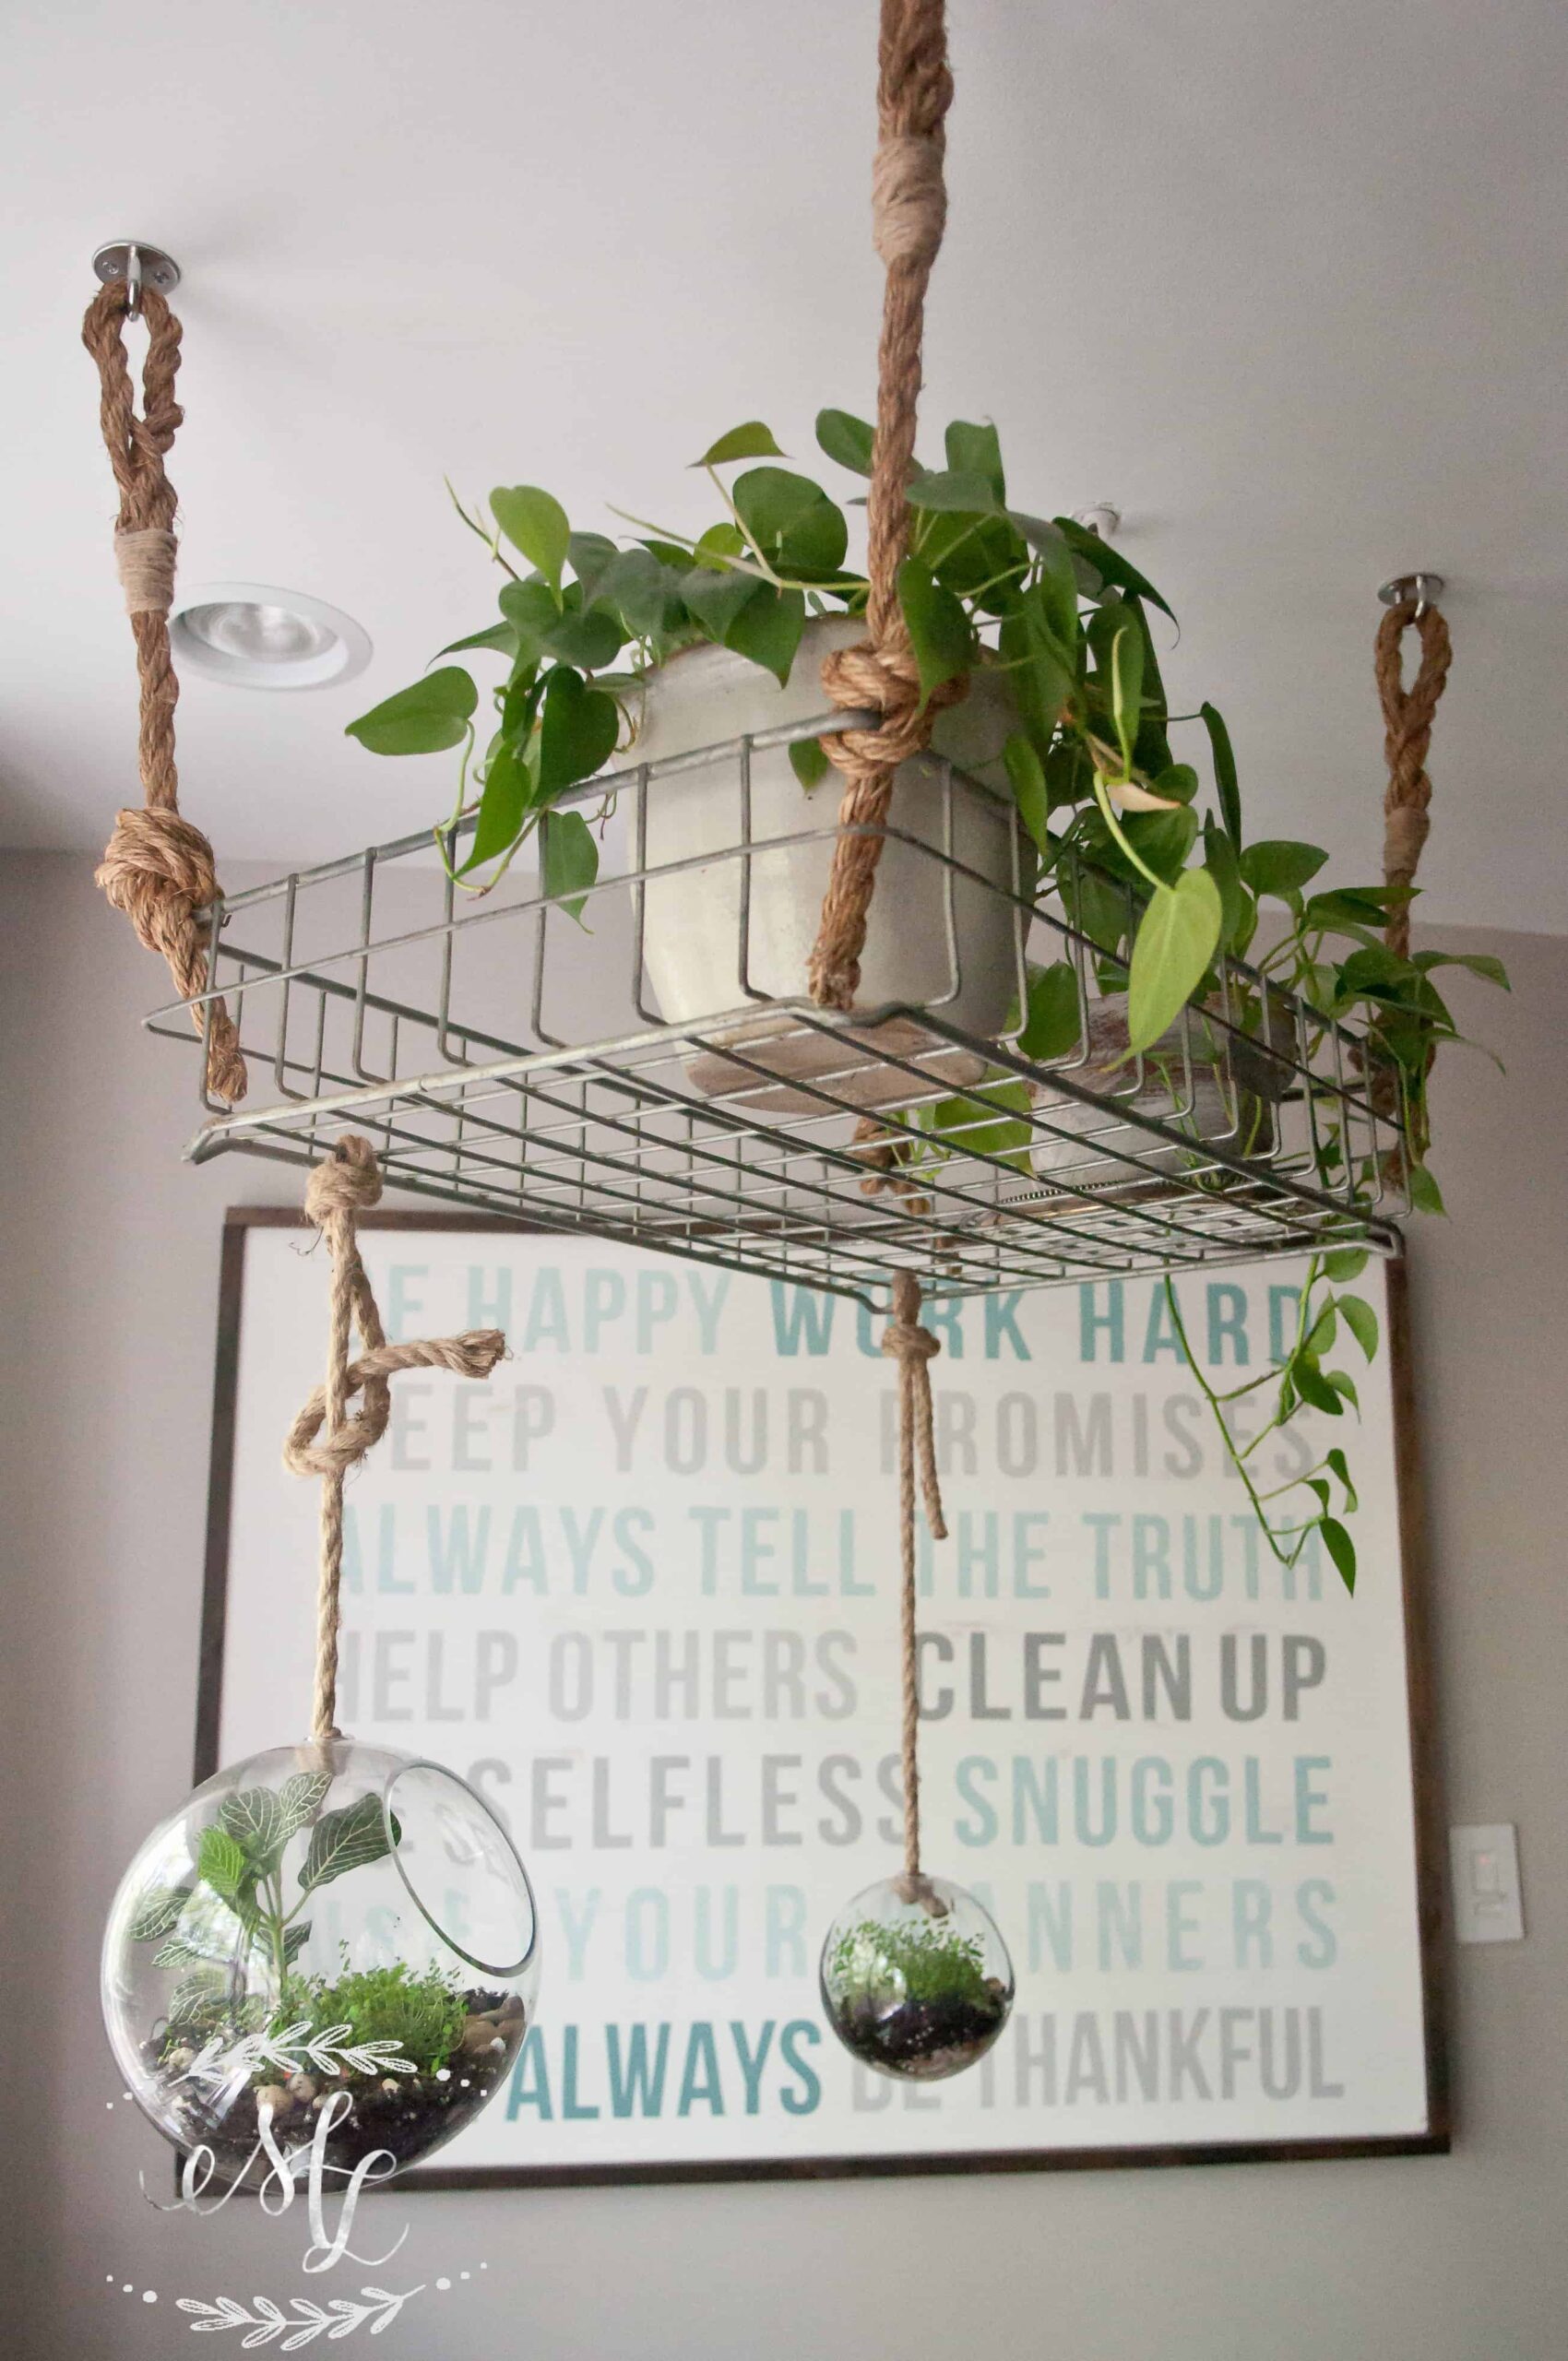
Since my little trip to Virginia, I have been obsessed with indoor handing garden. I saw so many creative ways to hang planters from various pieces of architectural salvage and LOVED the look. Now, I don’t have the best spaces in my house to put something like this together, but I wanted to incorporate it somehow.
Finding a Location
There were a few things we needed to consider when finding a space for our hanging garden. First, it needed to be some place that received some light. We decided we wanted low maintenance plants, terrarium friendly due to the glass planters we chose. You also need to consider the possibility for a draft from air vents or close by windows or doors. We do have an air vent in close proximity, but simply bought a $5 plastic shield to guide the air away from the plants.
Lastly, make sure you have an appropriate plan for anchoring your hanging garden. I recommend at least one anchor into a stud or masonry. I would not rely on drywall alone, unless you are hanging a single plant weighing less than 50 lbs. Drywall anchors are designed for shearing forces, not direct downward pull. Keep this in mind when finding the best location.
What You'll Need
I put together a list of the things we used to create our little indoor hanging planter garden space. Again, depending on your needs, items may vary.
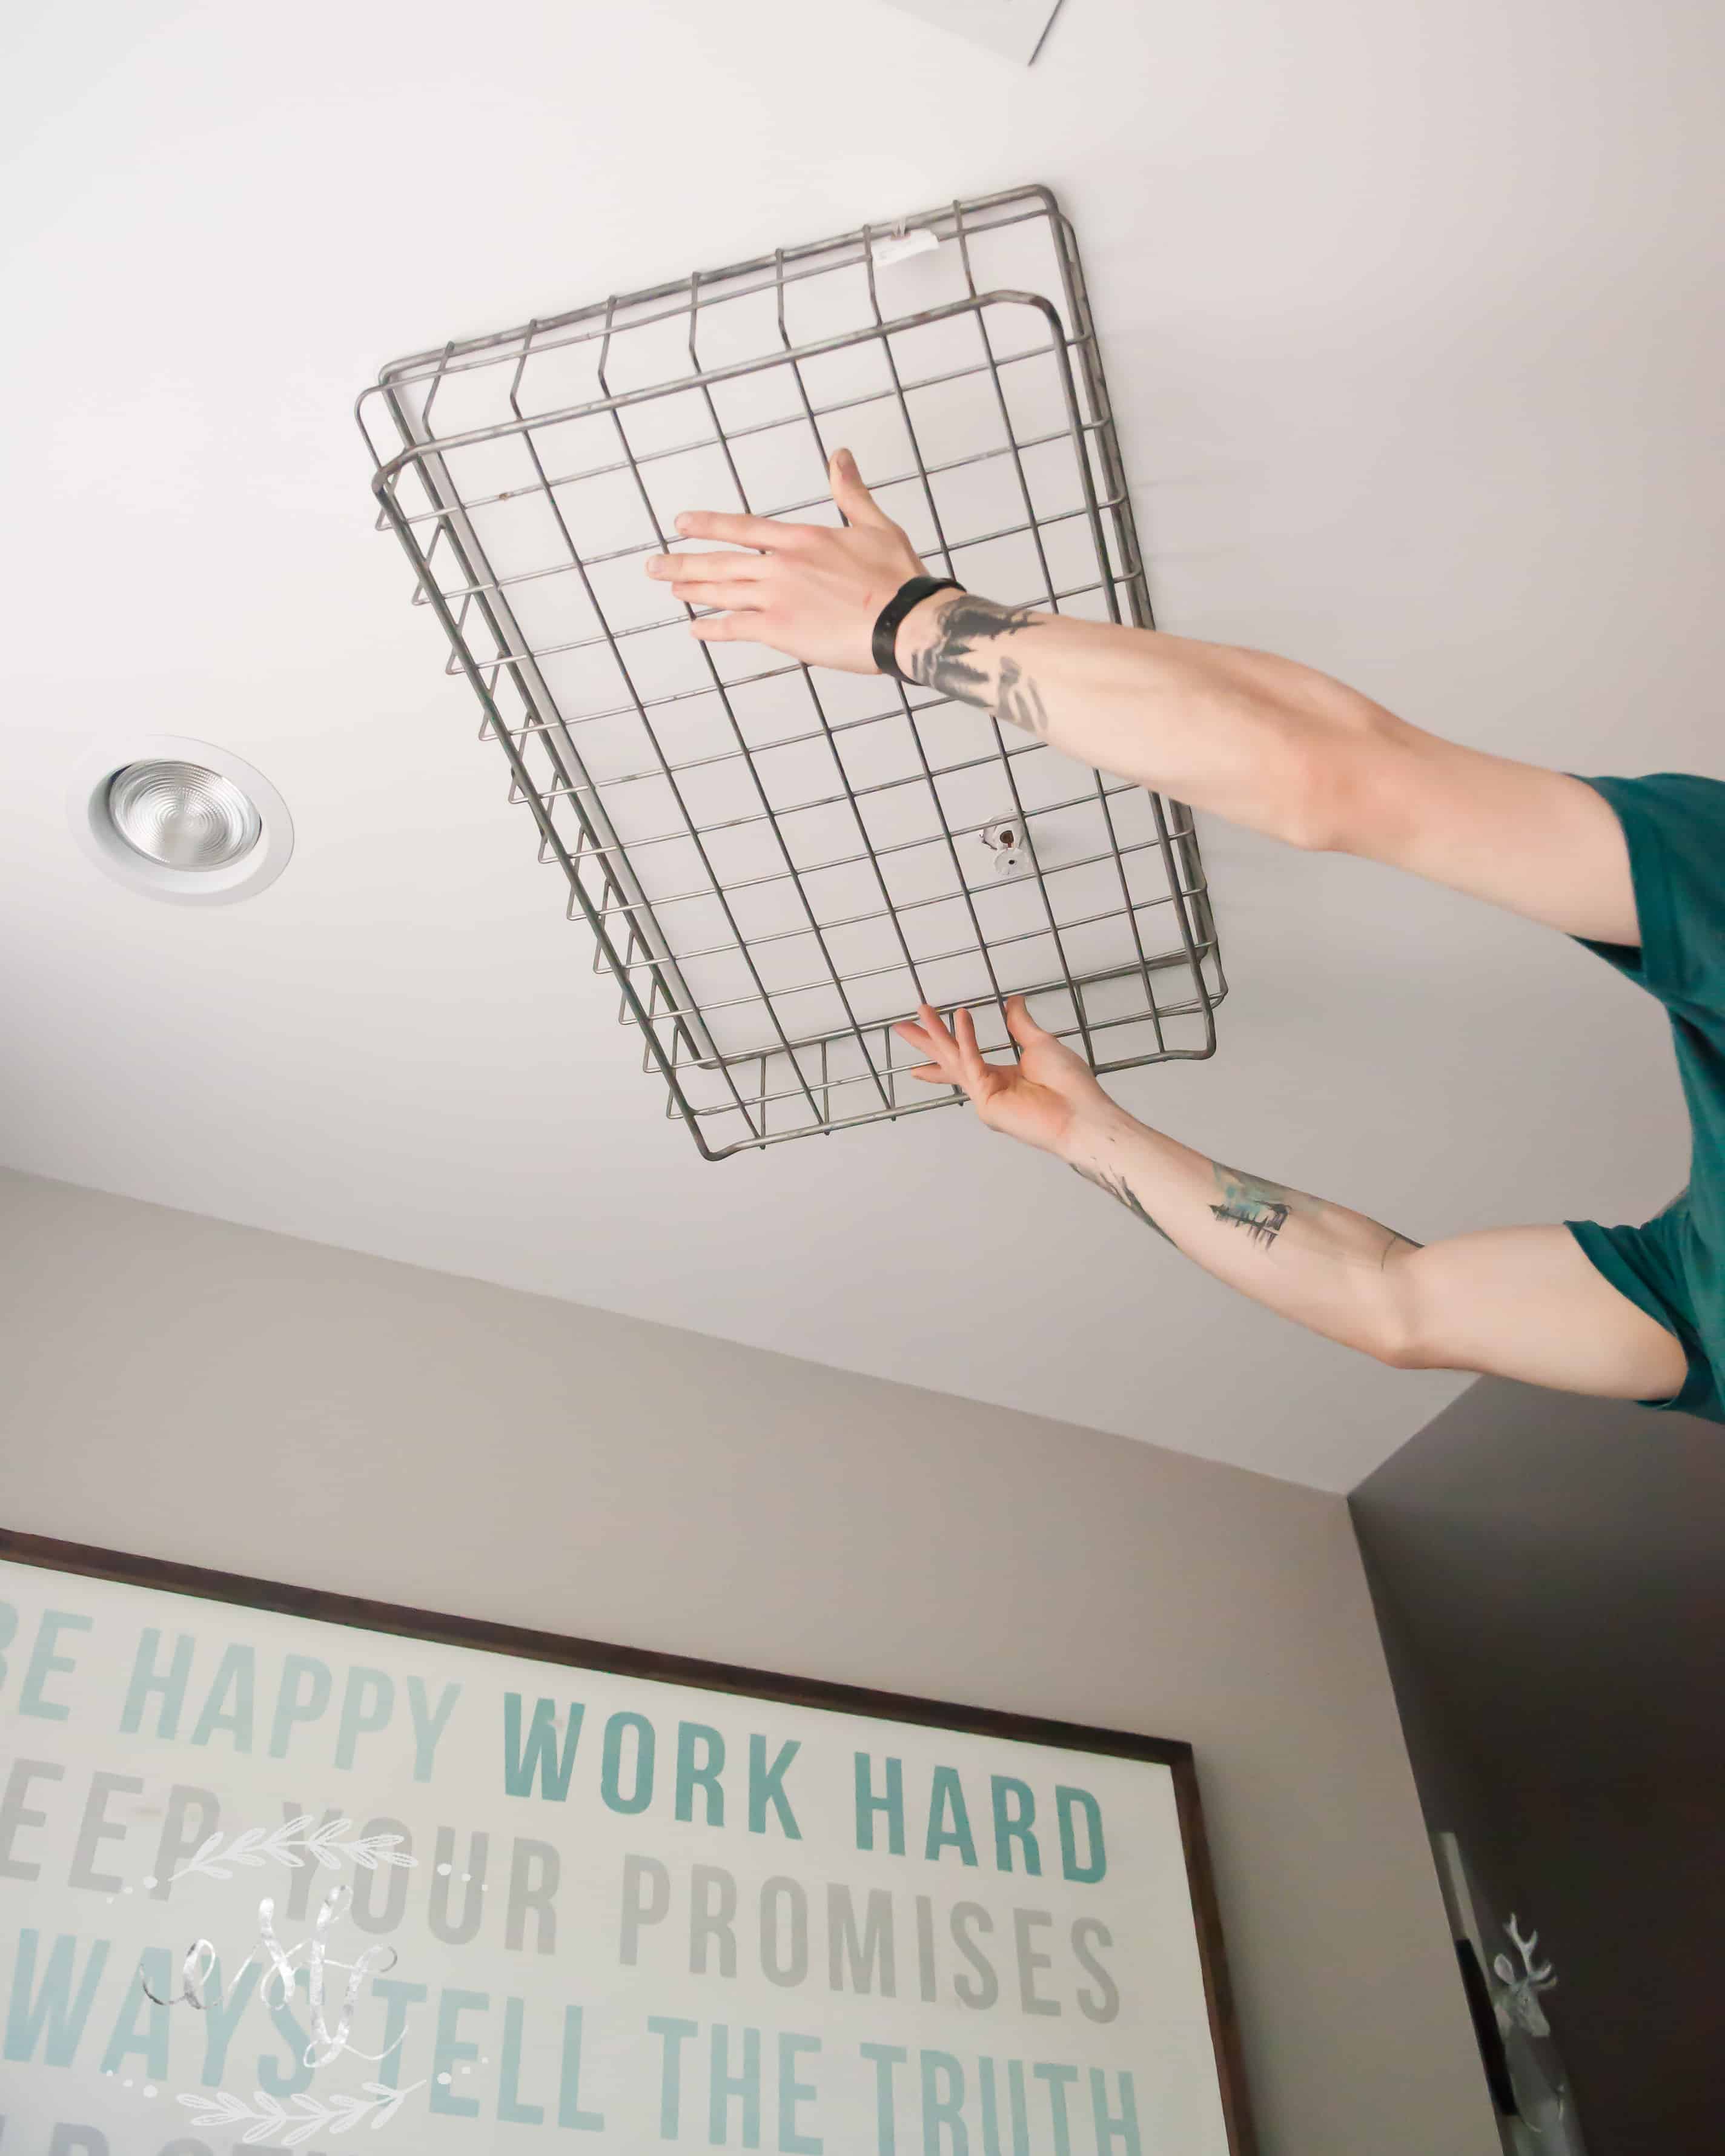
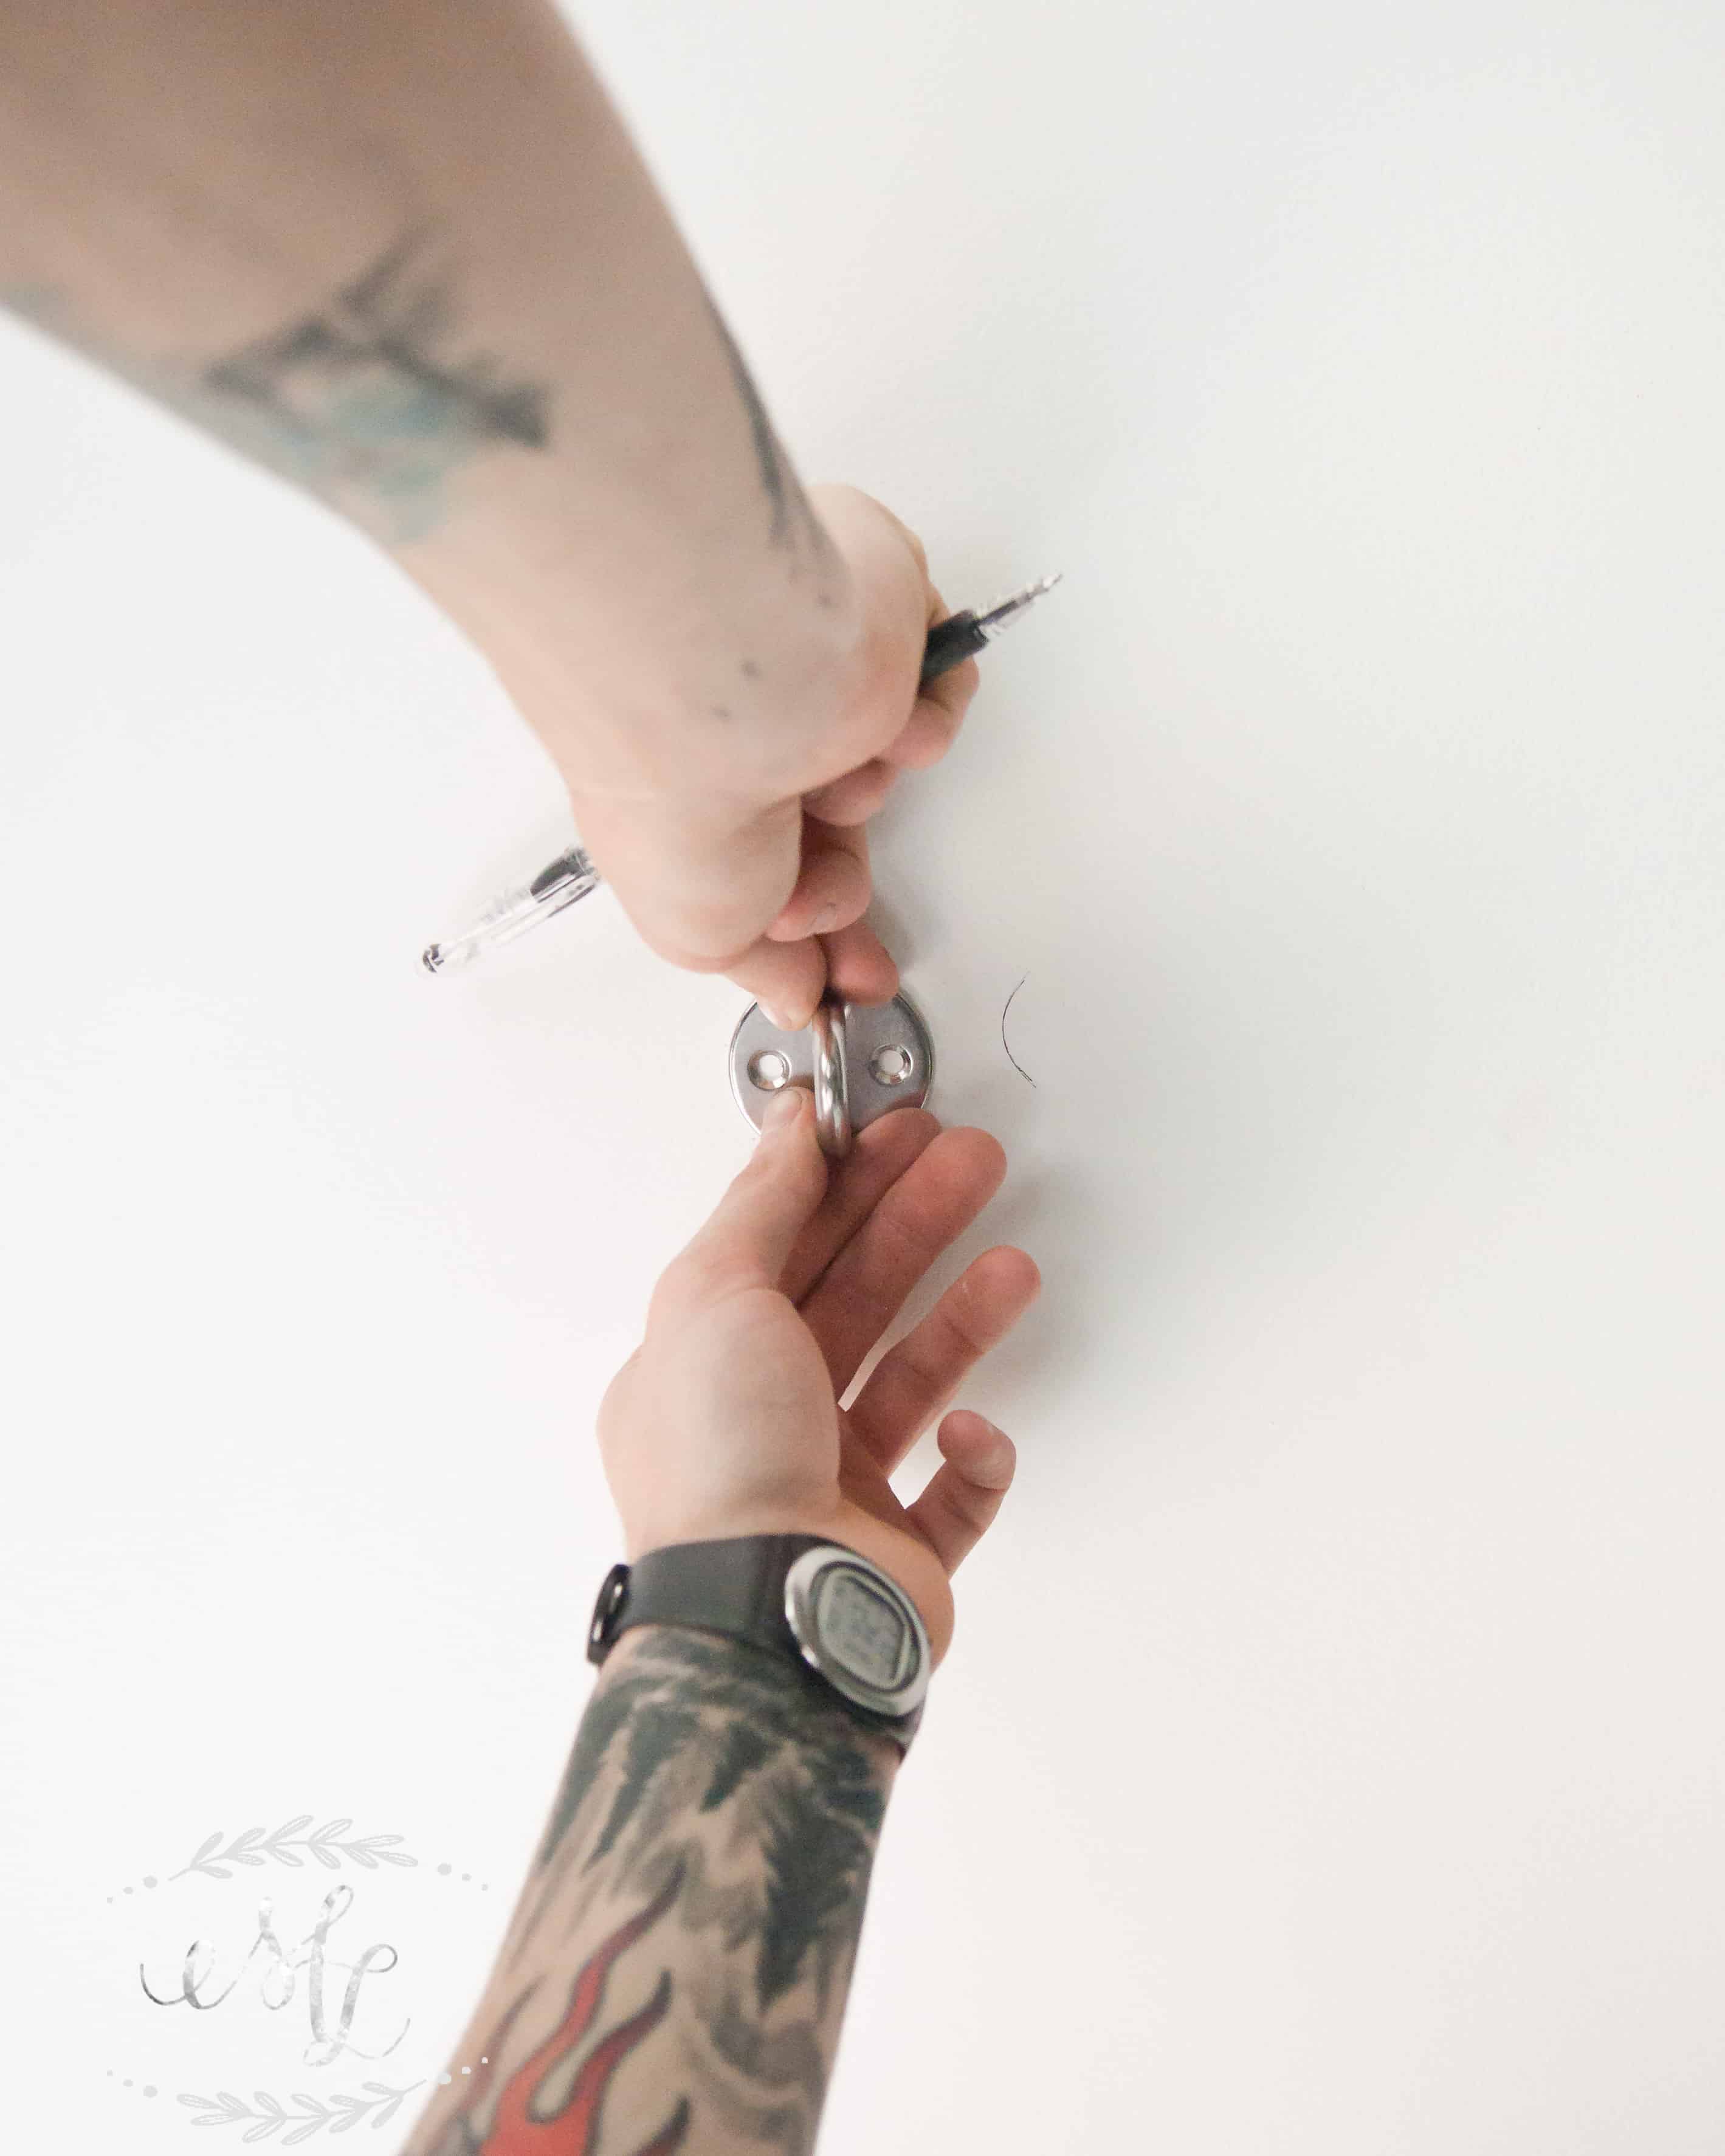
Once we settled on the perfect spot for our hanging indoor garden, we needed to hang the framework. First, Eric held the wire drawer approximatly where we wanted it to hang. Rough guess at best! We lifted it up till it contacted the ceiling and sketched the corners in pencil.
We wanted to angle the ropes slightly larger than the frame, so we decided to measure out 2 inches from the corners. This was mostly an esthetic choice for us. {Yes, Eric’s watch is backwards, don’t ask…}
The Anchors
With a stud finder, we determined only one of our brackets were going to be anchored into a stud. This meant we were going to need some heavy duty drywall anchors!
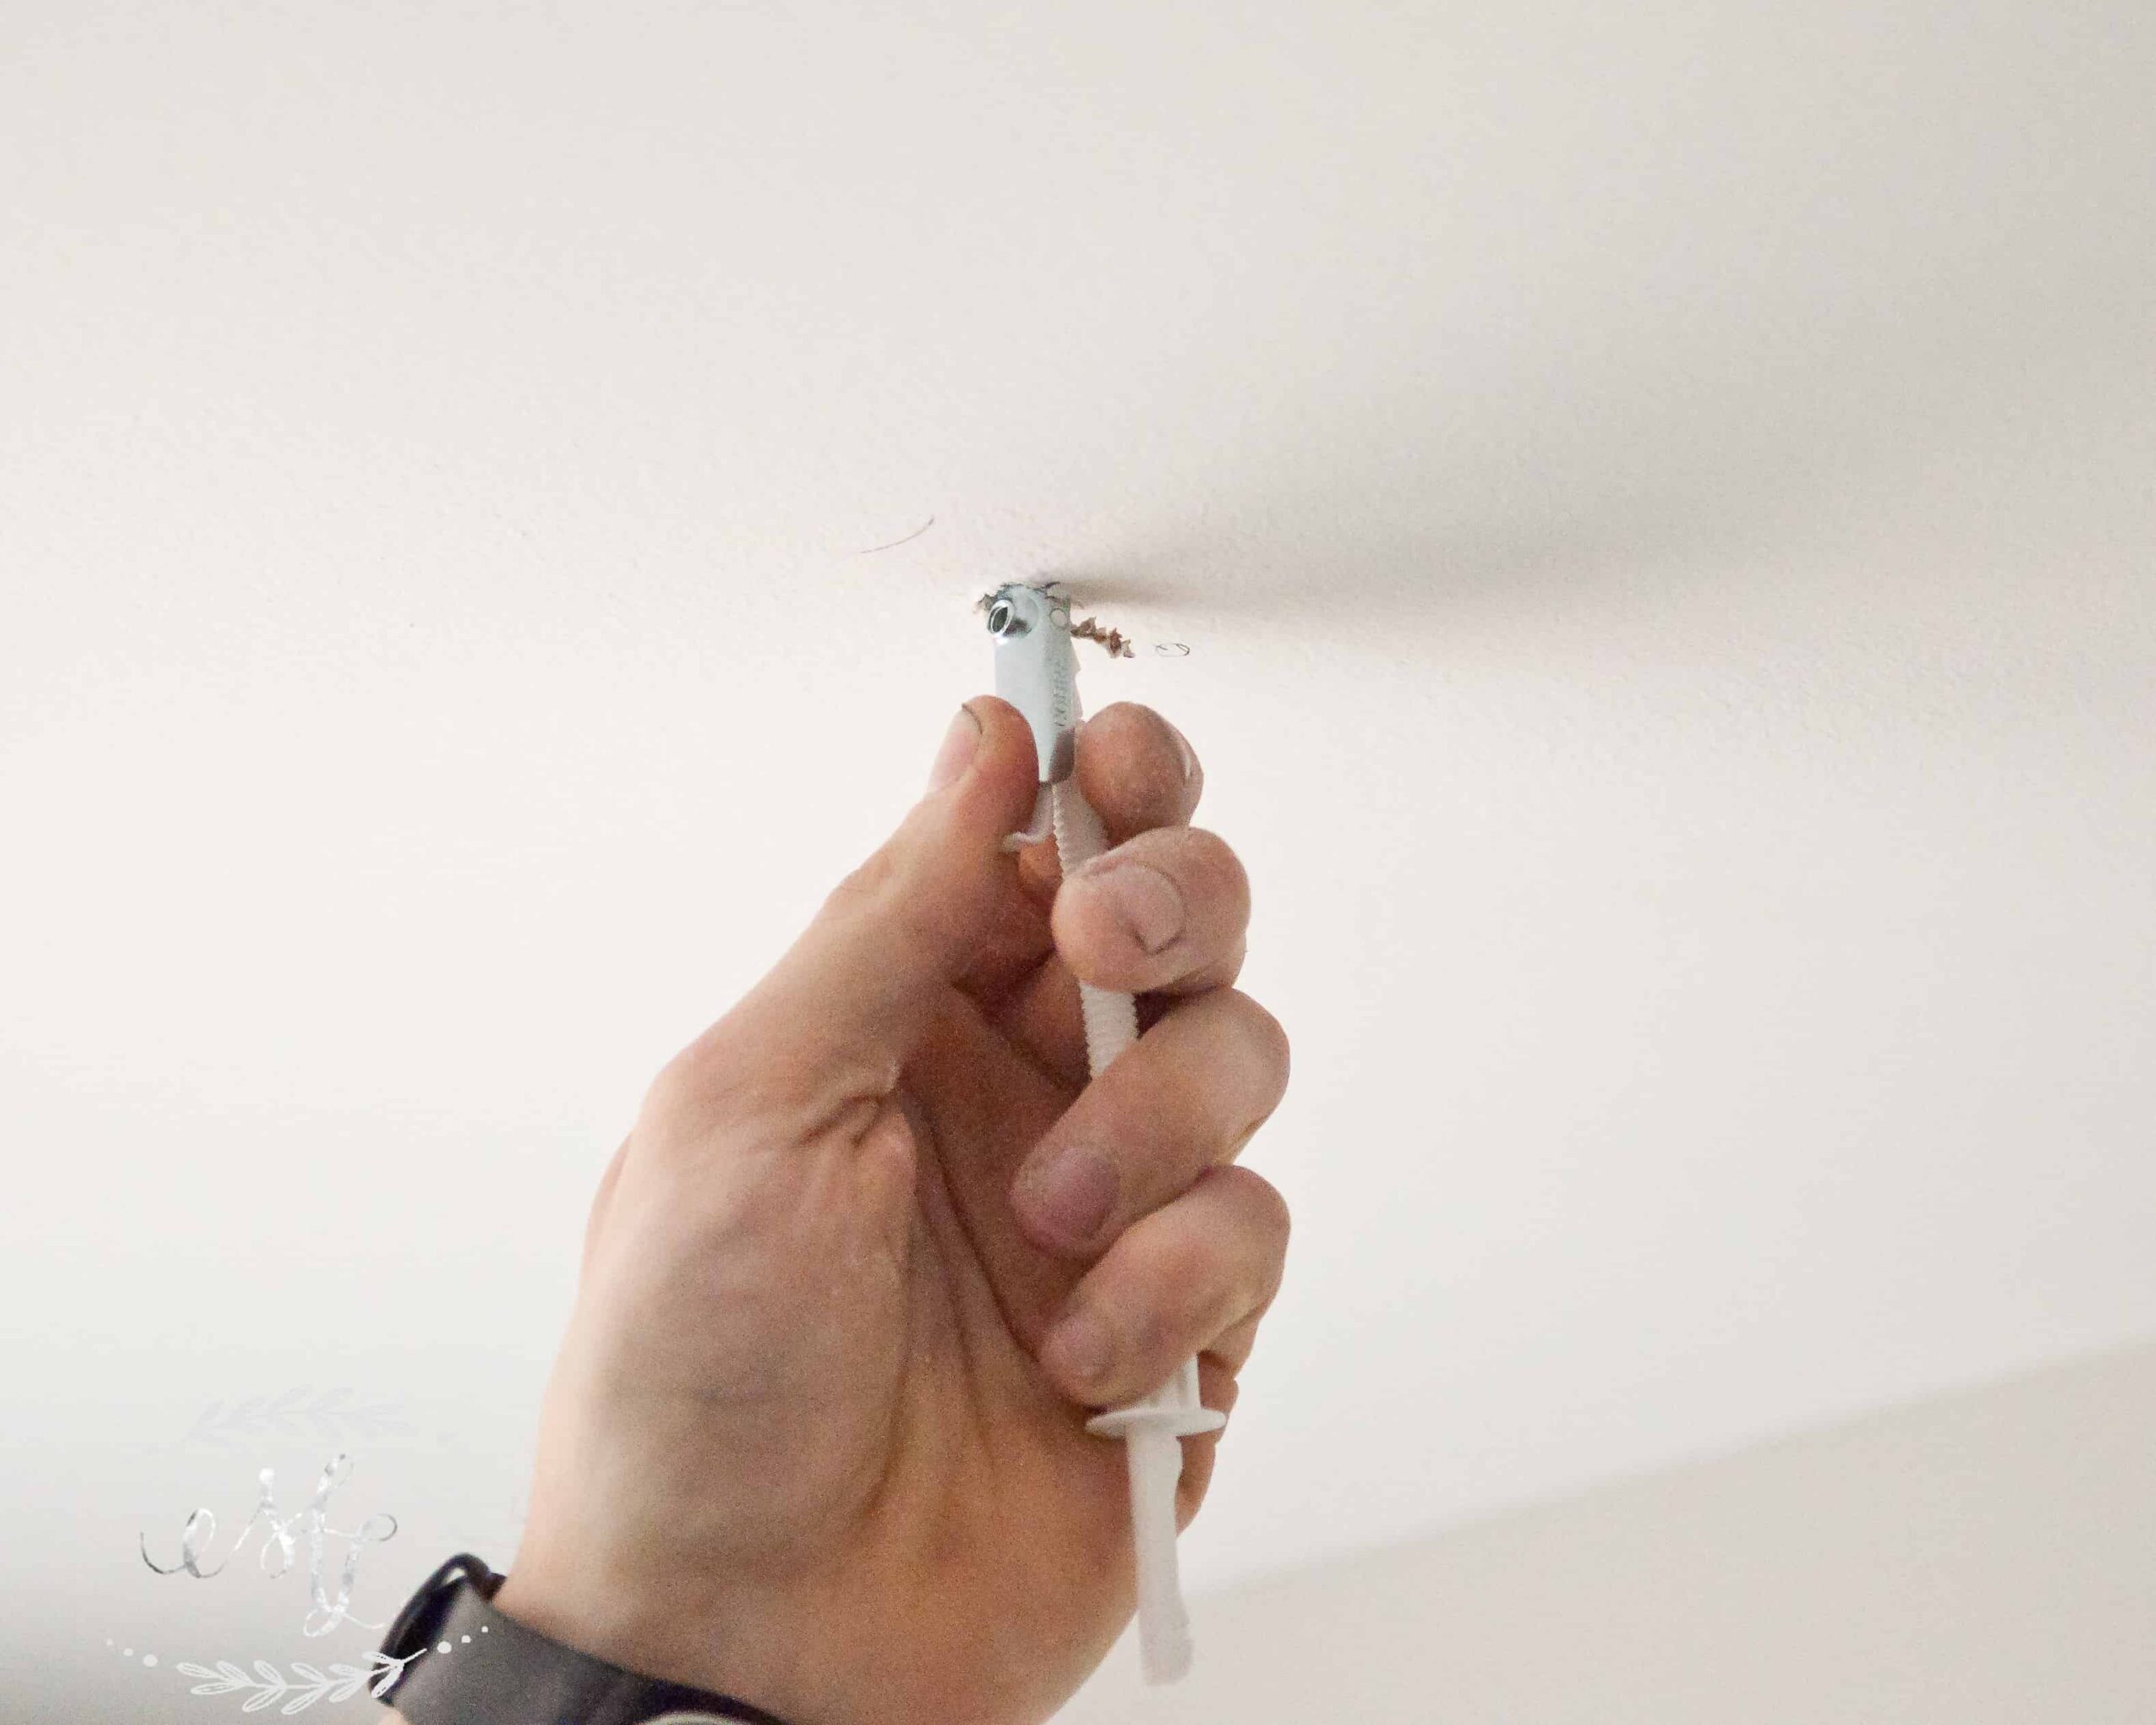
After a lot of anxiety some research, we went with snap off toggle bolts. These are sometimes called Molly bolts too, but they are the same type of anchor. We went with the Fliptoggle brand we picked up from Home Depot. They are easy to install and can hold up to 120 pounds each in ½” drywall. They come with a cool little plastic spring that makes sure the toggle seats correctly once placed through the drywall.
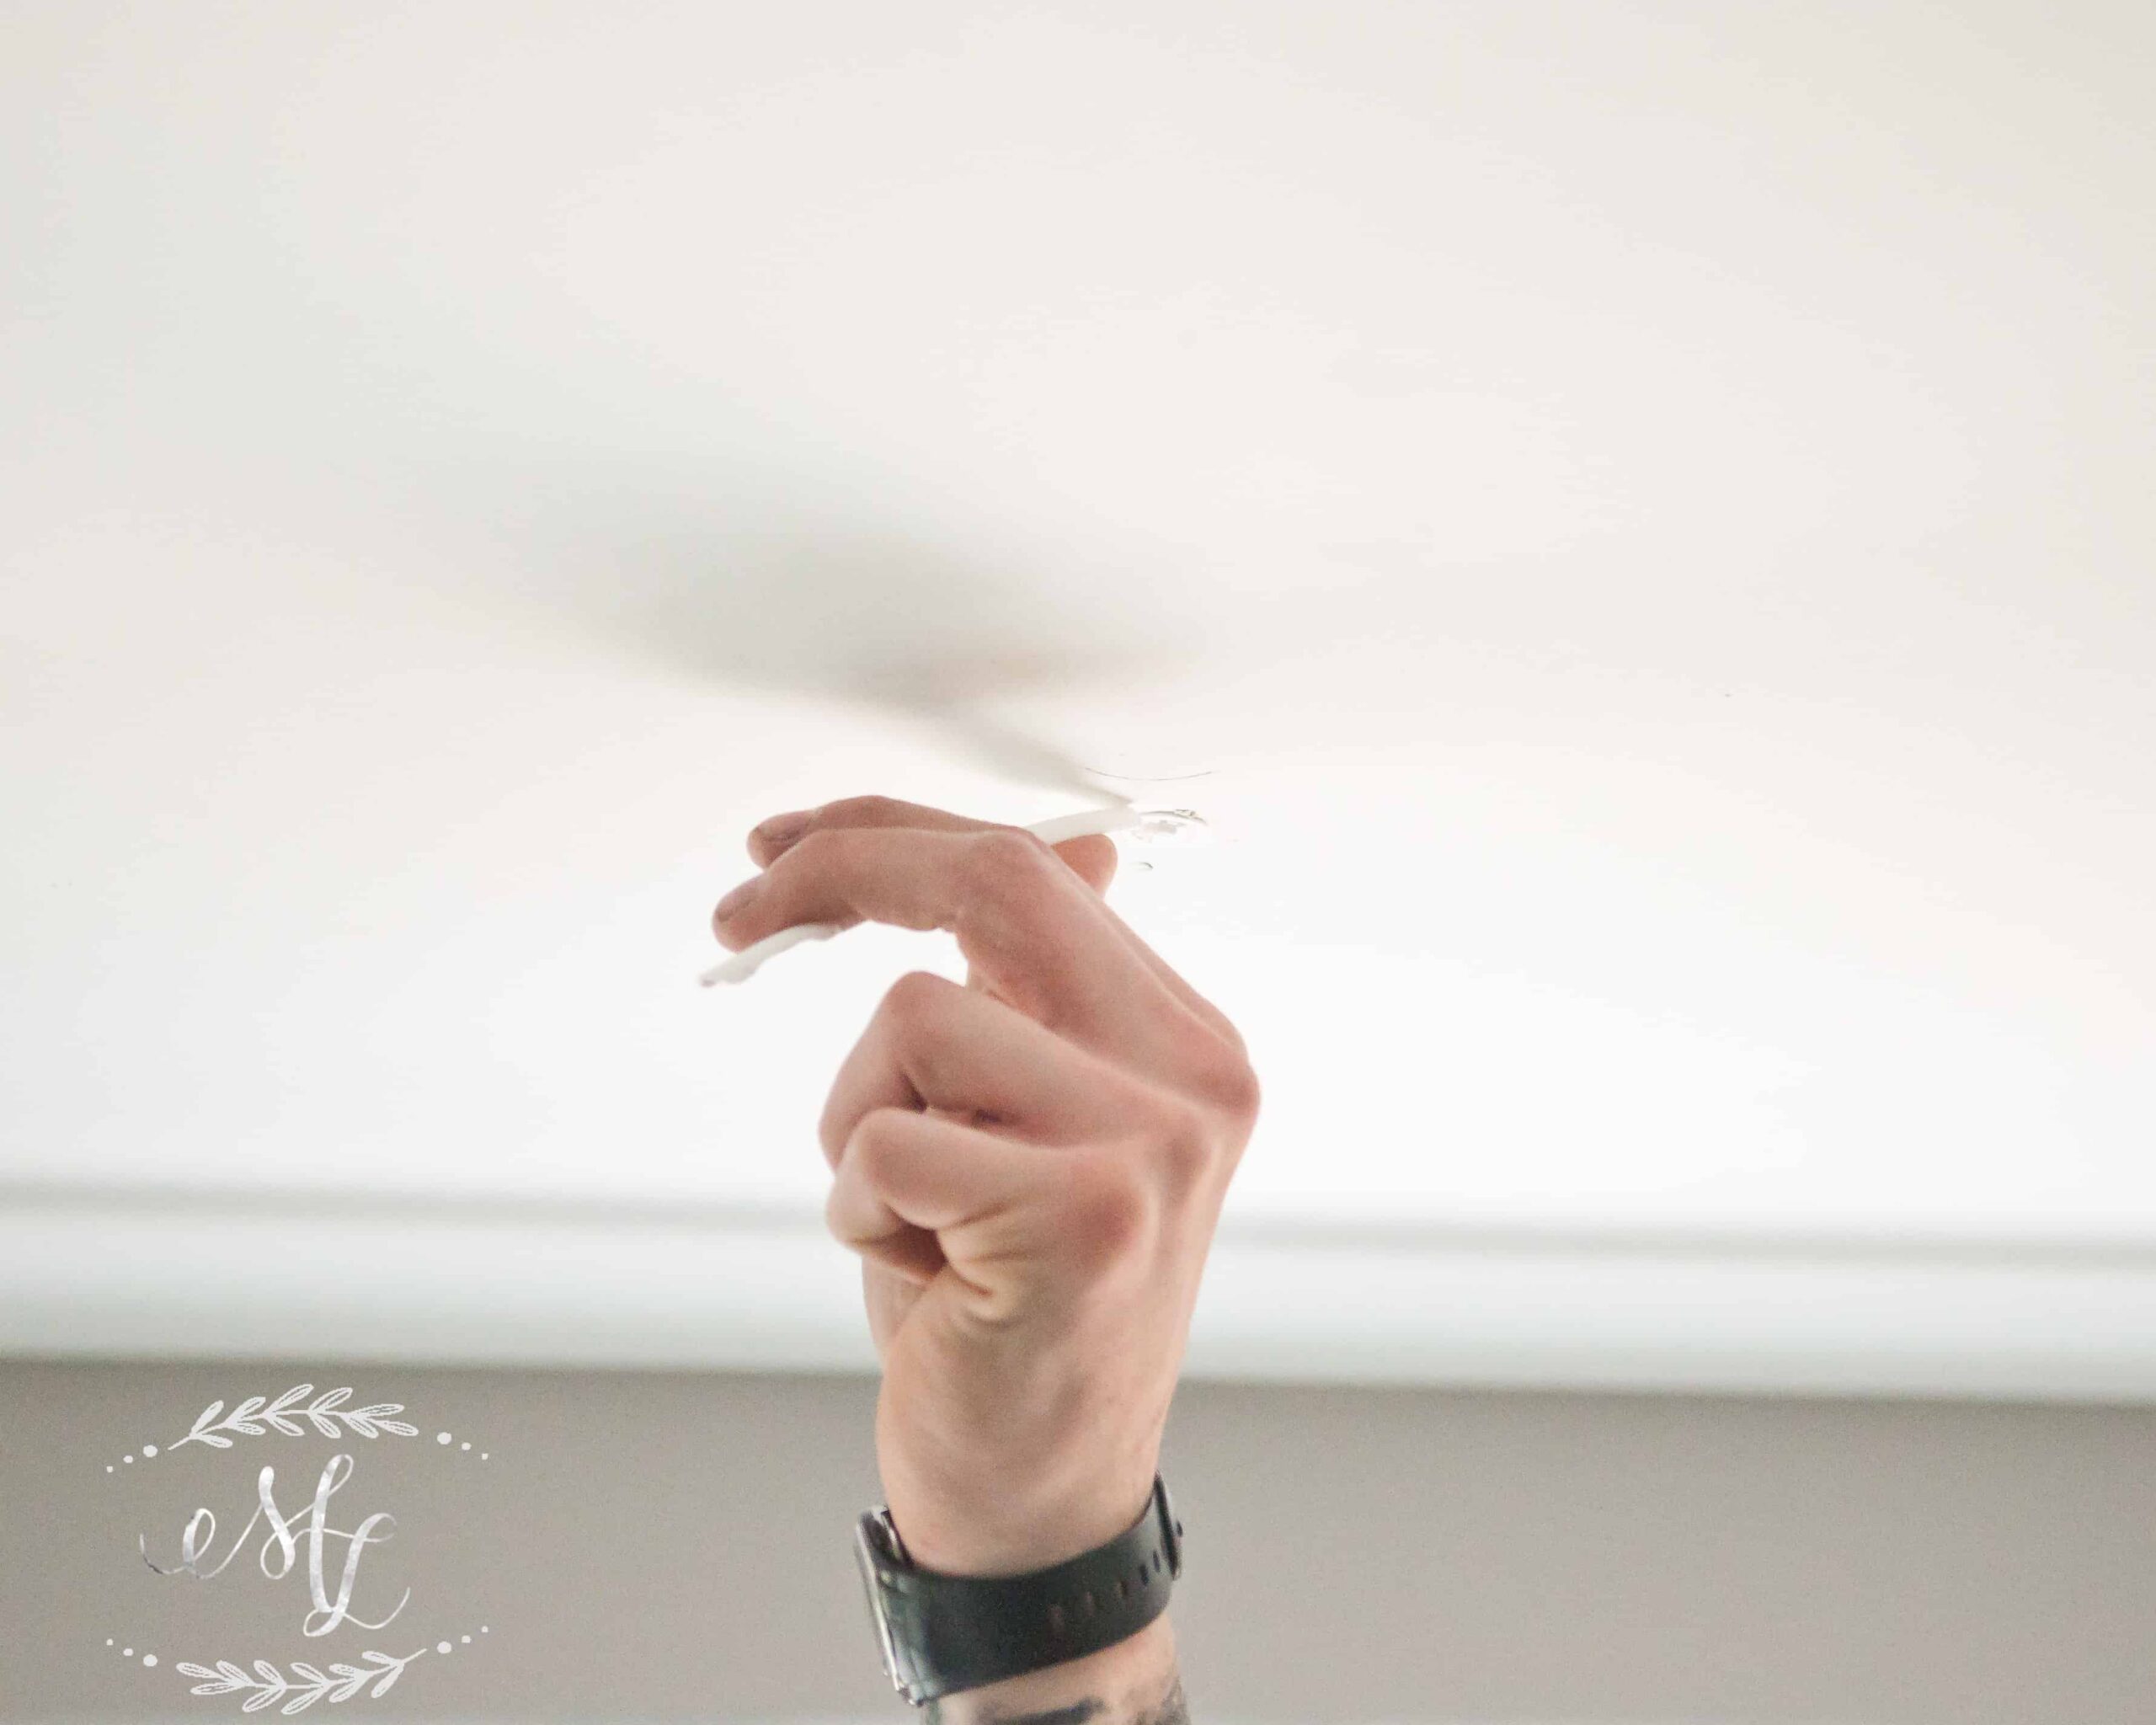
To install the drywall anchors, we predrilled our marks per the instructions with the appropriate size bit. The ones we purchased called for a ½” drill bit and allowed the smoothest installation. After we drilled, we simply pivoted the toggle on the plastic zip and put it through the hole. Love those little springs to make sure the toggle was in place! After the toggle was on the other side, we slid up the plastic sleeve till it clicked into place tightly against the drywall. This locks the toggle into the drywall and makes installing the screw a synch. After that, you just simply snap off the excess. It’s that easy!
Once the toggles were in place, we put the bracket against the wall and drilled the screw slowly into the toggle till it was snug. Make sure you don’t over tighten! You will damage the drywall.
We made sure the alignment was correct with the rope being angles towards the corners of the piece so the rope wouldn’t twist awkwardly once it was hung. Again, purely esthetic.
The Rope
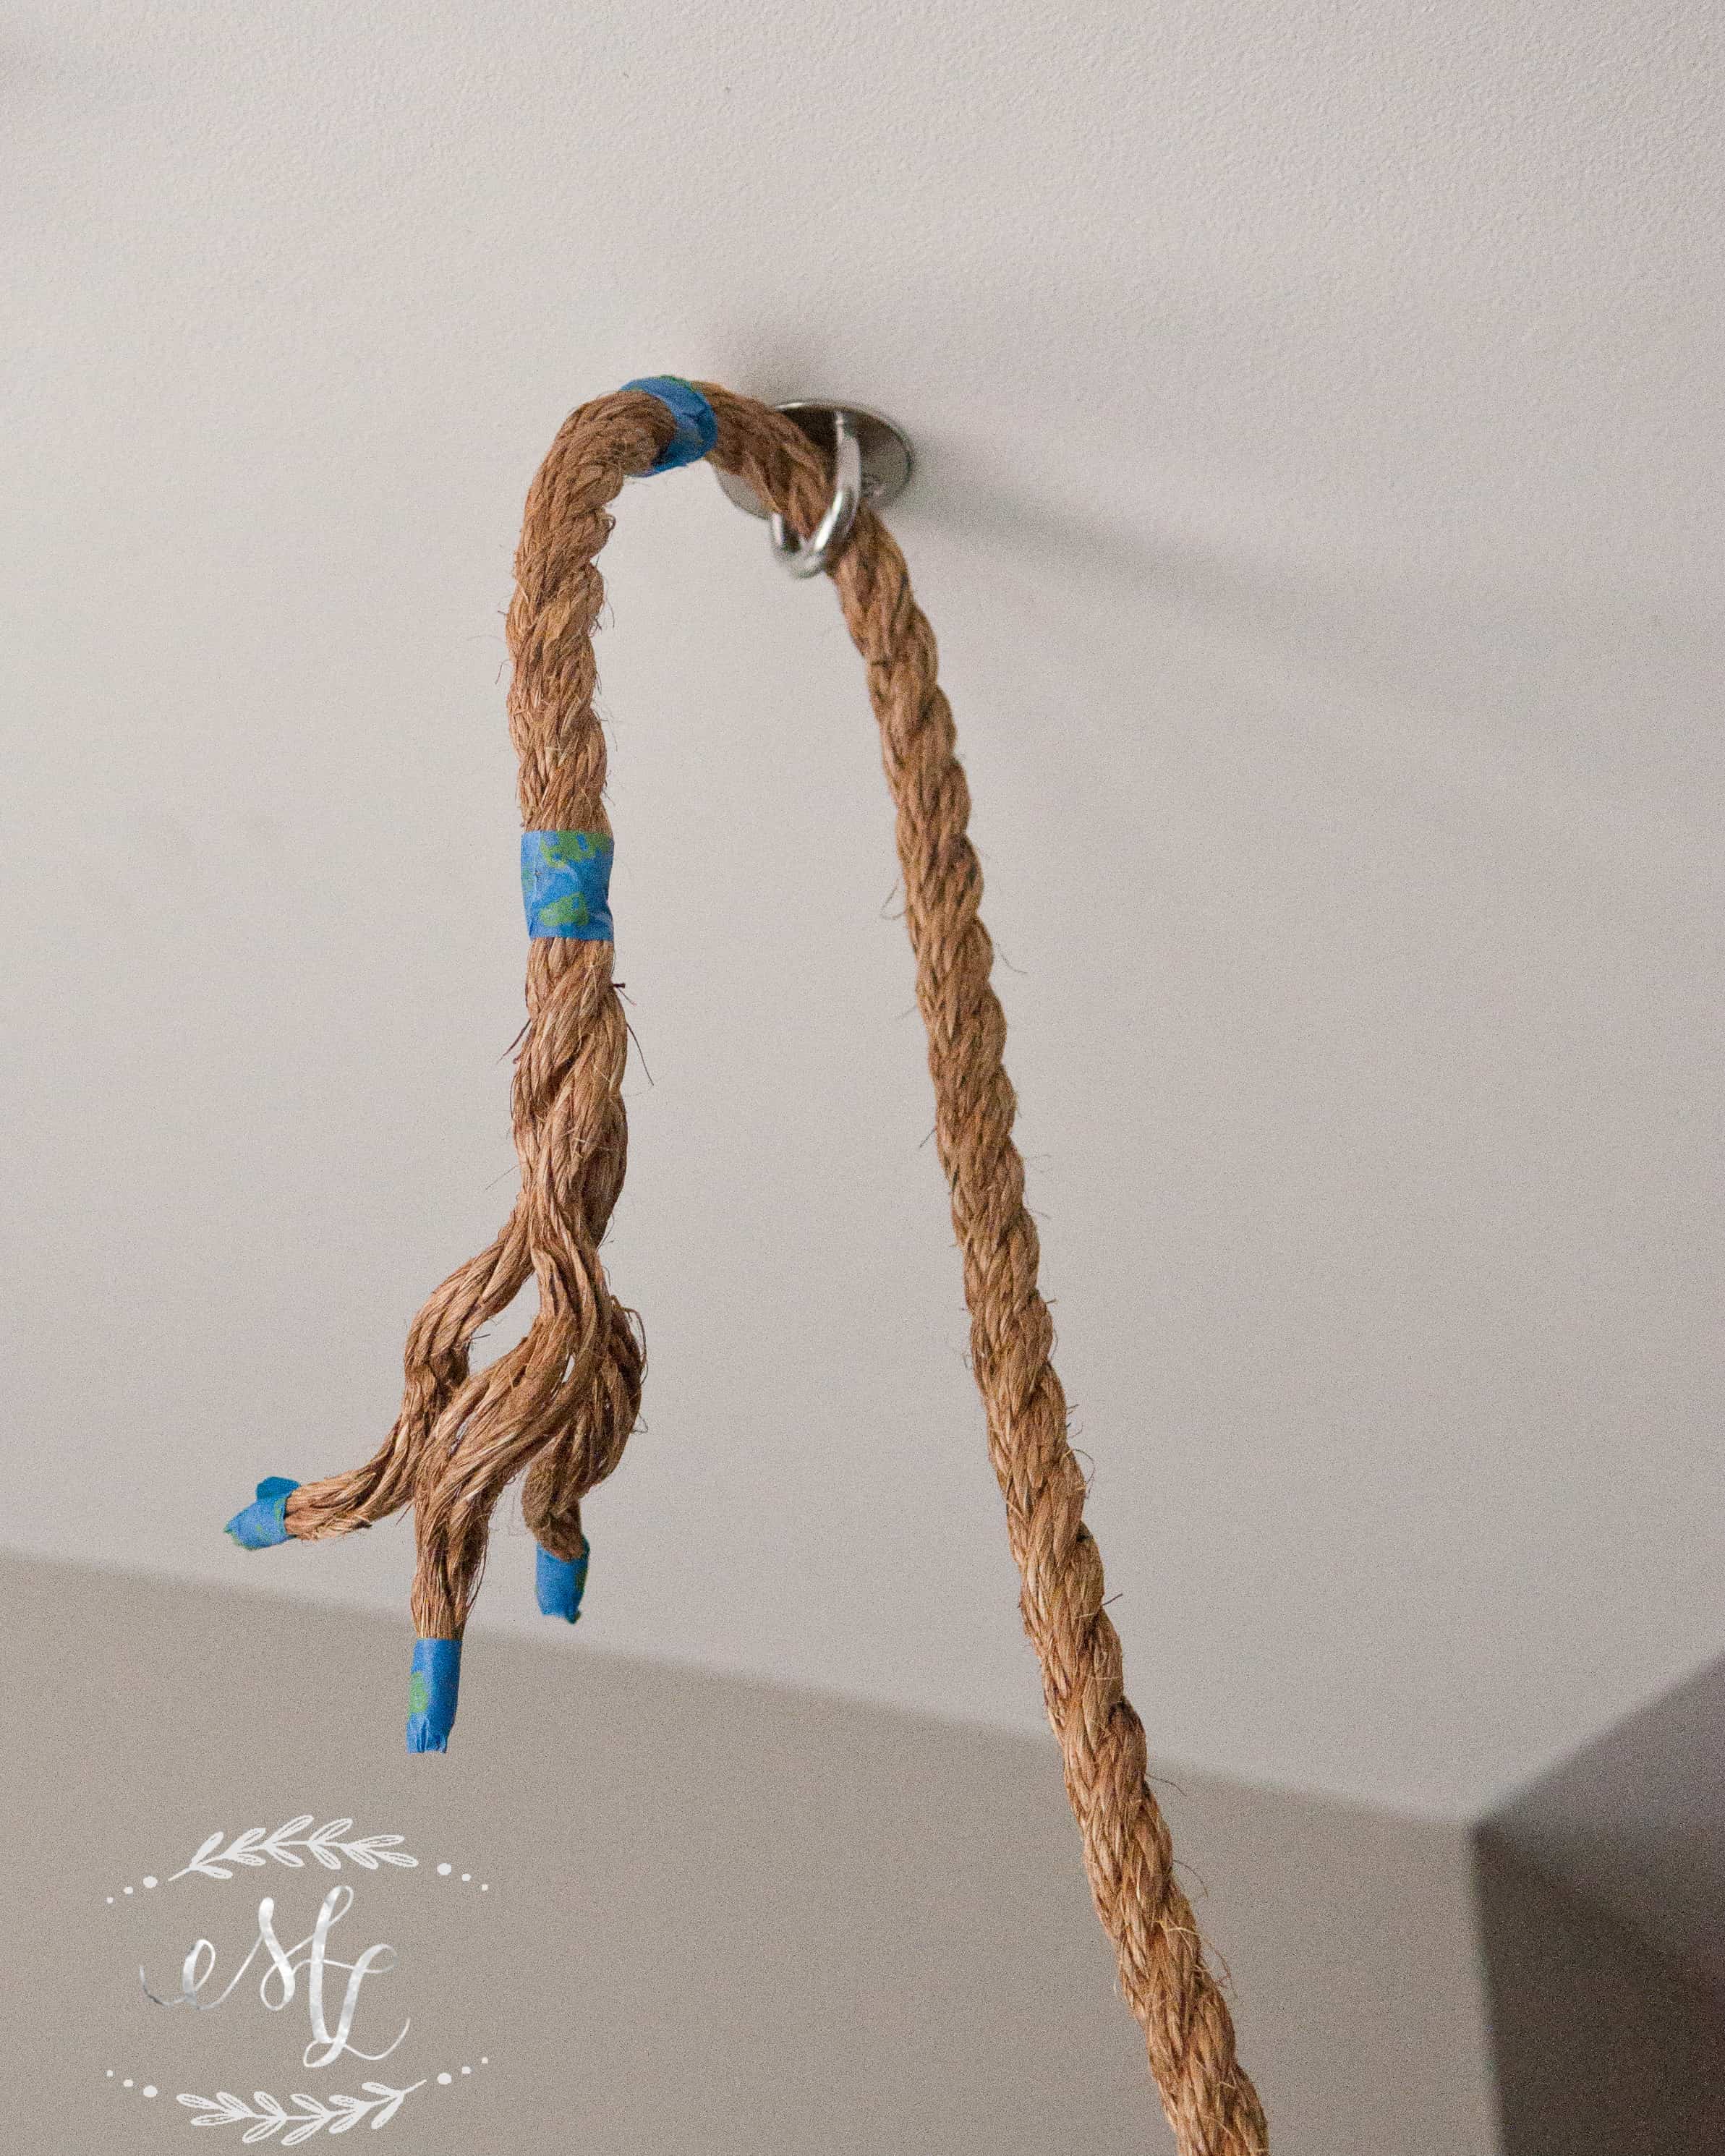
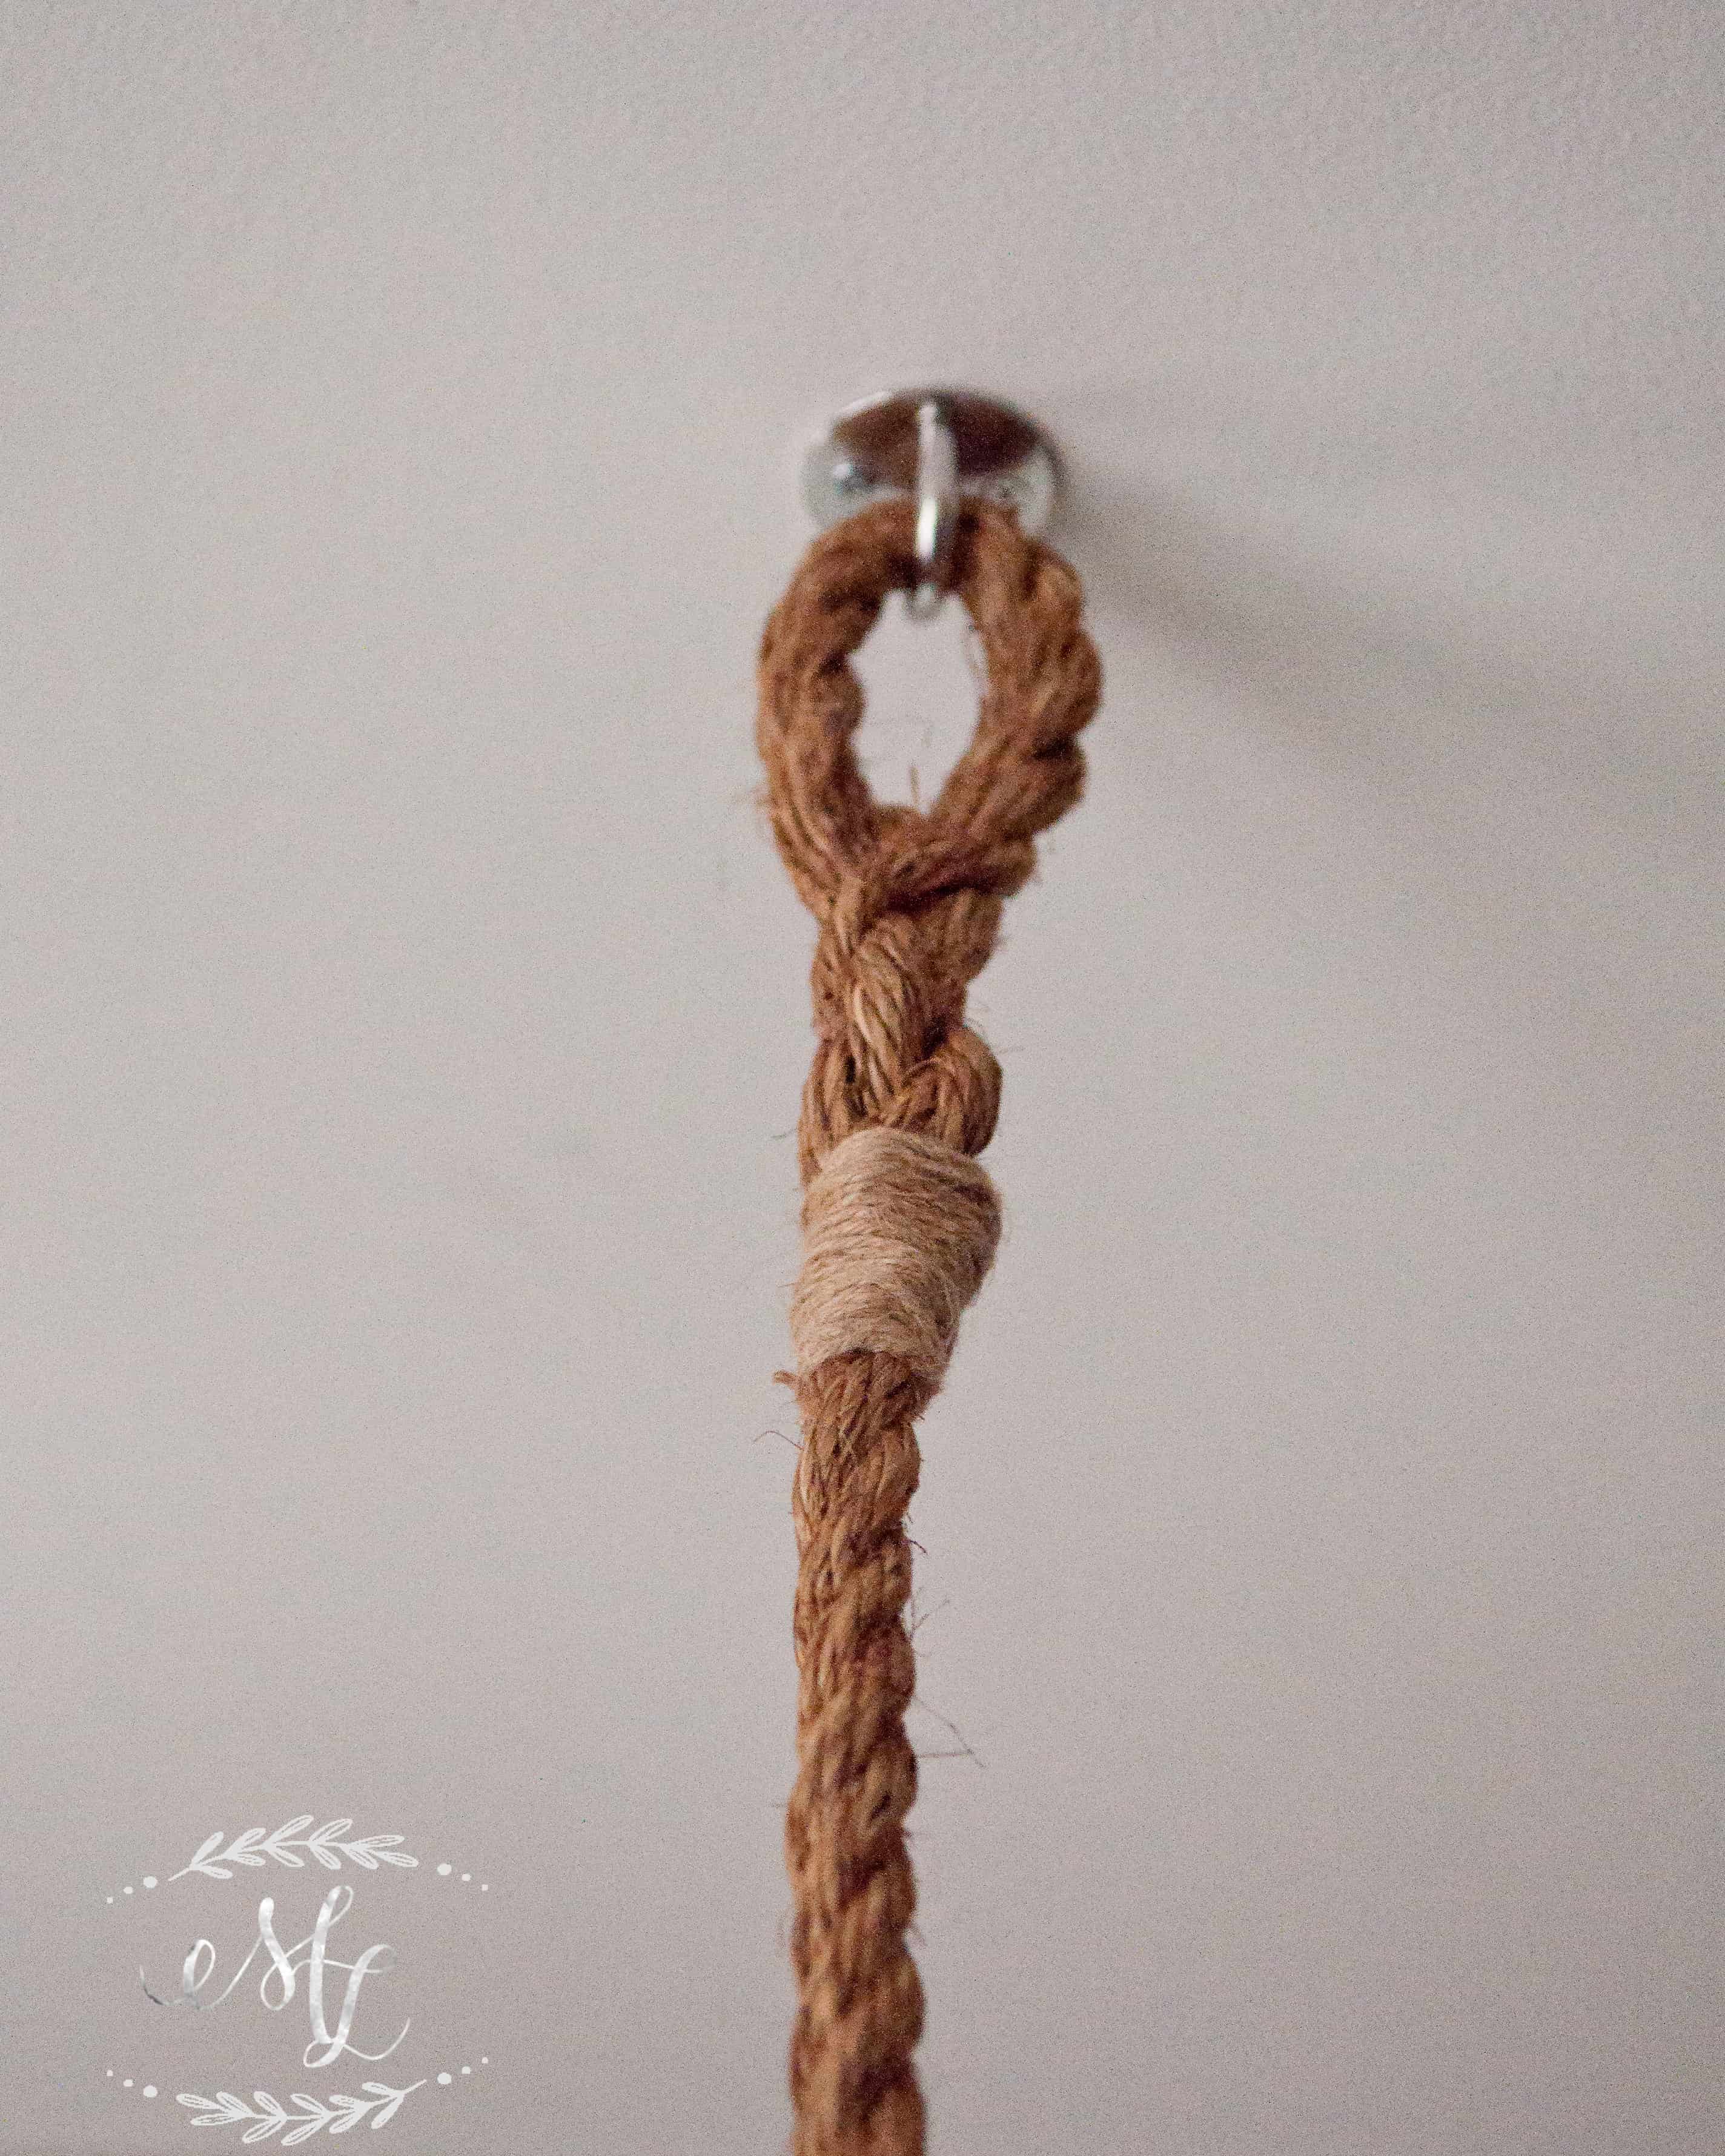
So, I debated how to tie the rope a bazillion different ways. I wanted something sturdy but pleasing to look at. I fell in love with the eye splice. It was clean and sturdy. Now, it’s also technical. So if you don’t feel comfortable there are a thousand YouTube videos on how to tie climbing knots that would absolutely be acceptable to use. I chose this video to follow to show me how to create this simple look, that’s not so simple!
Once the loop was completed, I finished the look off by hot gluing jute twine around the base to keep the loose ends from fraying. I think this makes the look complete!
Hanging The Framework
Once the eye splice knot was finished, we then decided how low we wanted the wire drawer to hang over our chair. Again with knot anxiety we needed another firm yet manageable knot to hold the framework balanced. I ran across a climbing knot called the scaffold. I followed this video to make the knot correctly. It’s easily adjusted which came in handy when trying to make sure the drawer was level.
Alright, well I hope your arms are ready for this challenge! It is a lot of overhead work. Now you get to do it three more times! Yay!
Using a level, we made sure that we were all around level the final knot was tied. Thankfully, it was easy to adjust and once locked in the rope did not give or slide. We cut the ends and added a little hot glue to keep them from unraveling. I’m officially calling this wire drawer hung!
The Planters
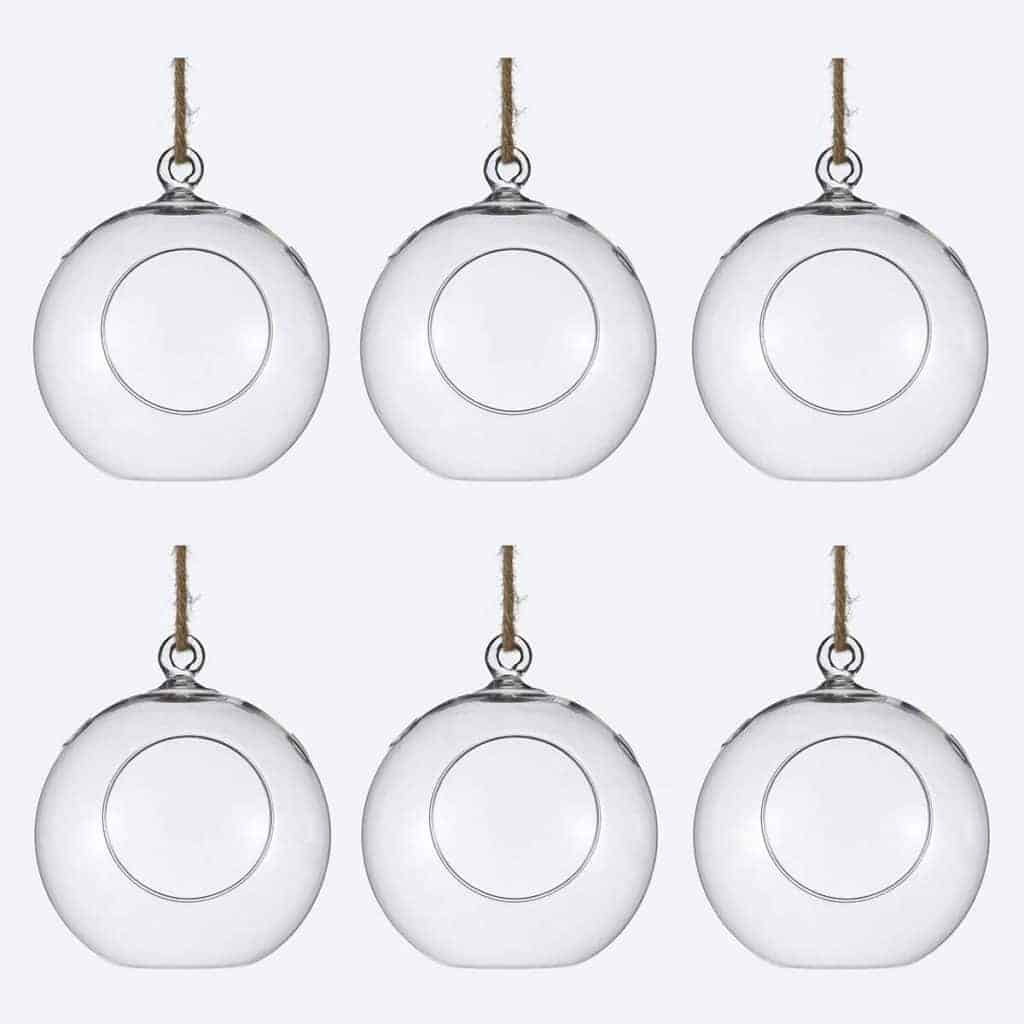
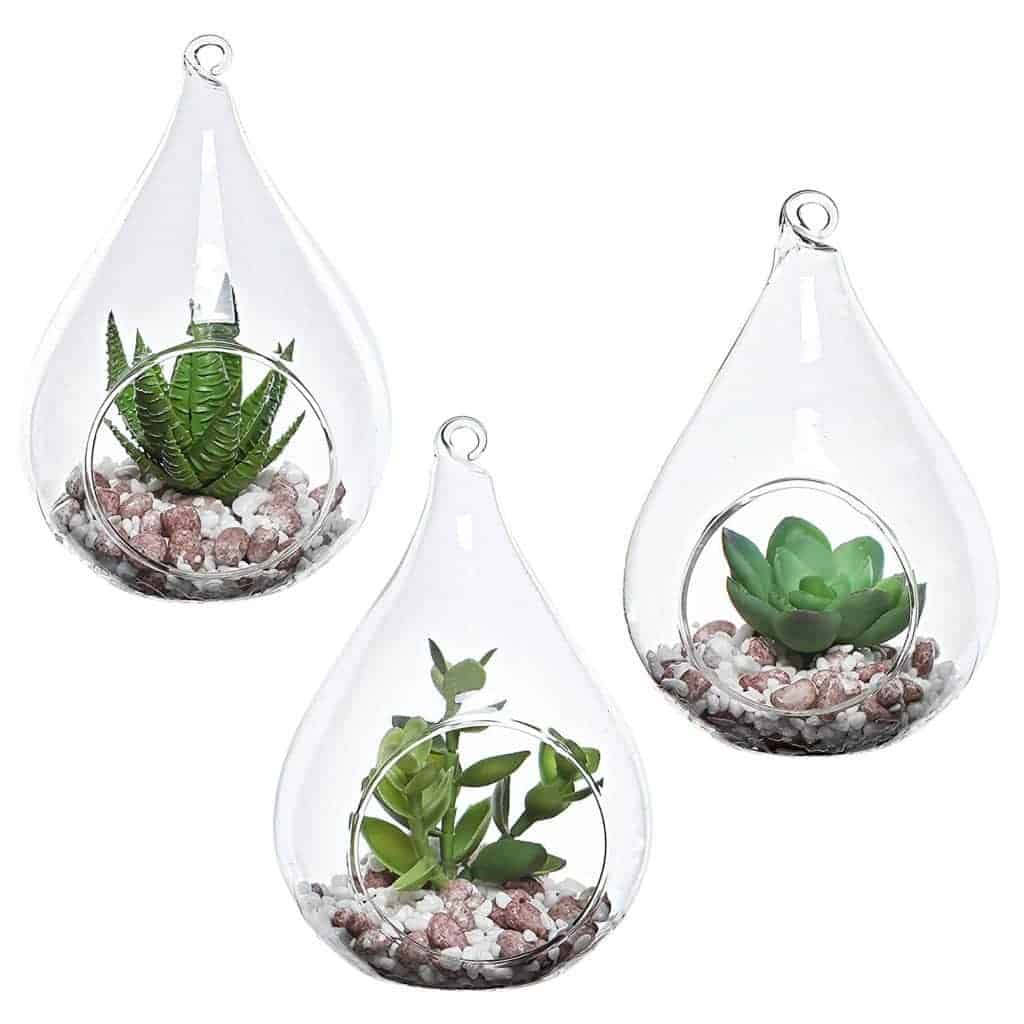
A few weeks back we purchased a few globe planters from out local nursery. Looking back, I would completely have chosen multiple smaller globes to hang vs. larger ones with a few different plants in each. We also paid way too much! So, I searched around for some more affordable options and found a few ones I love! Click below on either image.
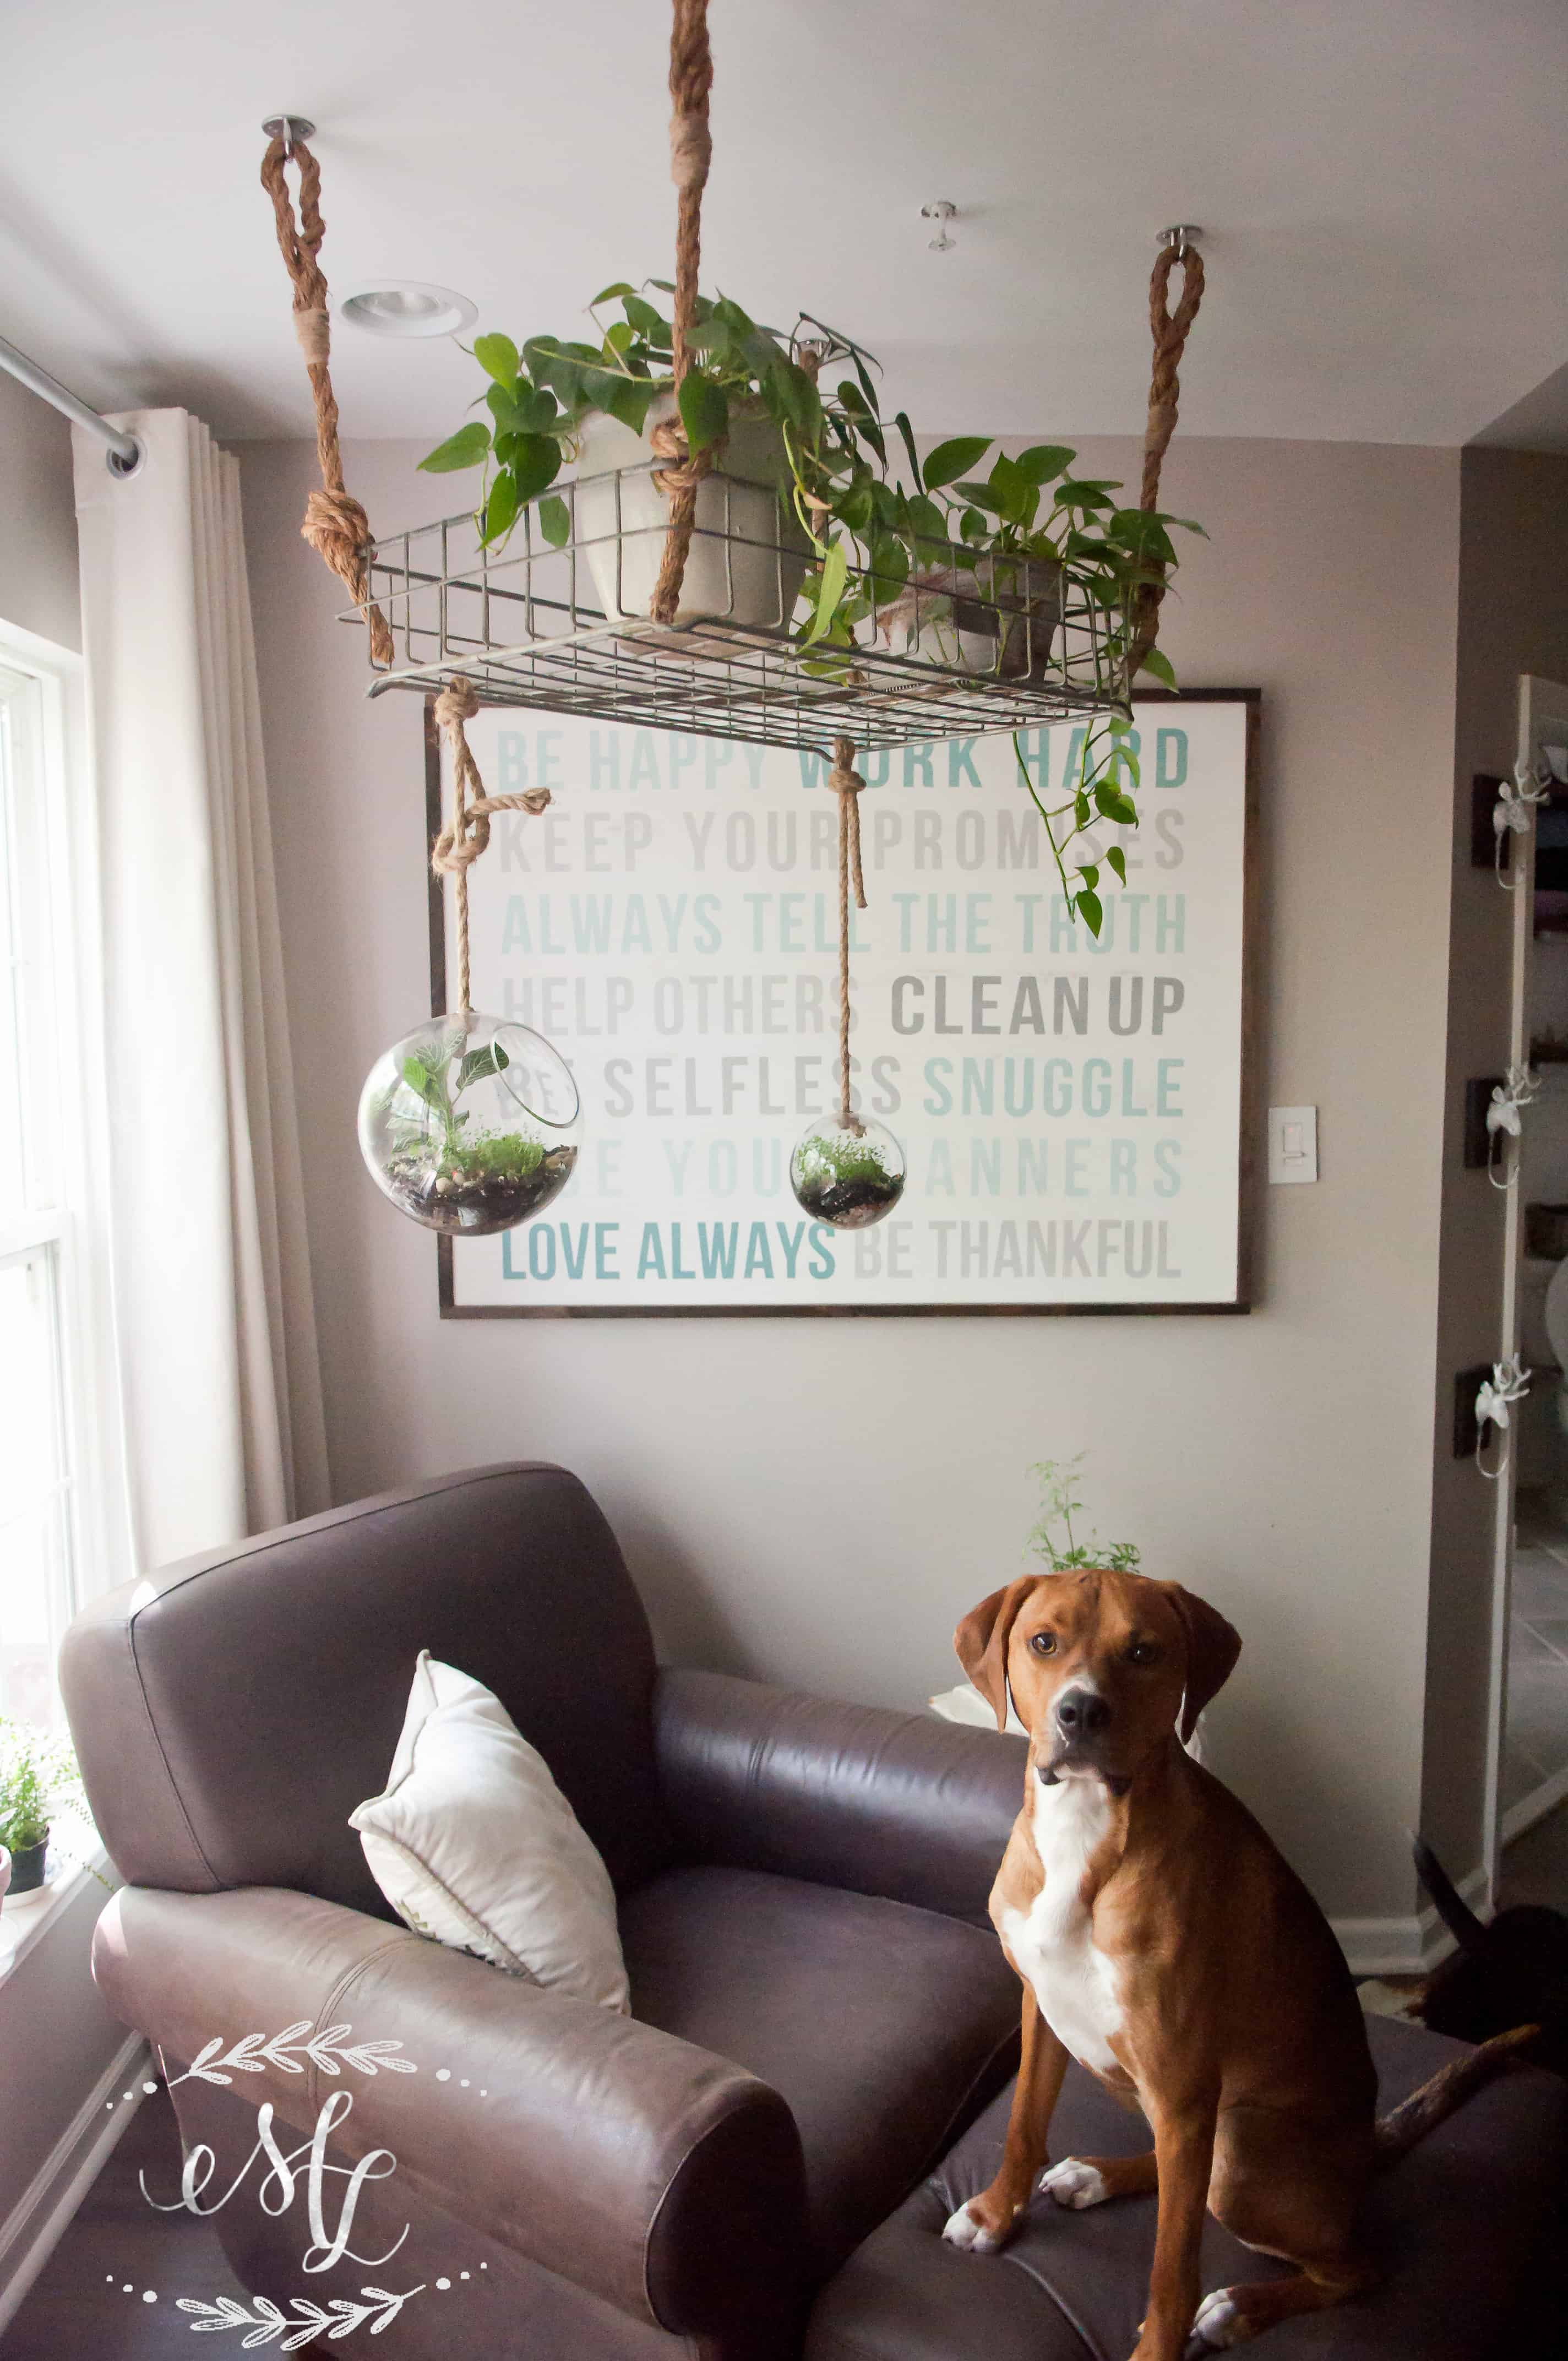
Eric and I found these cute little terrarium plants for our planters. Not all terrarium plants are created equal! Most in our local nurseries are not labeled. It’s important to remember not all of them have the same needs. We picked some different mosses, baby’s tears, and a nerve plant. The ones we picked out all need minimal light and are less needy in the care department.
Success! I have to say, it’s been up for 24 hours and it has not fallen, the plants look happy, and Duncan has been sitting on the chaise asking me to join him for hours. Silly dog.
Well, I cannot wait to plant myself in this big old leather chair and do some more blogging {see what I did there?} I just love this new space, and I hope you guys do too! {Move over Duncan!}
Thanks for visiting my little piece of the internet!
I’m Maria, a lover of furry things, coffee and anything creative. This blog is where I love to share affordable home decor ideas, great DIYs, yummy recipes, unique crafts and so much more.


")