This weekend I had a WHOLE day to myself. So, what’s a girl to do? Get dirty of course. Duh!
For those who follow me, ya’ll know last weekend we went a little crazy buying lots of houseplants. Well I’m happy to report, none have kicked the bucket just yet! Ok, it’s still early. I know, I know…
Unfortunately, all were still sitting in their plastic containers. We were overwhelmed by so many of the containers we saw, plus, they didn’t really work with the décor in our house. So, of COURSE I decided I could make something better for cheaper!
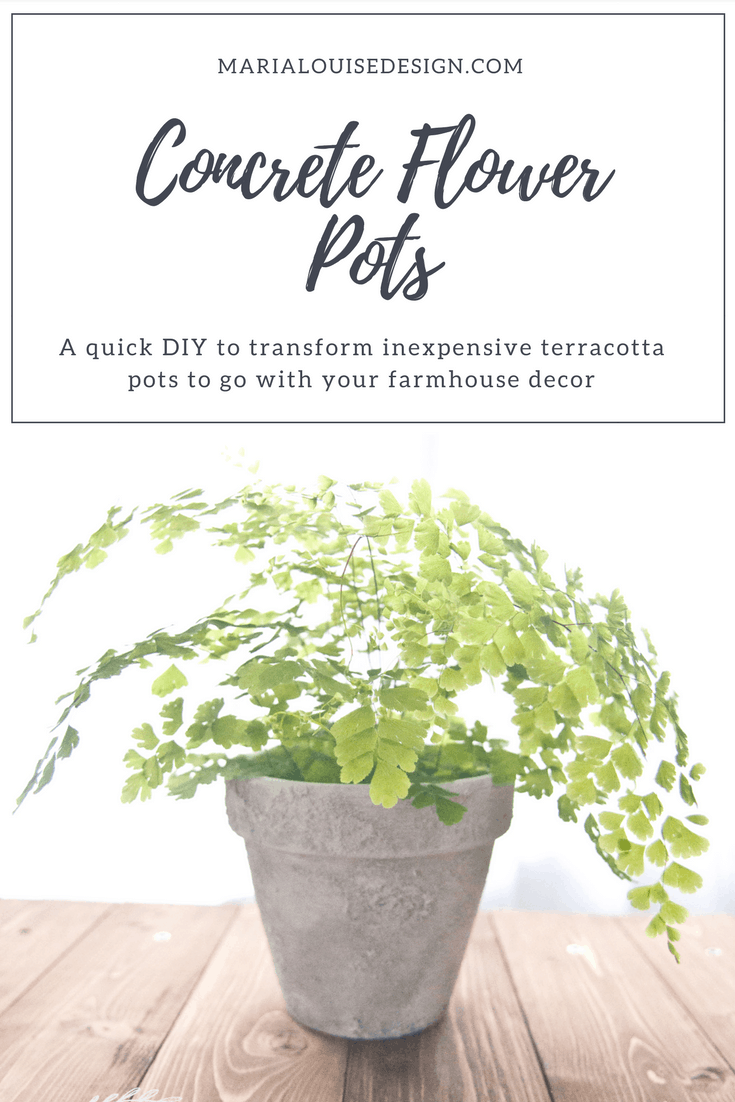
Today I wanted to put together a quick little tutorial on how we took inexpensive terracotta pots and transformed them into the perfect addition to your farmhouse decor. We used two techniques, one to create a weathered look and one to create an aged concrete look.
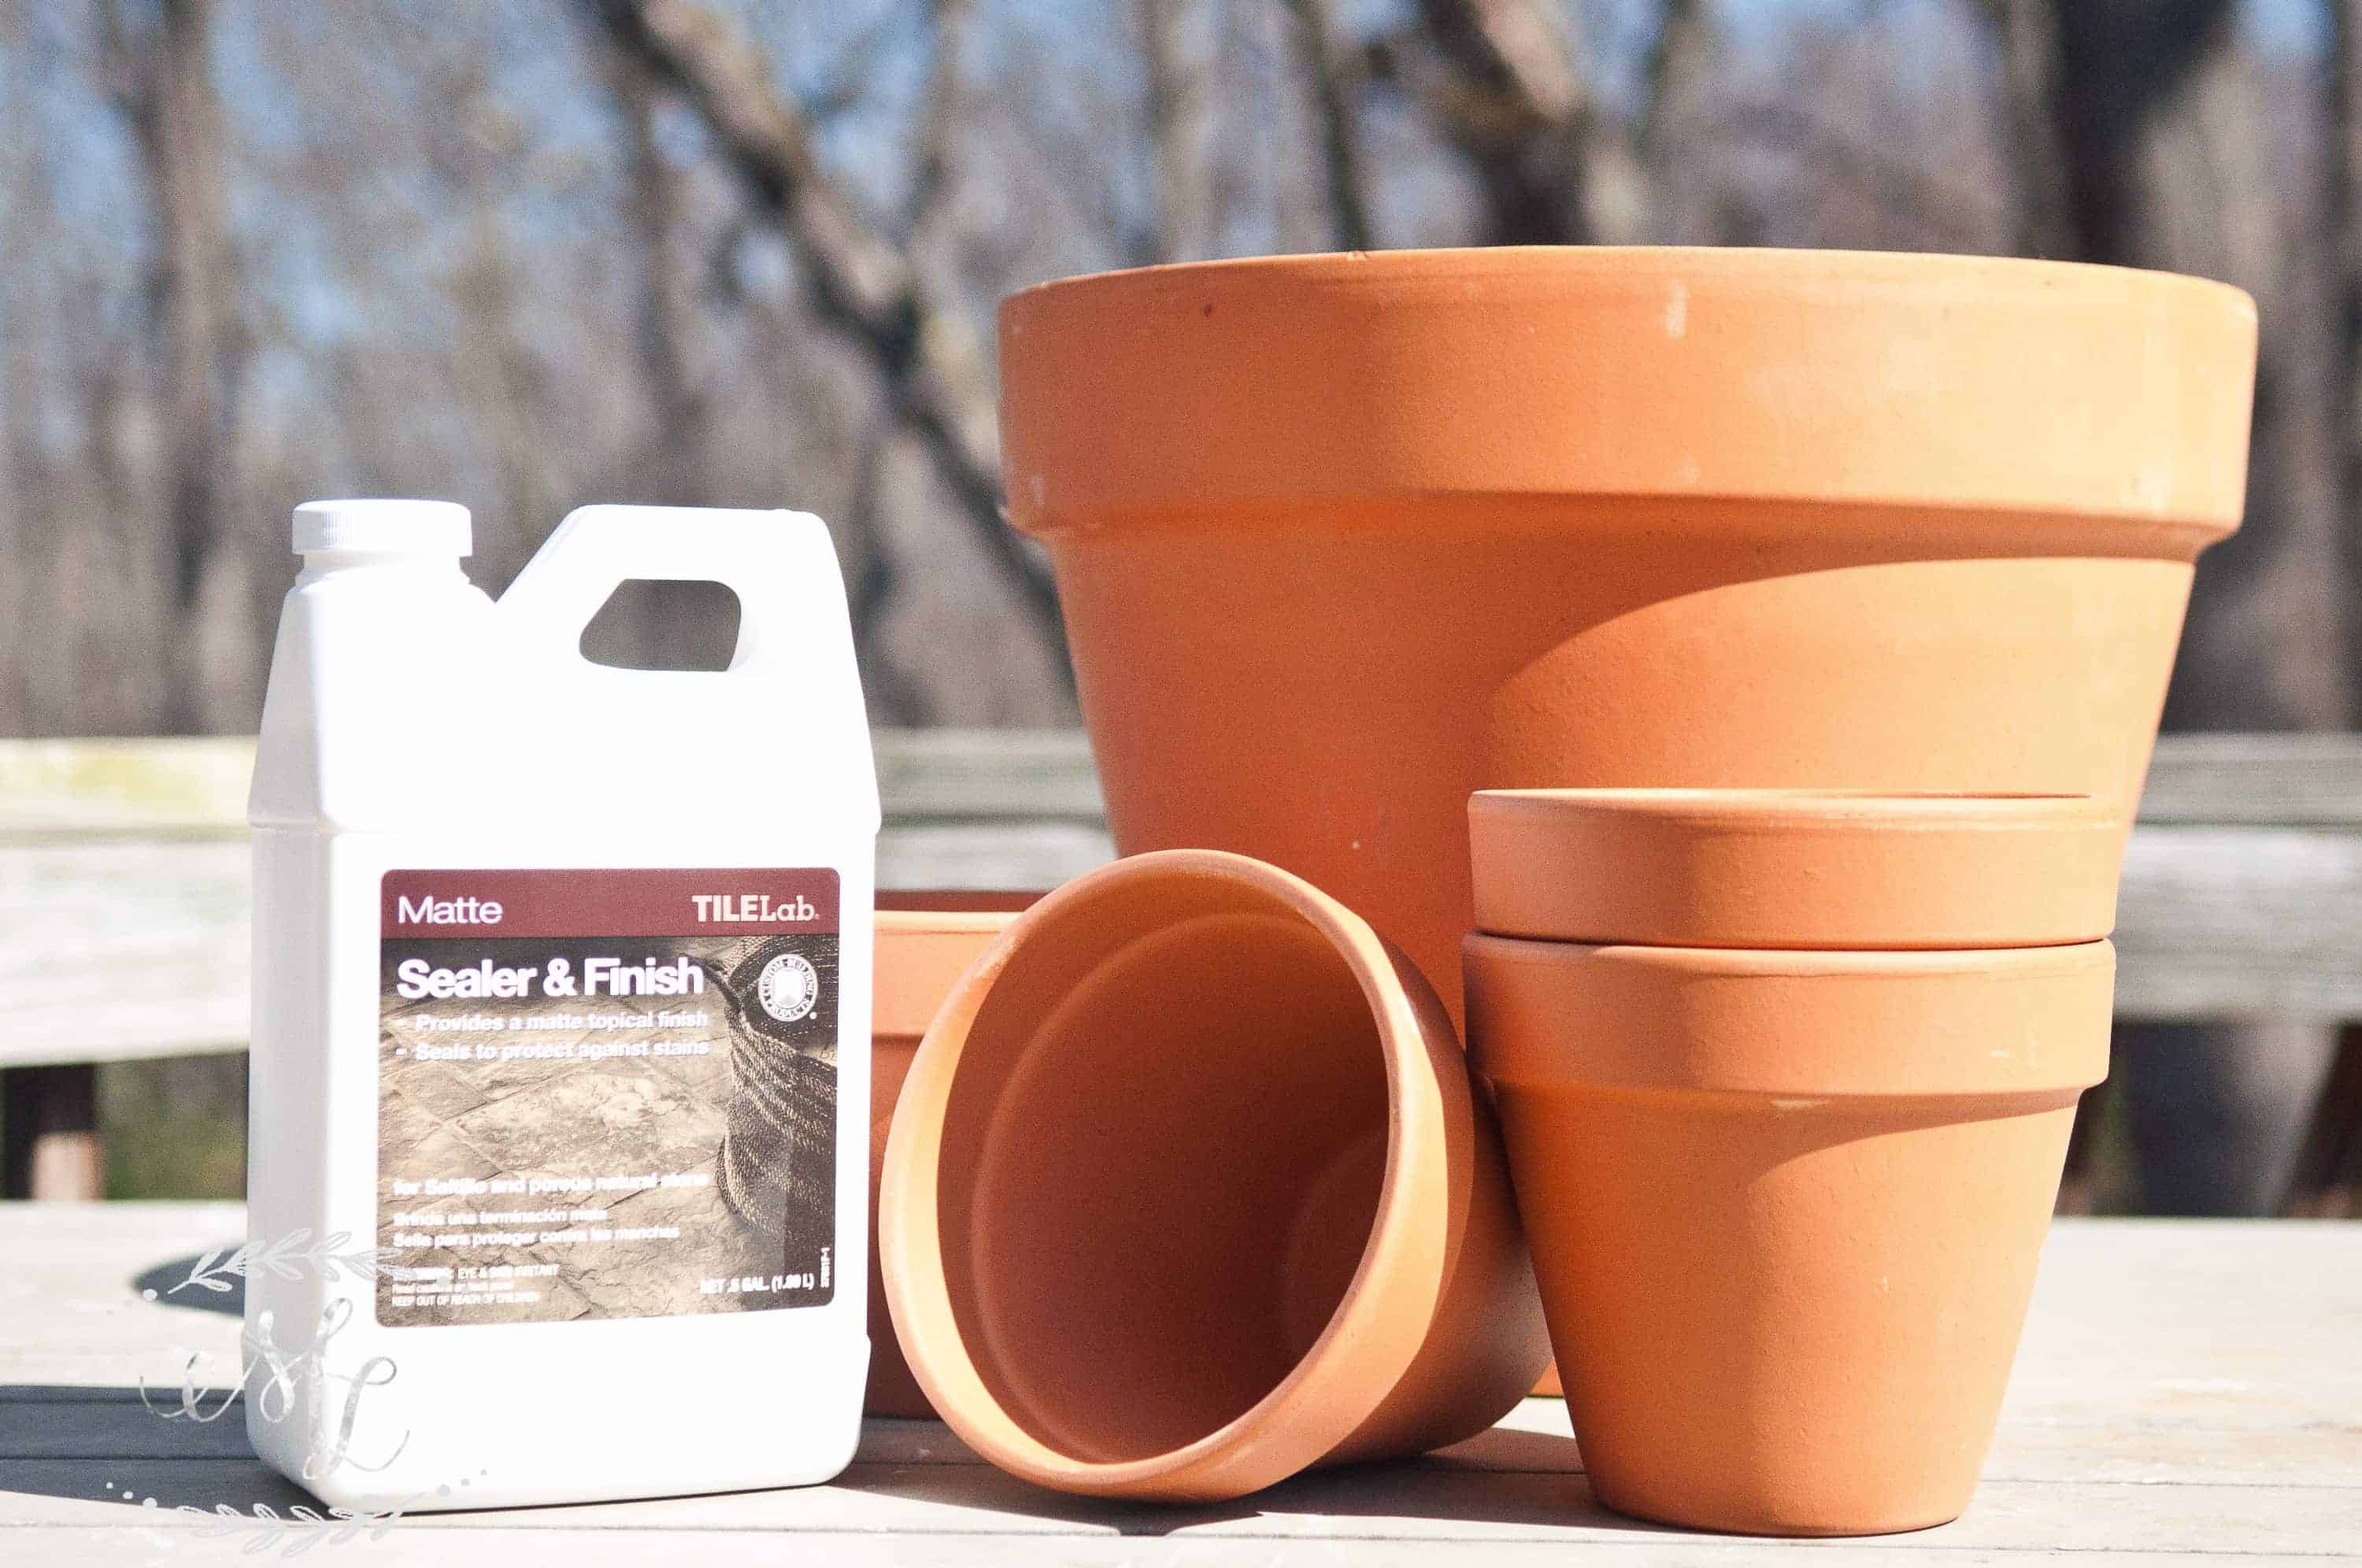
So for this project you’ll need the following:
Terracotta Pots (any size)
Natural Stone/Terracotta Sealer ( I’m linkng a cheaper option here)
Thin-Set Mortar in White (I had some left over, but honestly you could use anything to give texture)
Paint brush
Concrete Flower Pot Tutorial
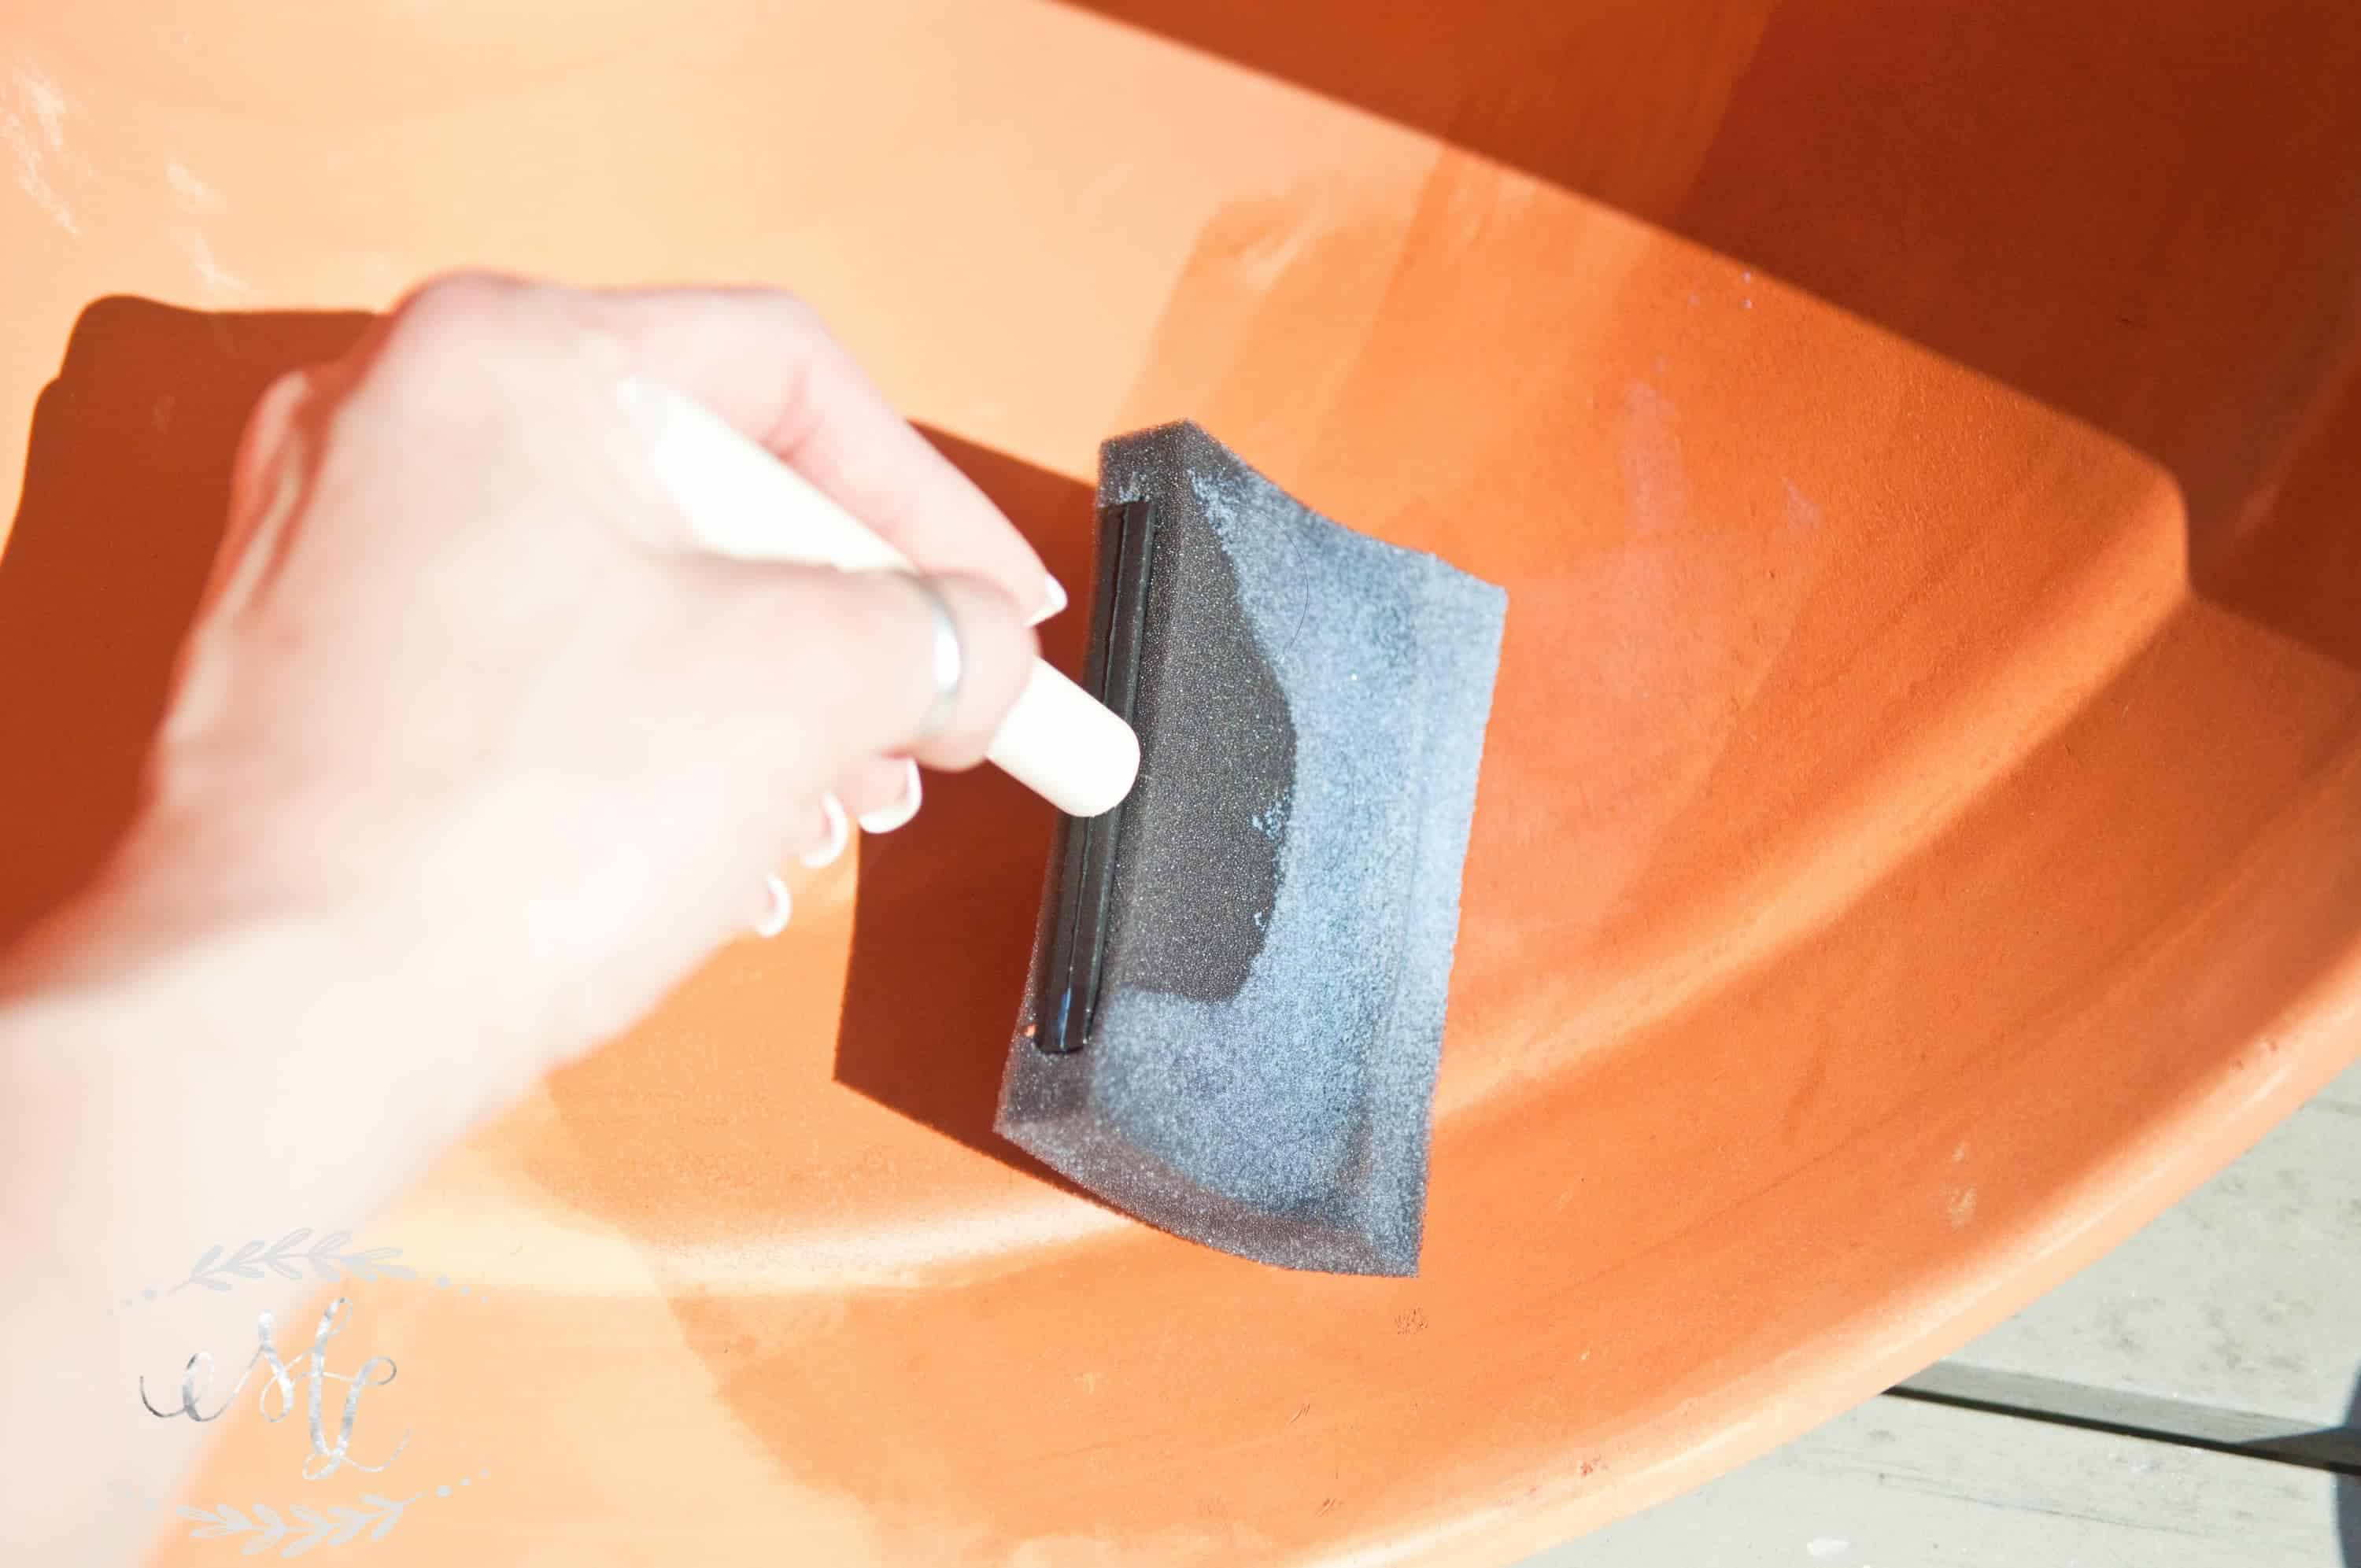
Sealing The Pots
First, I sealed the inside of all the pots with Tile Lab’s Matte finish sealer and a foam brush. It was a beautiful day at a balmy 84 degrees, so in the sun they dried quickly. Don’t be afraid if the sealer bubbles as you paint it on, it dries smooth! I also did not paint the bottom of the pots. I wanted water to draw away from the roots, such a benefit using terracotta pots. I made sure to complete two coats for ultimate coverage. This is completely up to you, but I would recommend it. No sense in spending all this time making beautiful pots to have the finish ruined.
The Whethered Look
How to Make a Crackle Finish
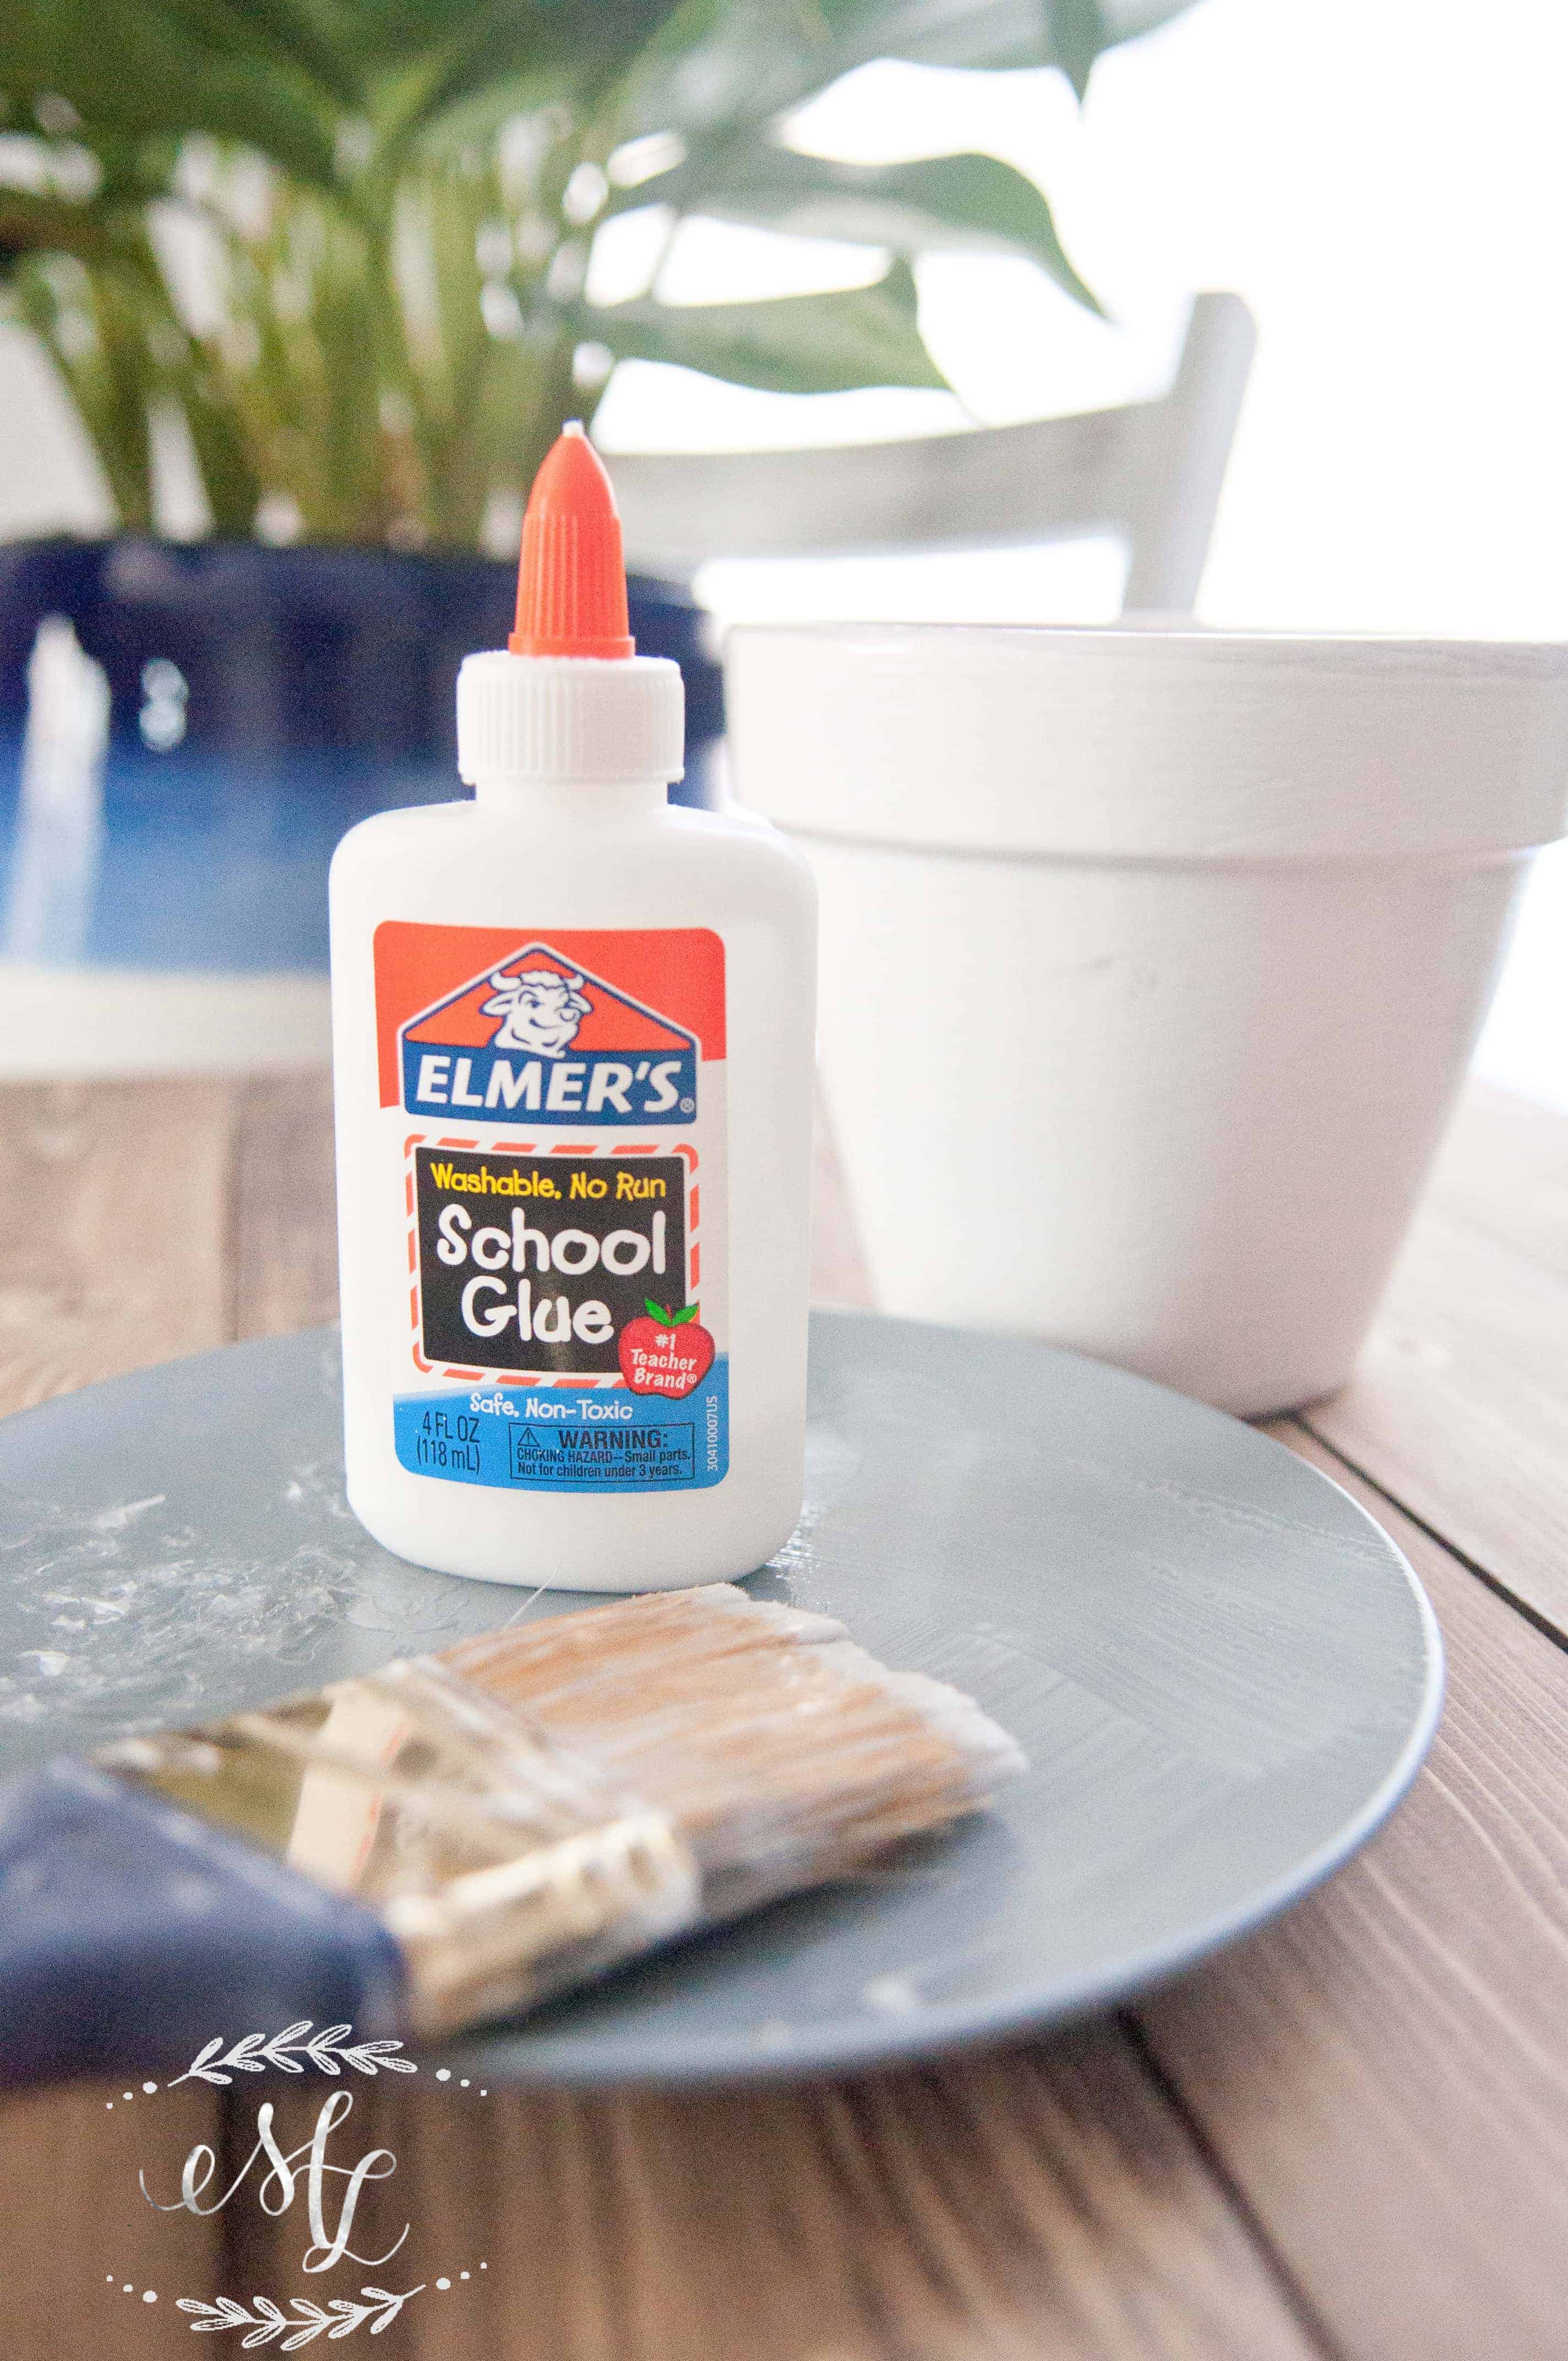
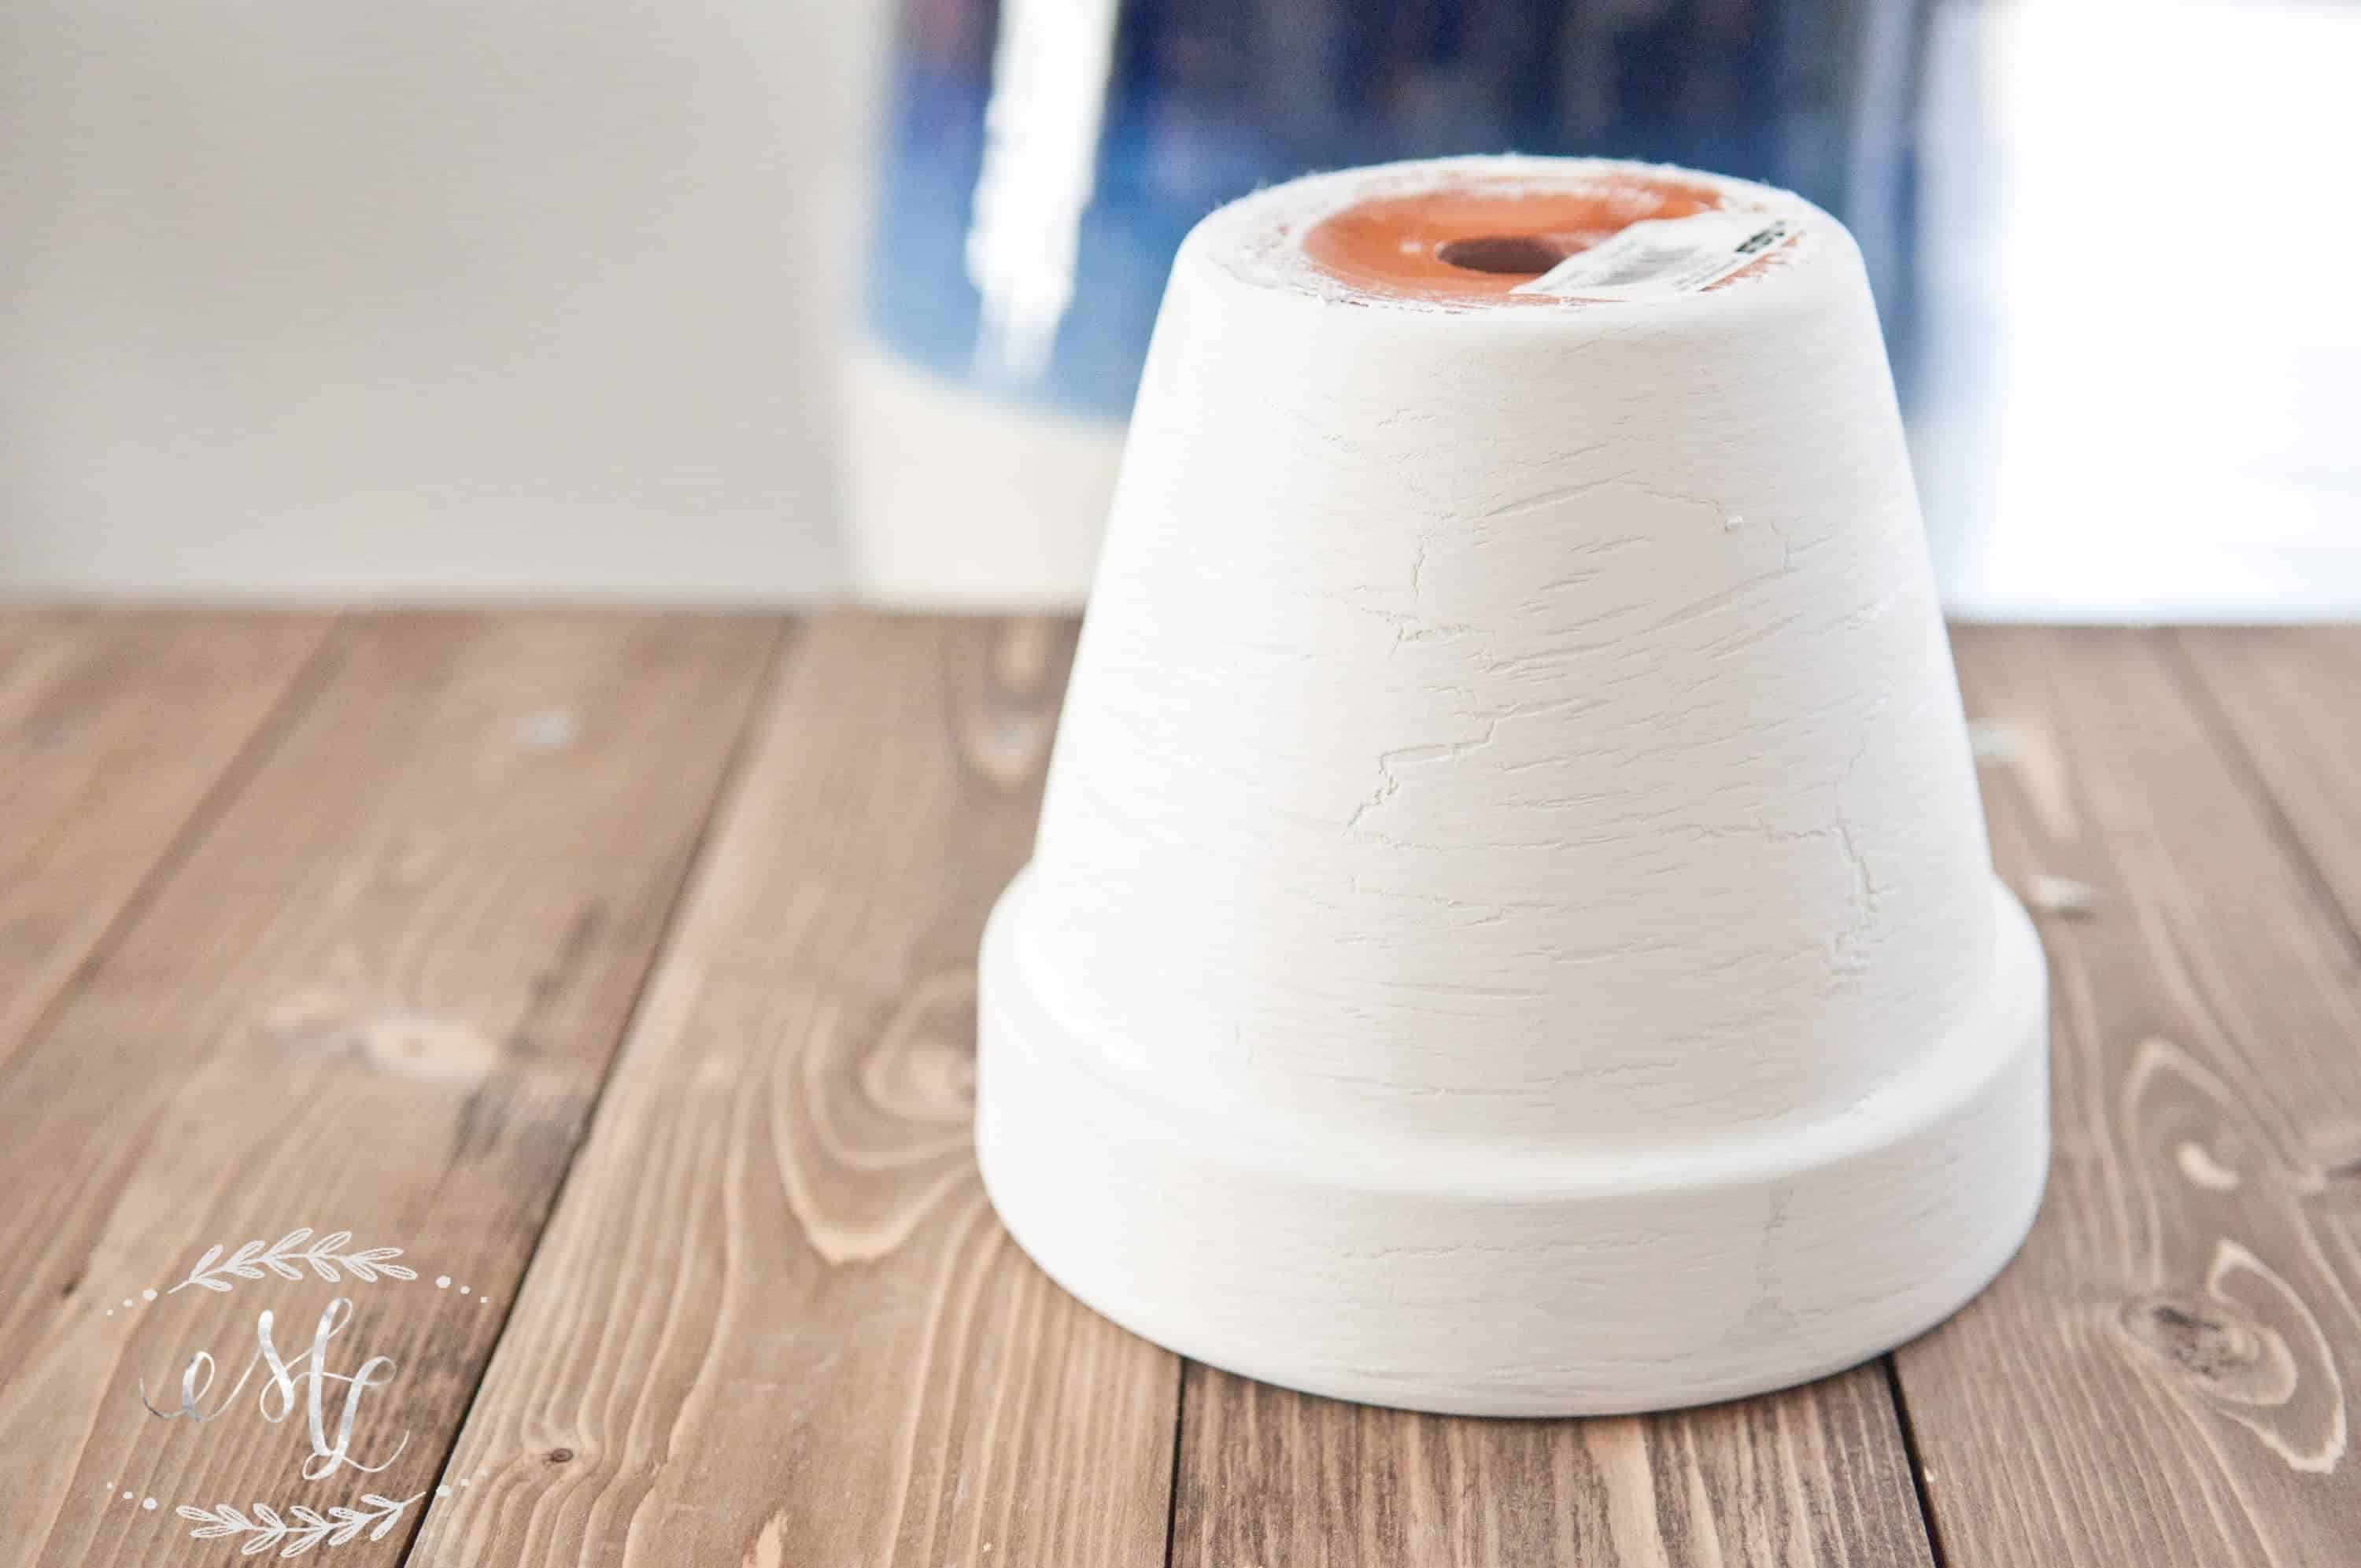
There were a few techniques I tried with just odds and ends I had around the house. The first pot was an attempt to create a crackle, old, weathered finish. After the sealer had fully dried, like 30 minutes, I covered the pot with a layer of white paint. I choose Annie Sloan Chalk Paint. I always have a pot on hand and it’s hands down my favorite paint to work with. Once it dried, I coated the entire pot in a thick coat of Elmer’s Glue. Yes, good old Elmer’s! When it became tacky, I painted right over it with another coat of white paint. This is what the finish started doing as it dried. Can you see the separation starting? I just love this technique!
Finishing Touches
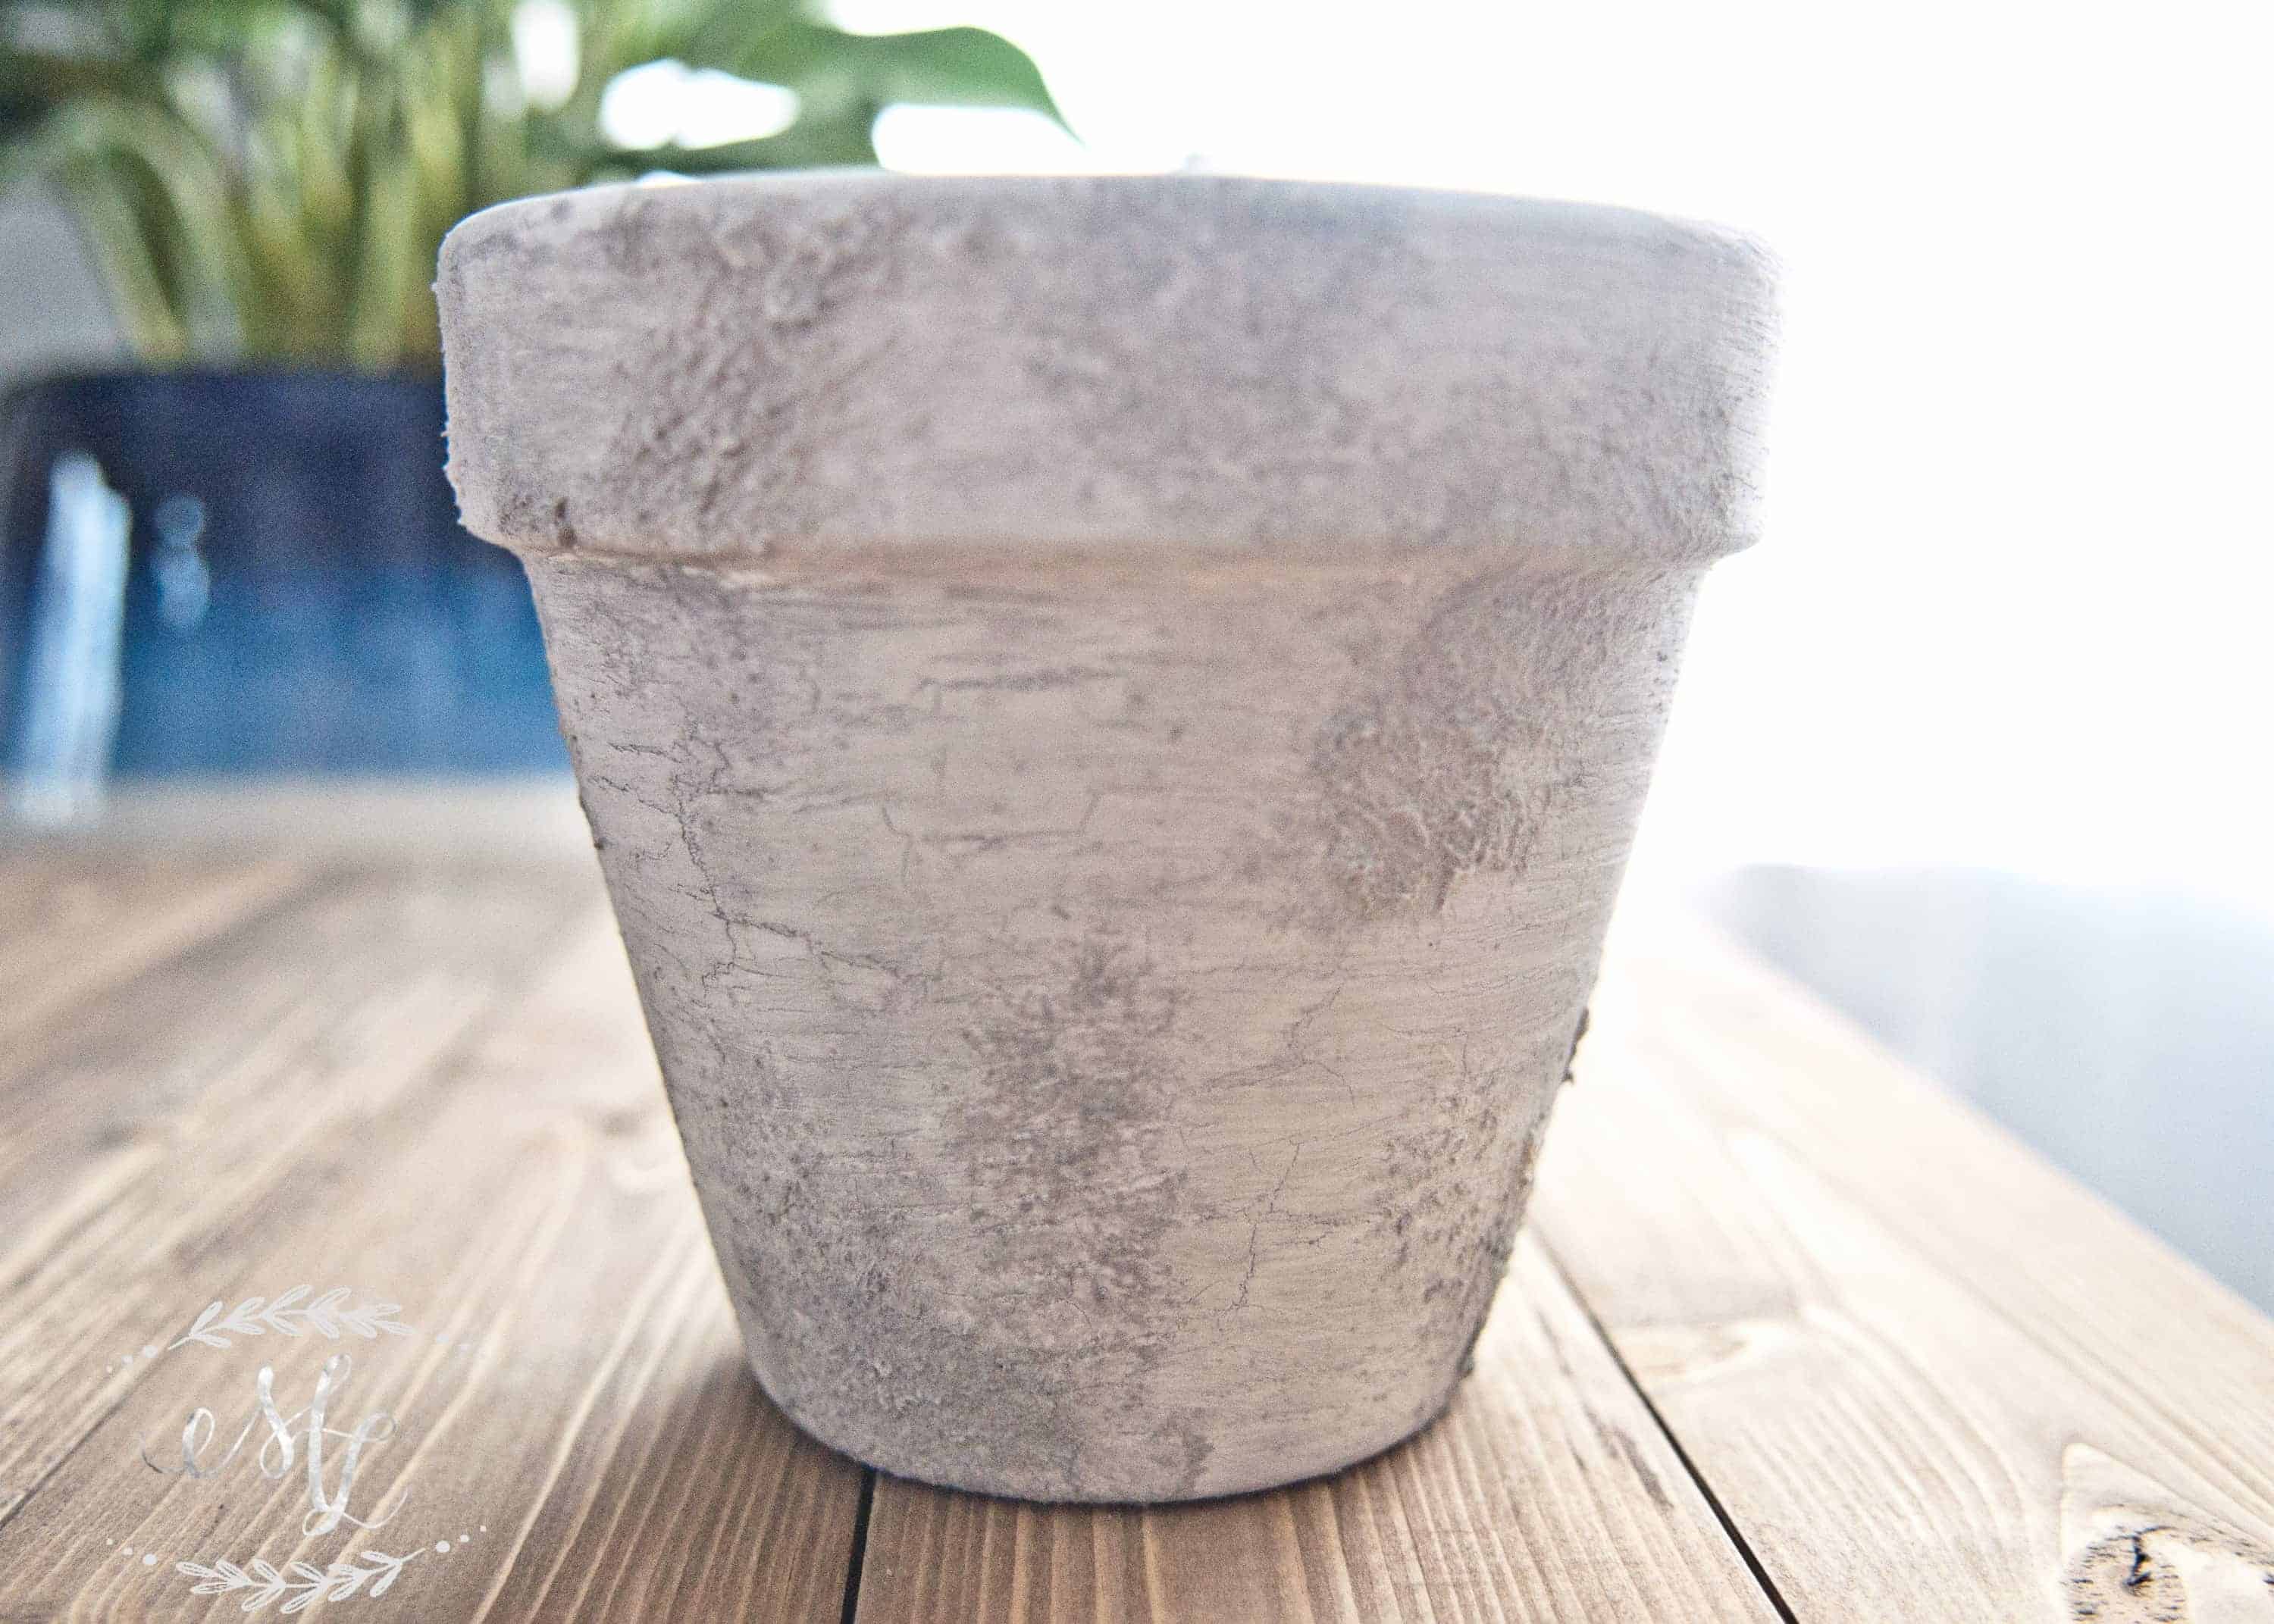
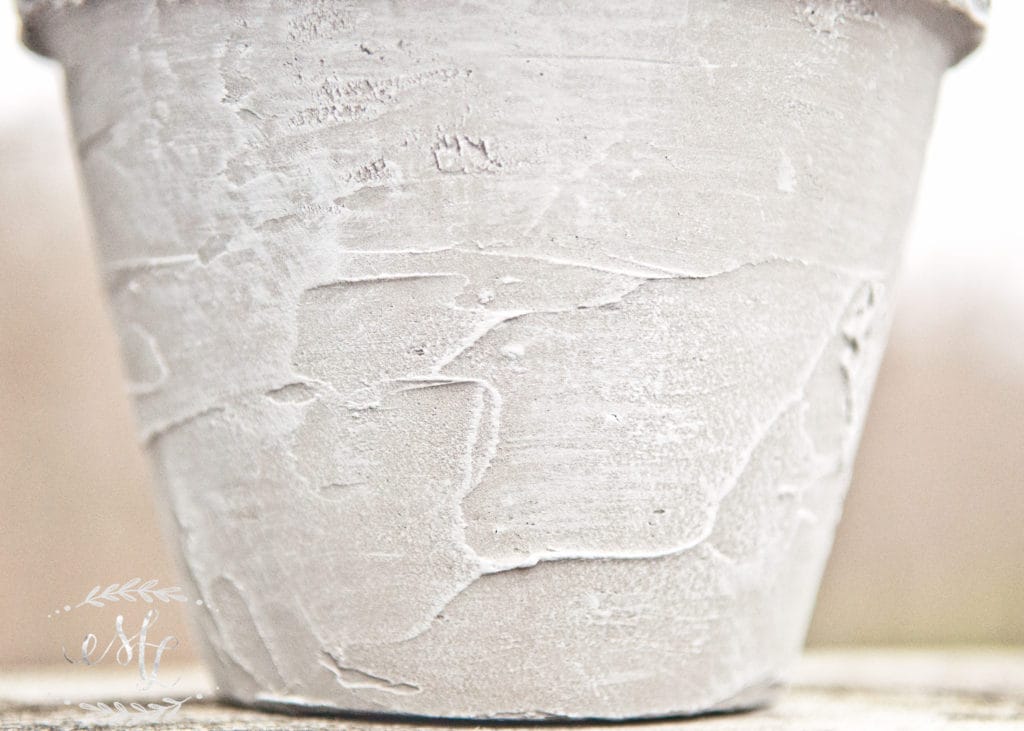
Once the paint is completely dry, I did a little sponge painting with some Thin-Set Mortar I had lying around to give it some texture. I’m sure you could use thick glue, plaster, or drywall mud. Basically use anything to give texture to the pot. I let it dry for over an hour till it was nice and hard. I wanted some depth so I did a dark wash of Paris Gray Annie Sloan Chalk Paint over on the entire pot. When I mean wash, I mean wash. It’s mostly water with a dab of gray paint. This soaked into the cracks and really gave it some depth! Once completely dry, I dry brushed more Pure White Annie Sloan lightly over the raised areas. This really made it come to life. Totally in love with the way this one came out!
The Concrete Look
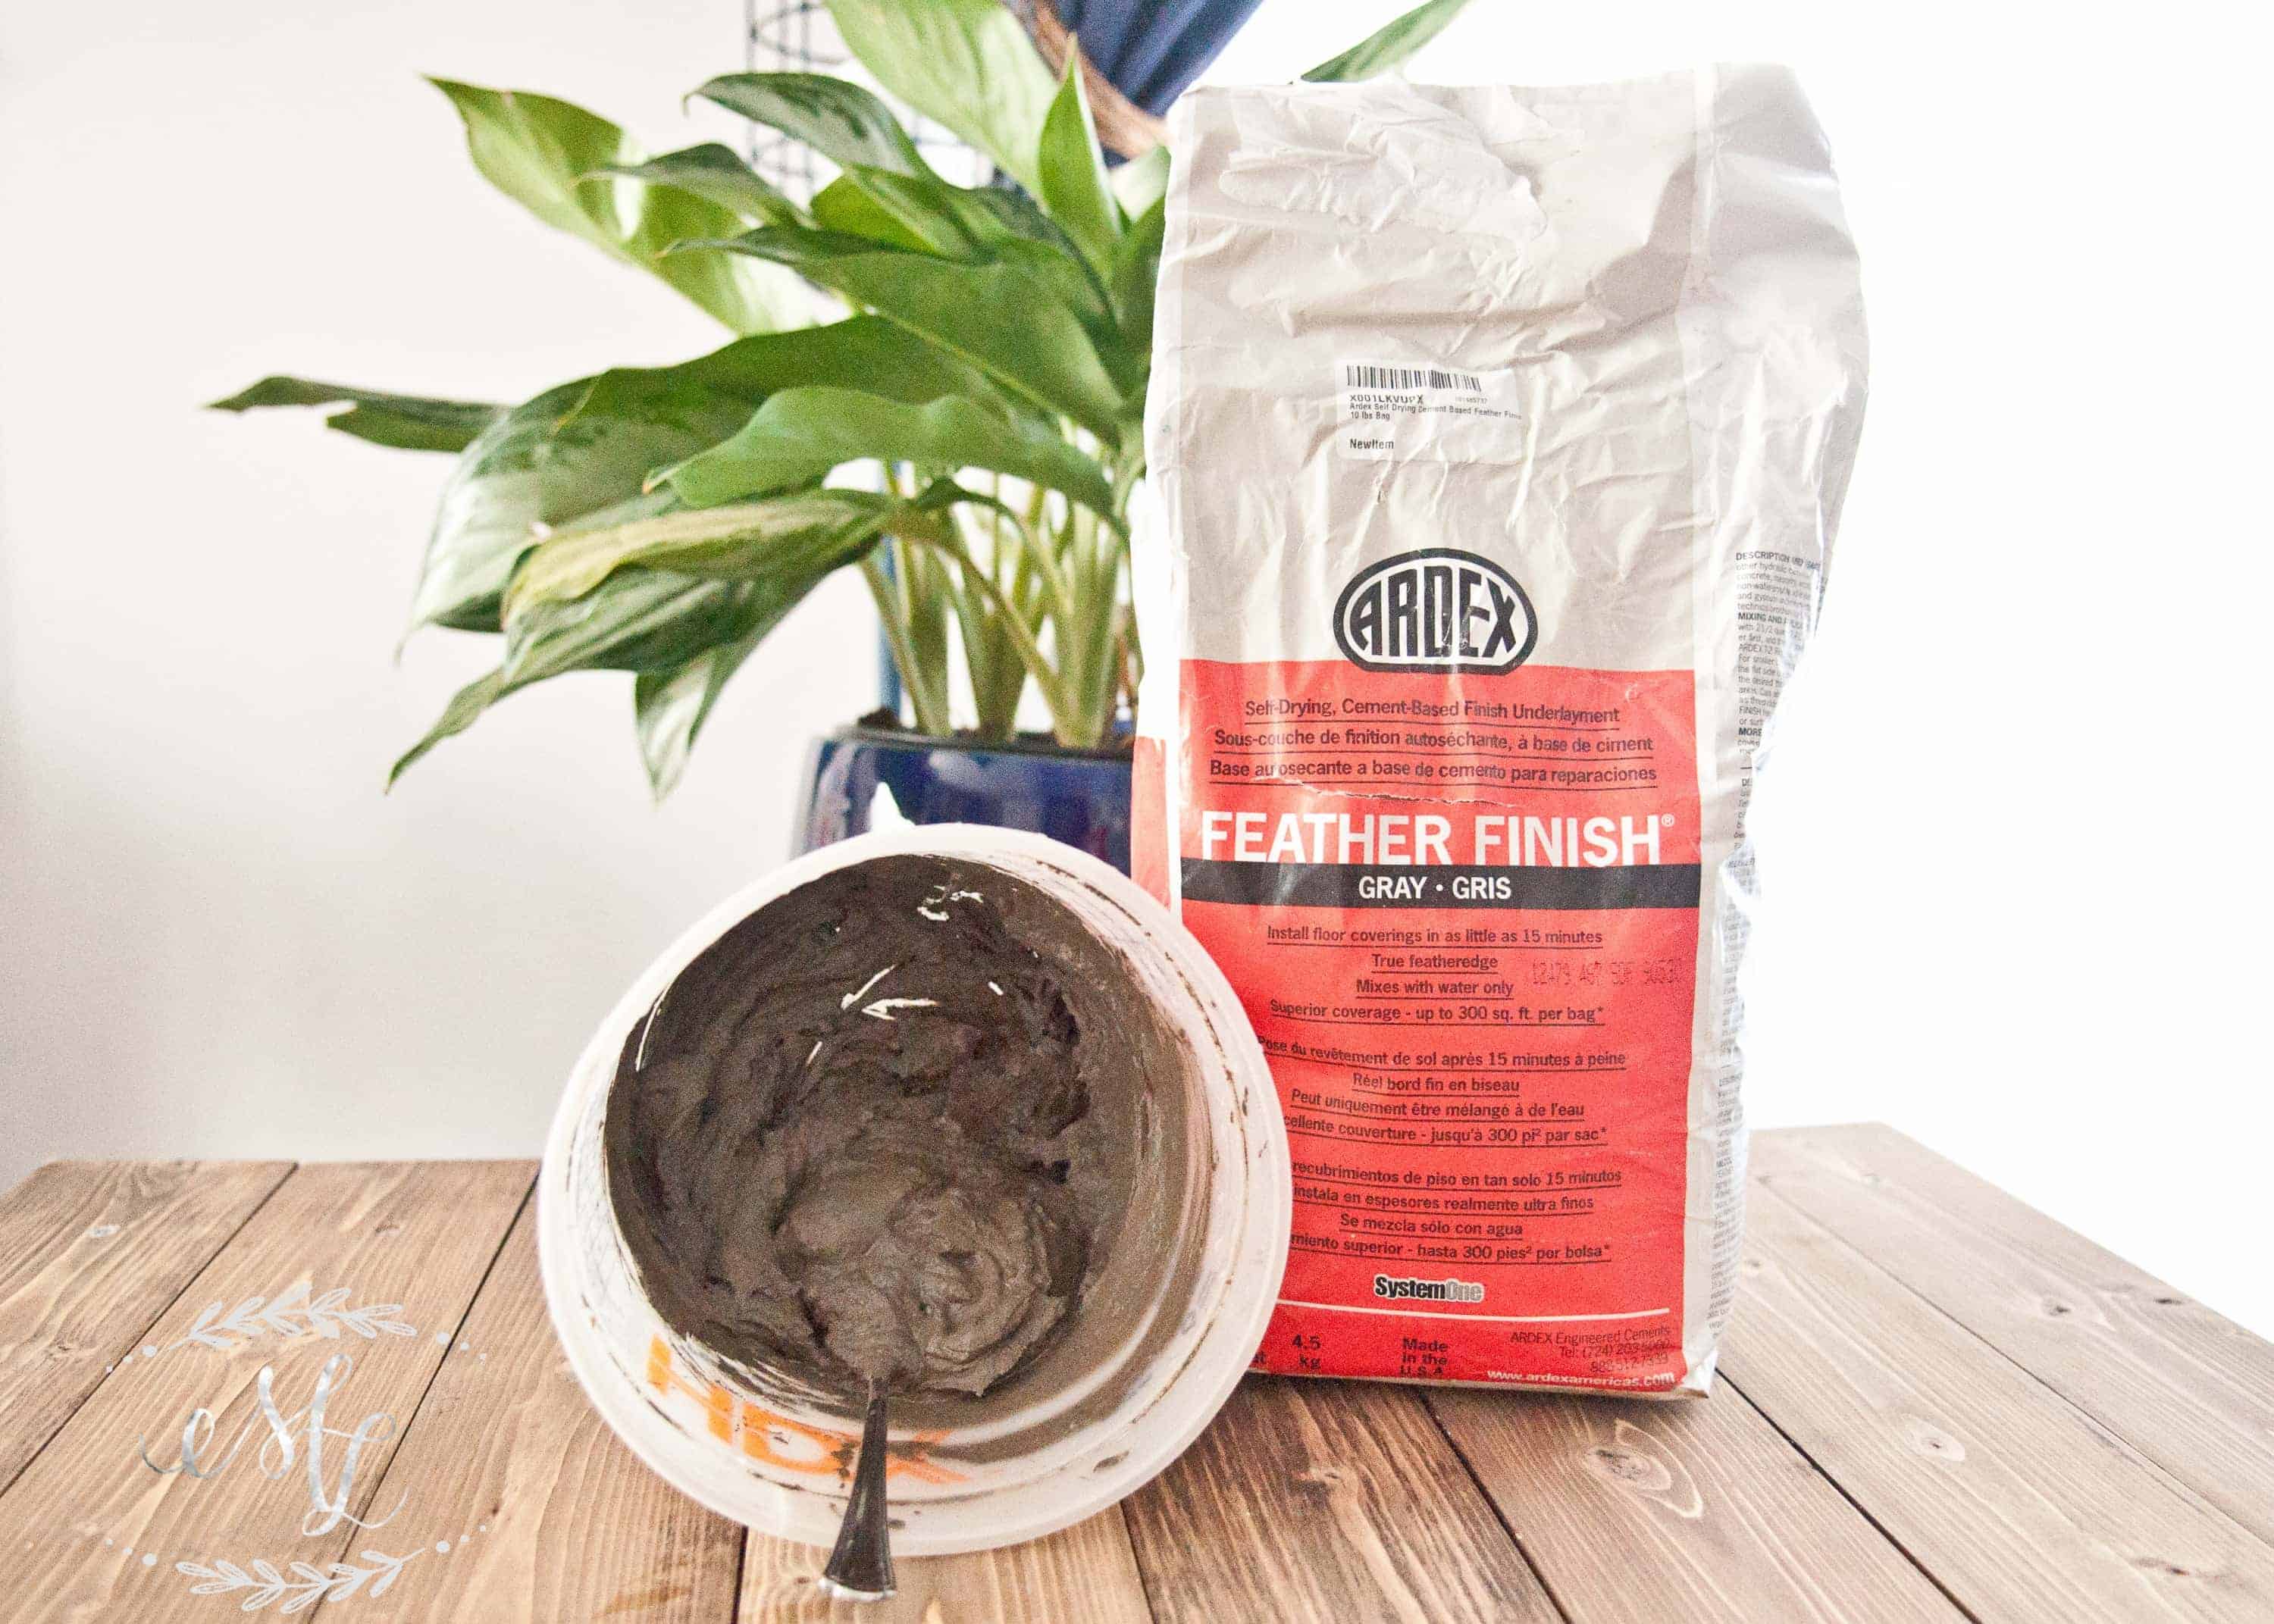
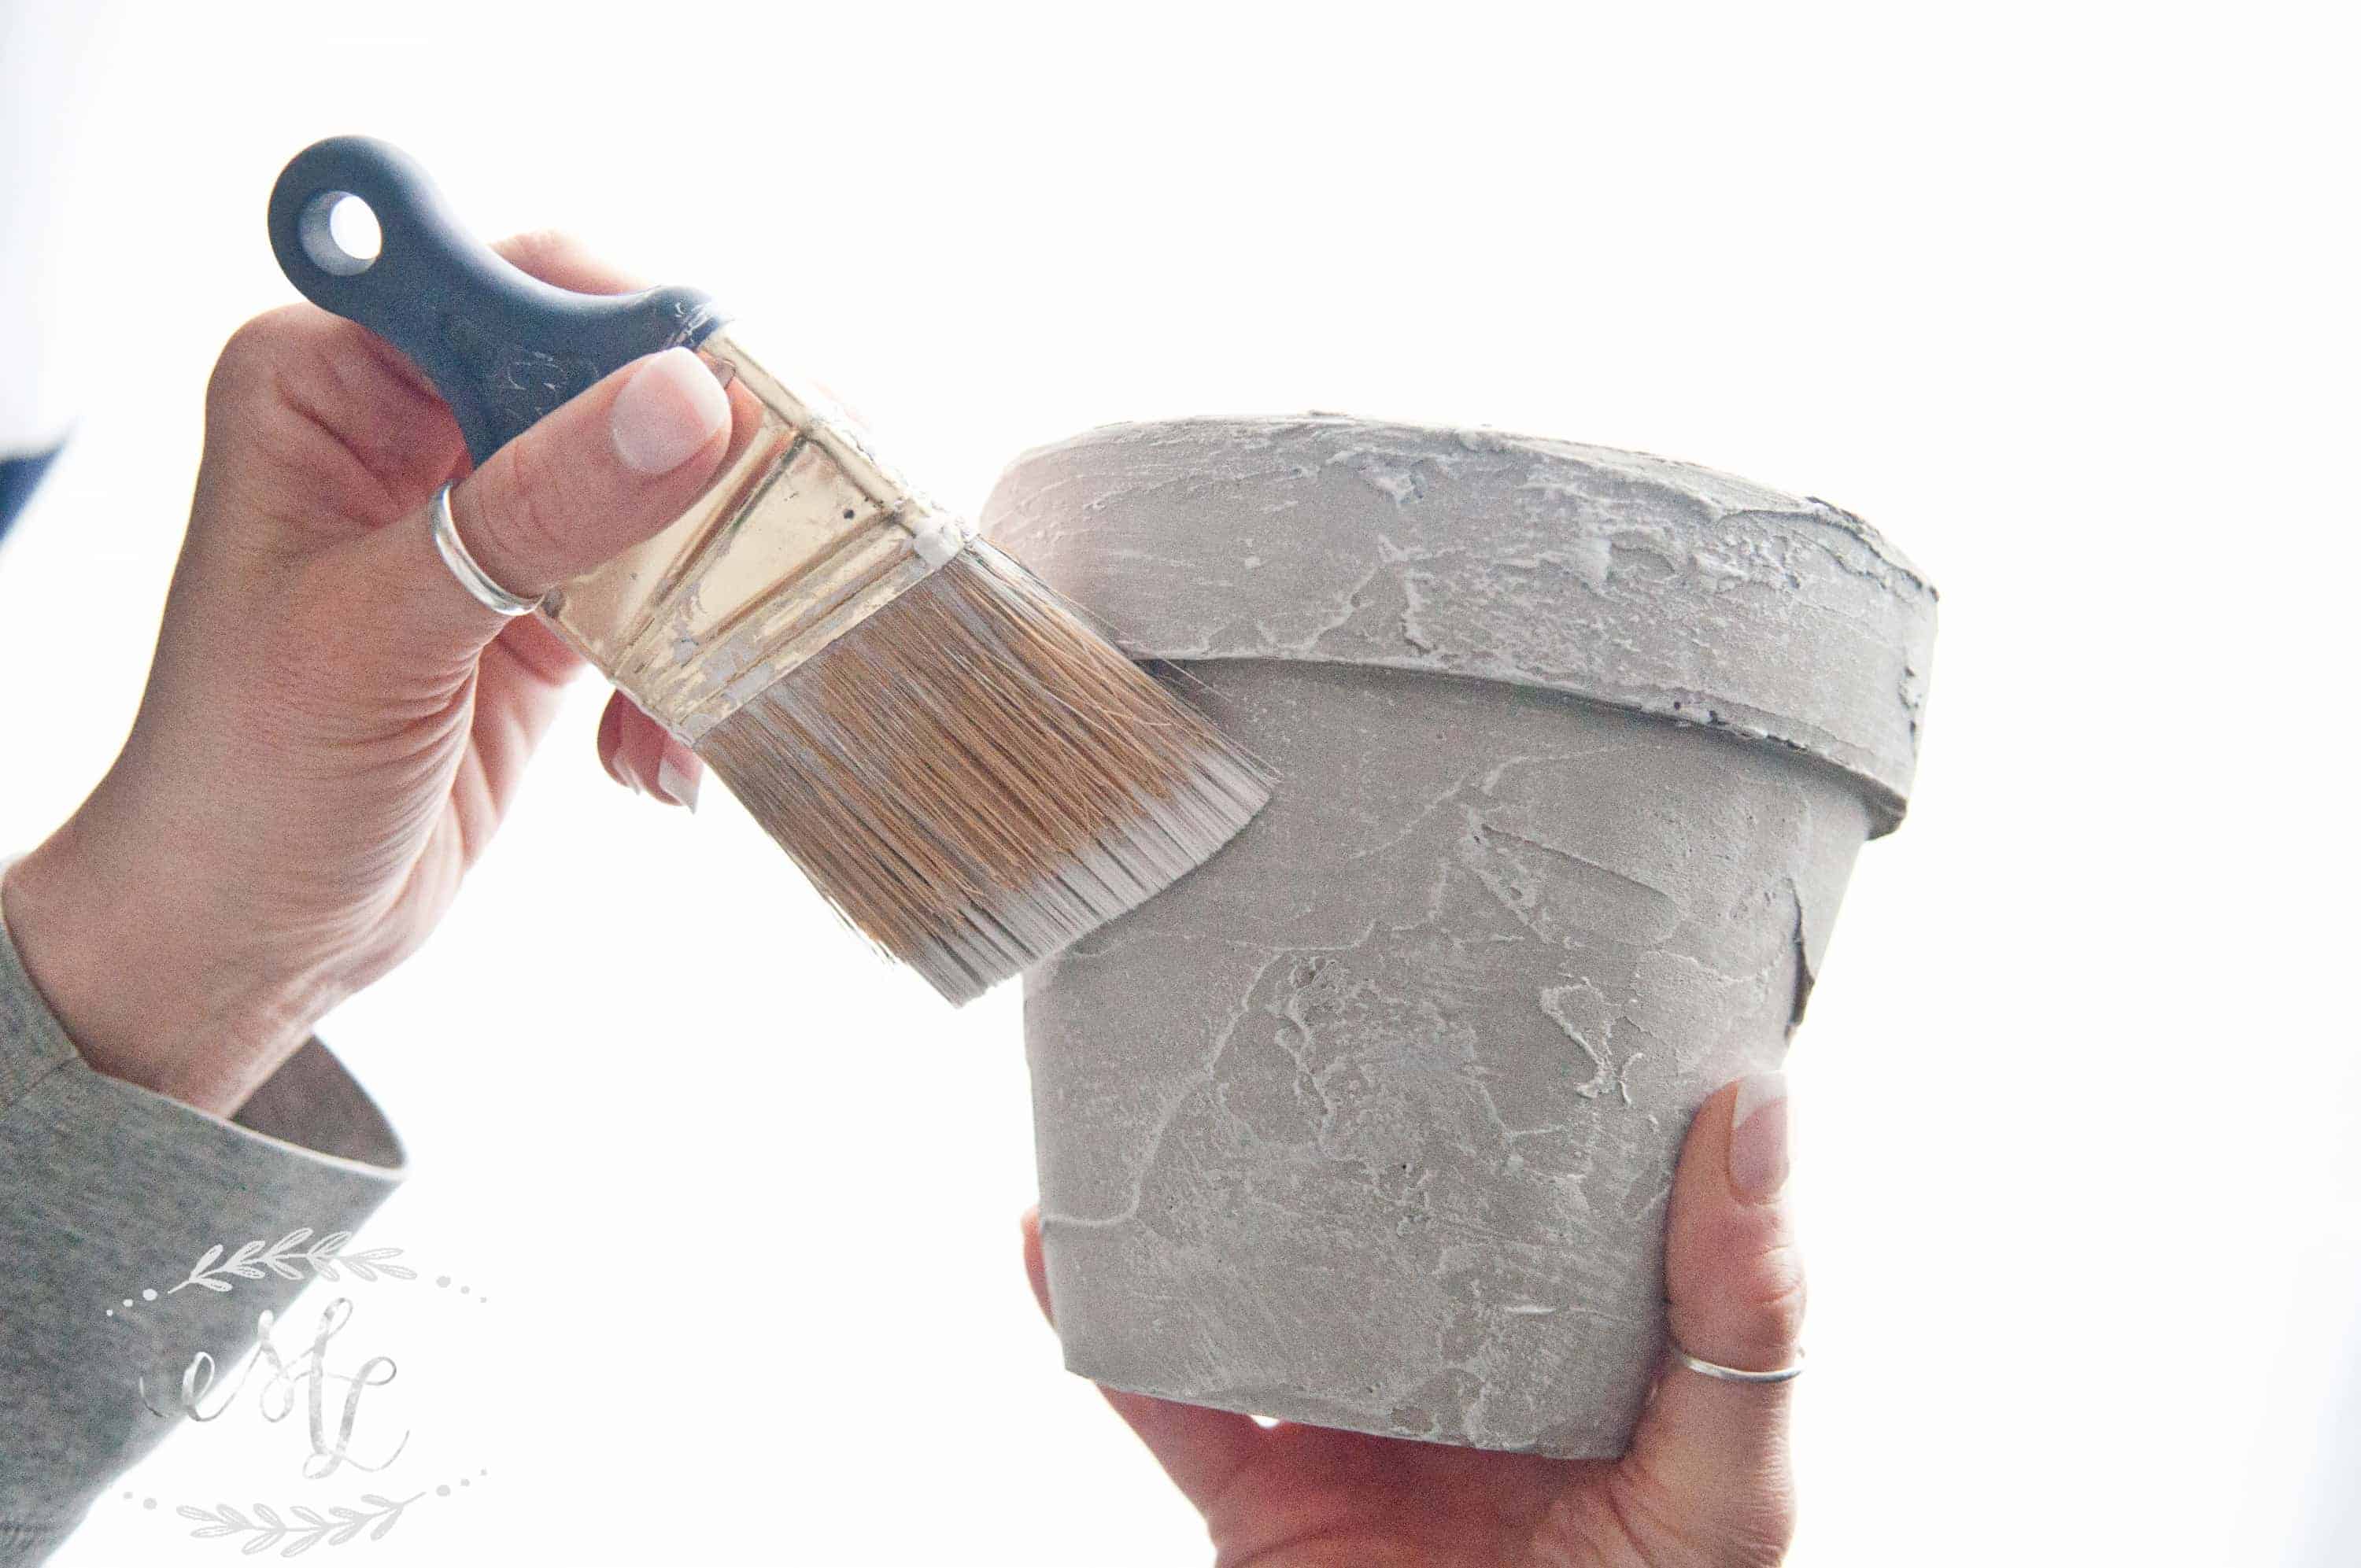
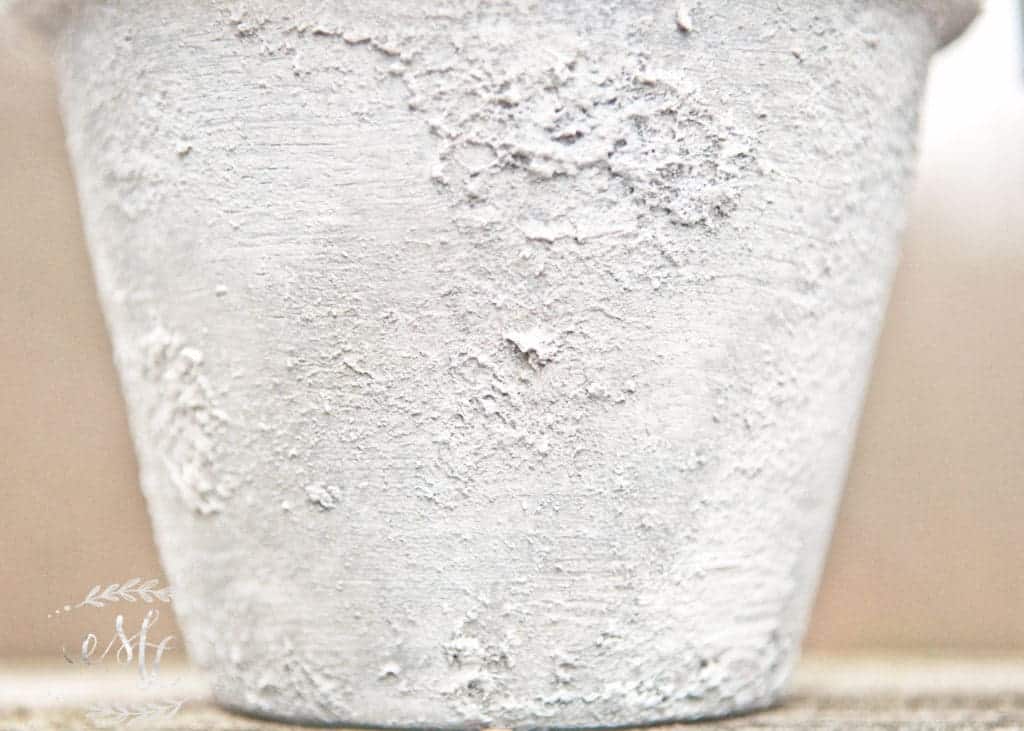
The other look I wanted was a faux concrete finish. I had some leftover Ardex Feather Finish Concrete in Gray that would just do the trick. I’ve used this stuff to make my mantel hearth as well as to faux finish my stairwell wall. It’s easy to use and gives the best finish. So, I mixed the 2:1 ratio as recommended, which comes out to be a “pancake batter” like consistency. I let that set up a little so I could just hand smear it onto the pot. I covered the entire pot, and used a regular kitchen knife to add a little texture to the final finish.
The Dry Brush Technique
After about 30 minutes it was completely dry. I also dry brushed these pots with Annie Sloan Pure White to give me a little more depth. It completely changes the look! I swear, it’s one of my favorite techniques.
Here are two close-ups so you can get an idea of the final finishes. I just love both of these pieces and how they came out! Here is a close up so you can get a better idea of the finished product. Hands up if you agree with me about the dry brushing?! See folks… so cool!
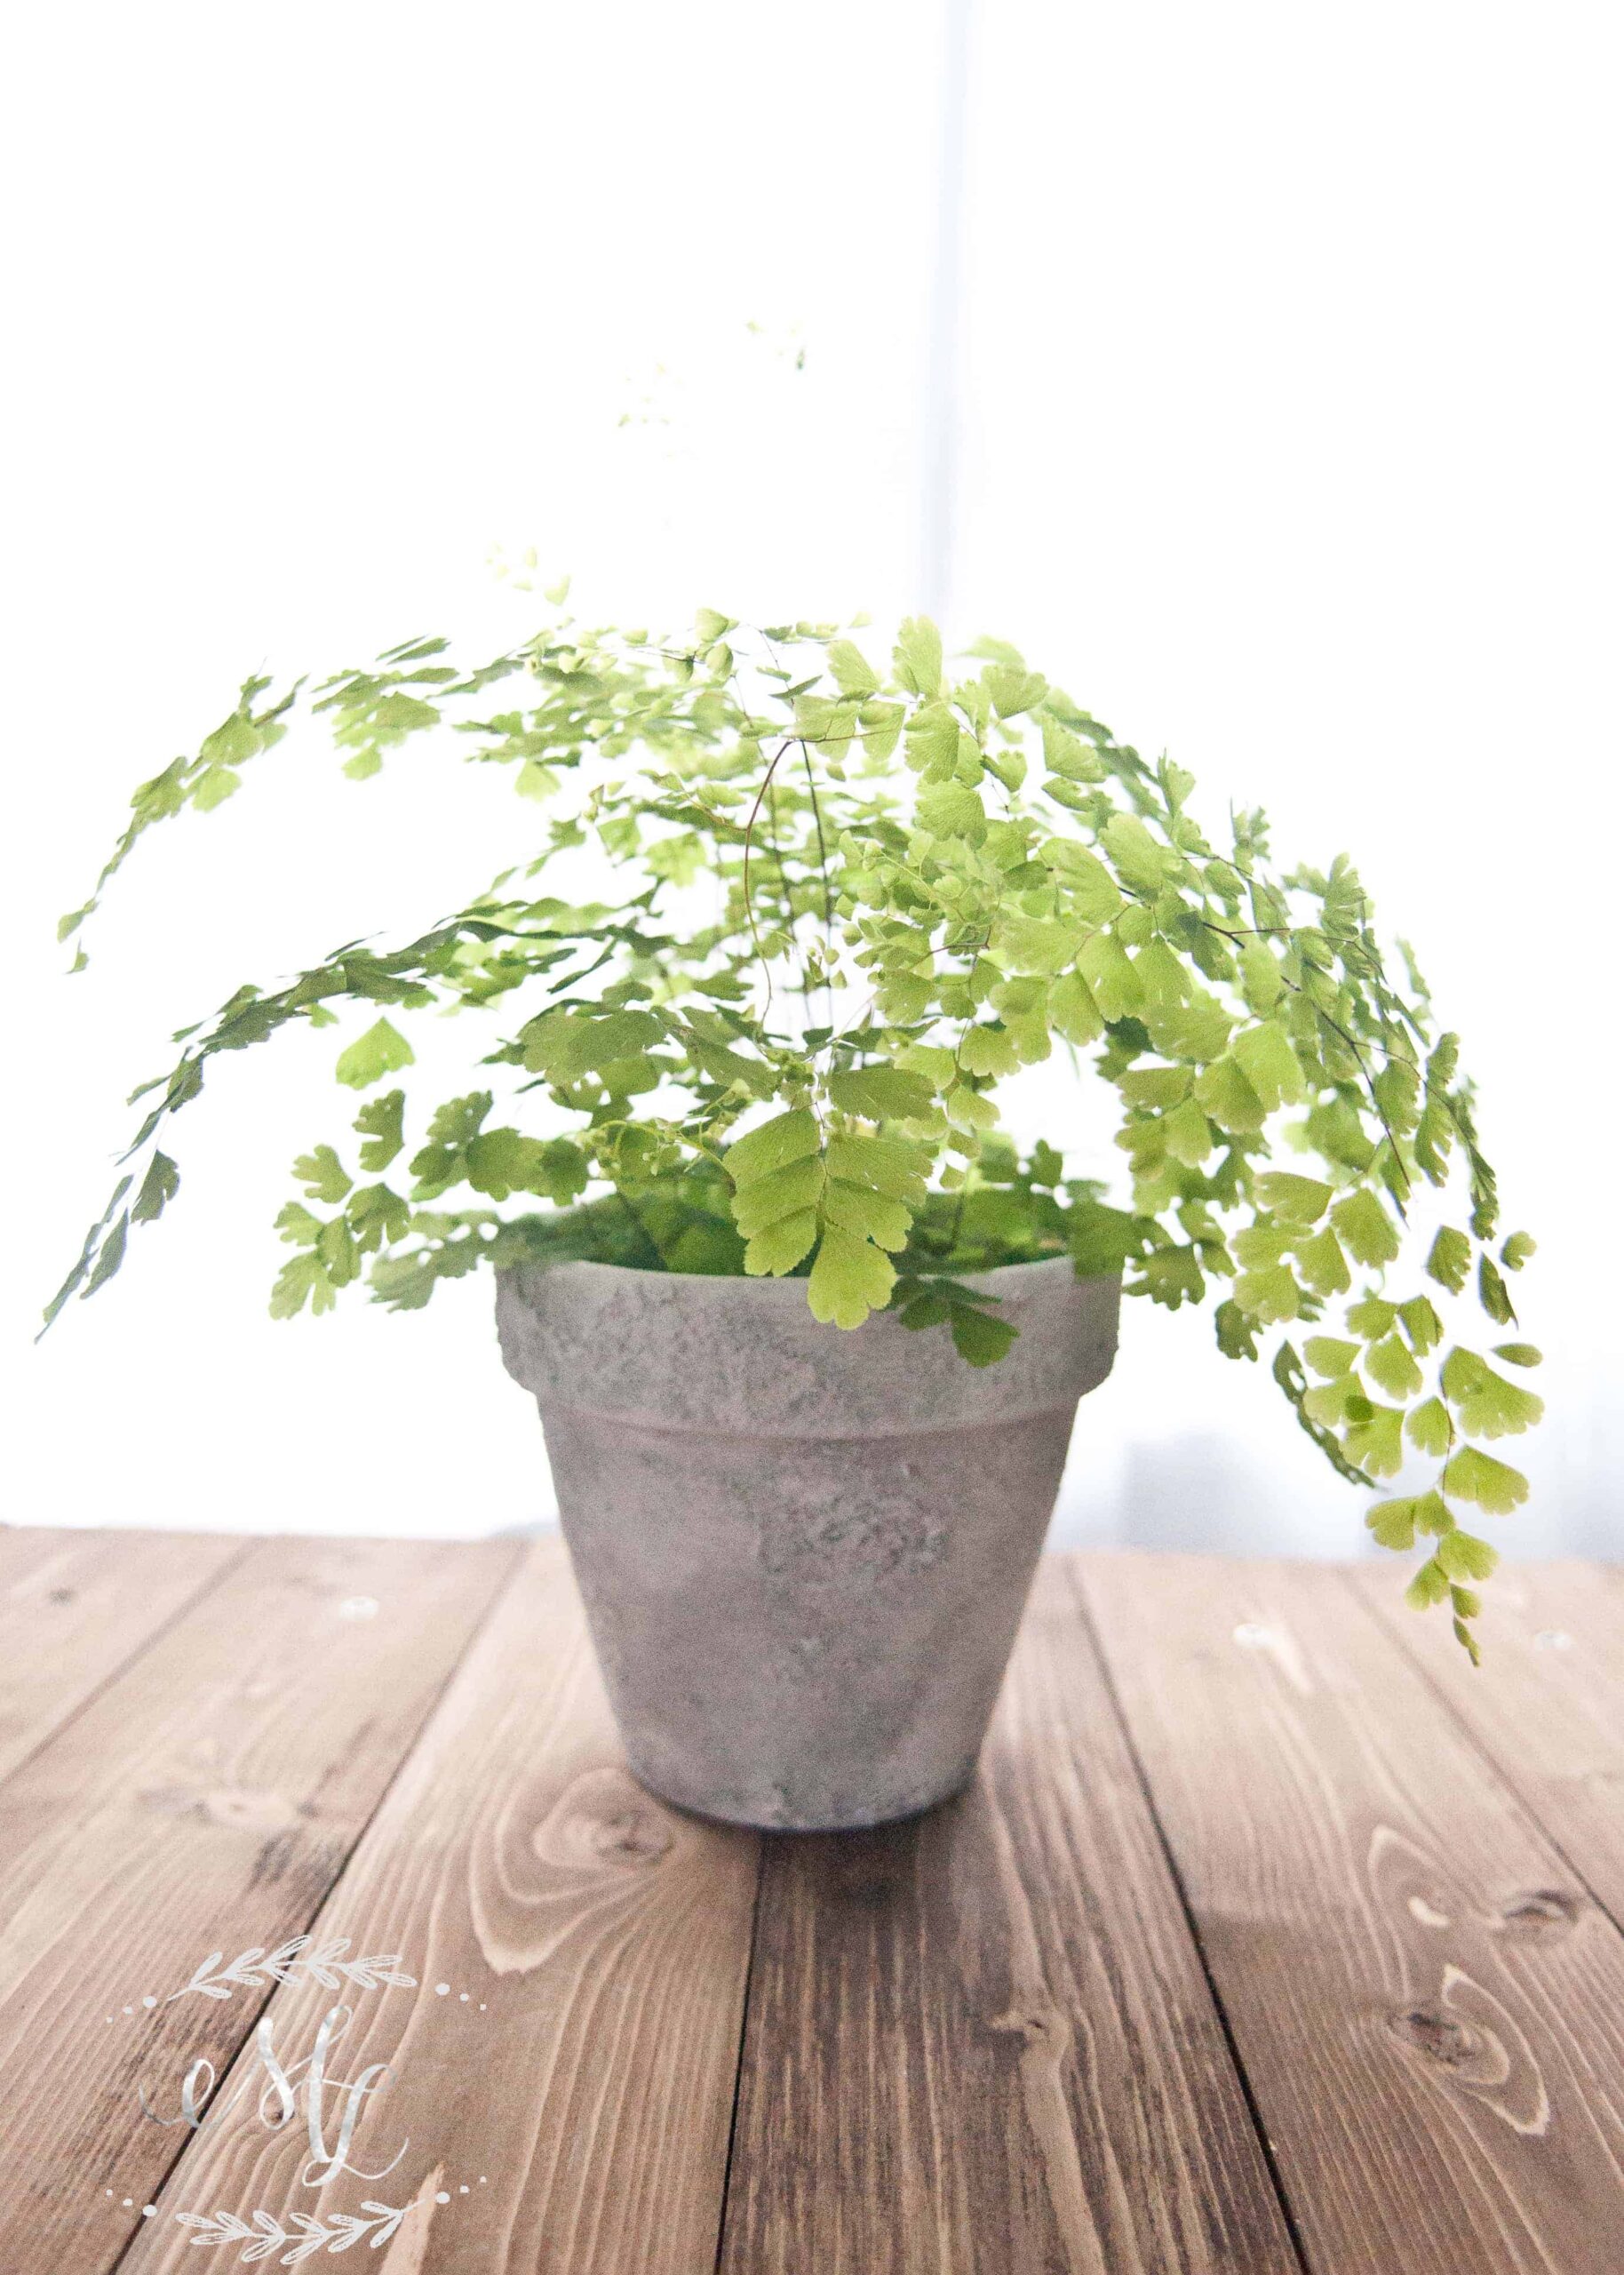
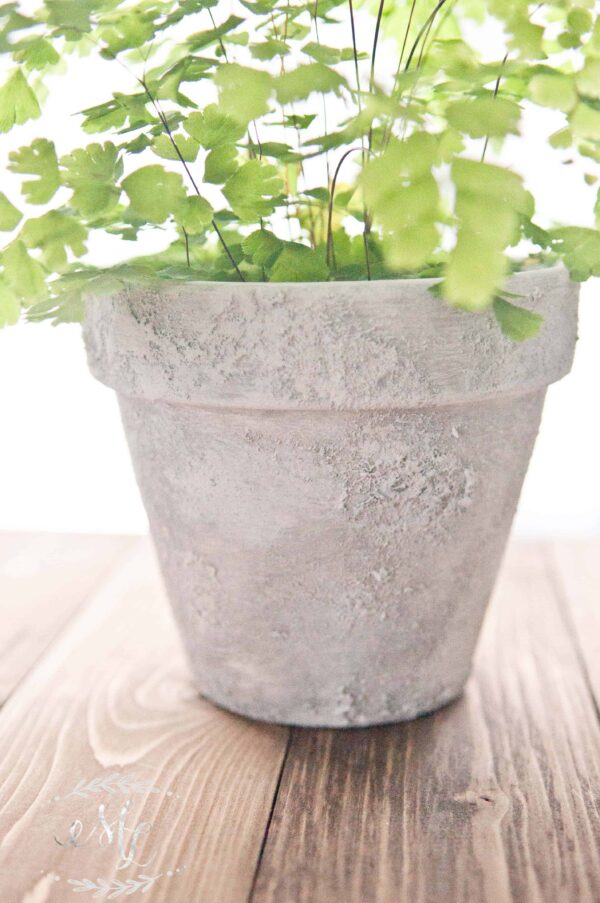
This cute little Maidenhair Fern is our newest member to our collection. I just had to have it! After doing a little research, apparently they are the pickiest of plants to own. I’ve done a lot of reading on how to keep them alive, so here’s hoping we manage to keep it alive!
Hope you guys enjoyed! Let me know what you think and feel free to comment below.
XOXO
PIN IT FOR LATER
HELLO & WELCOME
Thanks for visiting my little piece of the internet!
I’m Maria, a lover of furry things, coffee and anything creative. This blog is where I love to share affordable home decor ideas, great DIYs, yummy recipes, unique crafts and so much more.


2 thoughts on “Concrete Flower Pot Tutorial”
I go away for 6 days and my maidenhair you gave me is dead! She would have loved NC… sadness… sigh…
Awwww, sad day!
I think you need a house warming gift anyhow 😉 I think I know what to get ya! <3
Maria