Printable Wifi Password Sign for Your Guest Bedroom
How many times have you had guests over and you cannot remember your wifi password? For me, it’s always written on a piece of paper that seems to have grown legs and walked away.
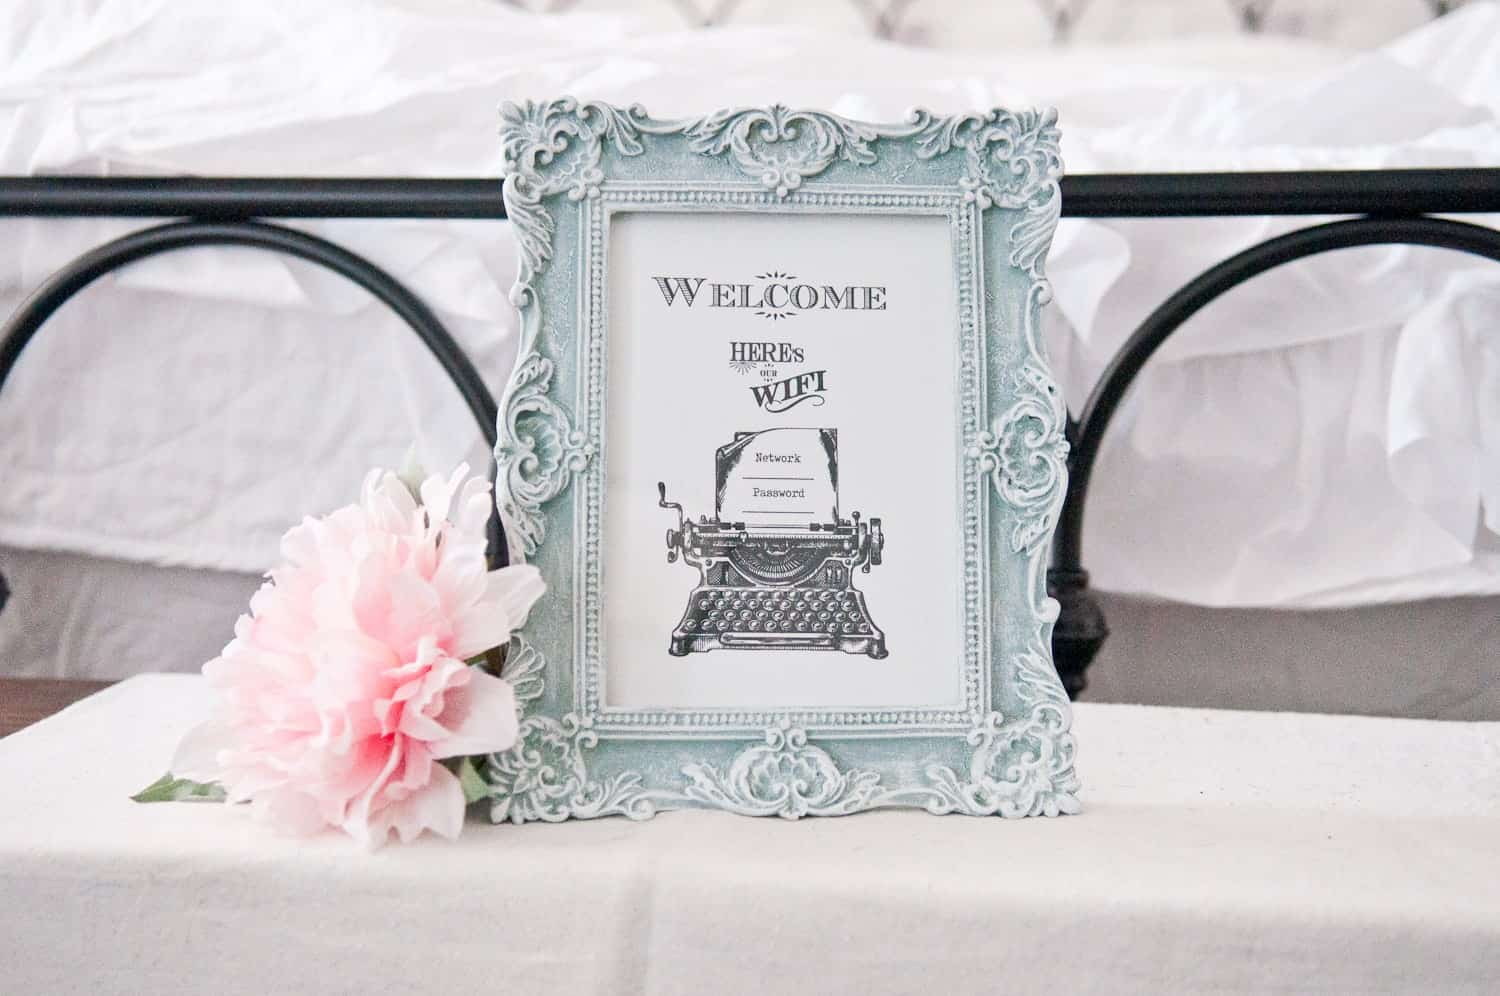
In any event, I’m sharing how I solved this little problem in my home. I decided I was going to post the password right in the guest bedroom! Problem solved.
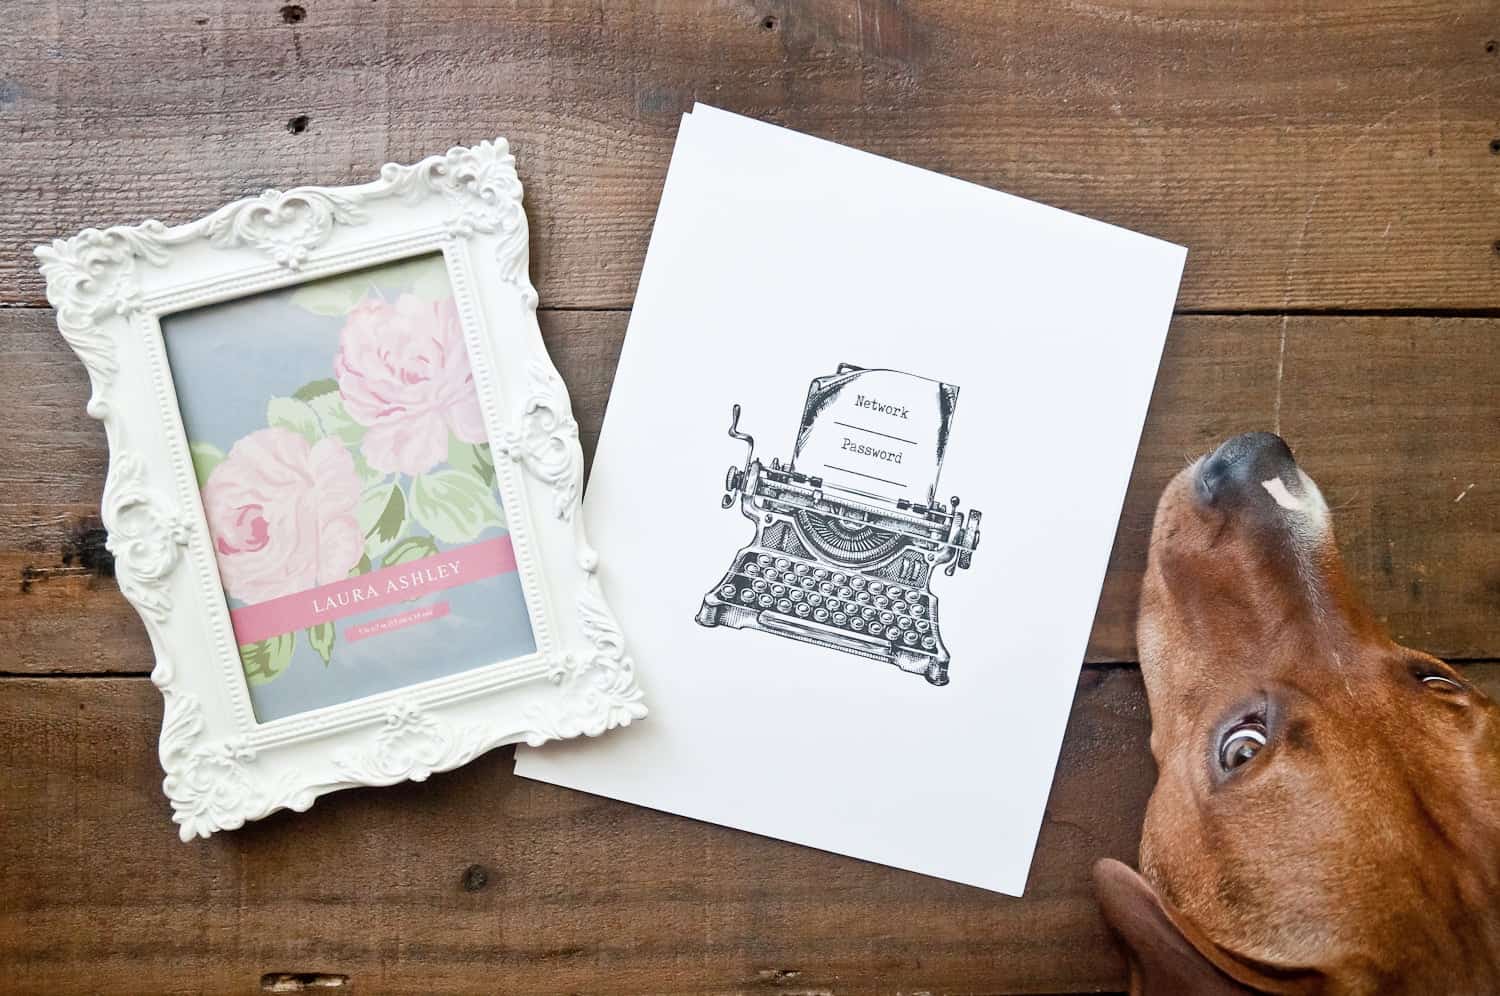
I started this project by creating this cute little sign using this vintage typewriter and some rustic fonts.
I wanted everyone to have options, so there are two versions you can use in your own home.
With that said, I am offering both options for your to download for free, see the link at the end of this post.
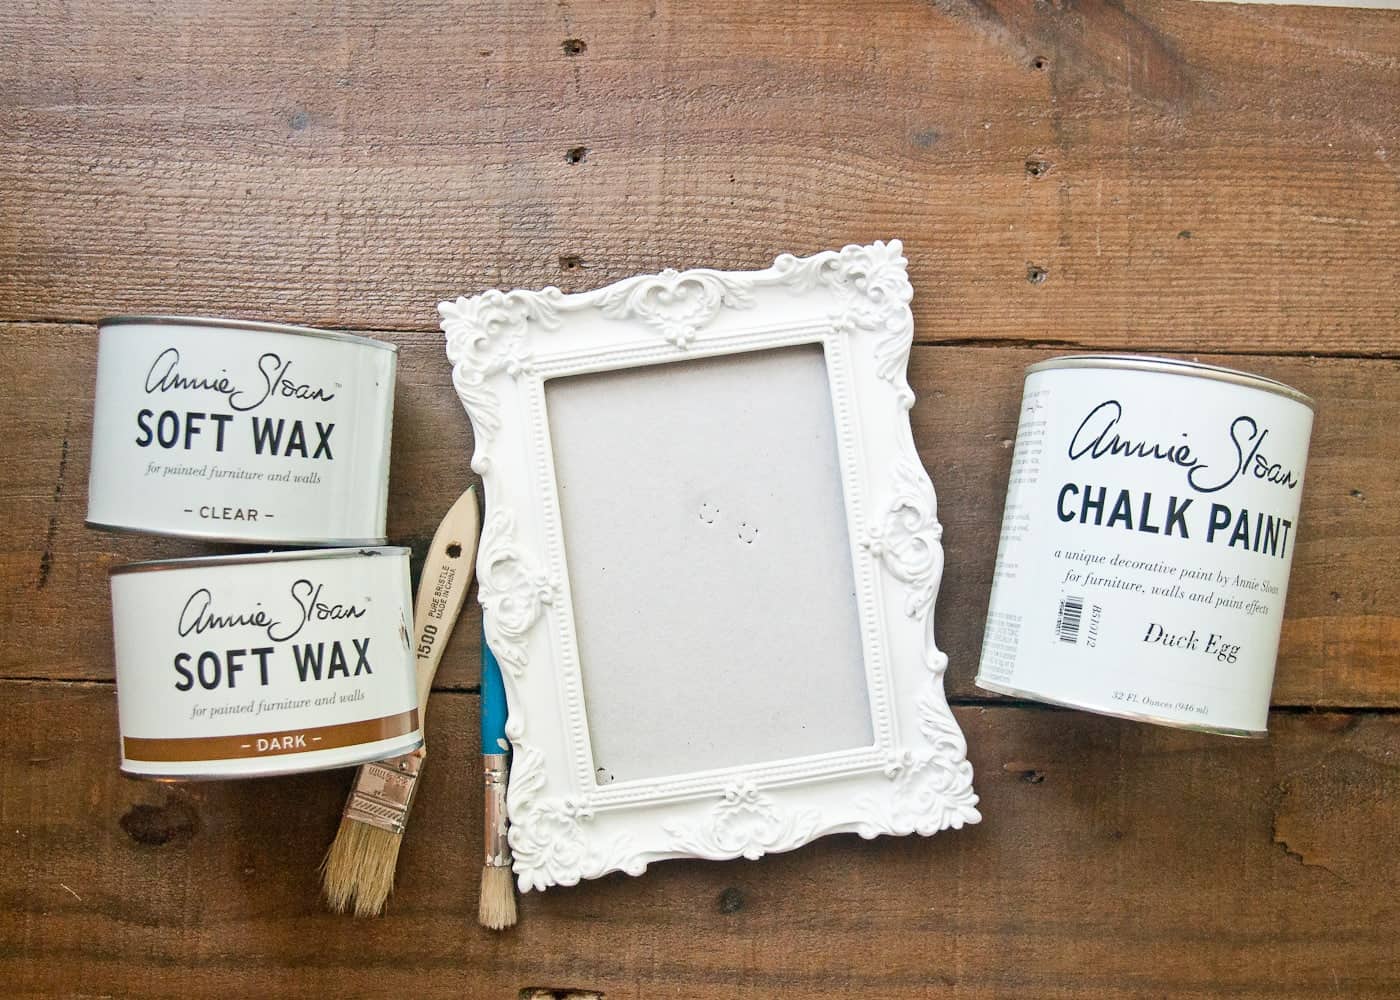
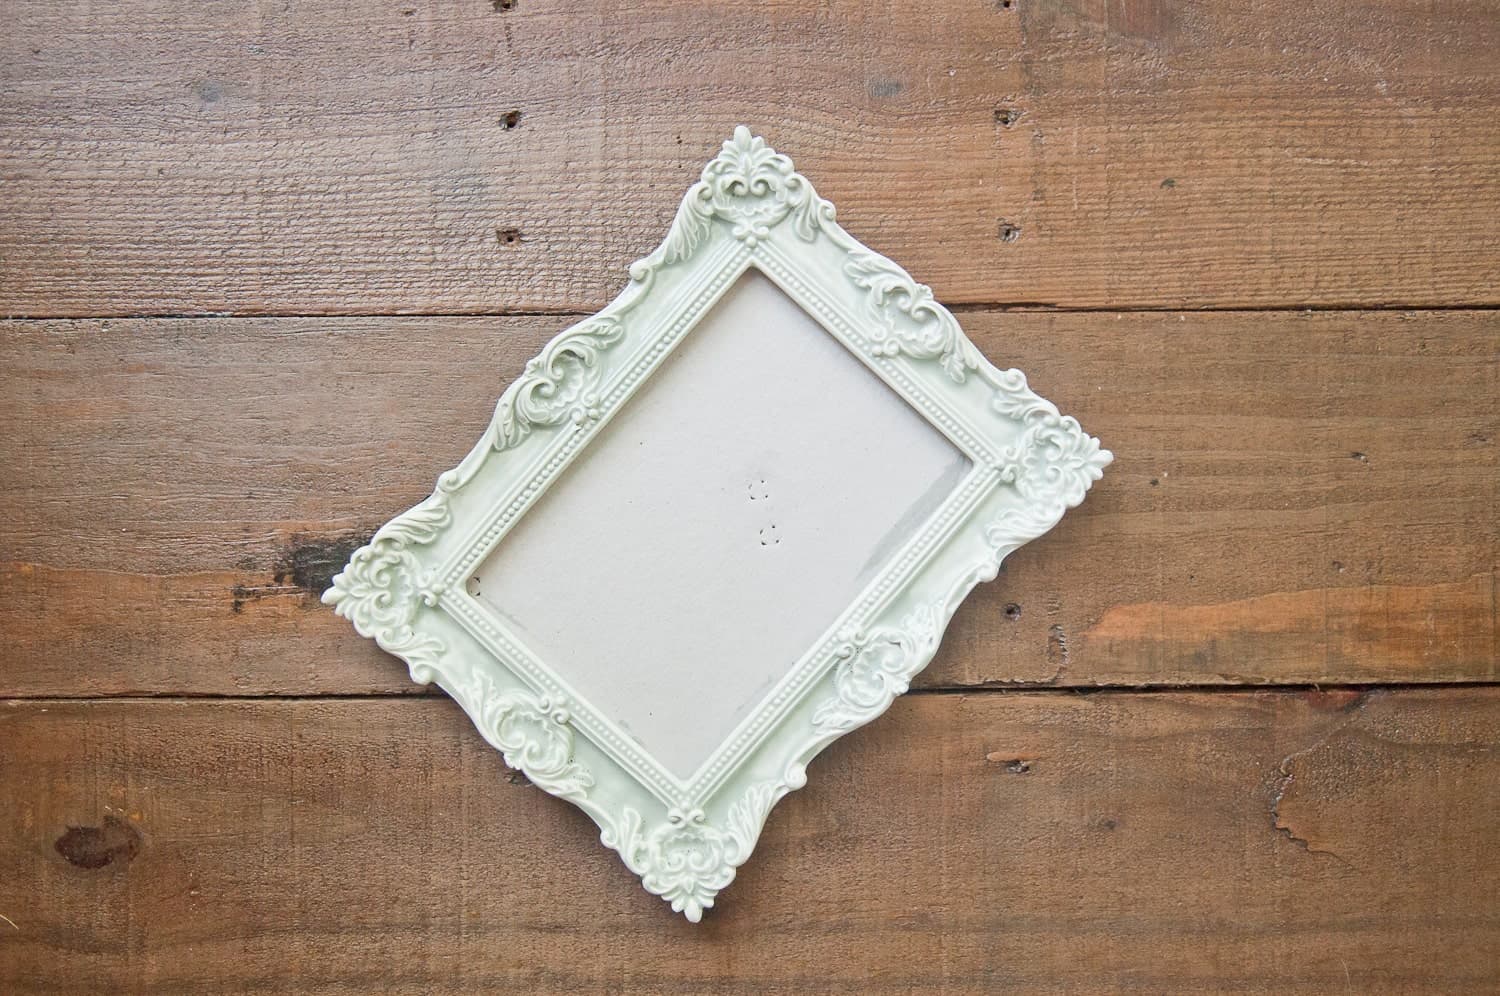
Once I made the sign, I headed over to Homegoods and found this cute little frame for $7.99.
This frame was going to be perfect, however, I think it falls a little flat being solid white. Although it wasn’t the right color, I knew I could work my magic with a little chalk paint and some colored wax.
With that in mind, I bought the frame and headed home to get creative!
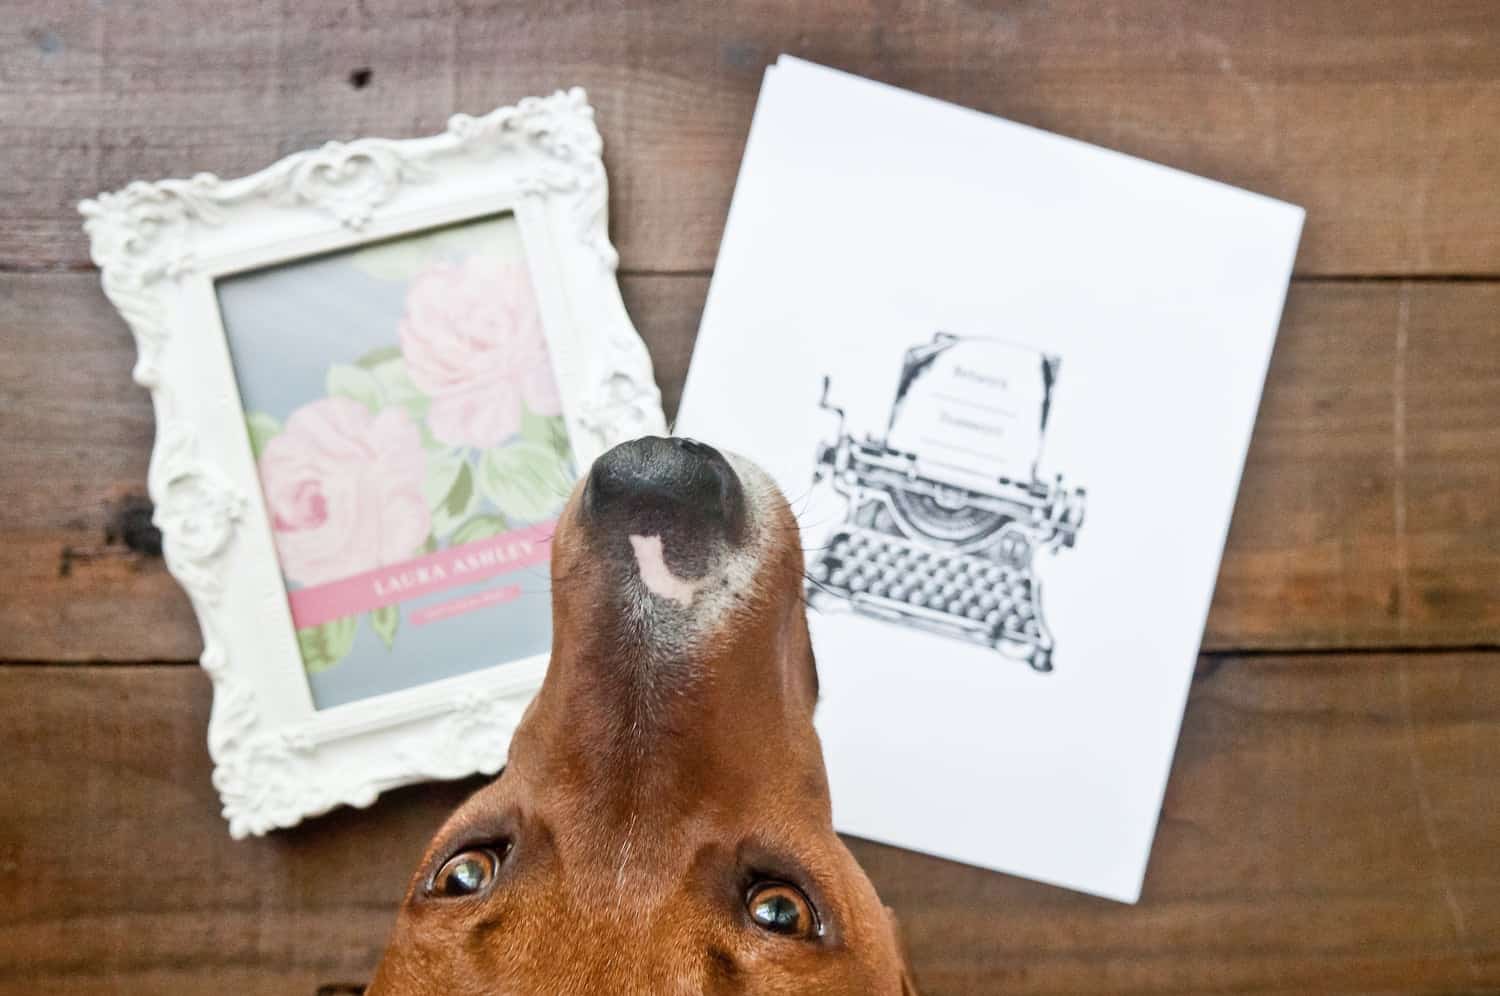
This little man, always my helper. Duncan is such a camera hog!
Once I got home, I grabbed my favorite chalk paint by Annie Sloan. This paint is so easy to work with and sticks to almost any surface without priming or sanding.
However, if you’re finding any chalk paint isn’t adhering to your surface, don’t worry! My quick fix is a little Rust-Oleum Zinsser 123 Primer to do the trick. With that said, I quickly realized this little frame needed a primer for the chalk paint to adhere correctly.
First, I sprayed a quick coat of primer and gave it 20 minutes to dry. After it was dry to the touch, I then usedAnnie Sloan’s Chalk Paint in the color “Duck Egg” blue, and started painting.
Overall, this frame needed two solid coats for full coverage.
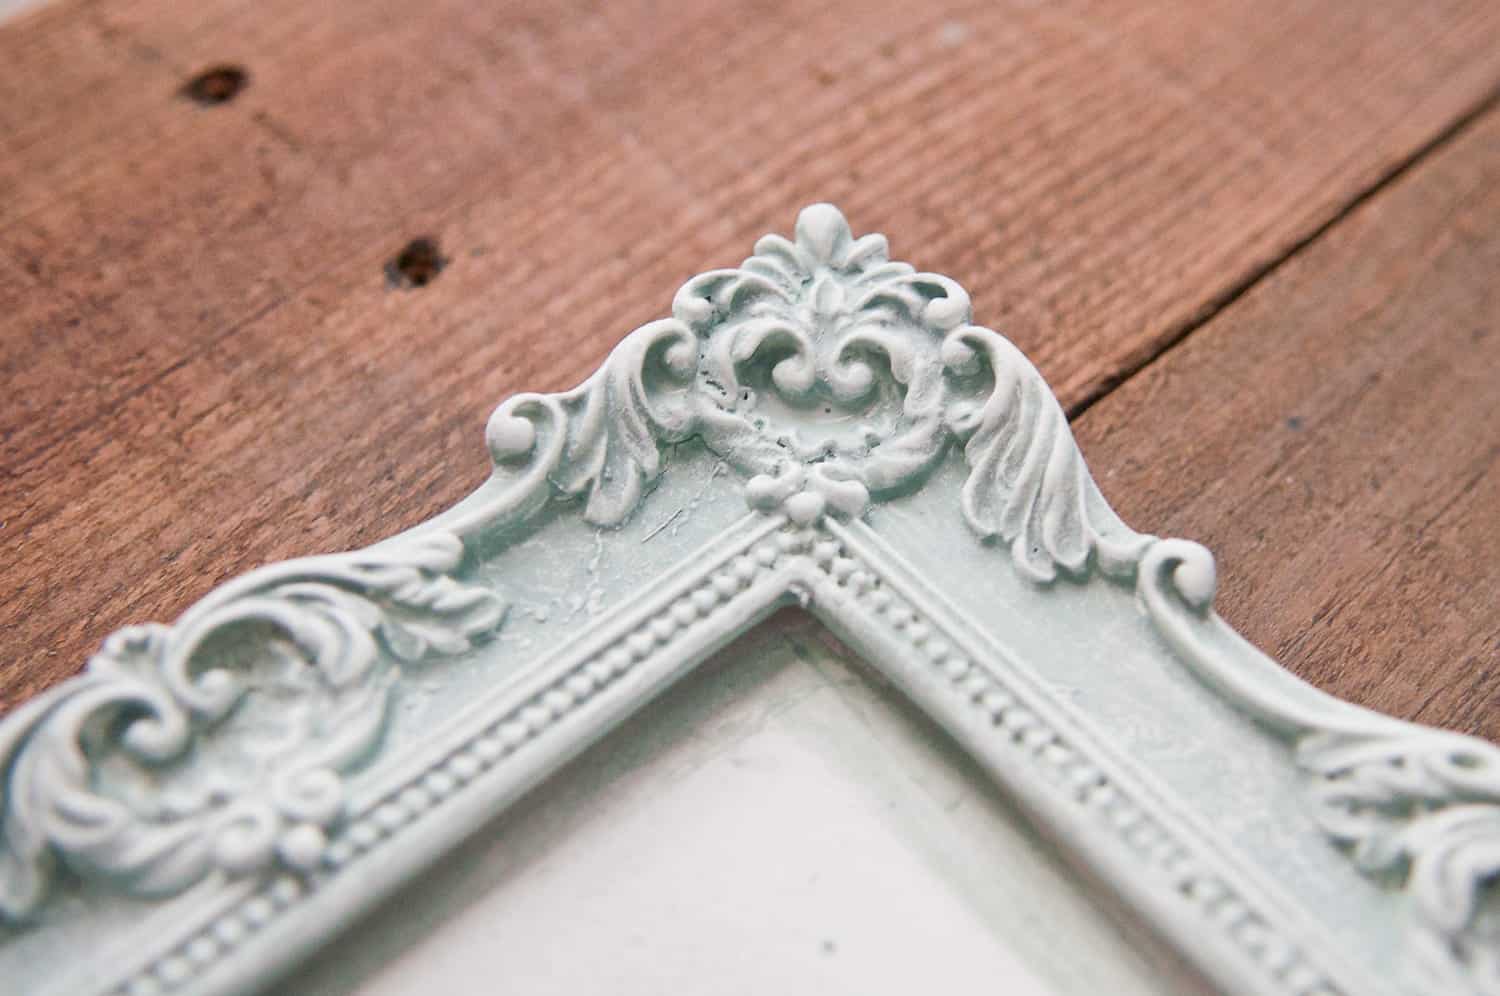
After the base coats were dry, I used a brush and “dry brushed” on some “Pure White” Annie Sloan Chalk Paint to highlight the details of the frame.
The technique of dry brushing is simple. First, dip your brush tip in a little paint, a little geoes a long way. Next, lightly dab the paint off on a towel or cloth. Once mostly dry, lightly brush over raised areas and accents.
Without a doubt, this dry brush technique accented all the little details in this frame. It turned out just as I had hoped.
All in all, this project took a little over an hour to complete.
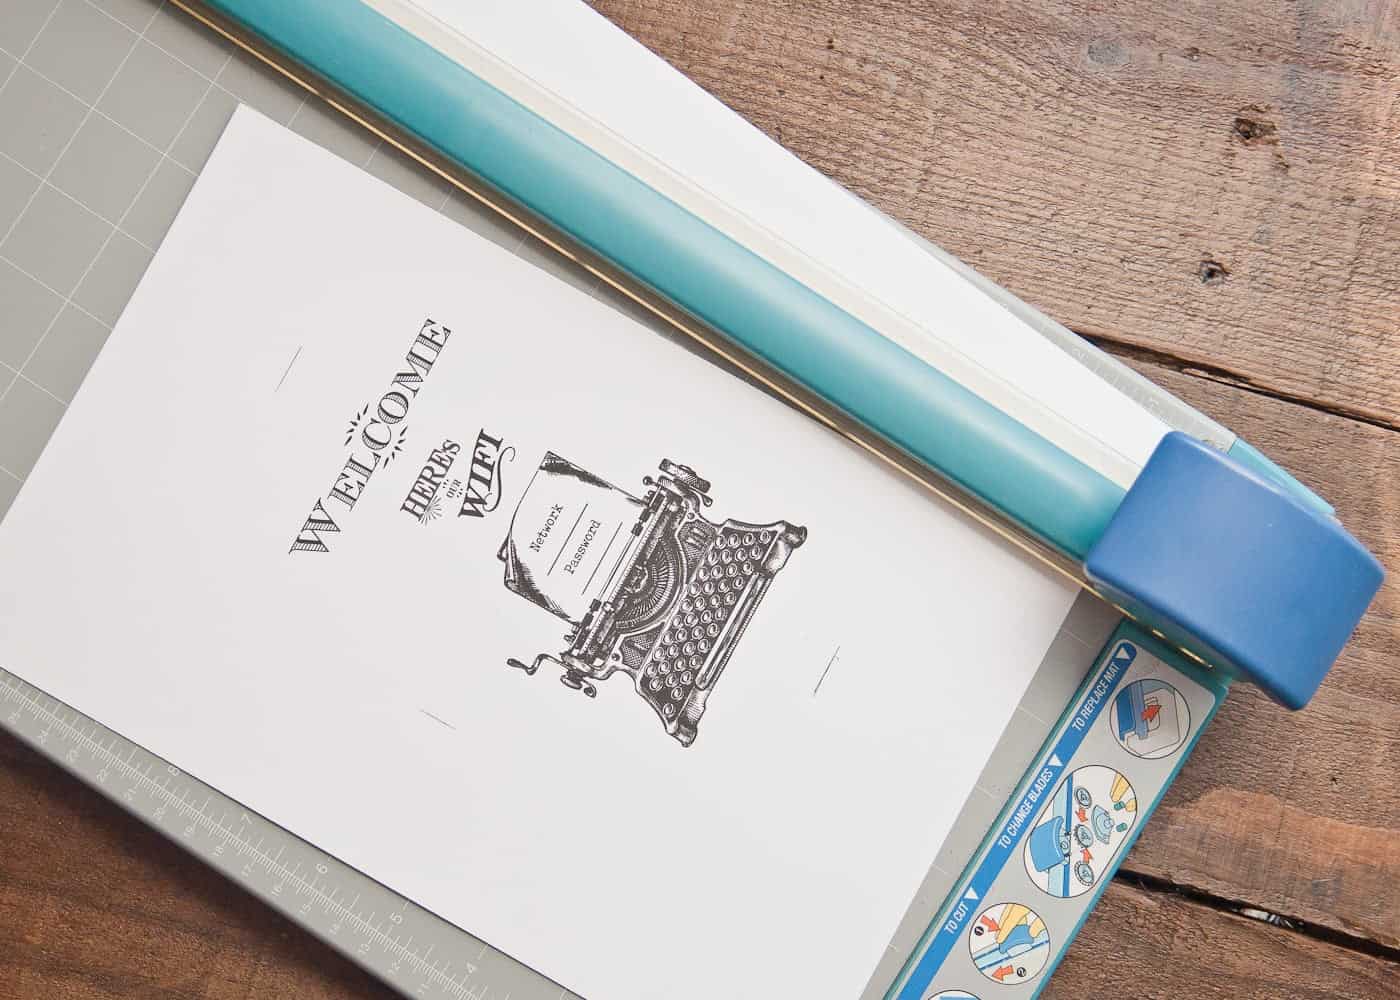
Once the frame was complete, I printed the sign on 8×10 card stock paper. The image is easily adjustable so make sure you set yours to the desired size.
Once printed, I used the glass from the frame to mark an outline. To finish the edges,I used my paper cutter to trim the excess.
Now, I just need to remember my dang password!
Finally, as promised, here is my FREE printable wifi password sign!
I have formatted it a PDF file that will print directly to a 5×7 frame. Like I described above, it is easy to scale the image prior to print if you have a smaller or larger frame. Most print windows give you this option. You also can import it into Microsoft Word and scale accordingly.
Click below to subscribe and get your VIP access to my free library.
If you are already a subscriber, you should have already received access to your free printable delivered to you in your inbox (or you can access my free library anytime, just click the printable library link with the password that’s at the bottom of all of my emails).
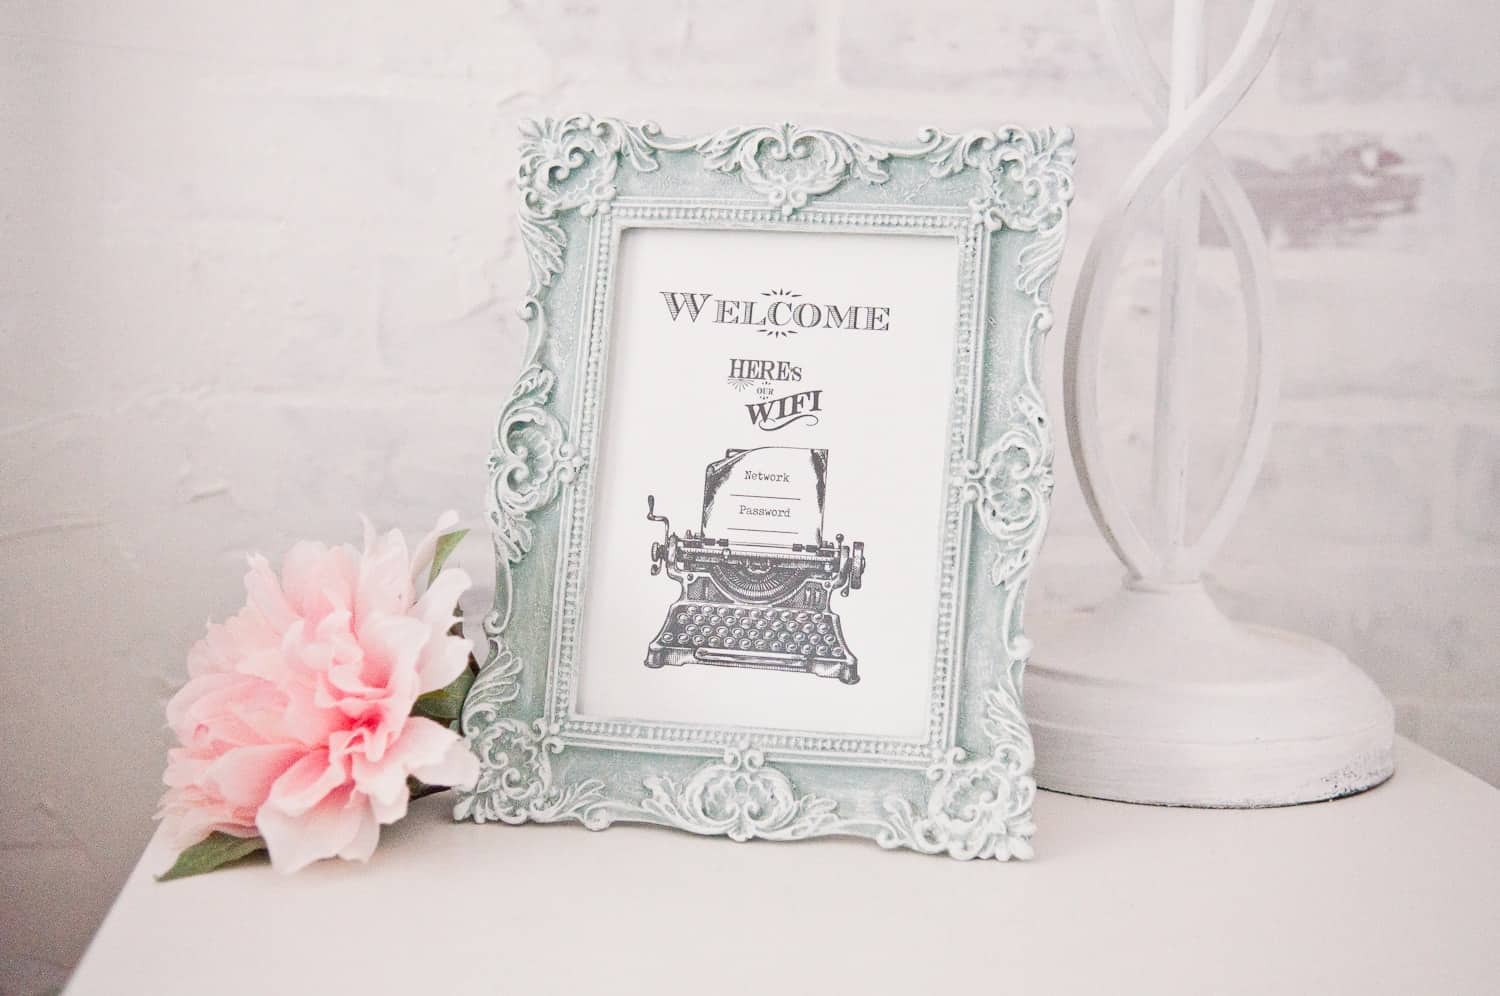
This sign has made the perfect little accent to my guest bedroom. Certainly, my guests appreciate having it!
I really hope you guys enjoy and can use this sign in your own home.
Thanks for visiting my little piece of the internet!
I’m Maria, a lover of furry things, coffee and anything creative. This blog is where I love to share affordable home decor ideas, great DIYs, yummy recipes, unique crafts and so much more.
You should have an email in your inbox. Check for my welcome message and the password is in there! If not message me at [email protected] and I will send it to you directly. Sorry for the inconvenience.
I just resent you your welcome e-mail. Check your spam. It should be titled “Welcome (your name)!” Scroll down the email 3/4 of the way and it will be in all caps! If not please email me at [email protected], and I will send it to you directly! Thank you for reaching out.


6 thoughts on “Printable Wifi Password Sign for You Guest Bedroom”
This is not working. I received the email, entered in the password and it took me back to this page. Cannot get the actual printable file
Lisa,
There’s a link and the password is at the bottom of the welcome email in bold. I hope that helps. Email me if not and I will gladly help.
Maria
I can’t seem to get the printable either
Janet,
You should have an email in your inbox. Check for my welcome message and the password is in there! If not message me at [email protected] and I will send it to you directly. Sorry for the inconvenience.
XO,
Maria
I signed up but did not receive a password for the free printable.
I just resent you your welcome e-mail. Check your spam. It should be titled “Welcome (your name)!” Scroll down the email 3/4 of the way and it will be in all caps! If not please email me at [email protected], and I will send it to you directly! Thank you for reaching out.
XO,
Maria